Steel, scale, water and, finally, paint.
Having neglected the blog for some (many) months, and just published a post which I started writing in June, hurriedly completing it today, I thought it is high time to update you on my progress thus far with Serchthrift.
My last leave was productive but, with lots of small jobs achieved, the progress was not always obvious to the observer. I started September (after a quick business trip to Hamburg – the purpose of which is currently still under wraps) by finishing the outstanding steelwork. I welded some brackets onto the foredeck as a stowage for the second anchor, finished off the sole framing in the cabin, and finally got round to the job I had been dreading – cutting out the old mast step in the bilge sump. Actually I only needed to cut out half of the structure of the step, in order to make space for the little grey water tank I’ll be installing, as well as making access to the depths of the sump more accessible. It did however involve wielding the plasma cutter whilst lying uncomfortably with my head down the hole. That said, it actually turned out to be more straightforward than I had feared, and the cutter performed well enough in the circumstances! The grinding and cleaning up afterwards was a messy and noisy job, and not enjoyable at the time, but produced very satisfactory results.
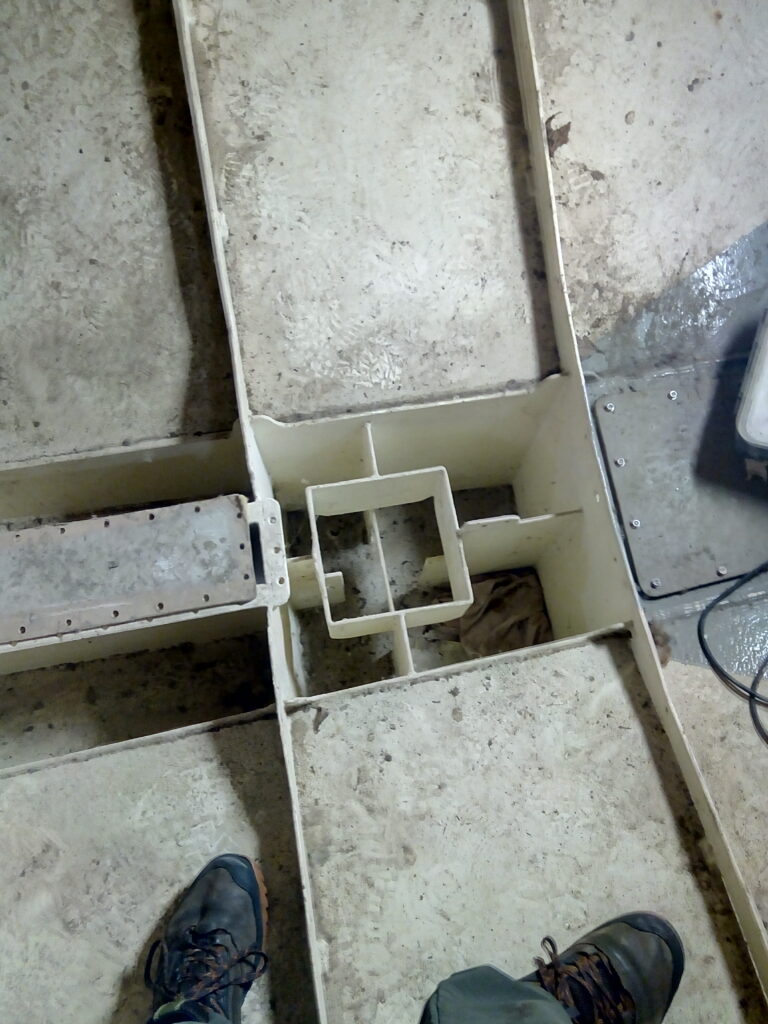
Before 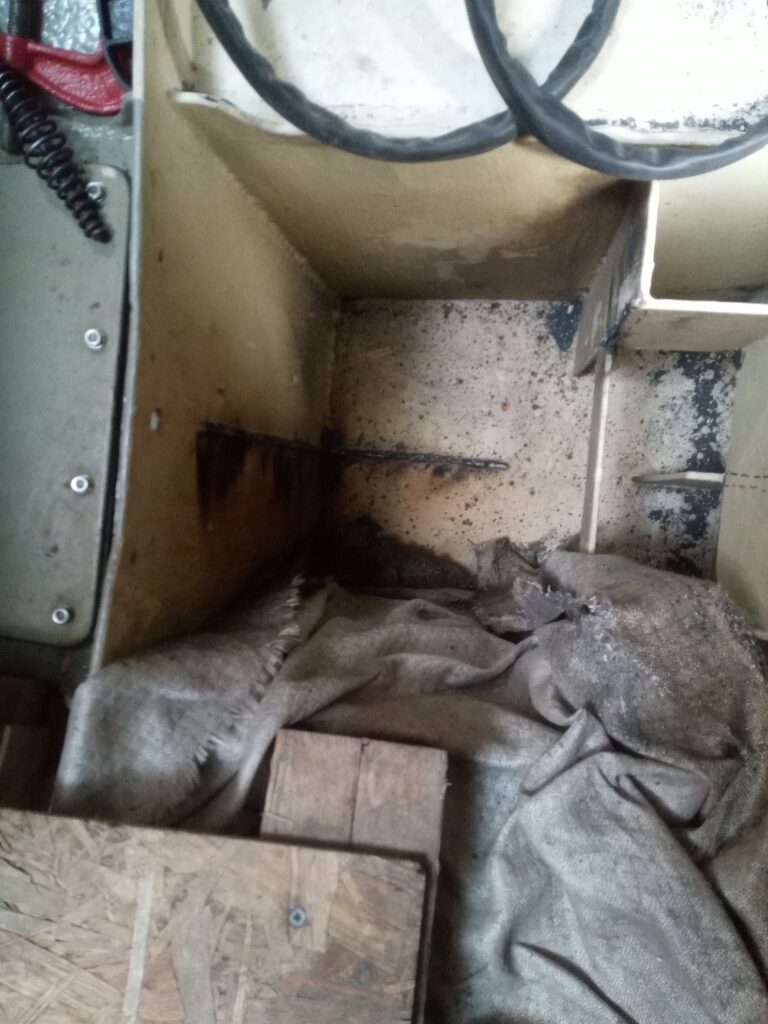
During… 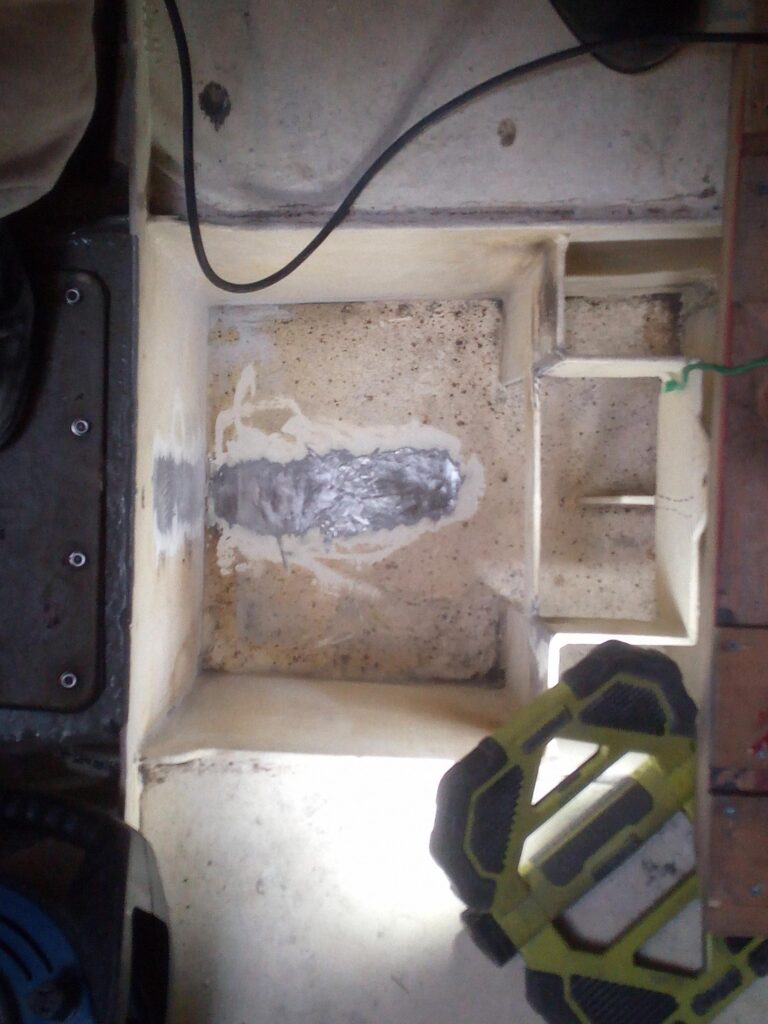
Grinding done 
Tank sitting in place

Whilst I had the cutter fired up I also took the original mizzen mast partner which I had cut out last year, and used it as the basis for a new bolted-down partner ring. The first job was to remove the section of plywood deck which was attached to it (fortunately with adhesive sealant rather than epoxy), which was a good afternoon’s work with cold chisels, wrecking bar and a big hammer, followed by a lot of scraping. I then cut bits off and welded them on again until the flange was octagonal in shape, and extended the collar downwards by a couple of inches (using a bit I had cut off the old foremast partners) so it would project through the deck and the wooden reinforcement blocking to be installed underneath. Finally I welded a number of stainless half chain links as eyes for all the mast foot blocks and fittings anyone could need. This will be bolted through the deck and blocking to make part of the whole structure, once I have cut the hole in the coachroof.
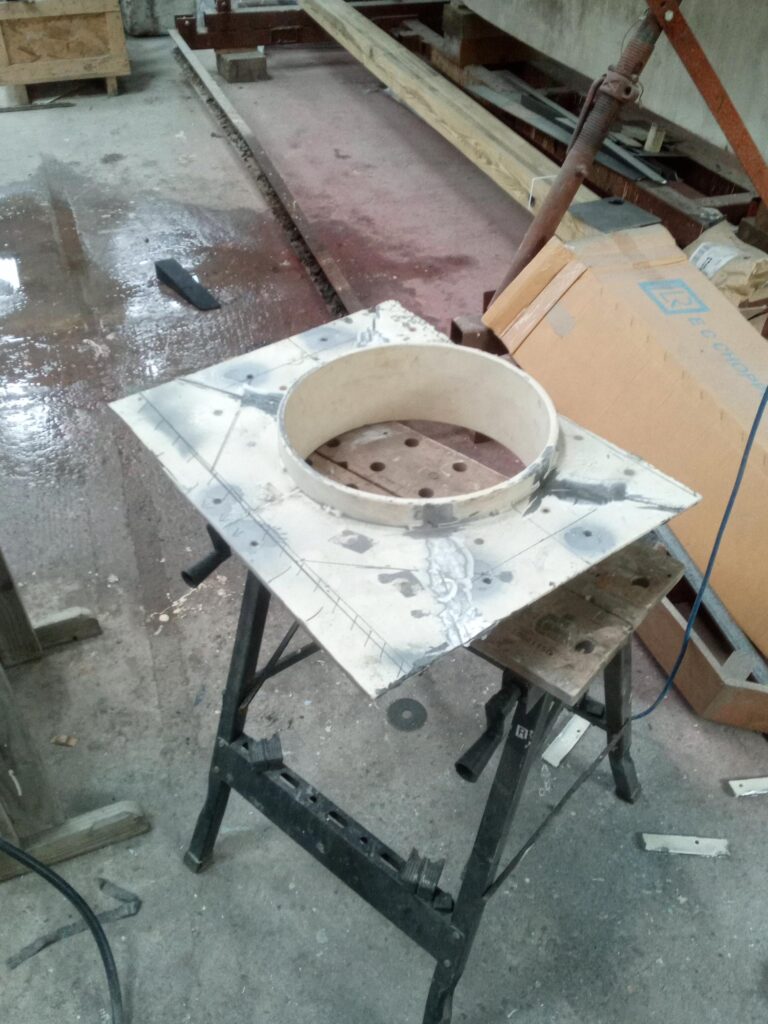
First, the plate has been cleaned of ply and gunk, and former deck beams cut off. 
Next I cut it to shape – the top edge in the picture is ready for an extra piece to be welded on – clamps and angle bar used to temporarily hold the piece in place for welding 
Extra section of flange welded on 
Extra section of collar tube welded on 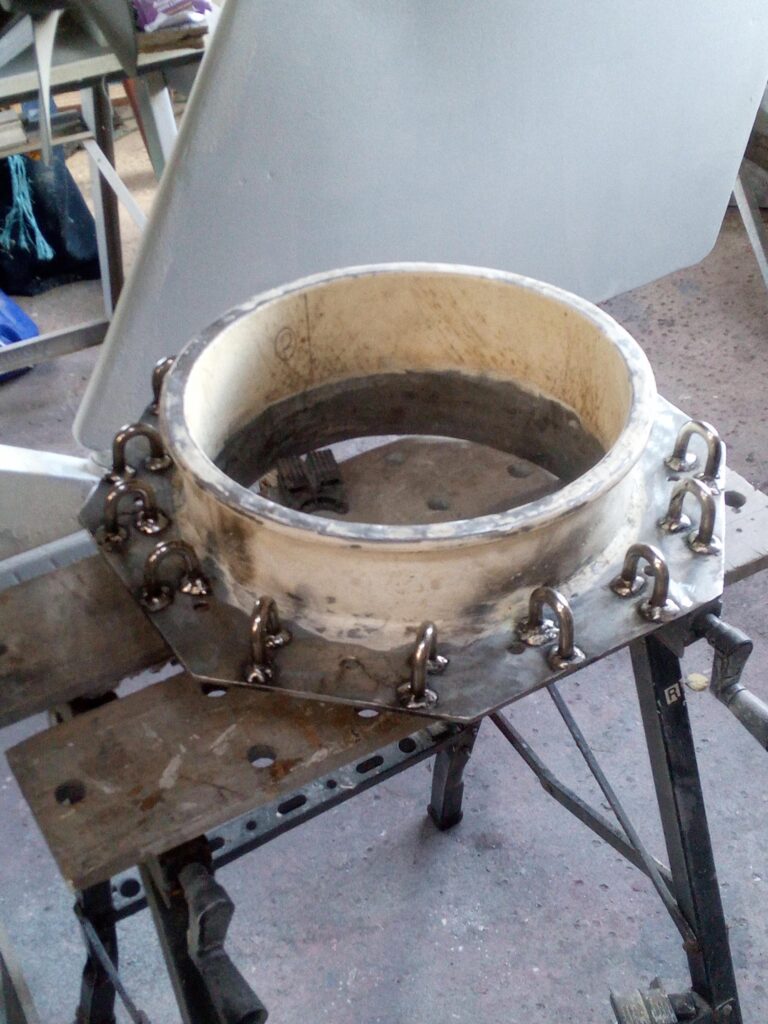
Eyes welded on – finished product awaiting cleaning up and painting

Once I had finished all the welding it was time to clean up. Due to lack of experience and knowledge, I had not removed the millscale (which appears as a black/brown coating on the steel) from most of my steel pieces , except where the welds had been. This was a mistake, because now I had to go round and clean everything up which I had welded in place (it would have been much easier to clean up fully each piece before welding in). This was a messy job with a grinder, drill and hand tools, but the cleaning discs which I had found made it easier than it could have been. The boat of course was filled with dark grey dust, and I got covered, and had to be very diligent with my use of eye, ear and breathing protection. After a few days of grinding, and then sweeping, hoovering and cleaning with tack-rags, I needed to get some primer on everything pretty quickly, before rust began to take hold. Fortunately for the latter stages of this, I did have help in the form of stalwart buddy Stu, who had come up to visit me for the week. We got several coats of good old Jotamastic on everything that needed it, and then, once everything was sufficiently coated, had a great fun day with a pressure washer, thoroughly cleaning the inside of the boat. This of course put a huge amount of water into the boat – more than a Charlie hoover could ever cope with – so we had to devise another method of removing the water, not just from the boat but to deposit it outside the shed. Stu had the idea of a syphon, which, having found a hose of sufficient length, did a superb job, as long as we didn’t let it lose suction. If that happened we needed to get it going again with a water hose. Needless to say we both got very wet doing all this, and Stu got very fit climbing up and down the ladder with full Charlie buckets – fortunately the weather wasn’t too cold at that stage.
We then had to leave the boat to dry out for several days – as it happens we both had to head down to Scarborough for a Trafalgar night dinner at the Sea Cadet unit, so it had the weekend to recover.
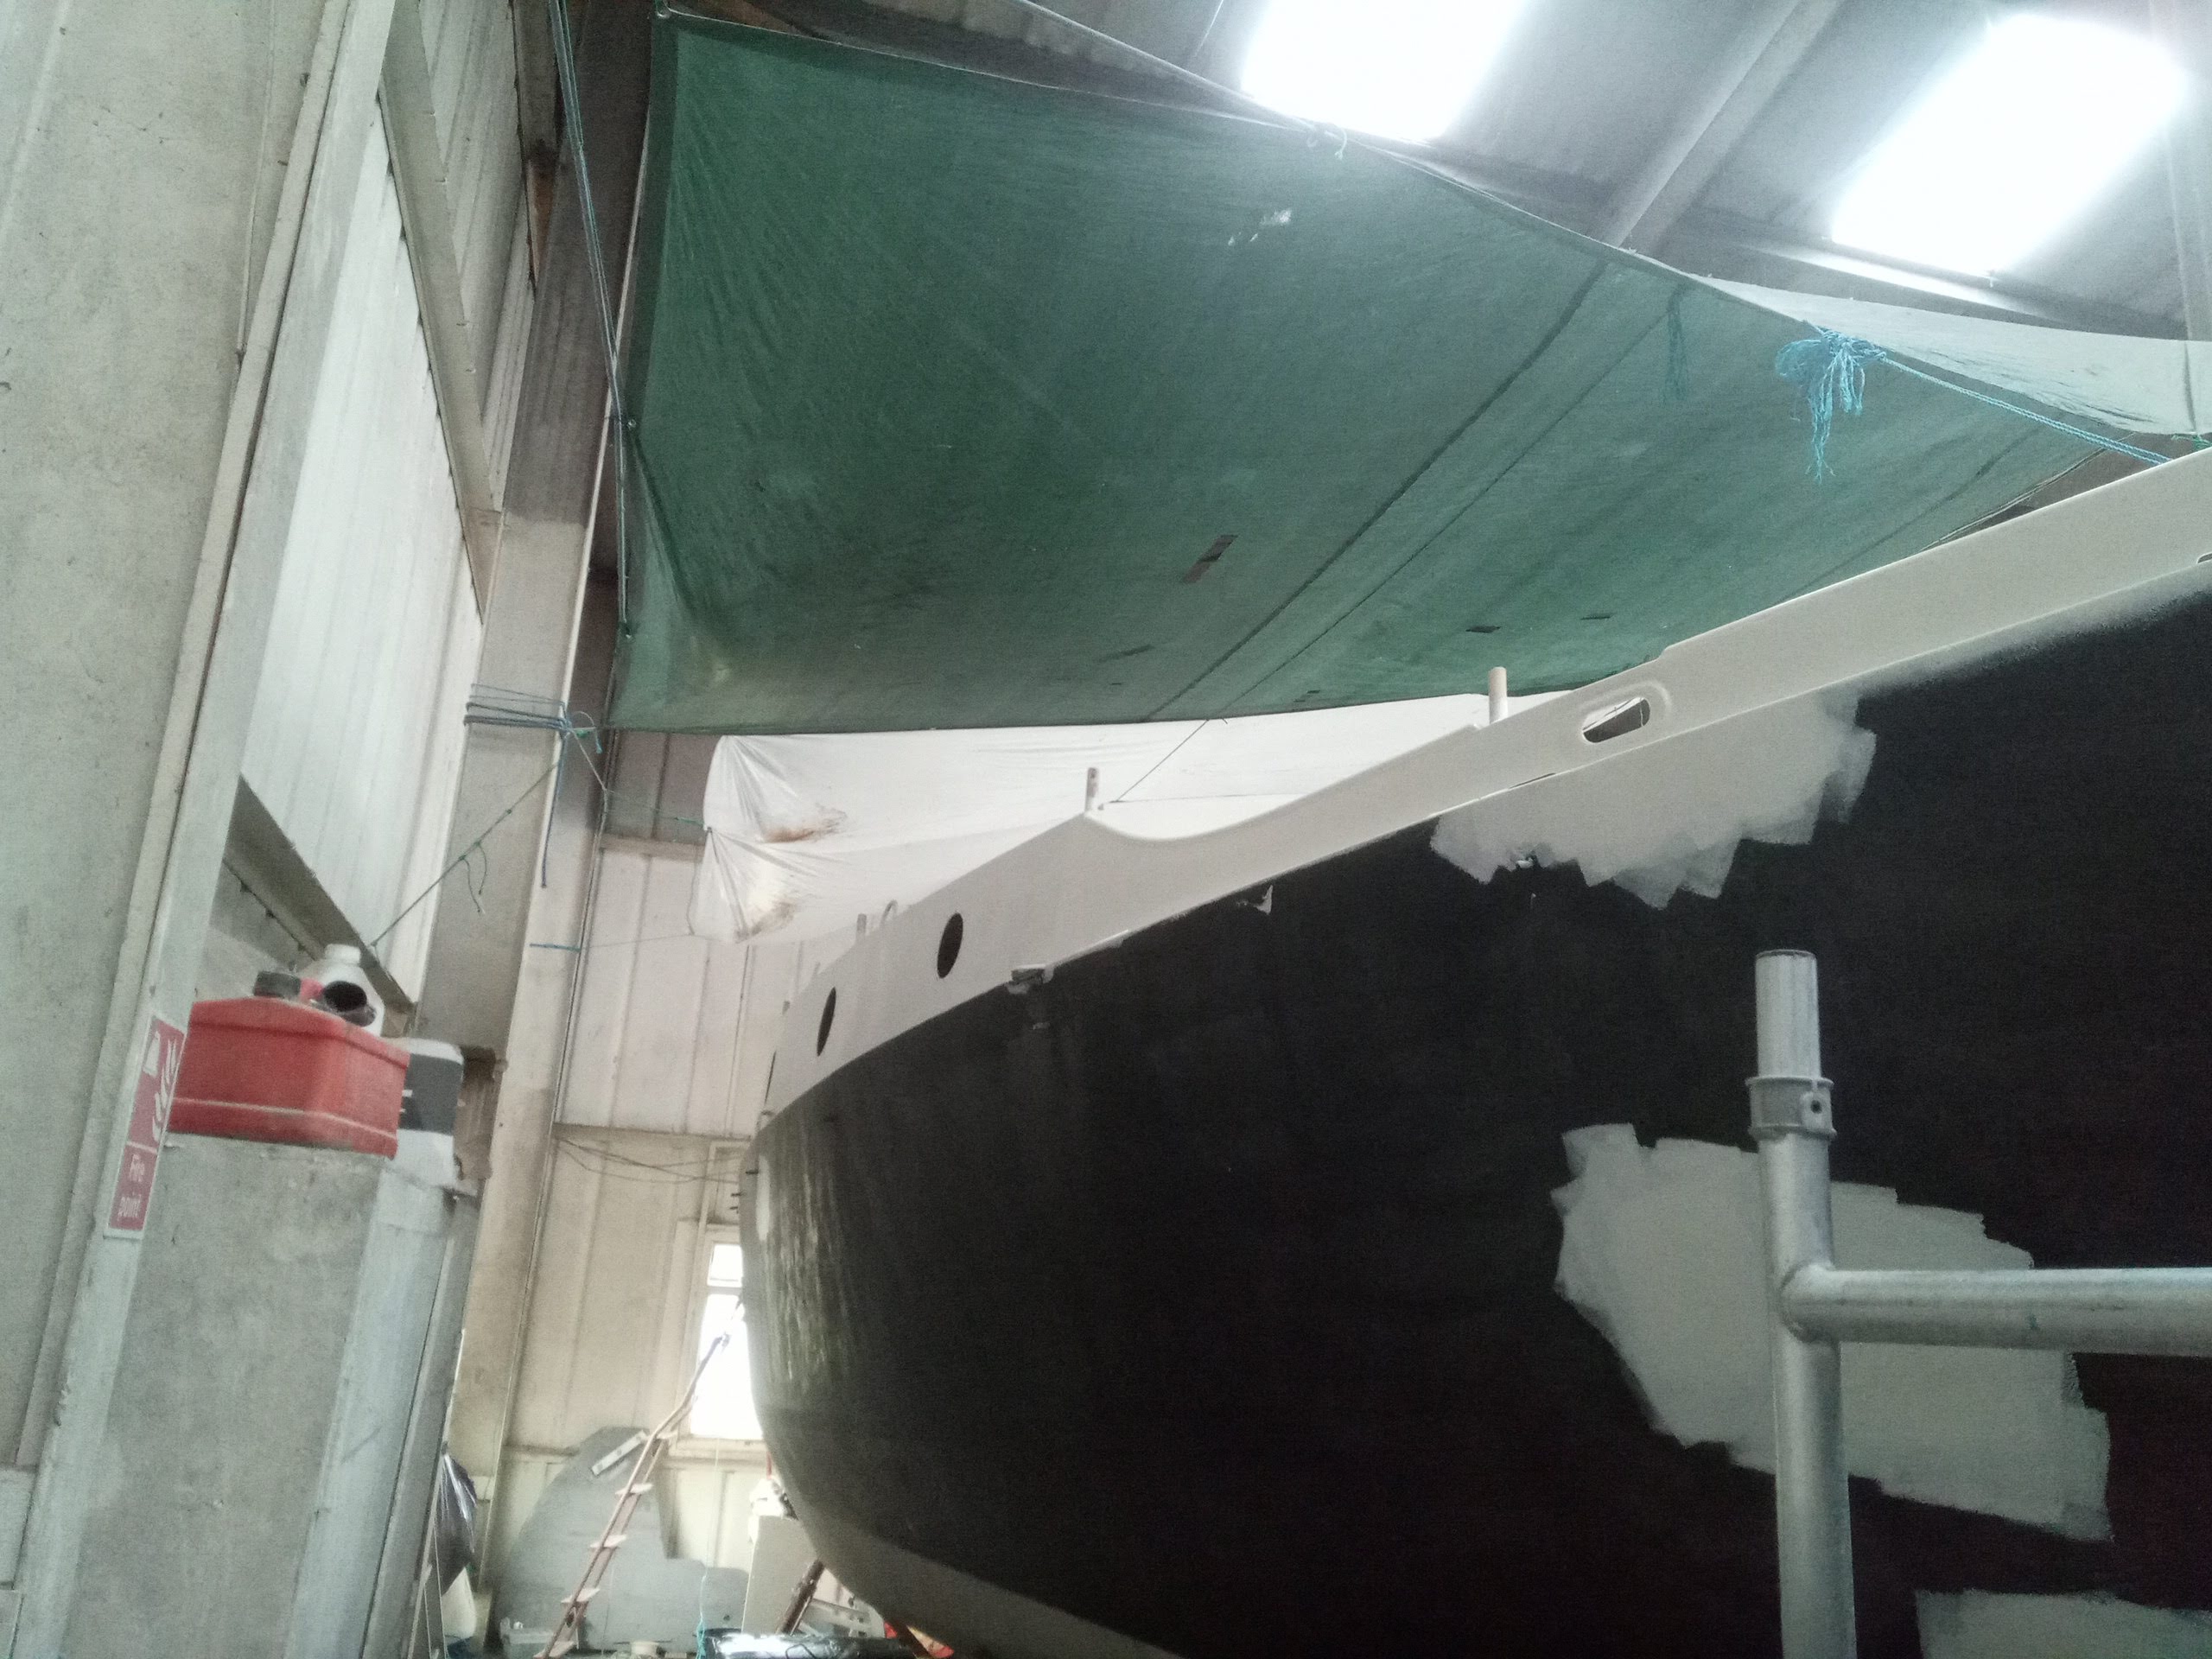
The final job of the leave period (apart from rigging a brand new tarpaulin over the boat to deflect drips from the roof – my previous arrangement was leaking) was to put some top coat on all the primed areas, and also in the bilges and up to the first chine, so all the areas which will not later be covered with sprayed foam insulation got a nice fresh coating. I had another assistant for this job, Ned, who again had come up to see me. Fortunately I have very practical, hands-on friends and family, so none are too offended by being asked to help with the project when they come up! We got paint on all the bits that needed it, including a first topcoat on the coachroof sides and the forward bulwarks. During my next (current) leave, I hope to get a topcoat on the topsides and get some primer on the deck (so that the epoxy doesn’t slowly deteriorate in the (albeit weak) UV).
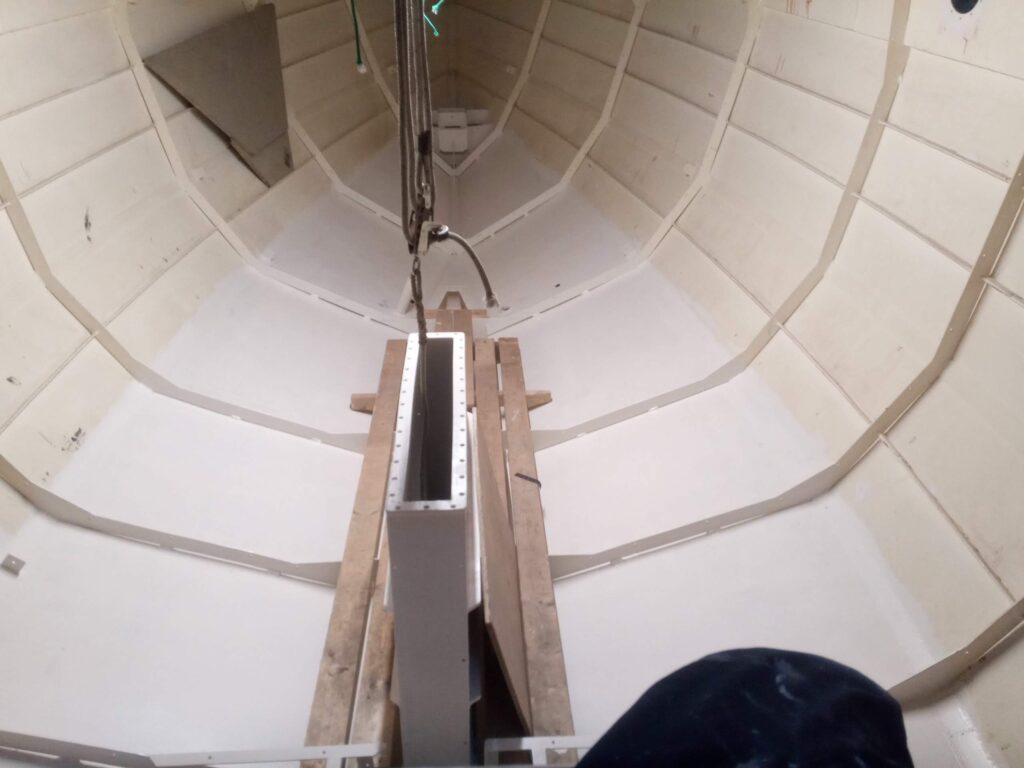
Bilges painted 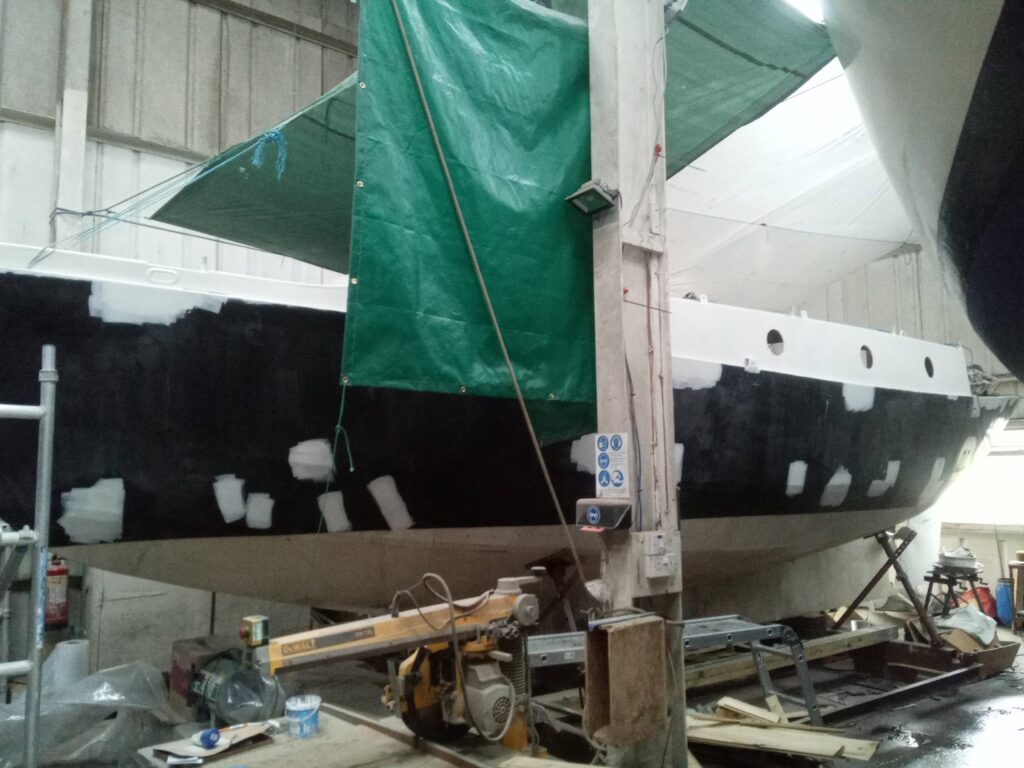
Coachroof sides as well 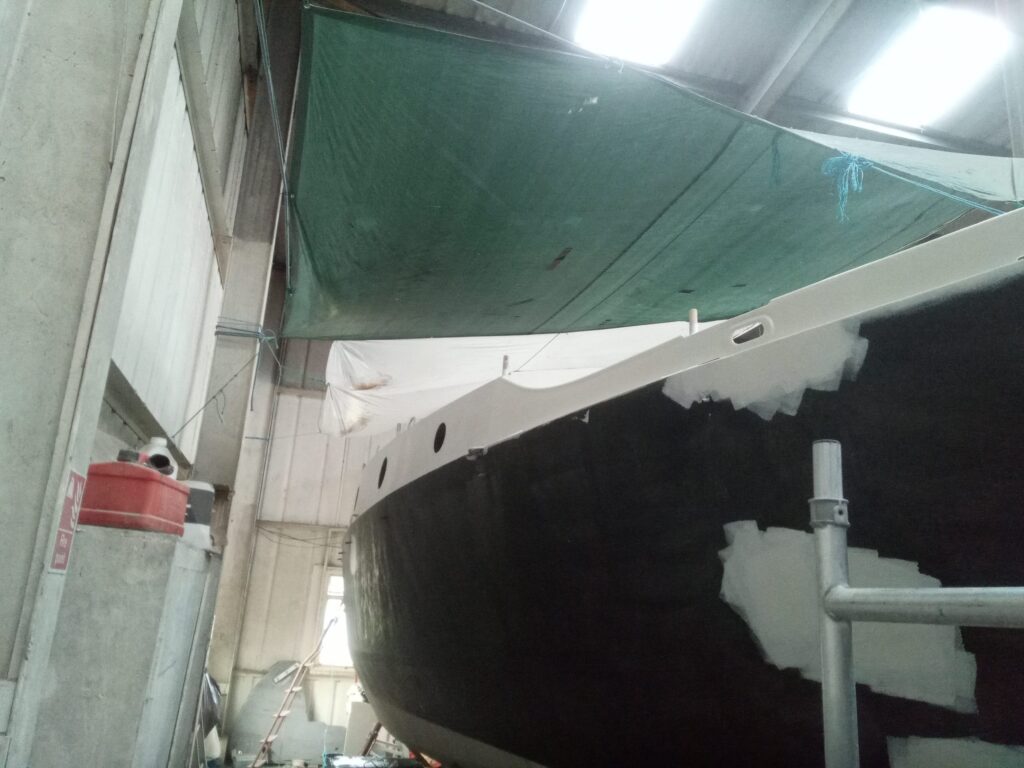
And fwd bulwarks – note patches primed on topsides, which will need sanding, cleaning and then a topcoat.
As I am now back home once again from sea, I have made a start on the next stage of the project, making and fitting bulkheads and then fitting wooden cleating to the steel frames, to which the lining will be screwed after insulating. These all have to be in place before insulation is sprayed in and covers the interior of the hull from deck to bilge.