On-deck works continue
I left you as I was just about to disappear for another fun week on board VIC 32. This was followed another week later by a short relief stint on board Tenacious. I had a lovely couple of weeks there, joining in Arendal in southern Norway, and ending in Blyth. The weather wasn’t amazing, but we managed a couple more ports in Norway whilst sheltering from some strong winds, enjoying the company of some of the other British boats heading home (or trying to) from the Tall Ships races, and then we got a fair wind for a few days to get us across the North Sea. Dunbar was a pleasant day’s stop before we then headed down the last bit of the coast into Blyth. It was great to catch up with some of the old JST faces, and hopefully I’ll get some more stints in in due course.
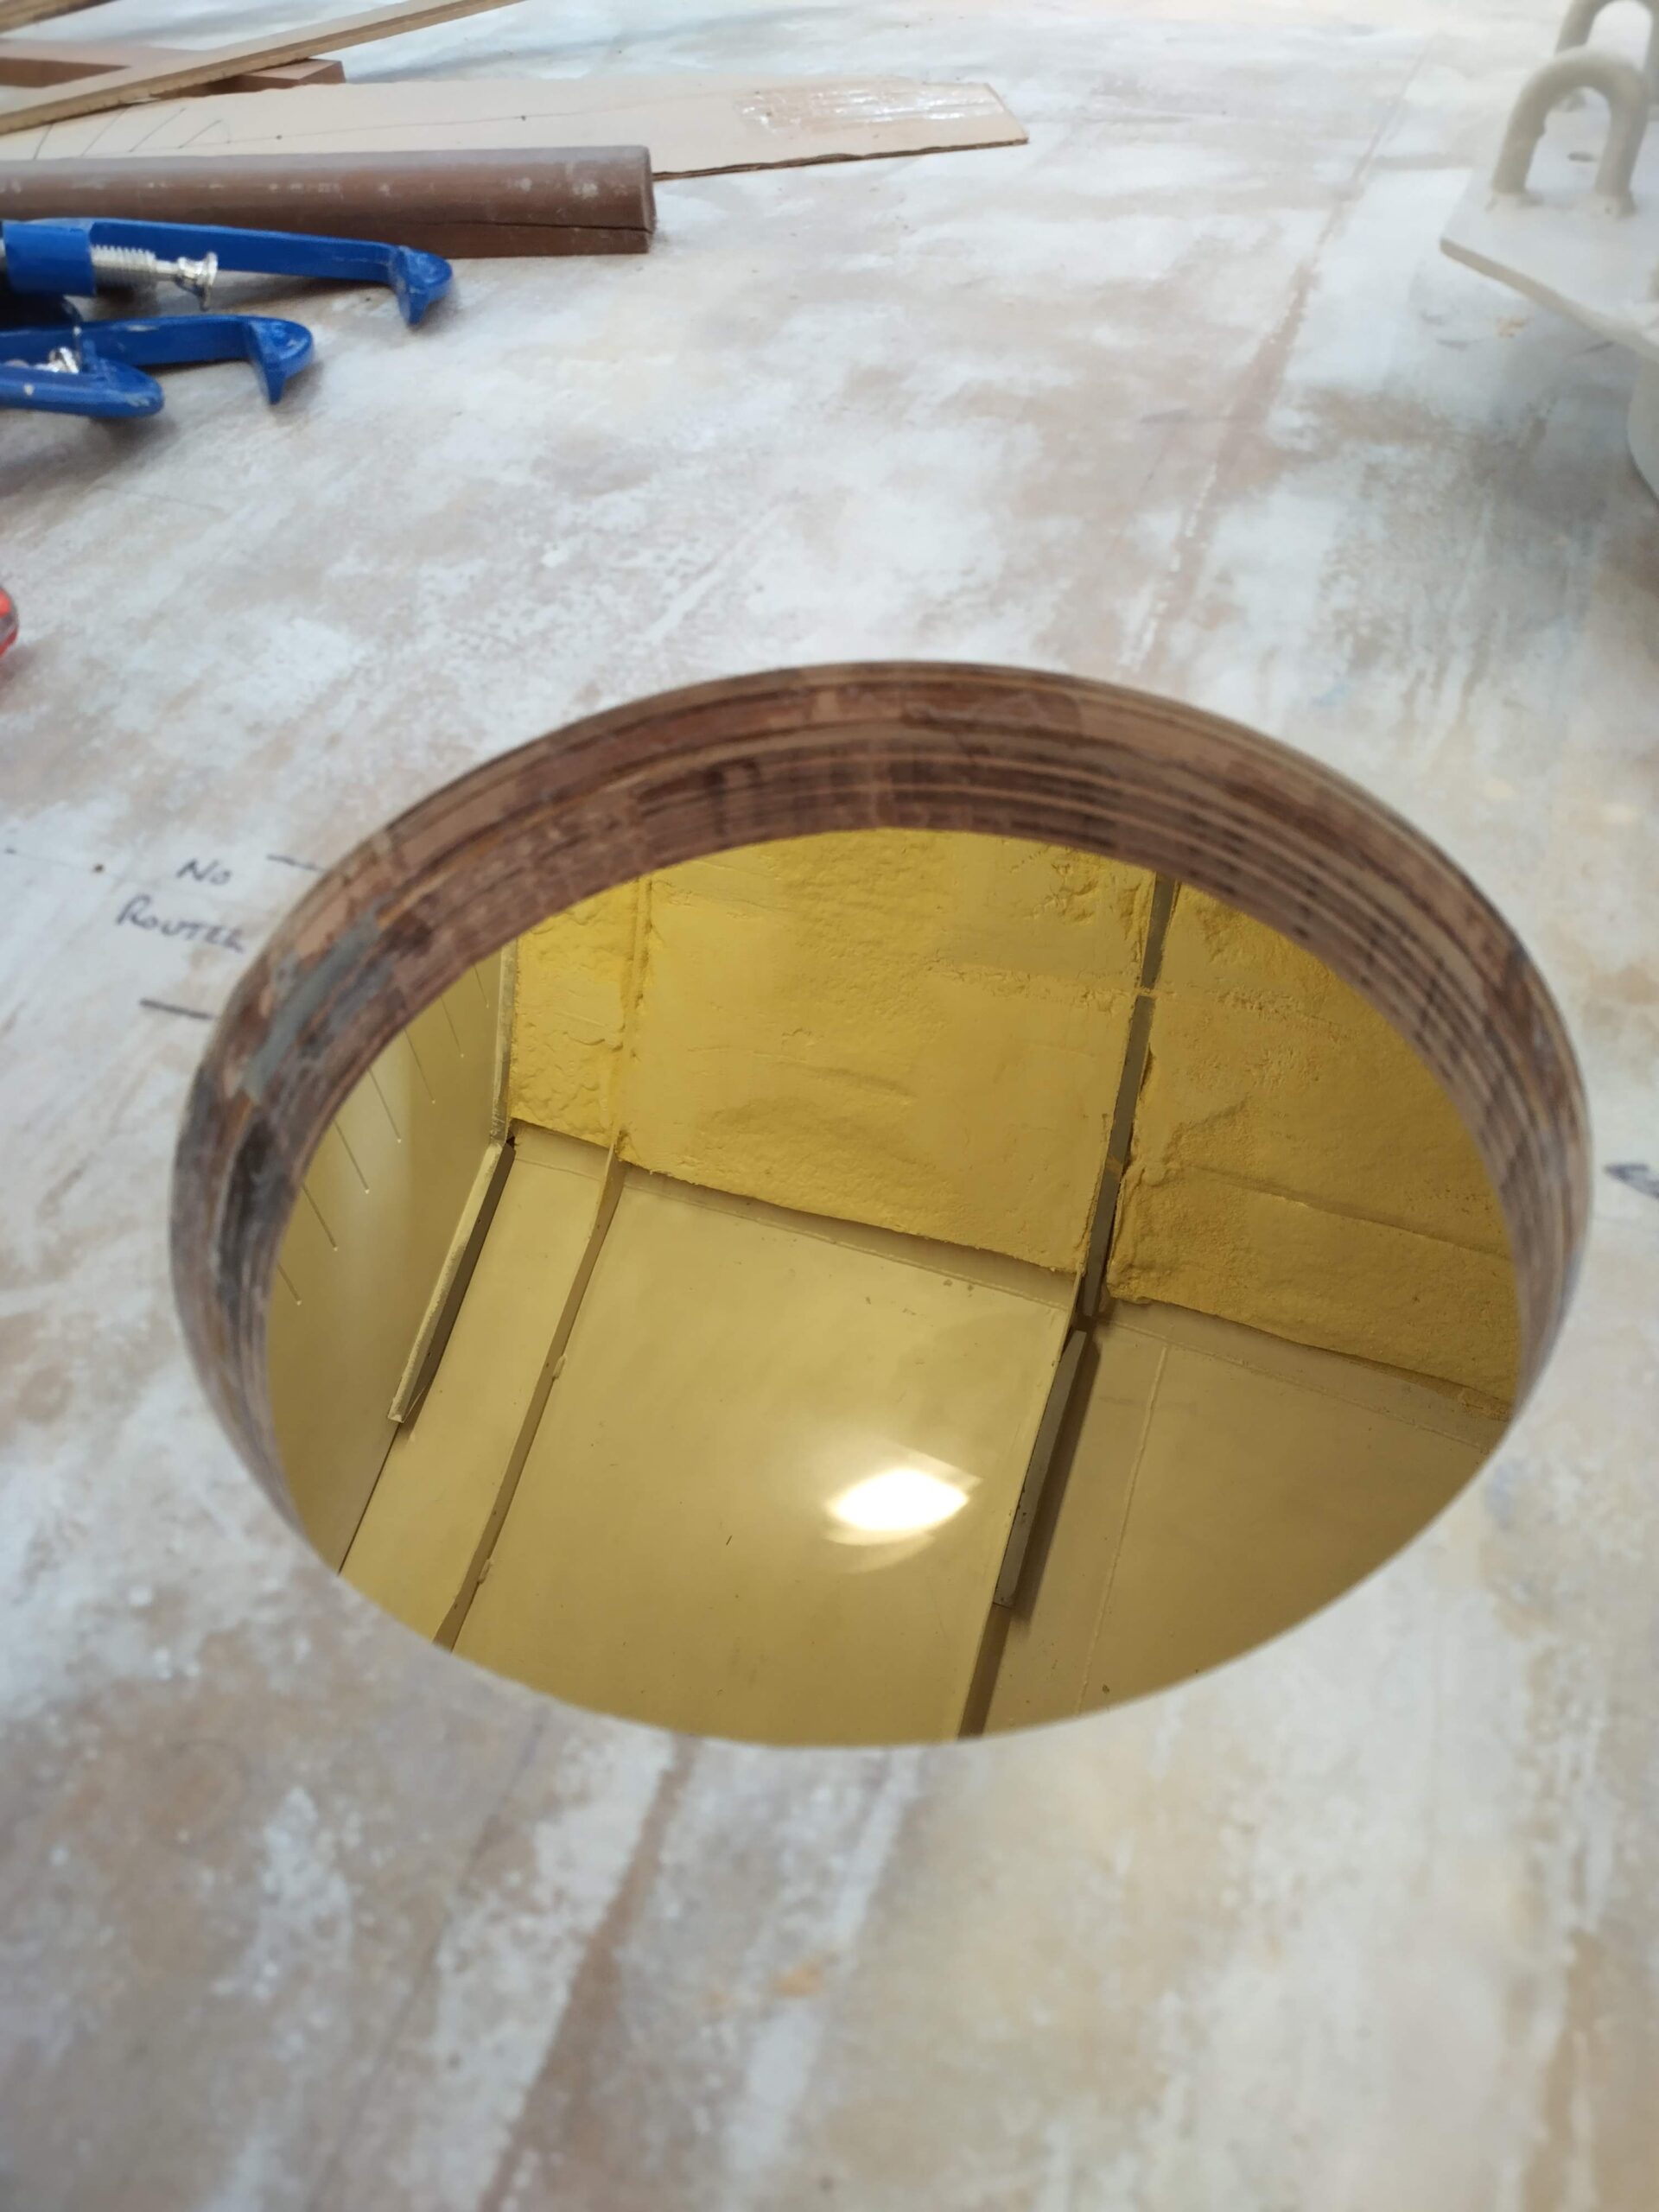
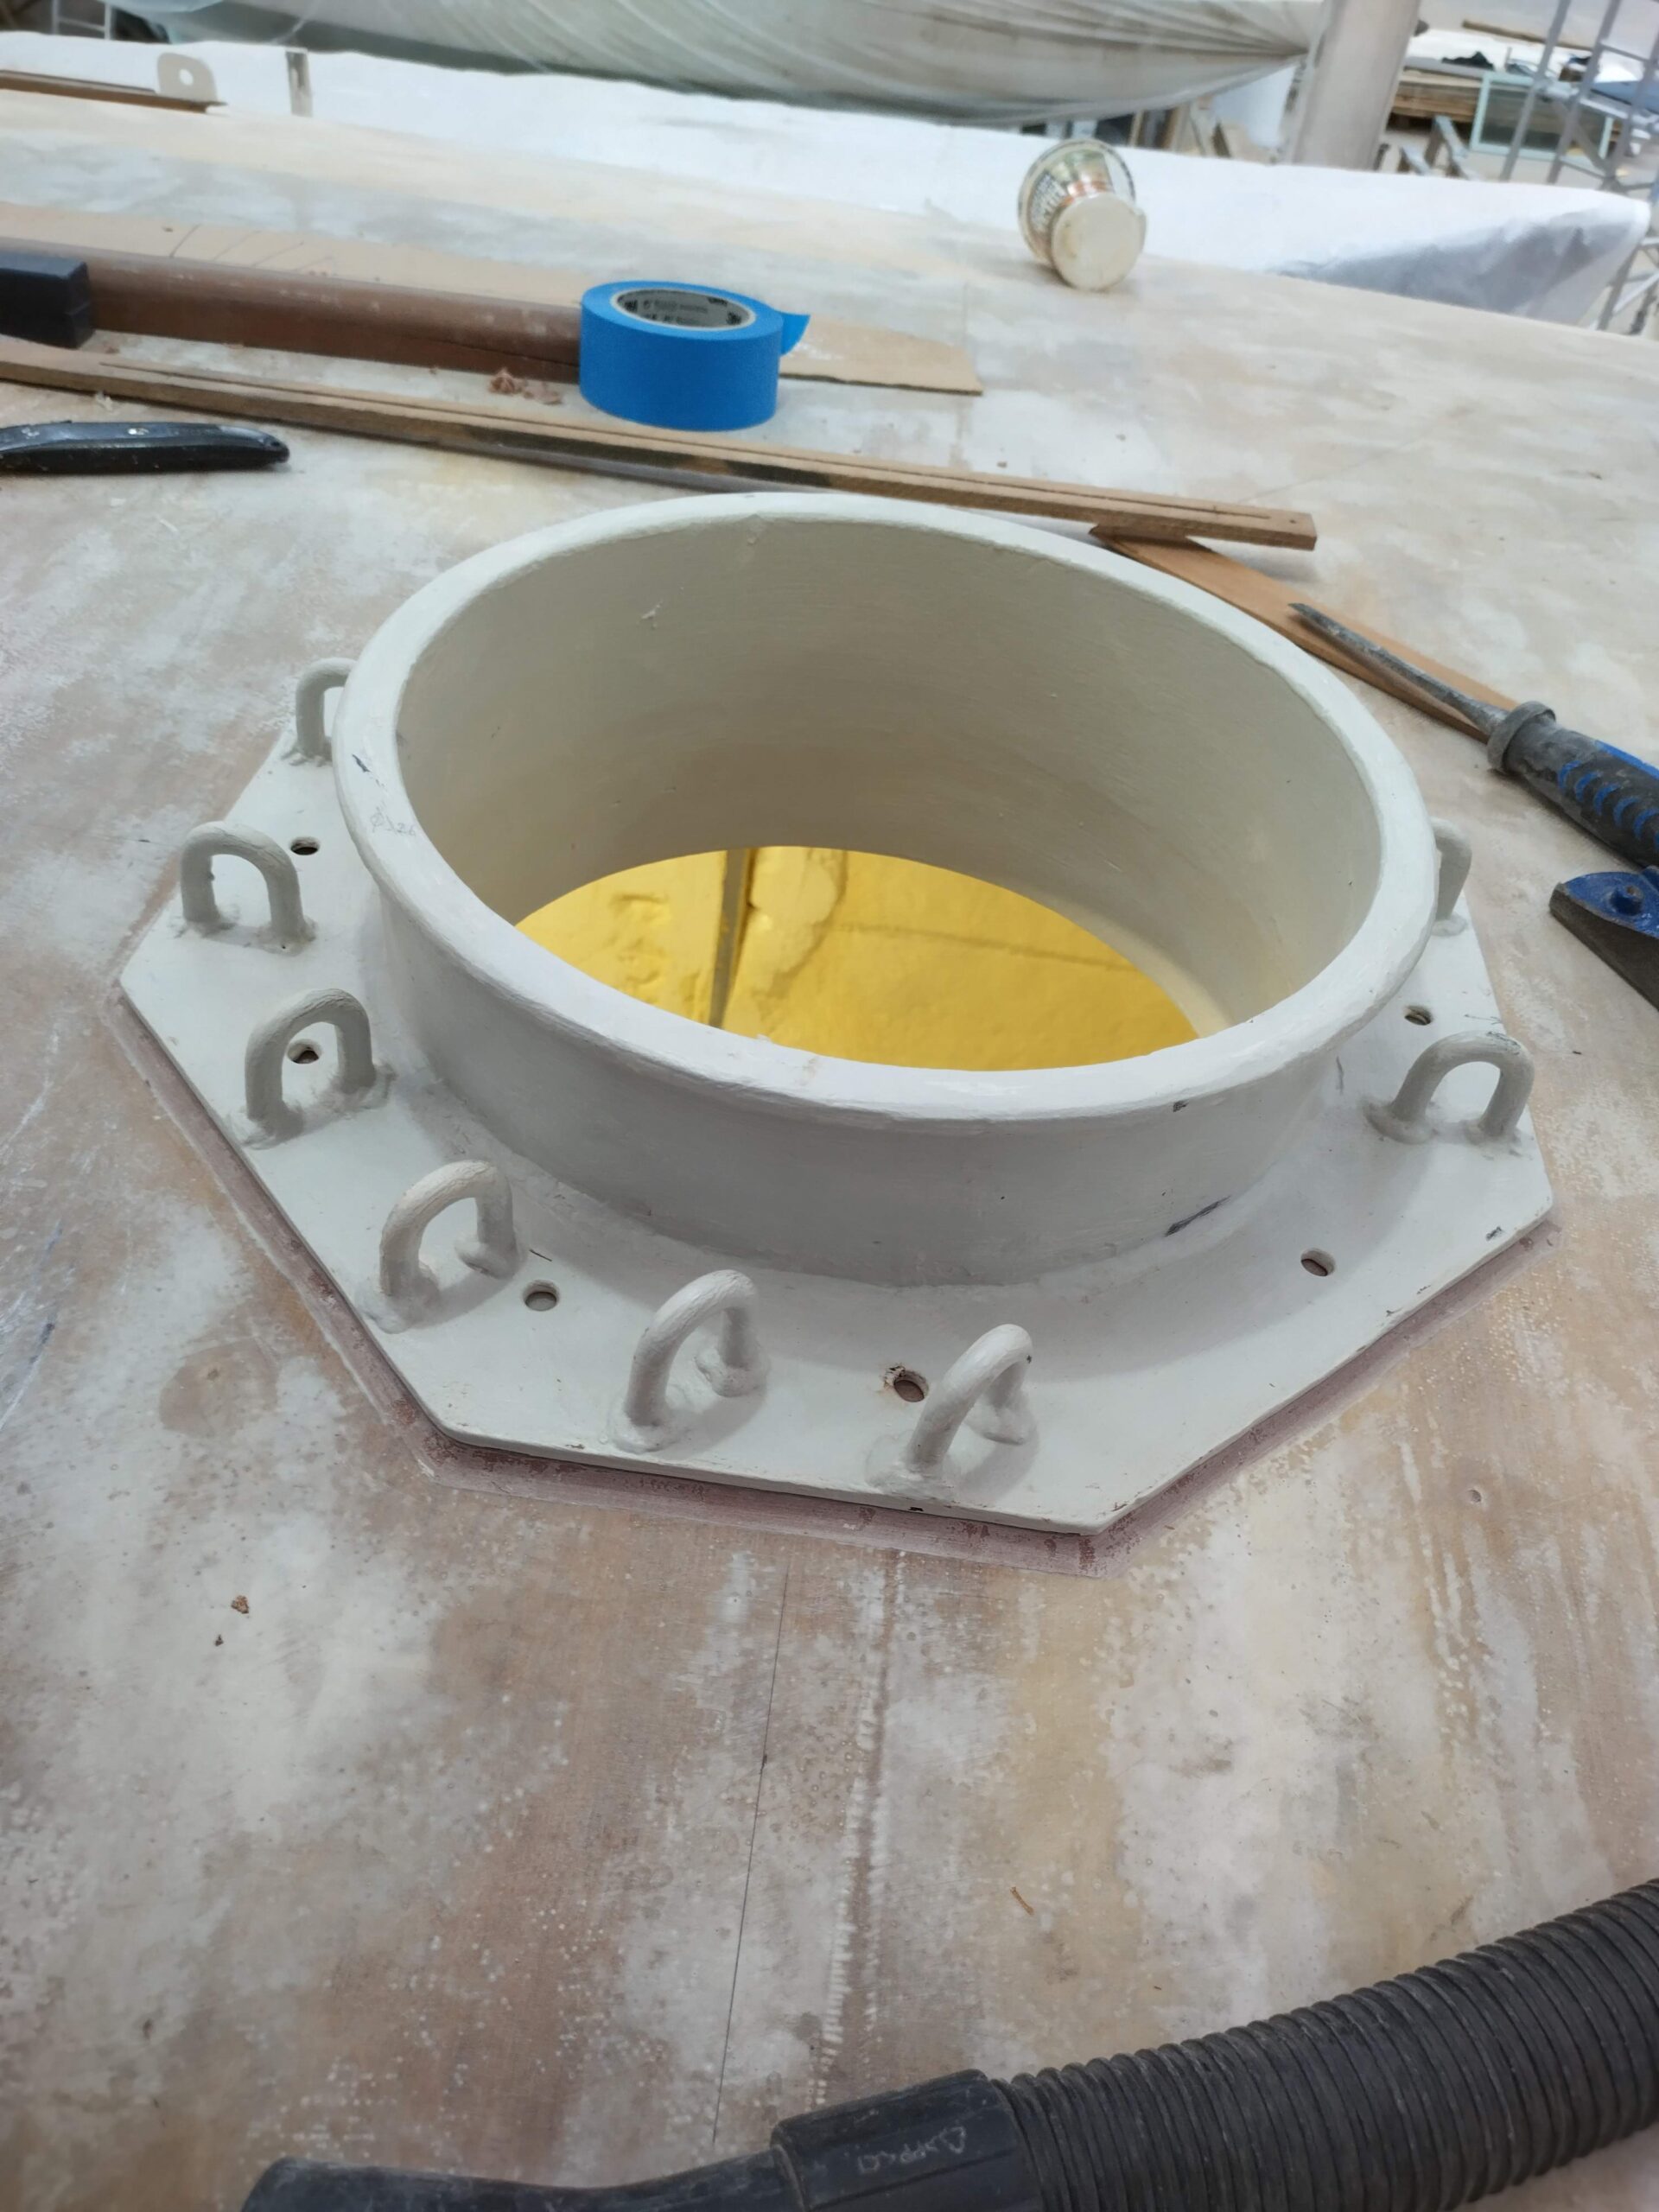
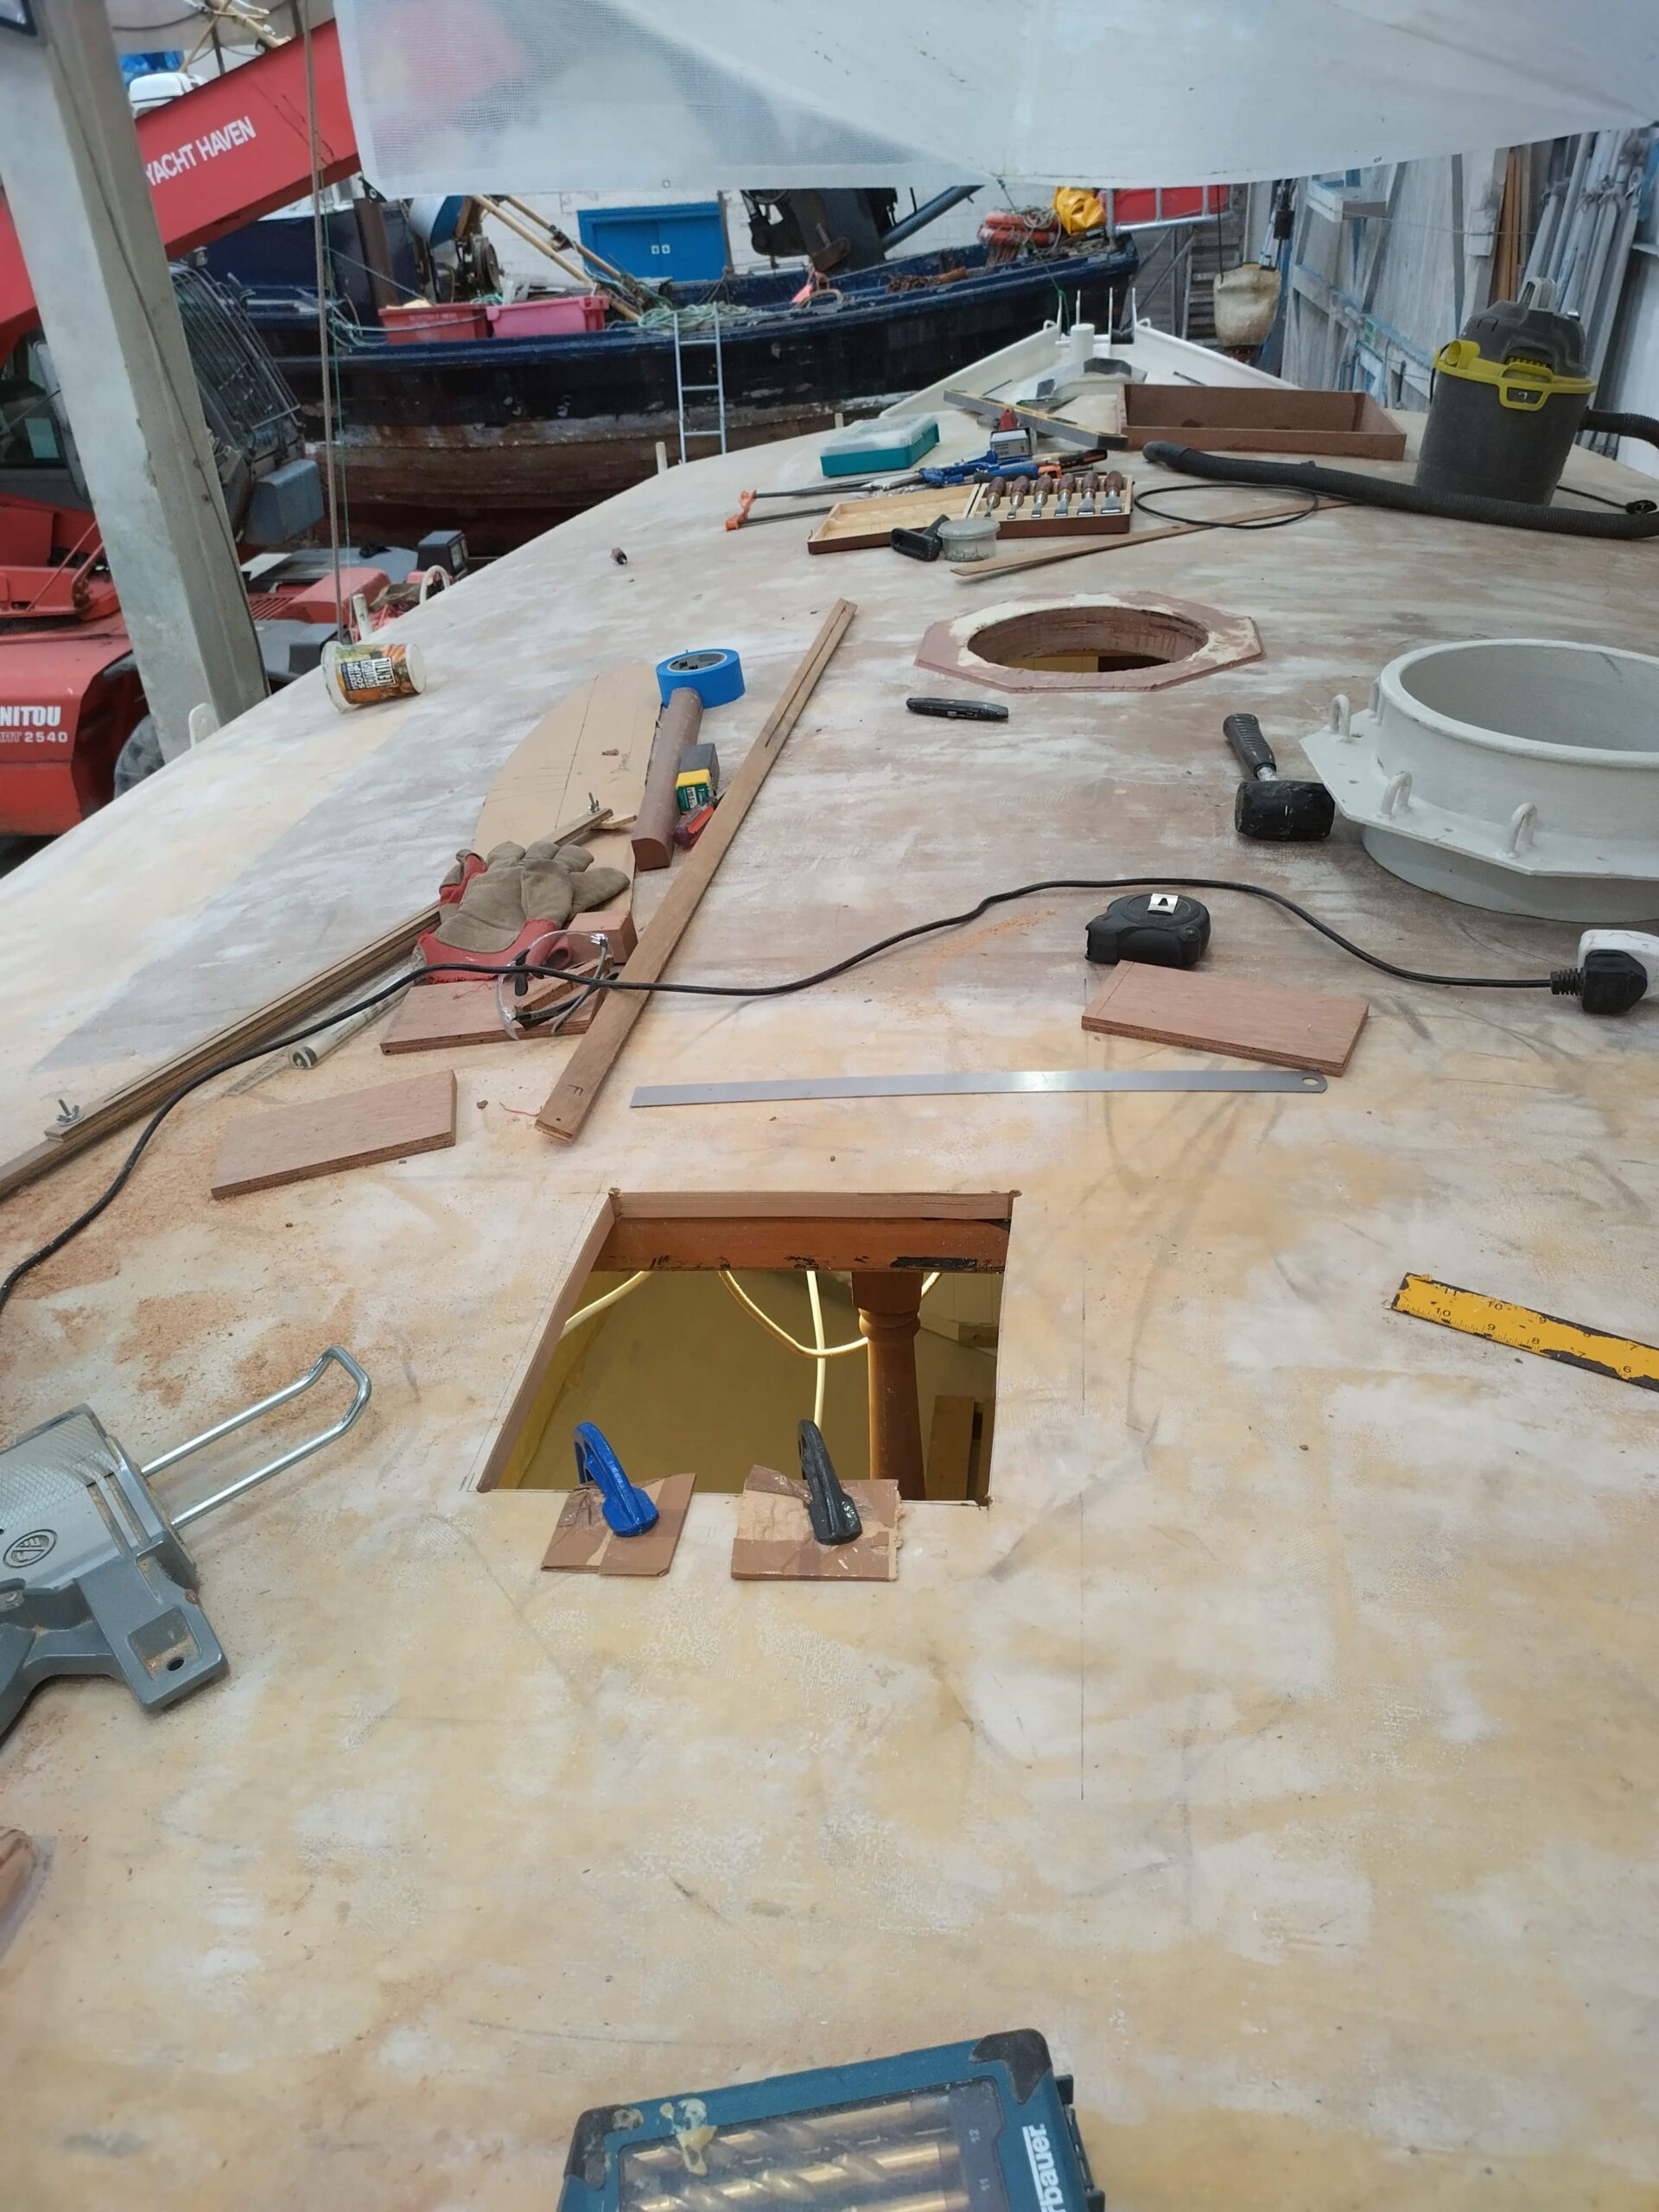
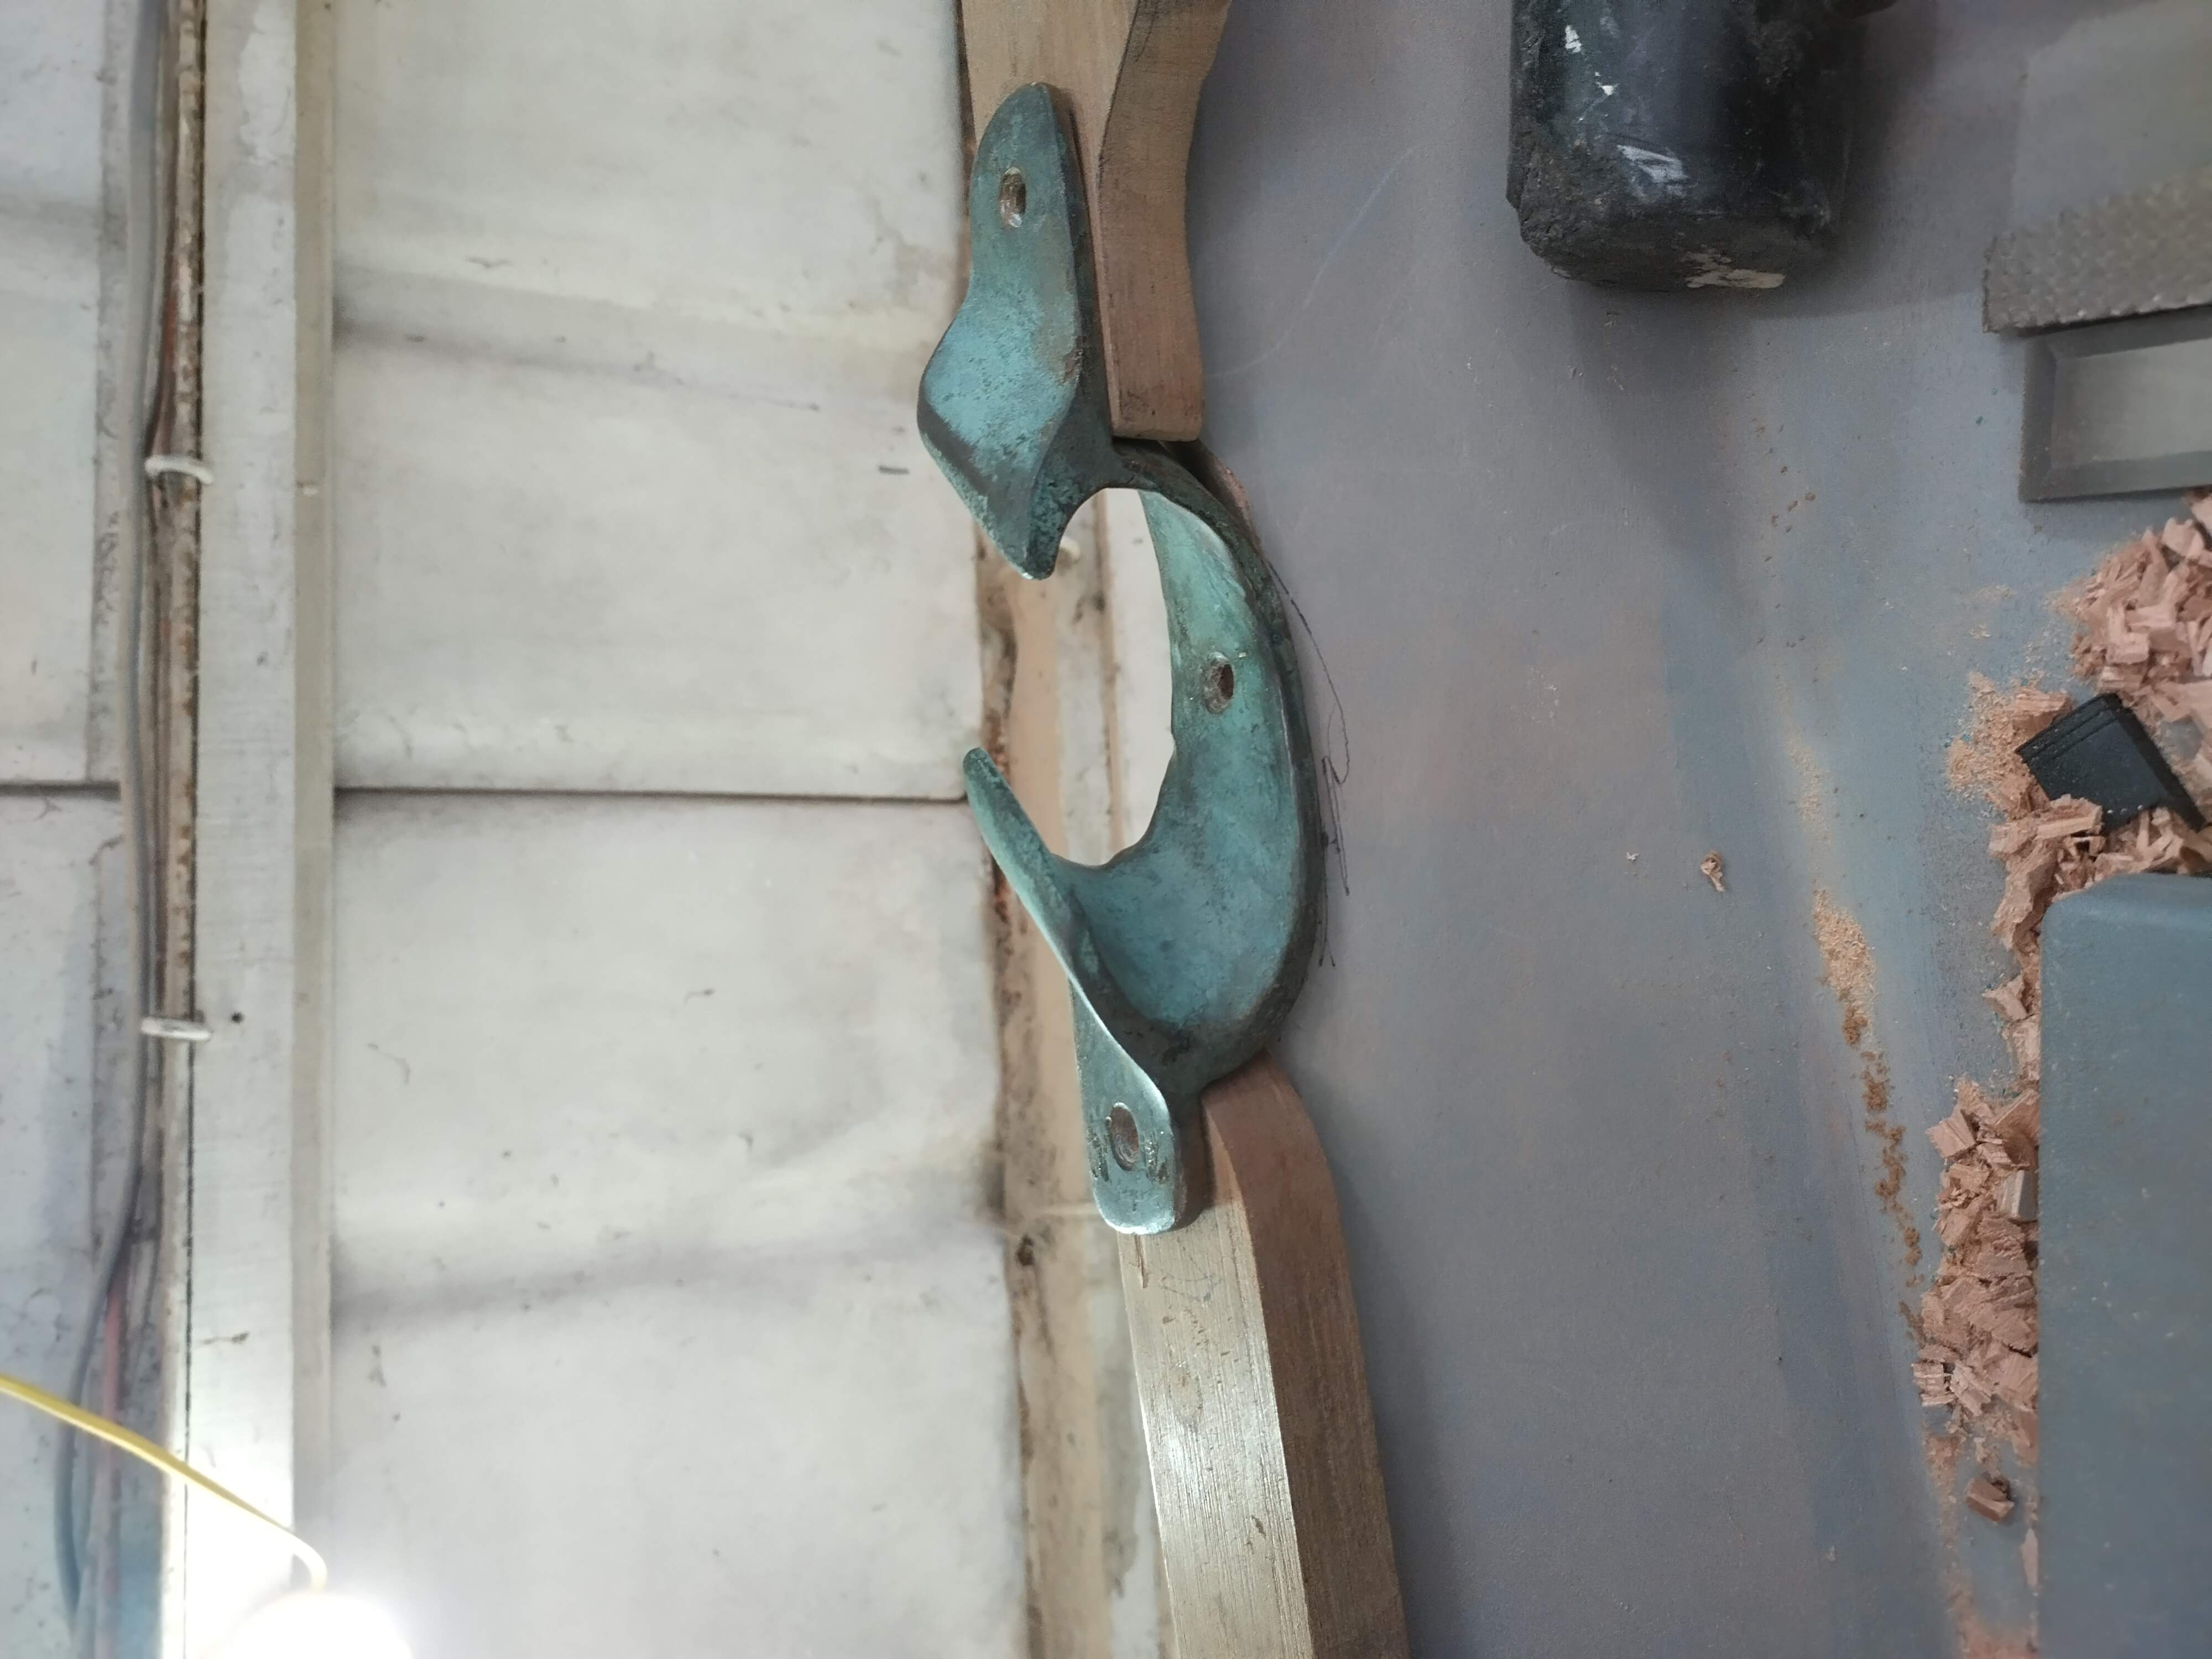
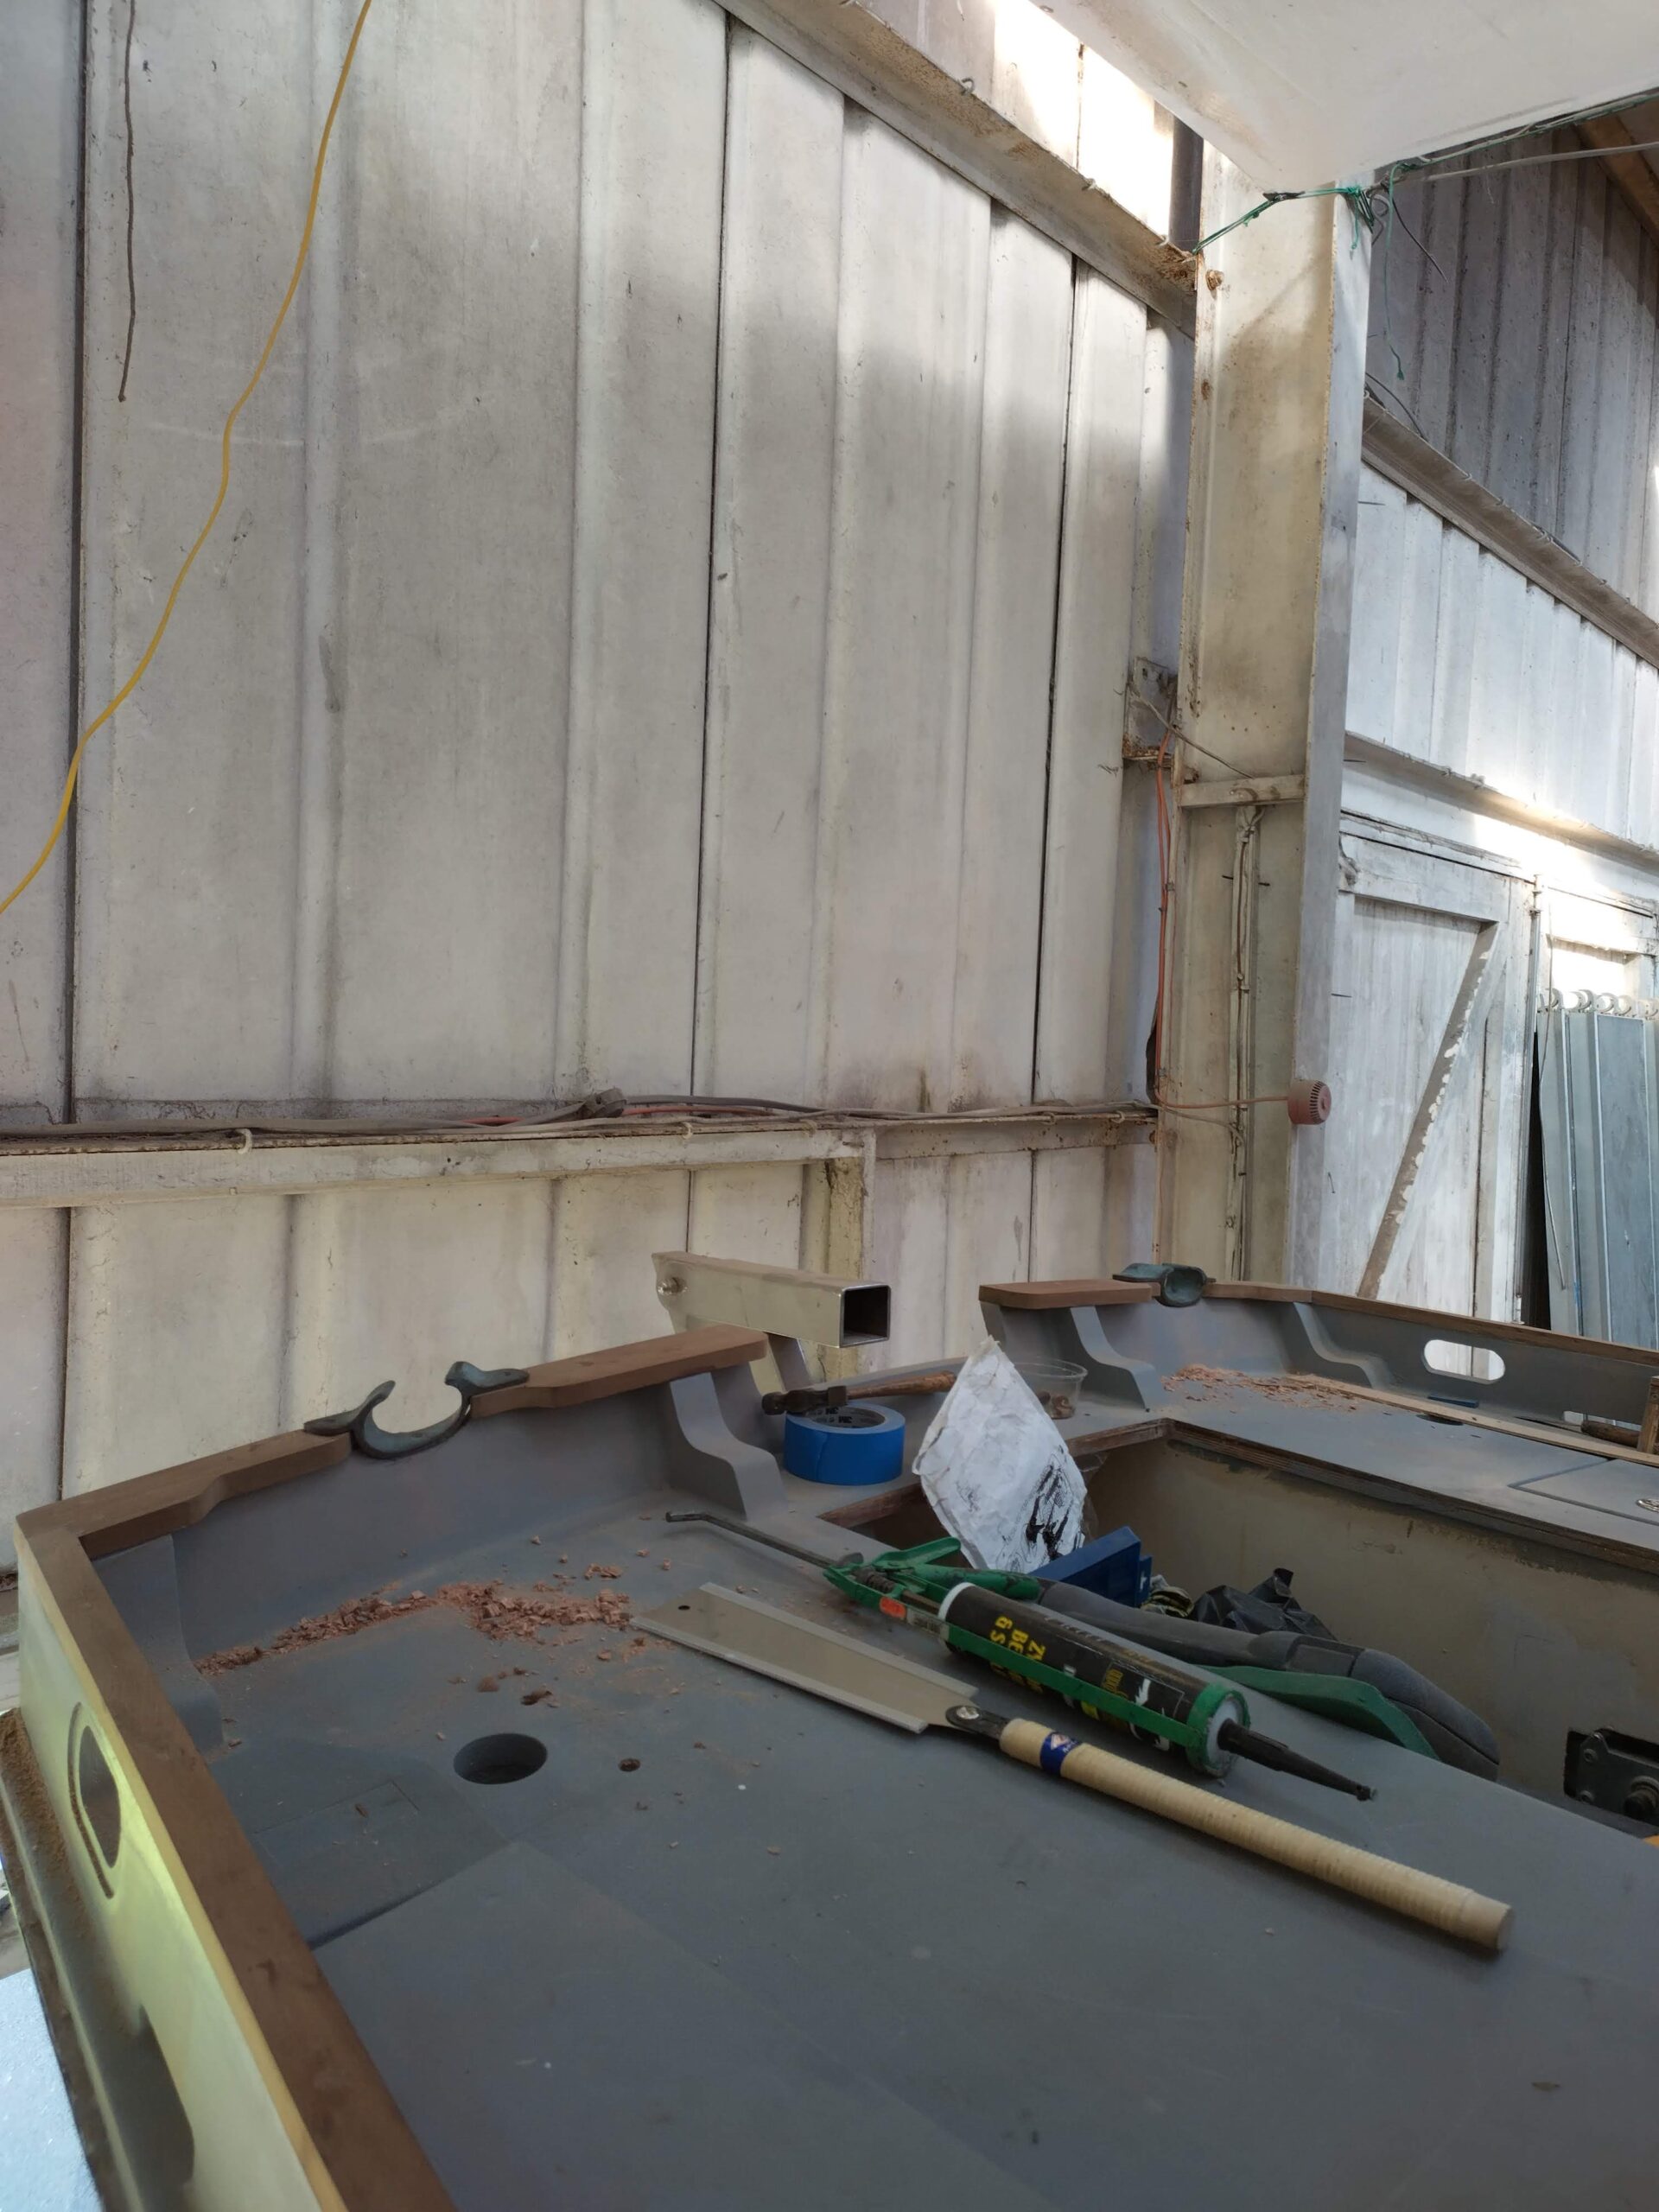
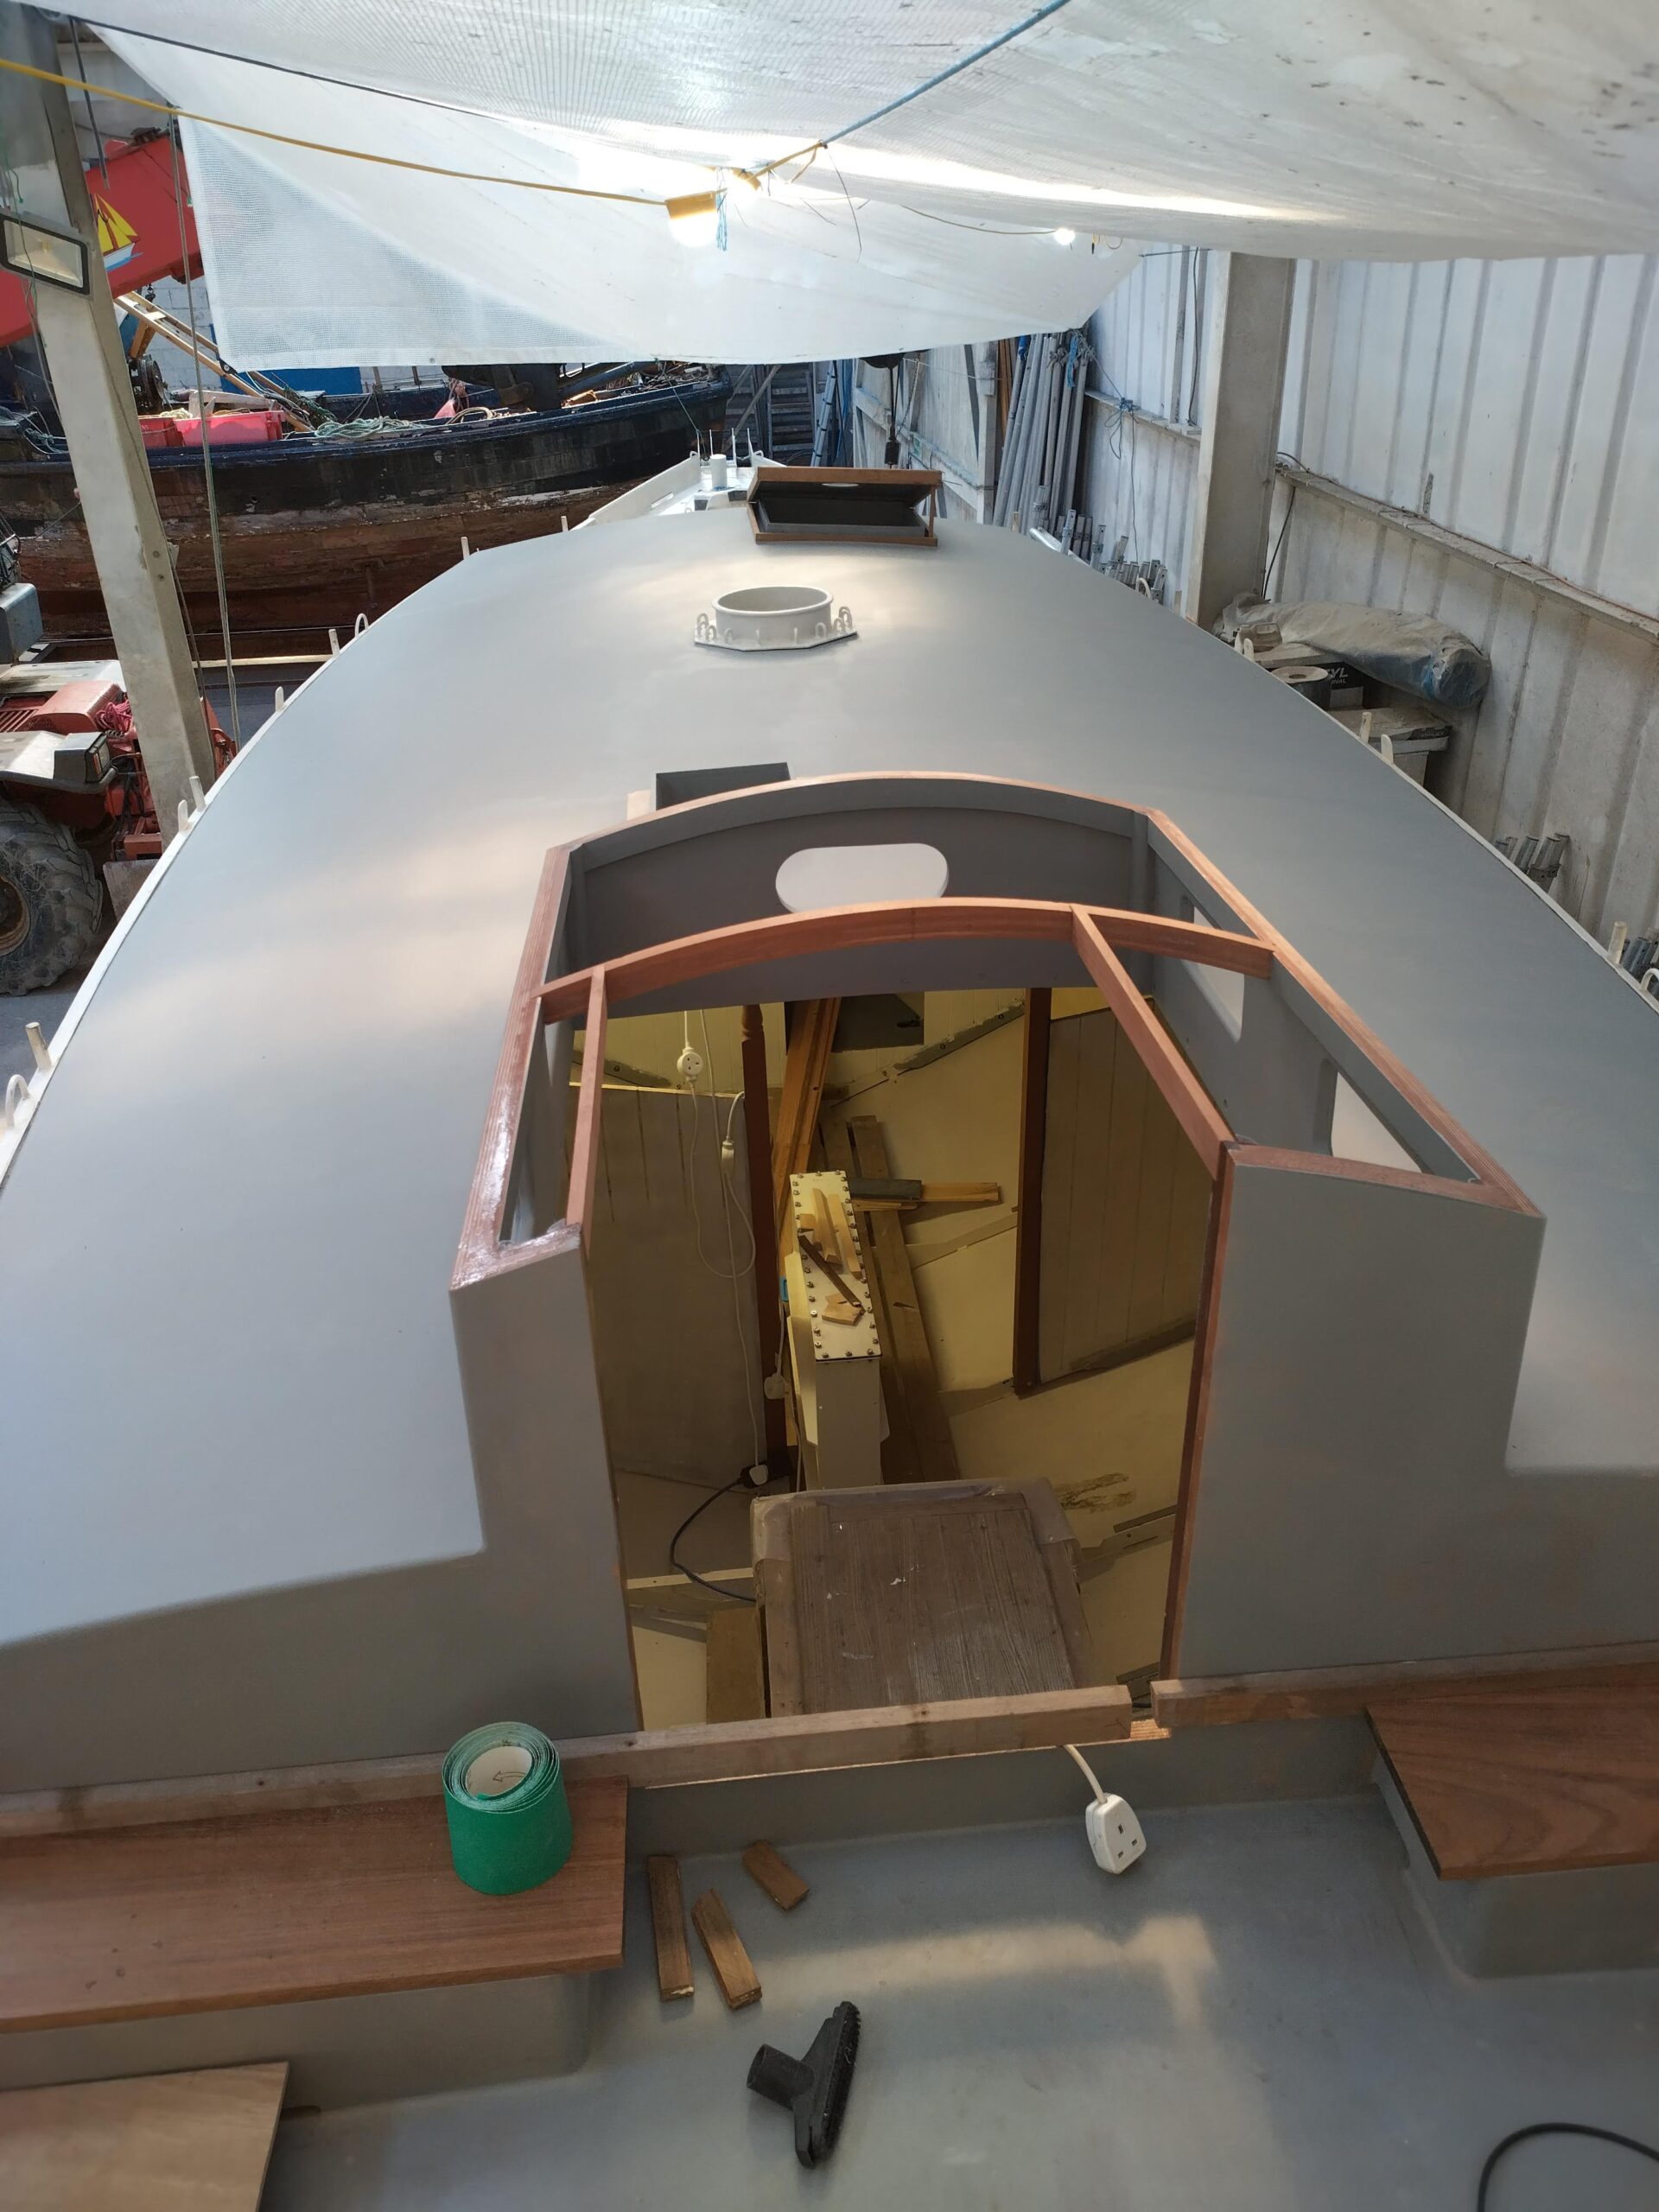
Anyway, in between those trips and after I got home from Blyth, I had a total of 3 weeks for some intensive effort to get some more of the deck fitted out whilst the air was warm enough for epoxying. Prior to the second stint on VIC 32 I had built the doghouse and then cut some scary holes in the deck for the mainmast partners and the forehatch. Carrying on from that point I then had to consolidate the cut-out for the hatch and line it with a plywood coaming. I also had to cast a bed for the steel mast partner collar so it had a flush surface to bolt down to. I’ll tell you about the second part first…
After re-reading the West System user manual, I decided the best course of action was to first lay some blobs of thickened resin around the hole in the deck, and having masked the underside of the mast collar flange with parcel tape I lowered it gently into the hole and pressed it down, ensuring it remained level. I then left the resin to cure before removing the collar again (a bit of force required to unstick it!), leaving a series of blobs of the required thickness for my bed. It was then a matter of building up the resin in a couple of layers (one rough splatted layer of resin thickened with colloidal silica, followed by a more delicate layer of easier-to-sand low density filler) to form a neater job. A bit more filling and sanding followed until I had a smooth, fair finish.
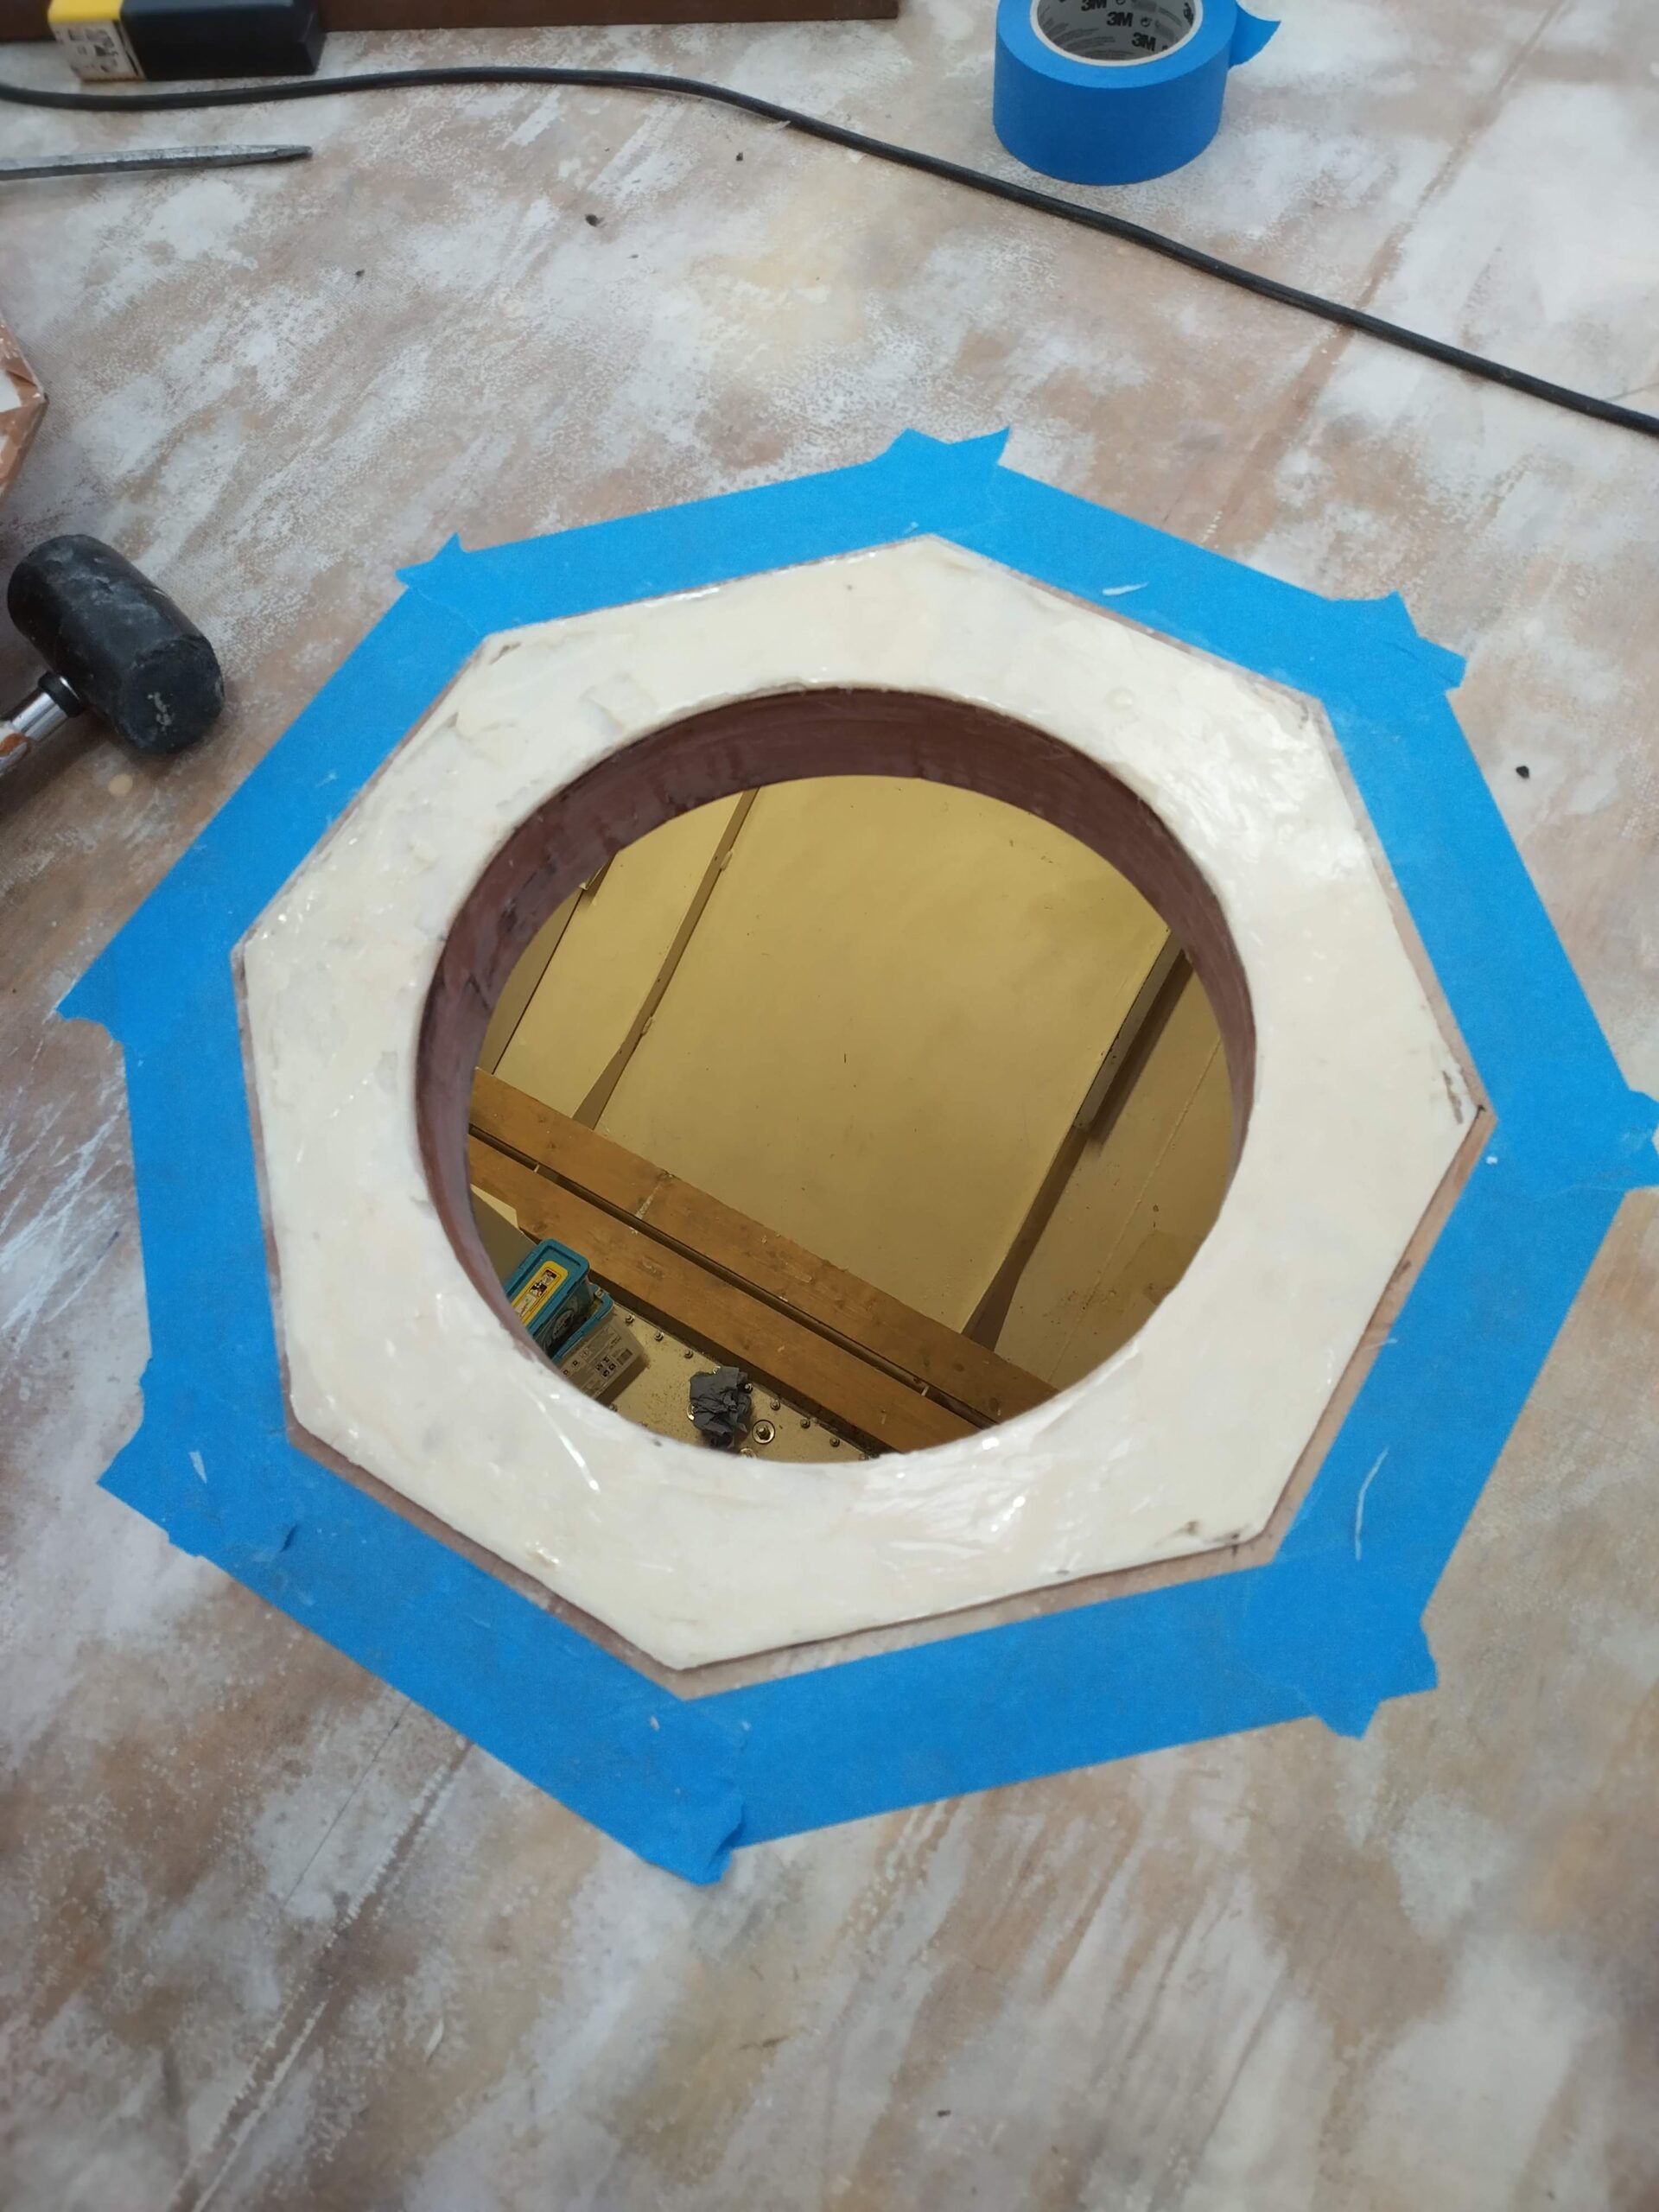
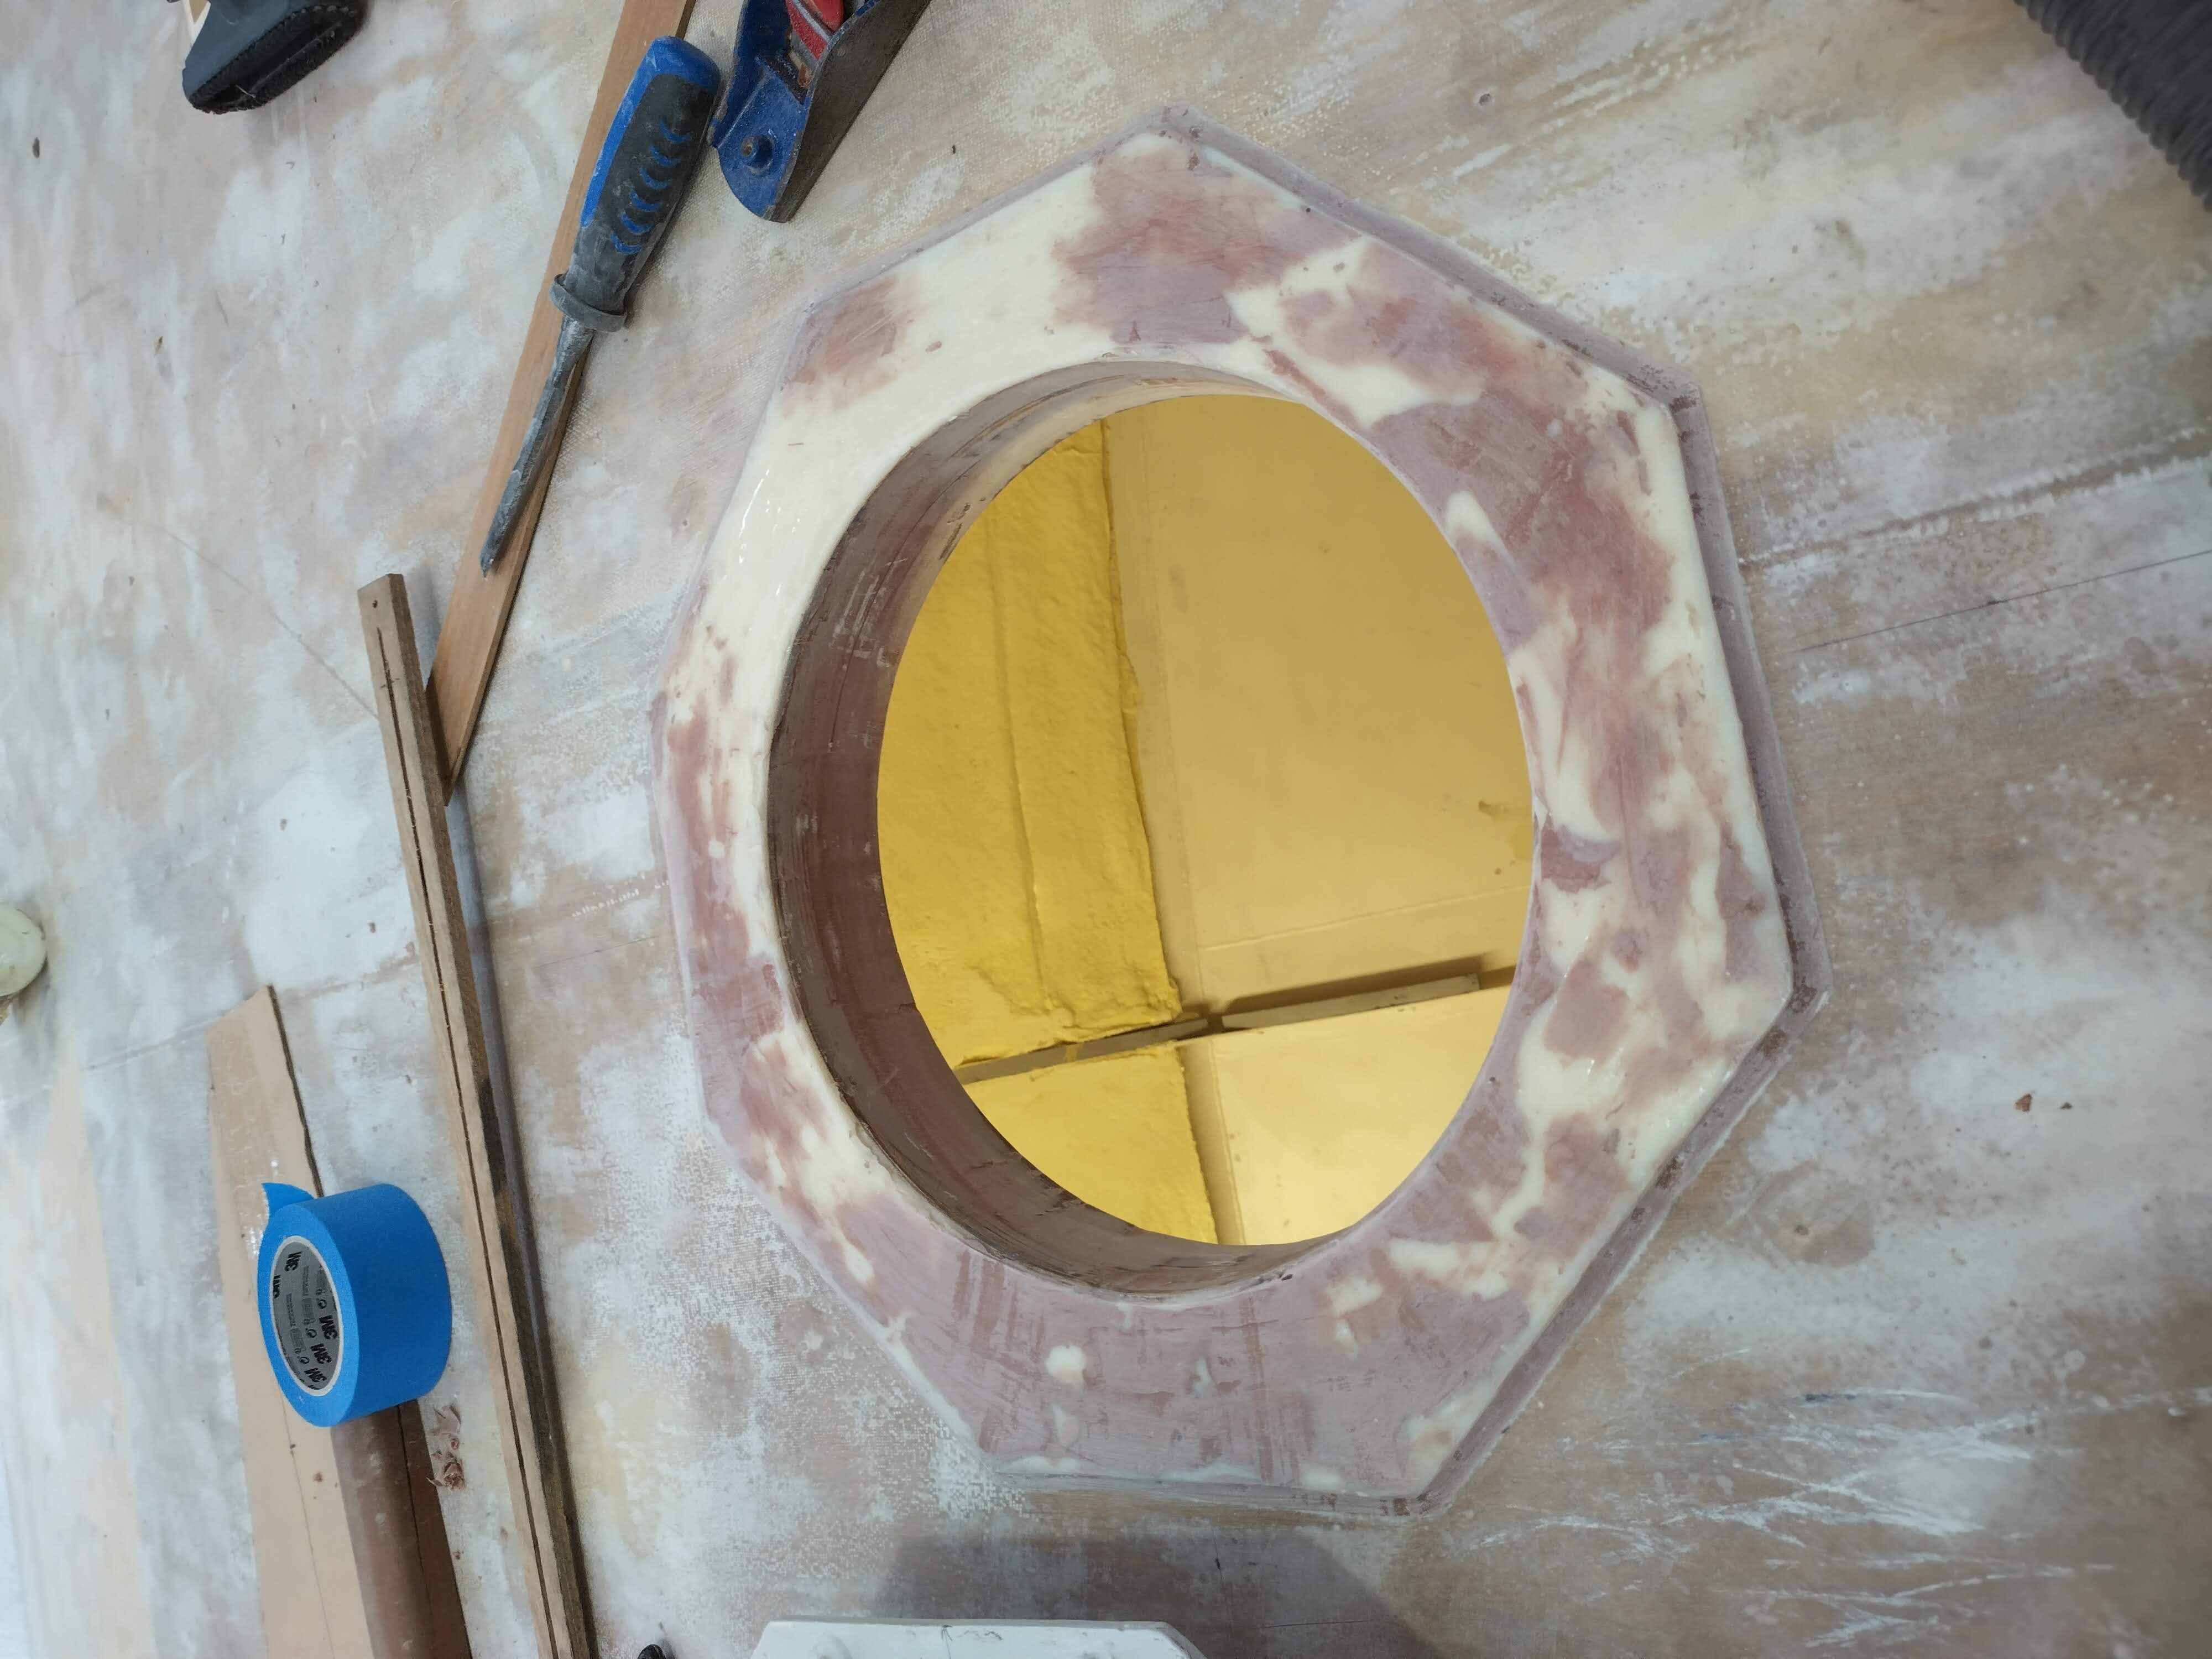
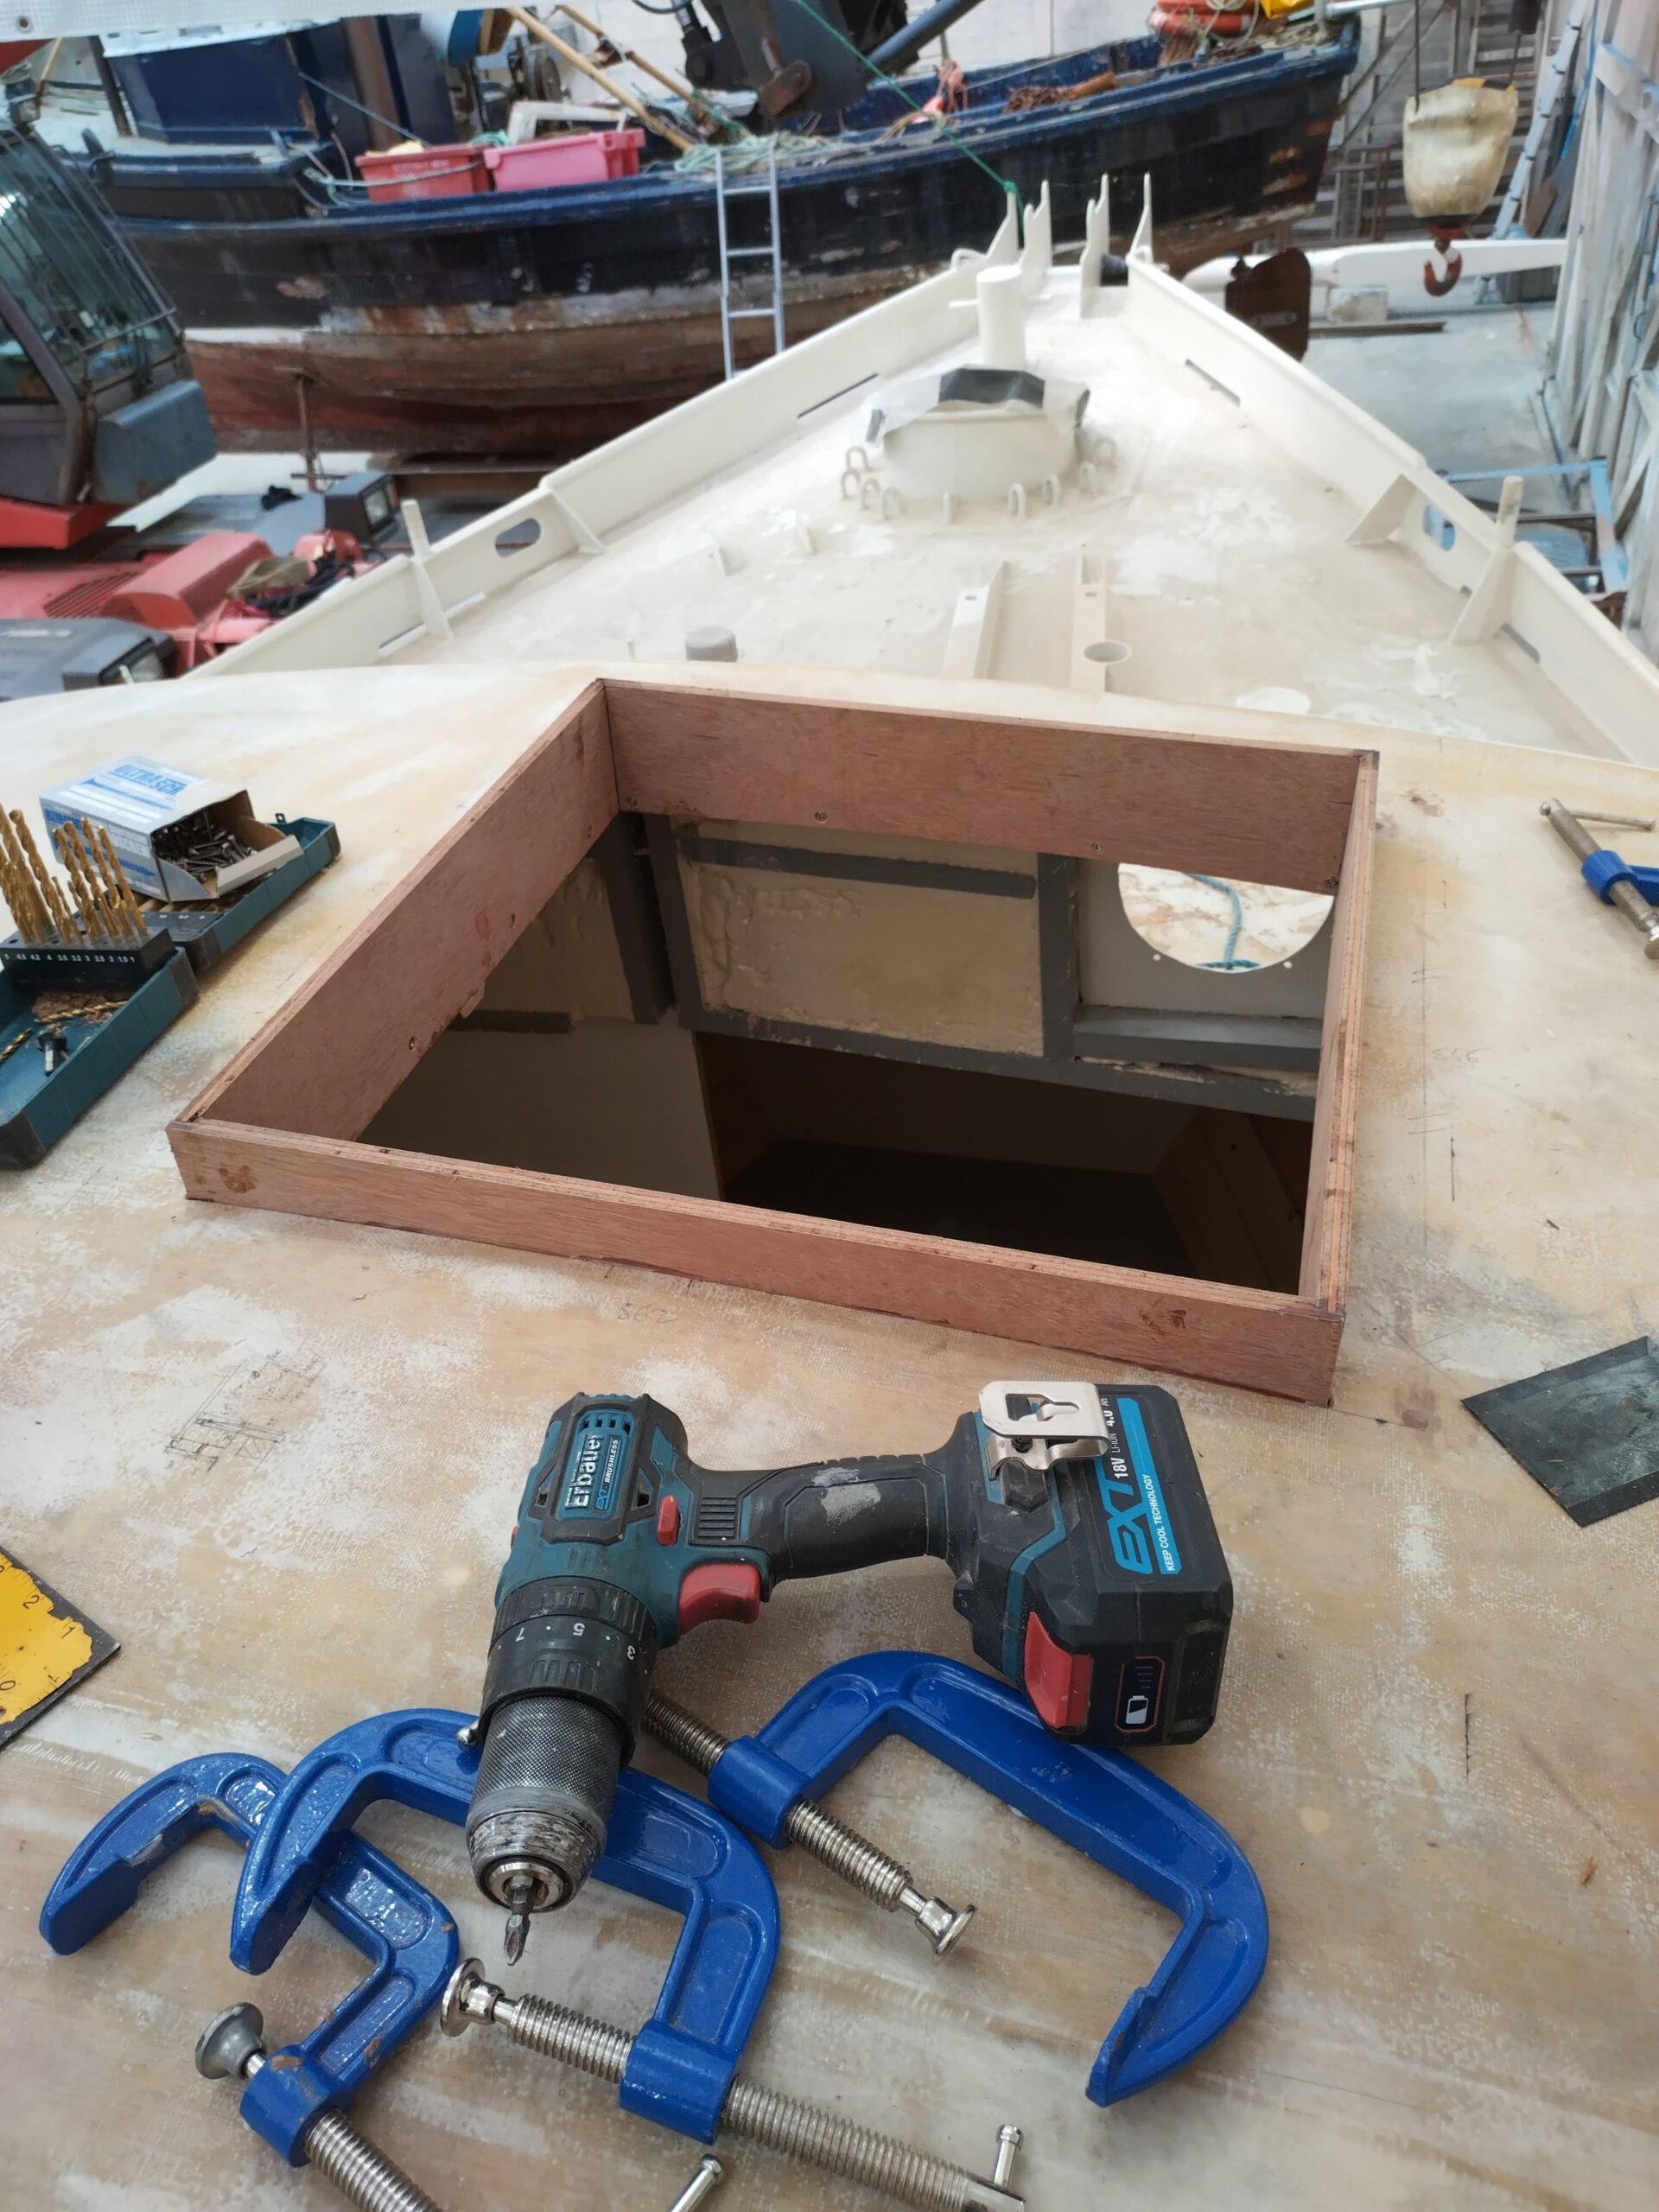
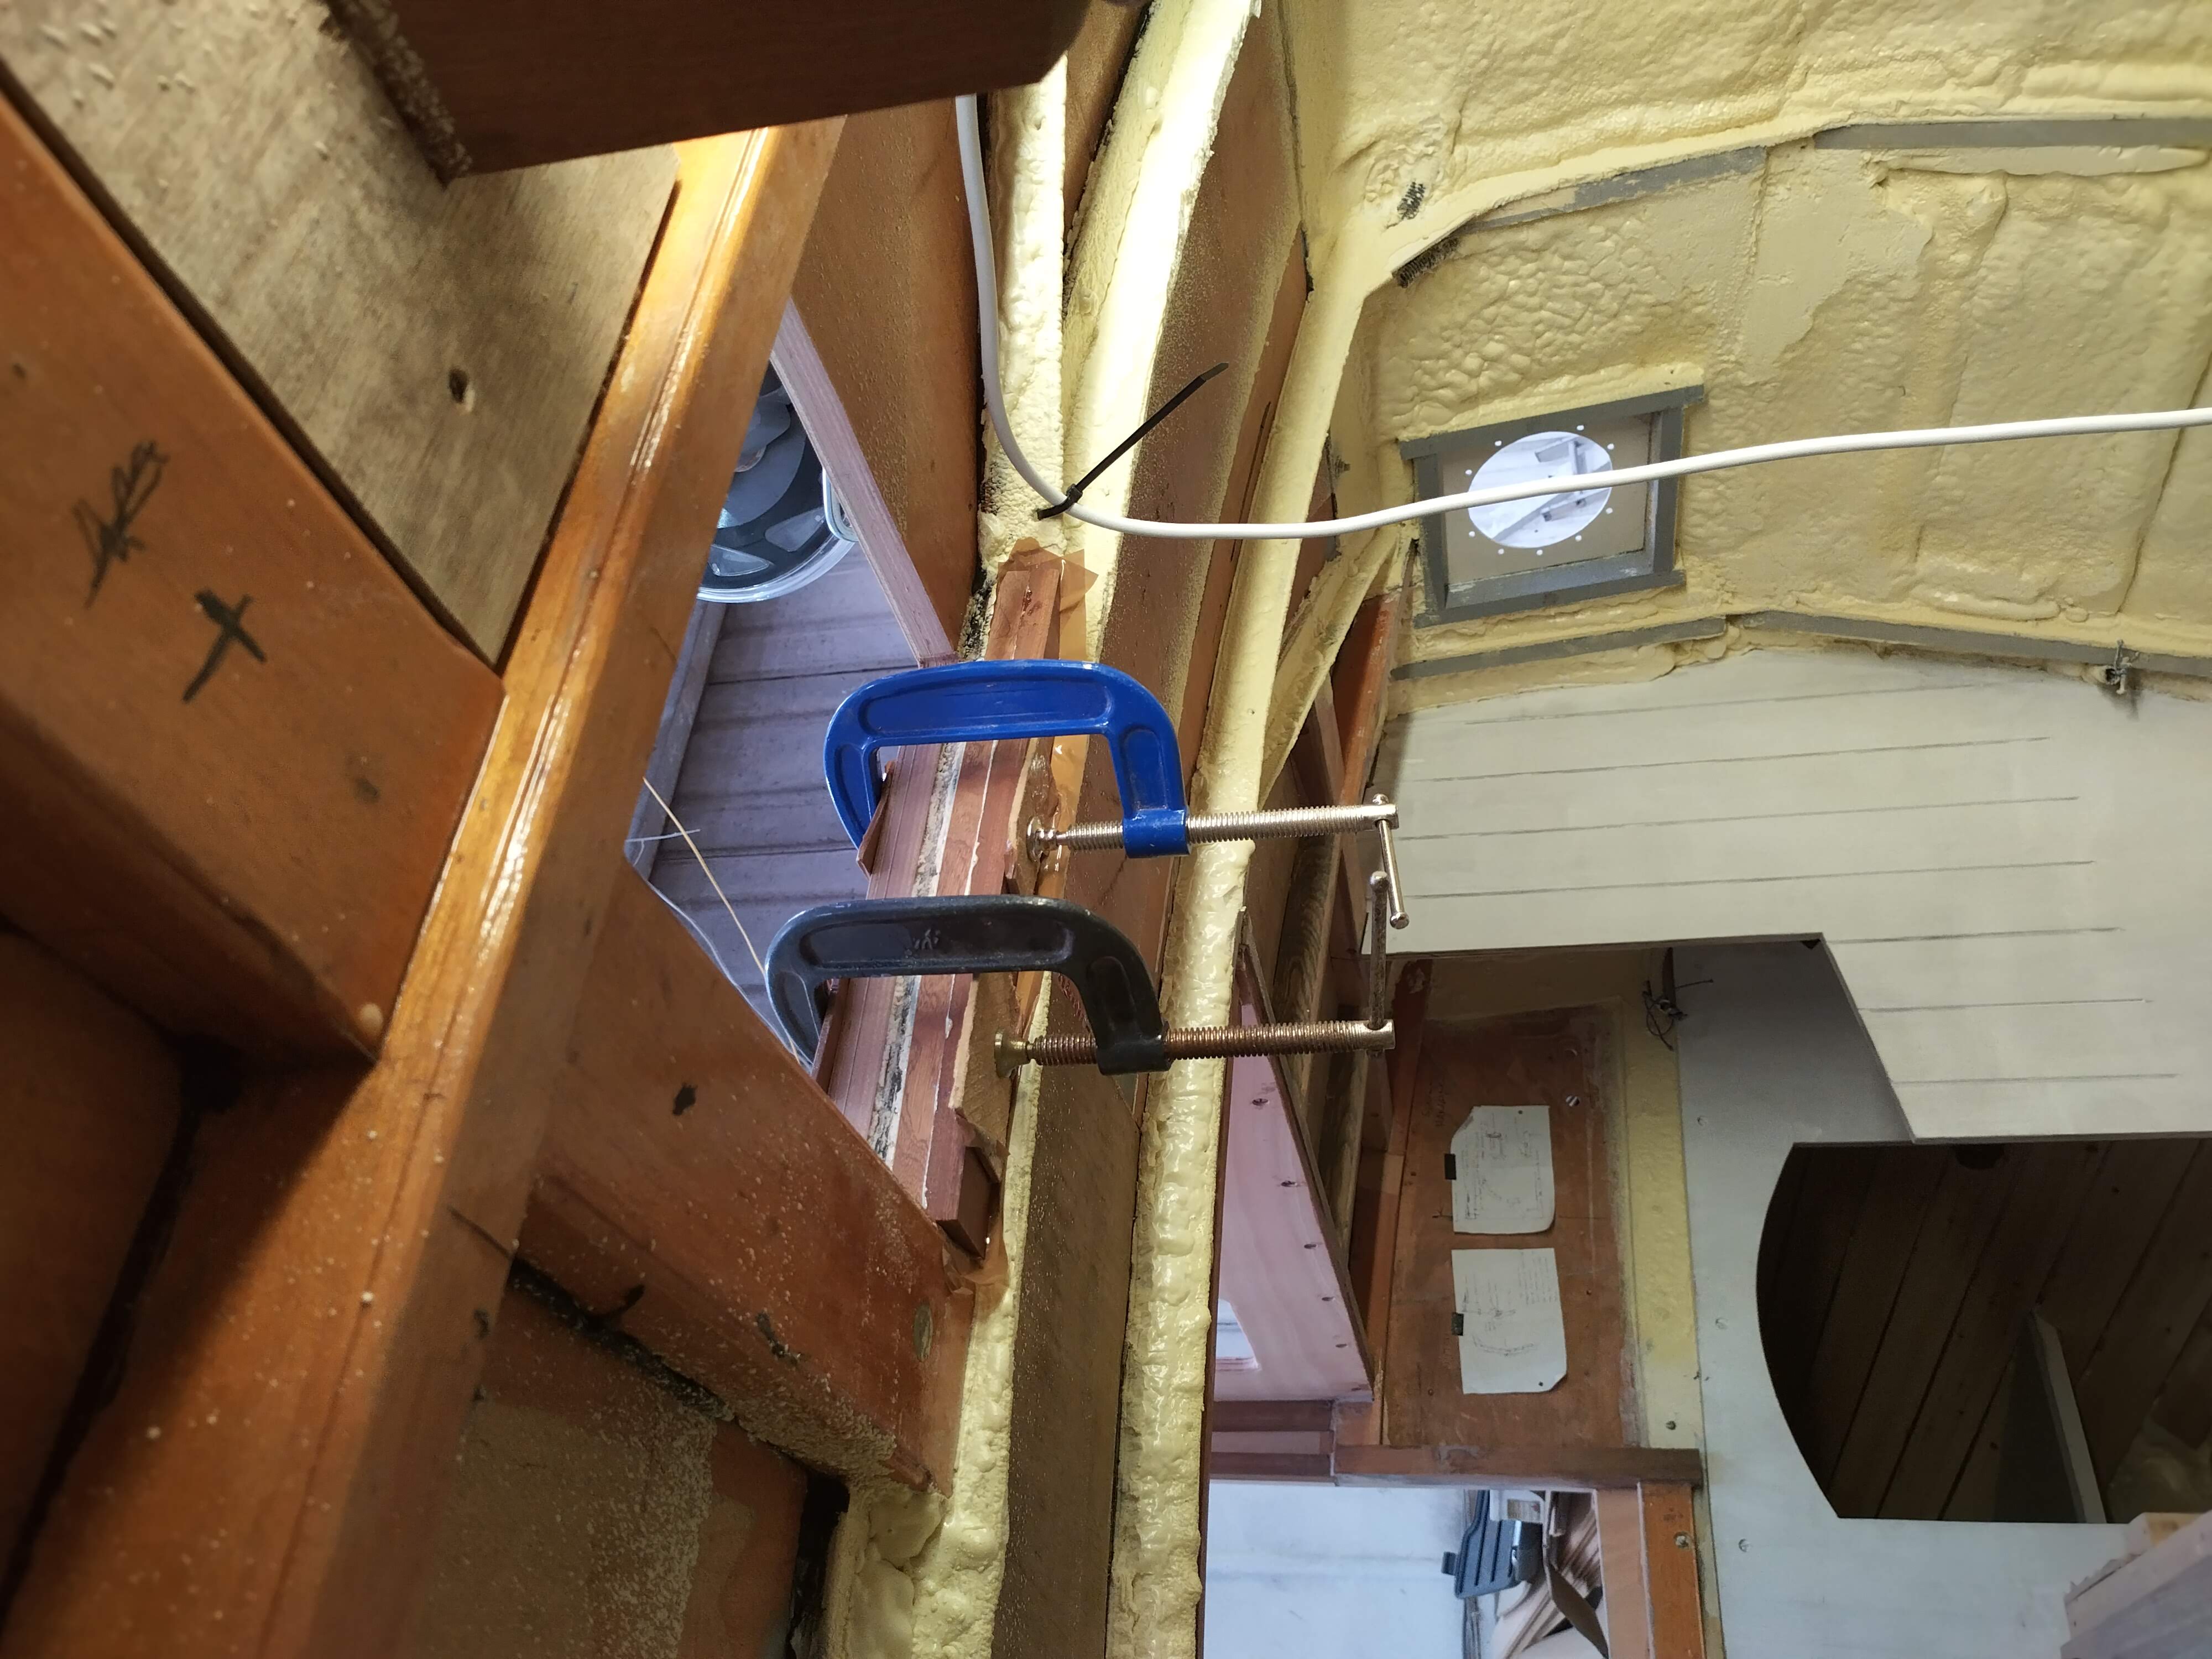
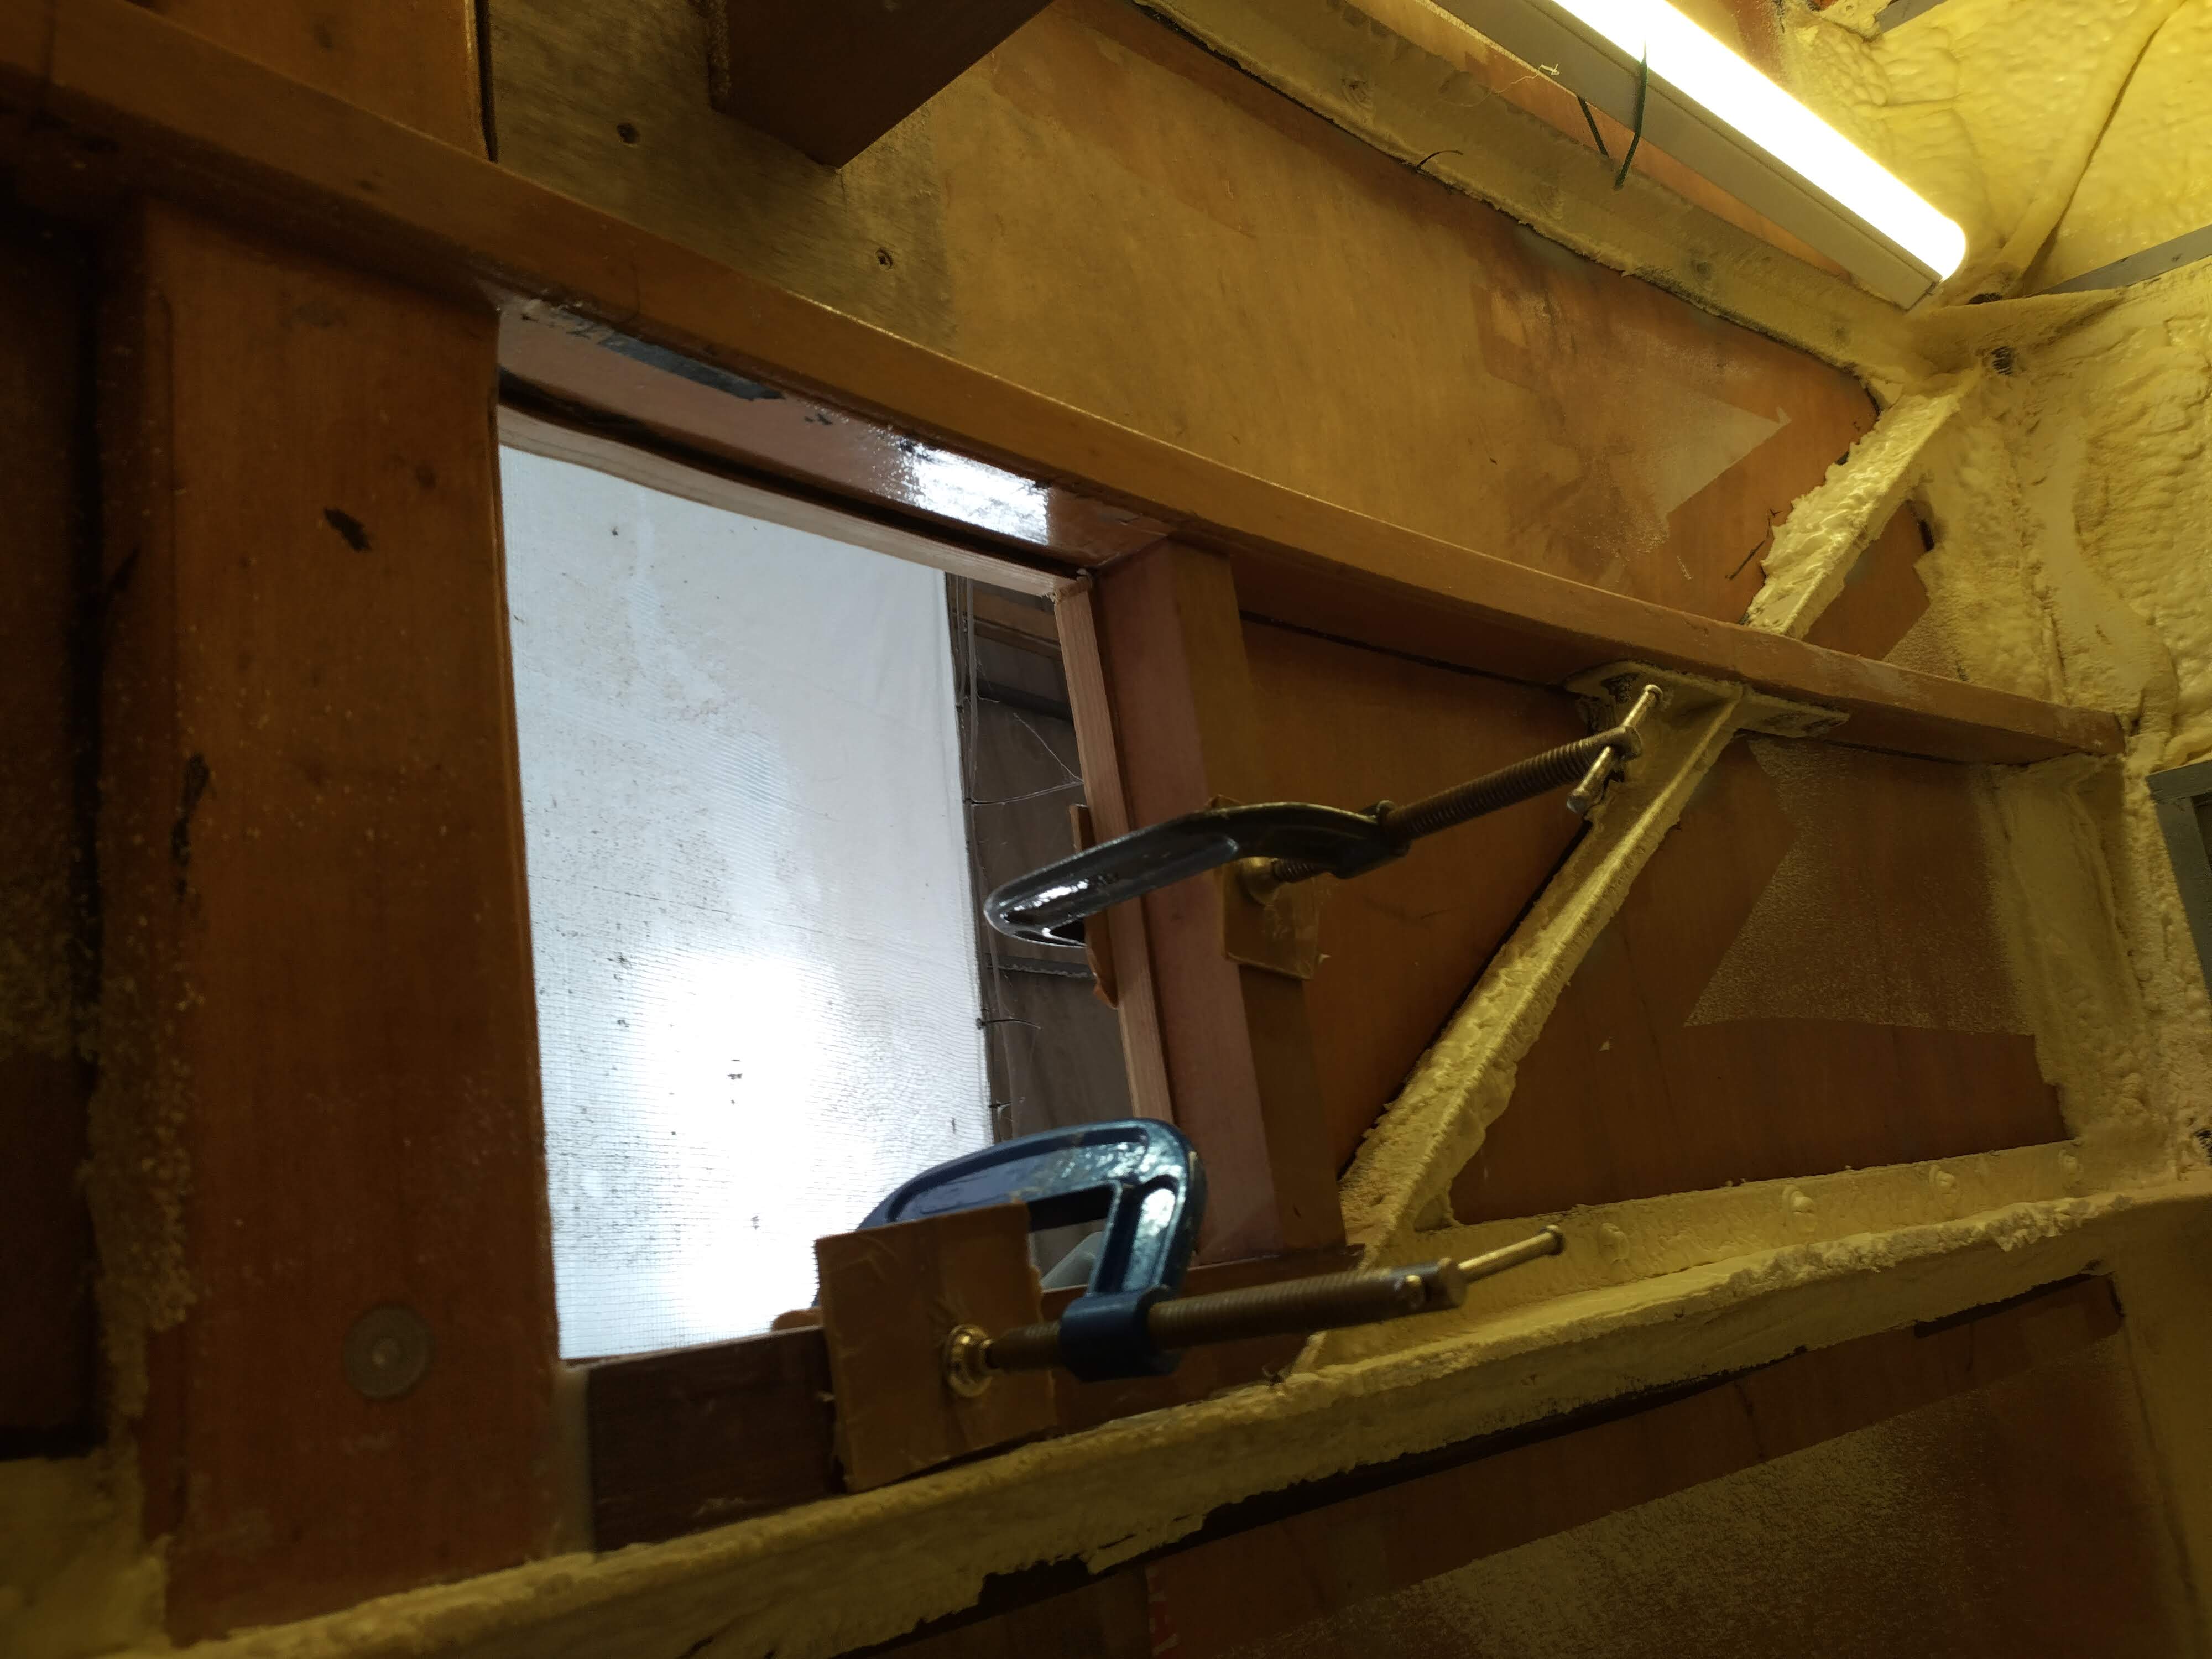
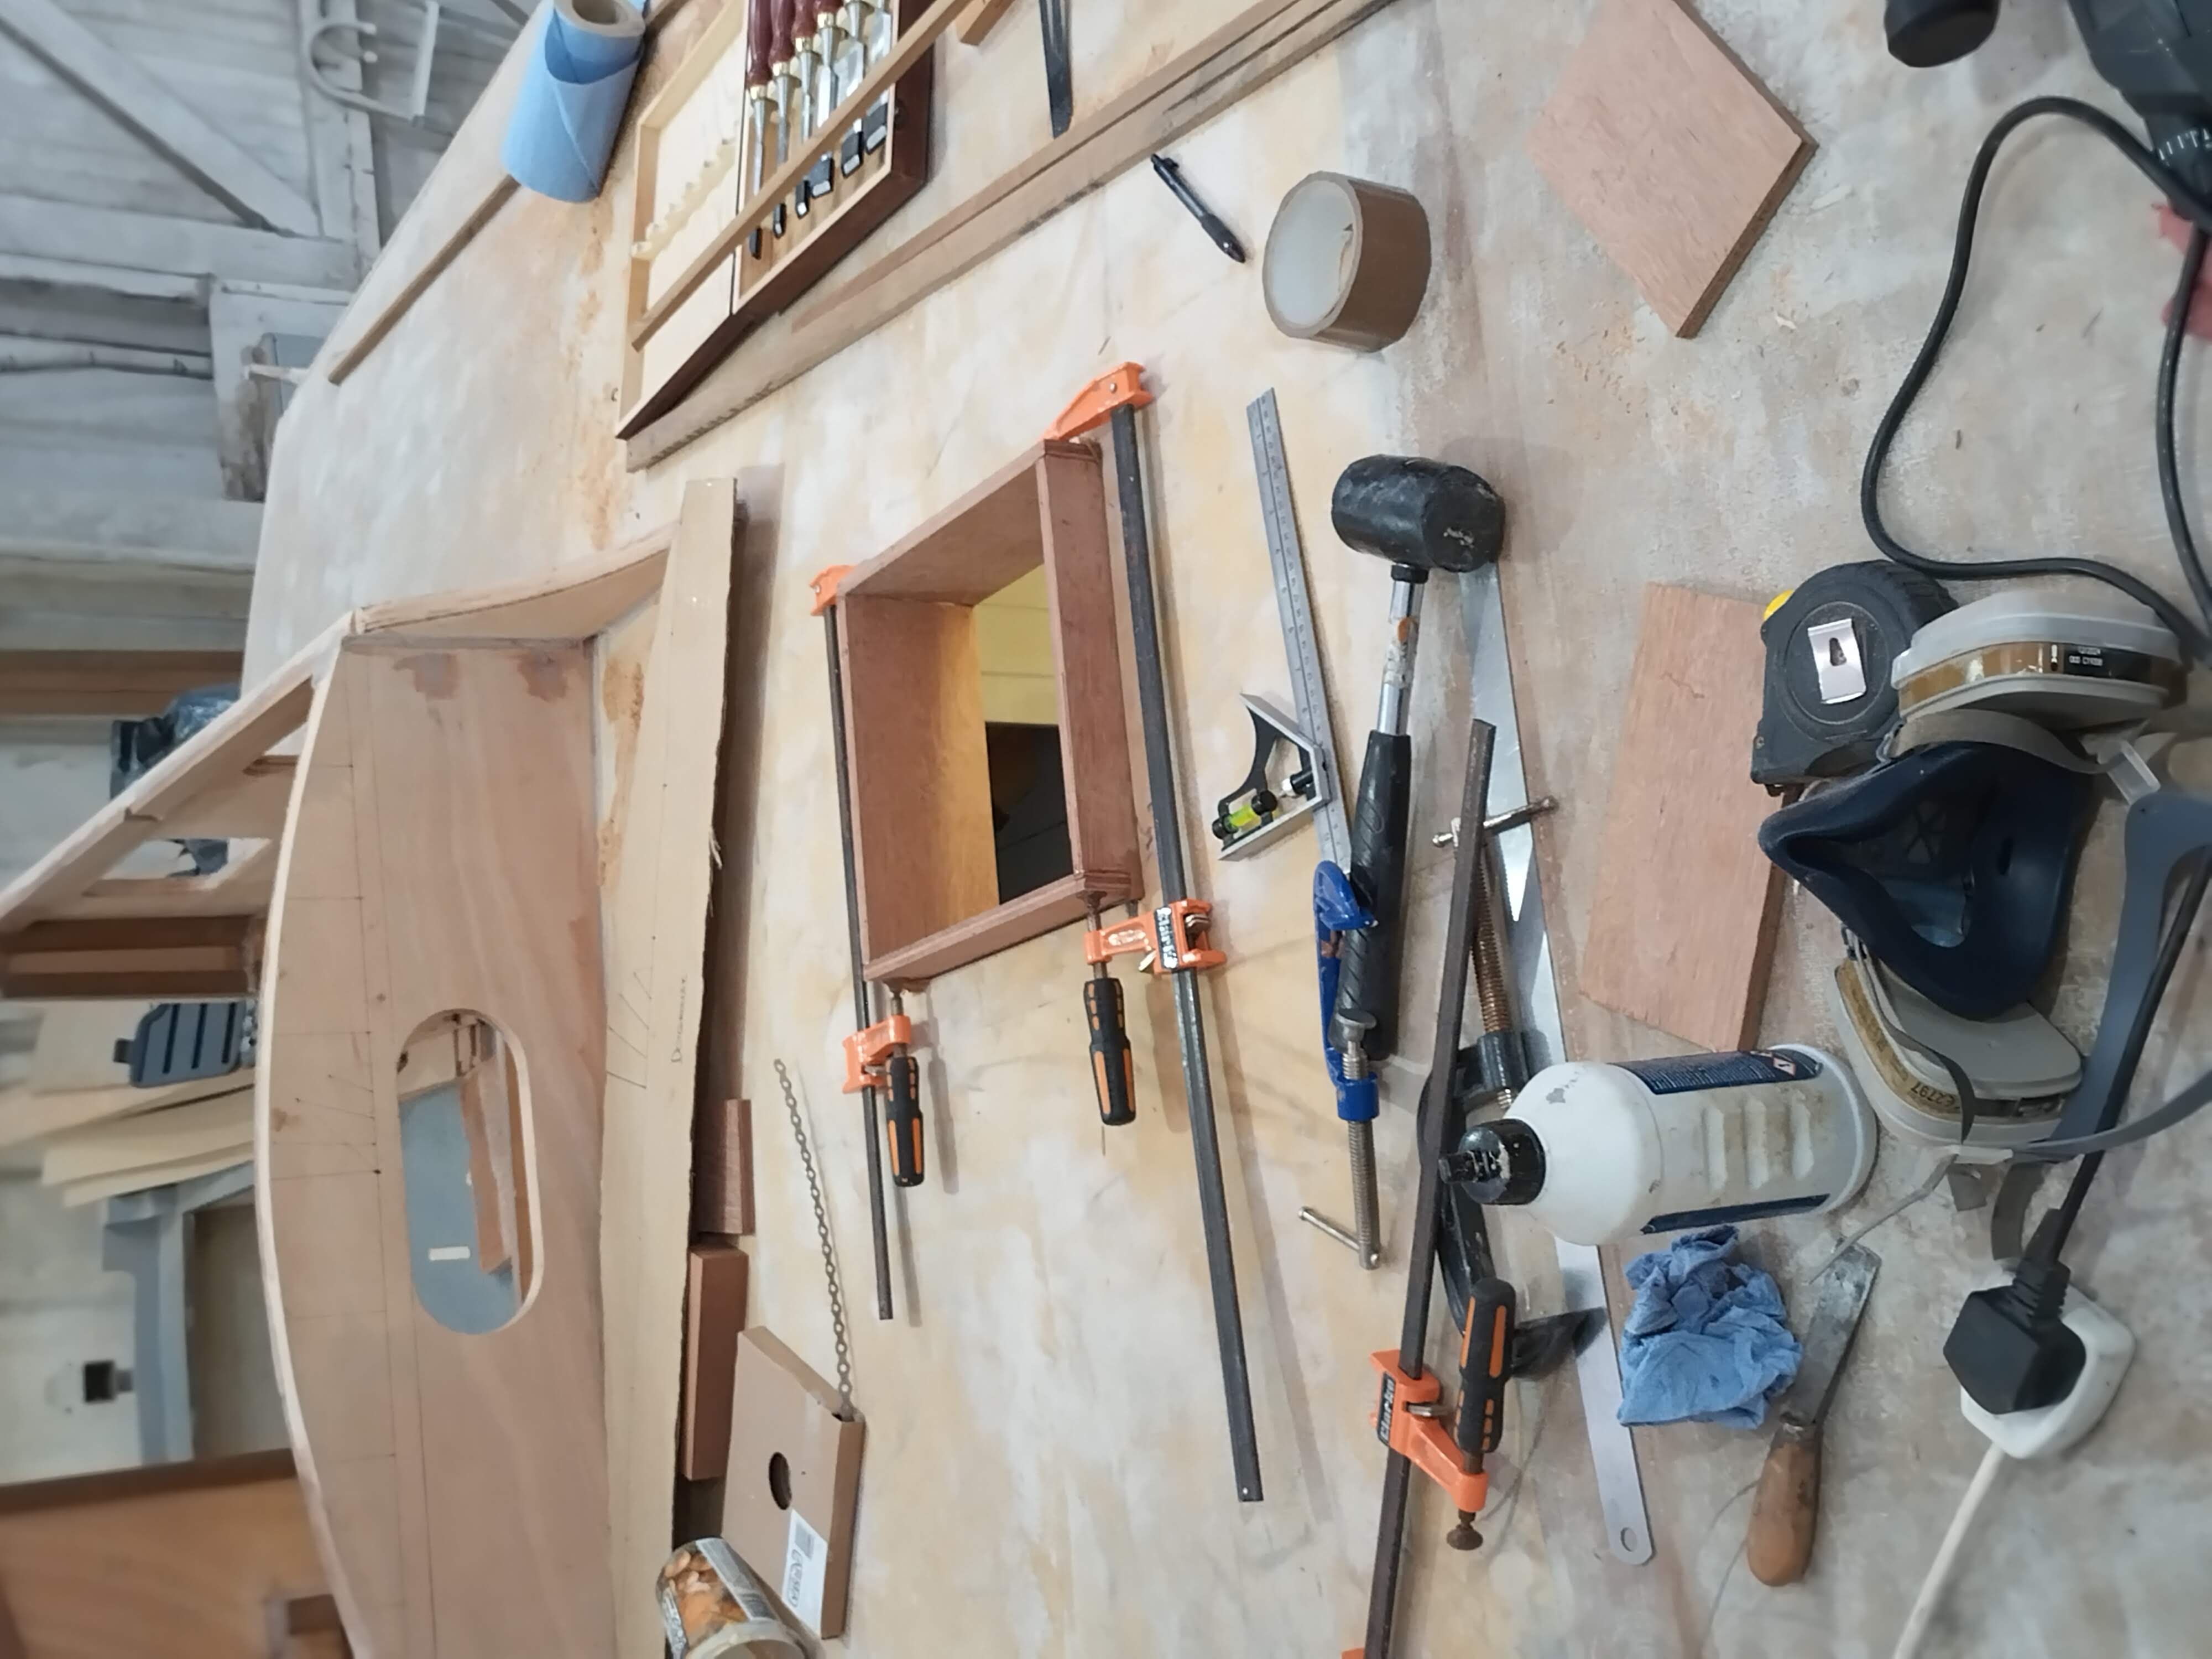
In between forming this casting, I was able to progress with the forehatch. The first job after cutting the hole was to fit some carlines around the aperture. Guy (the Swiss chap who originally built the hull and laid the first layer of deck) had already planned some hatch apertures, but although in the same position, his forehatch aperture was too small, and I had had to cut out the carlines he had so carefully built in and fit my own. This process relied on ample applications of epoxy glue and fillets rather than any fancy joinery work – the latter would have been more “correct” from a purist’s point of view, but I was more concerned about having a strong structure supporting the deck around the aperture. Once the carlines were in and trimmed flush with the edges of the deck around the hole, I constructed and fitted a hatch lining / coaming out of 12mm ply, which stands well proud of the deck to prevent water ingress, and also adds to the strength of the structure. This was glued, screwed and filleted in place, ensuring the coaming stood a uniform distance above the deck at the corners.
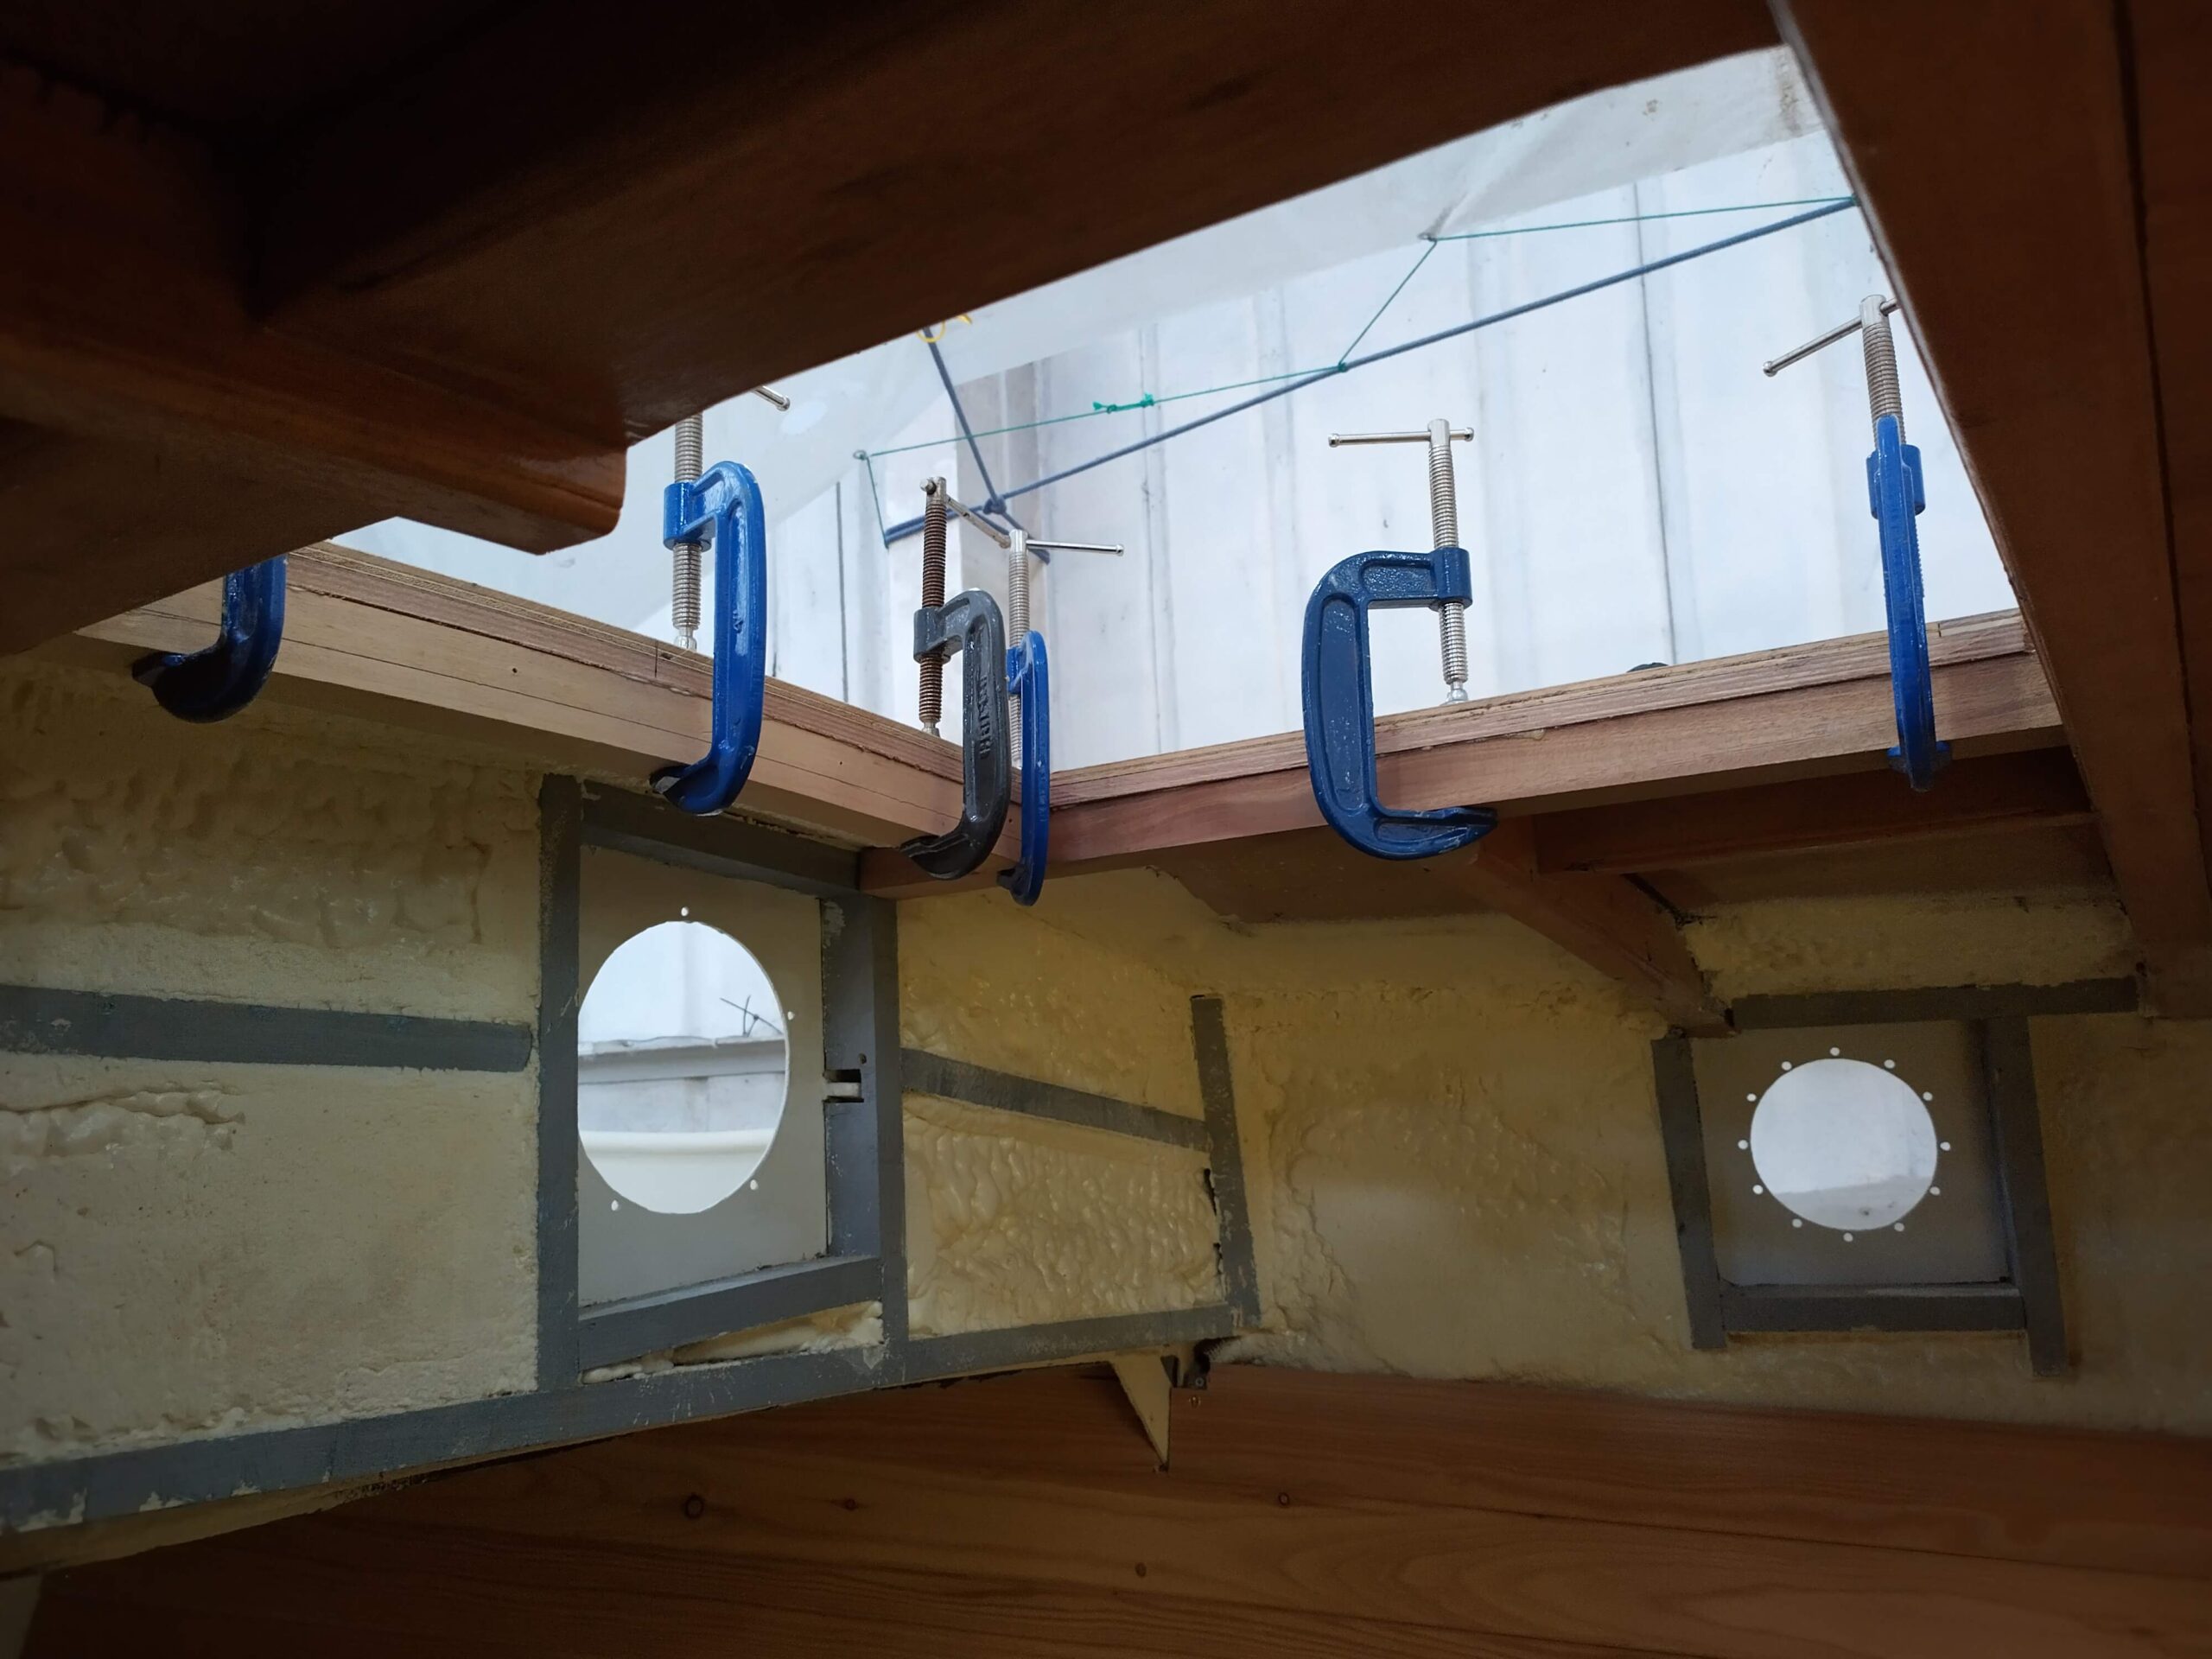

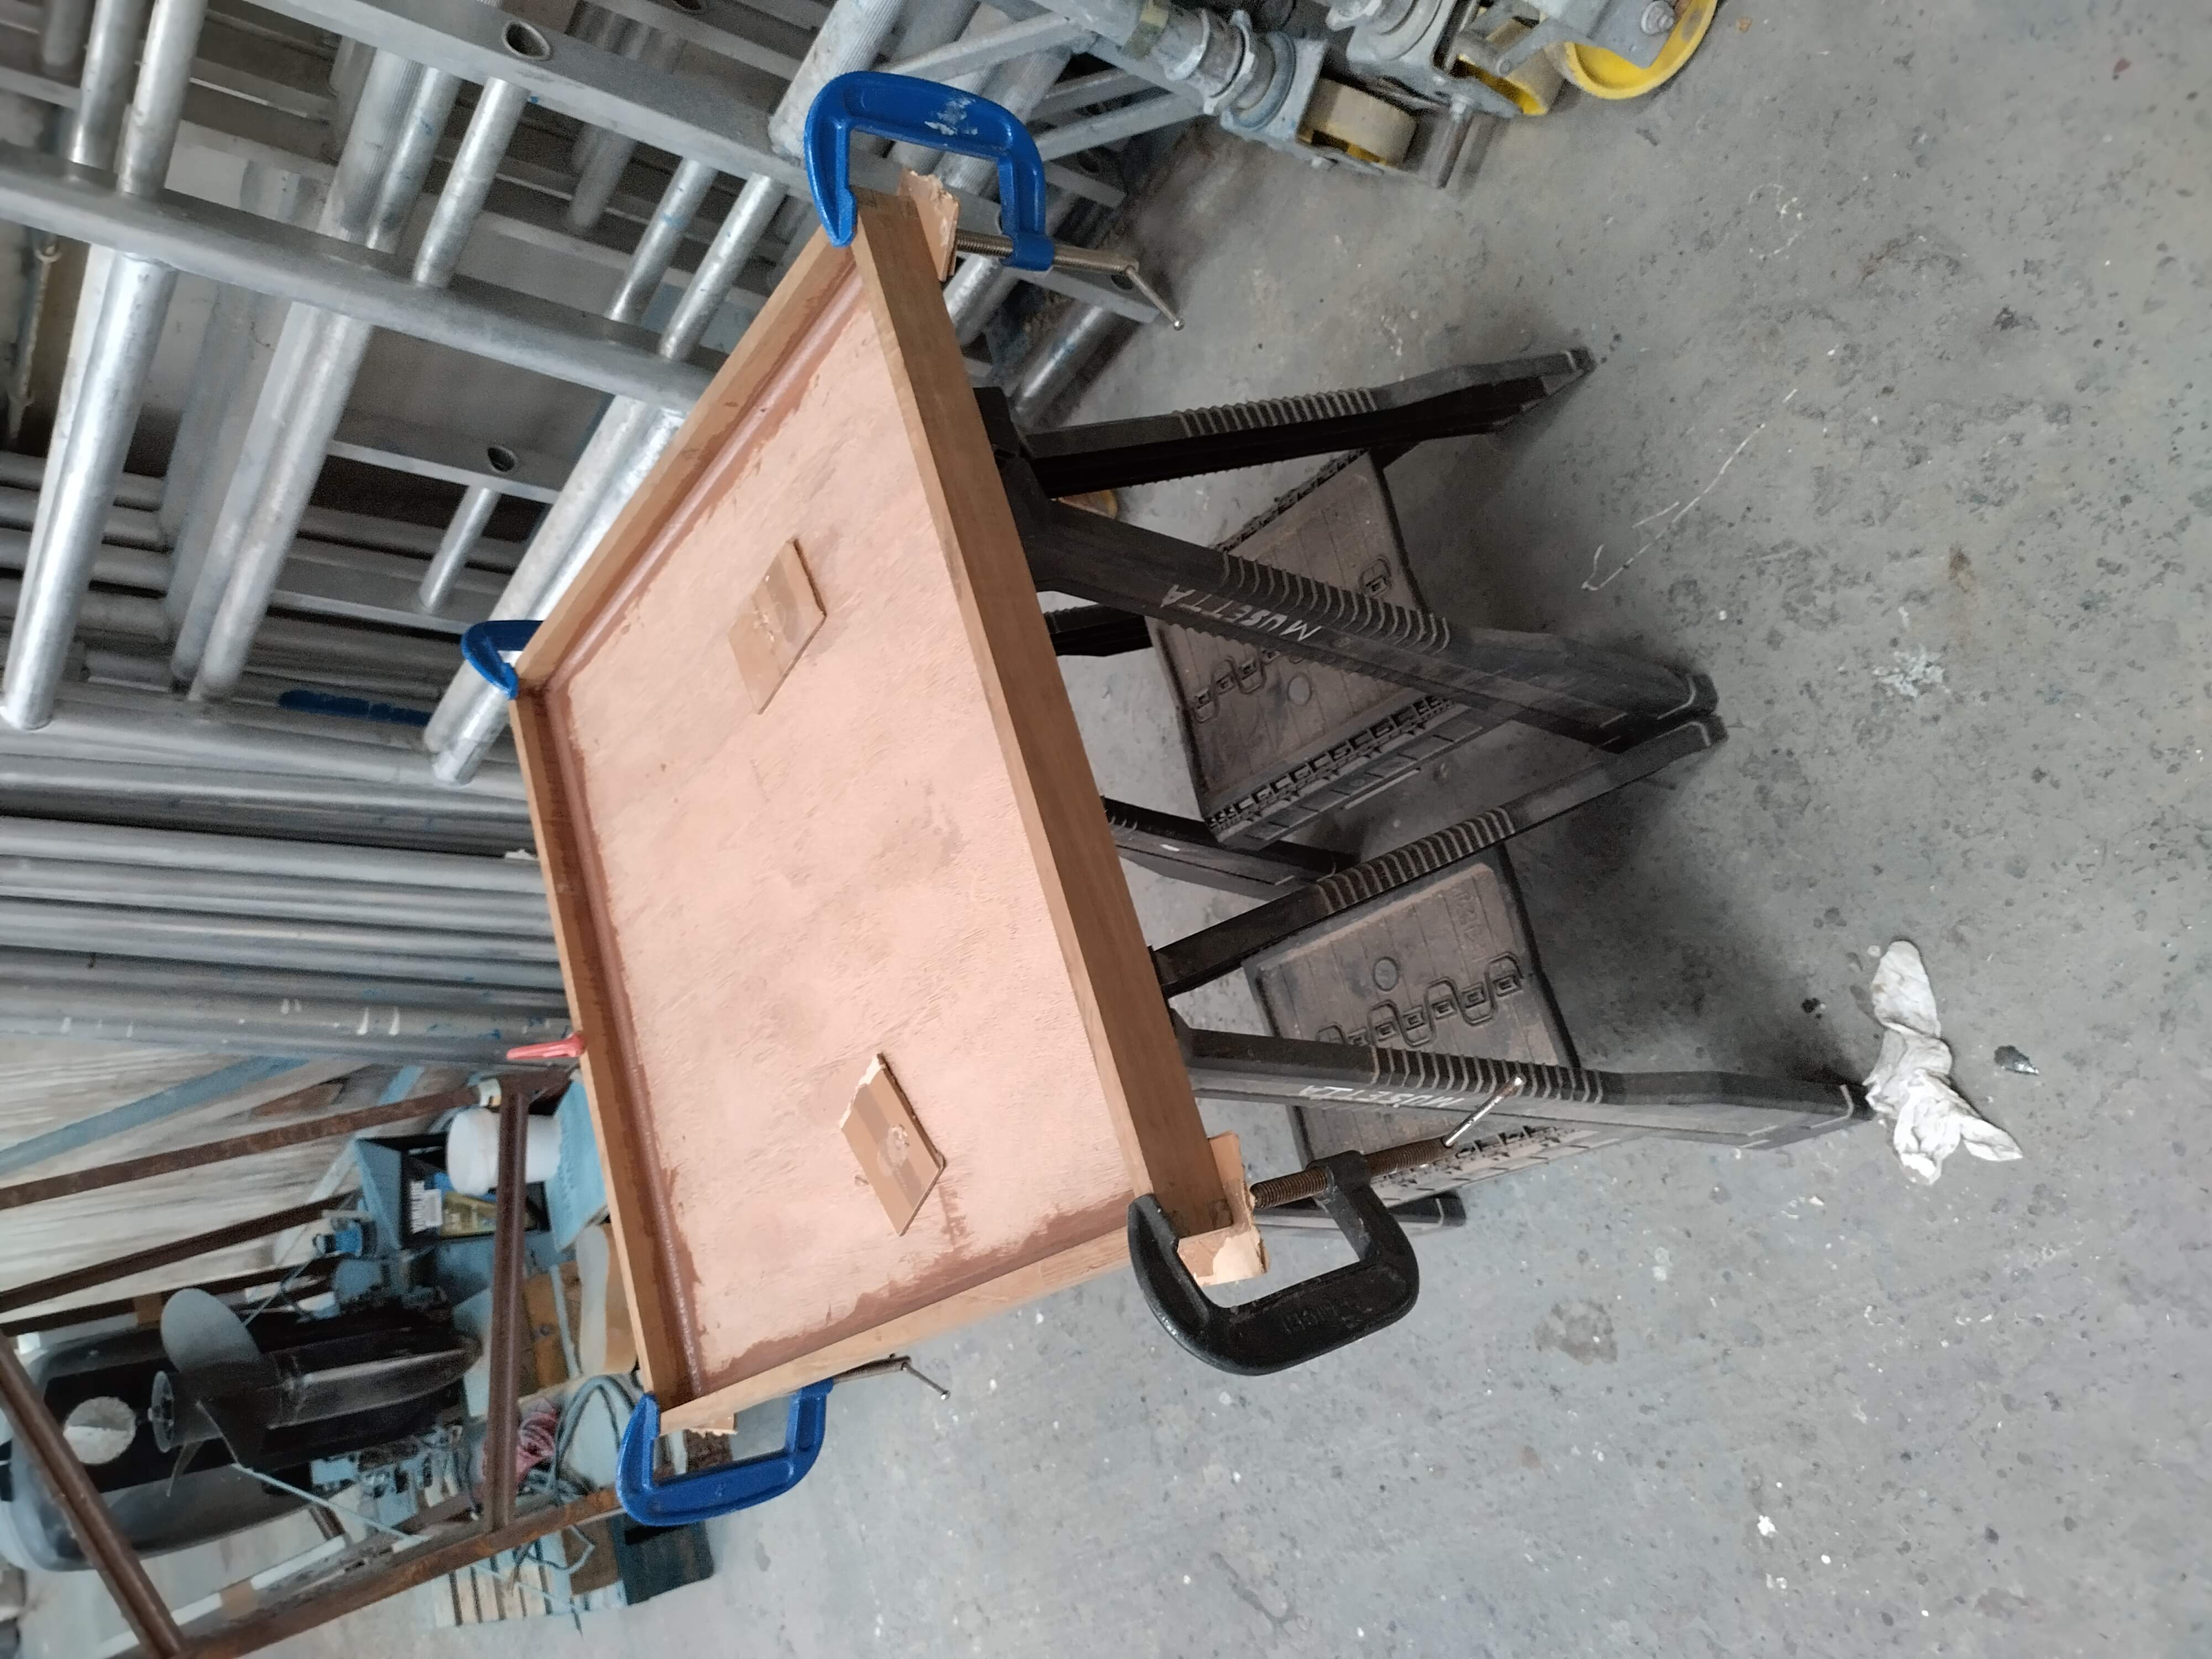

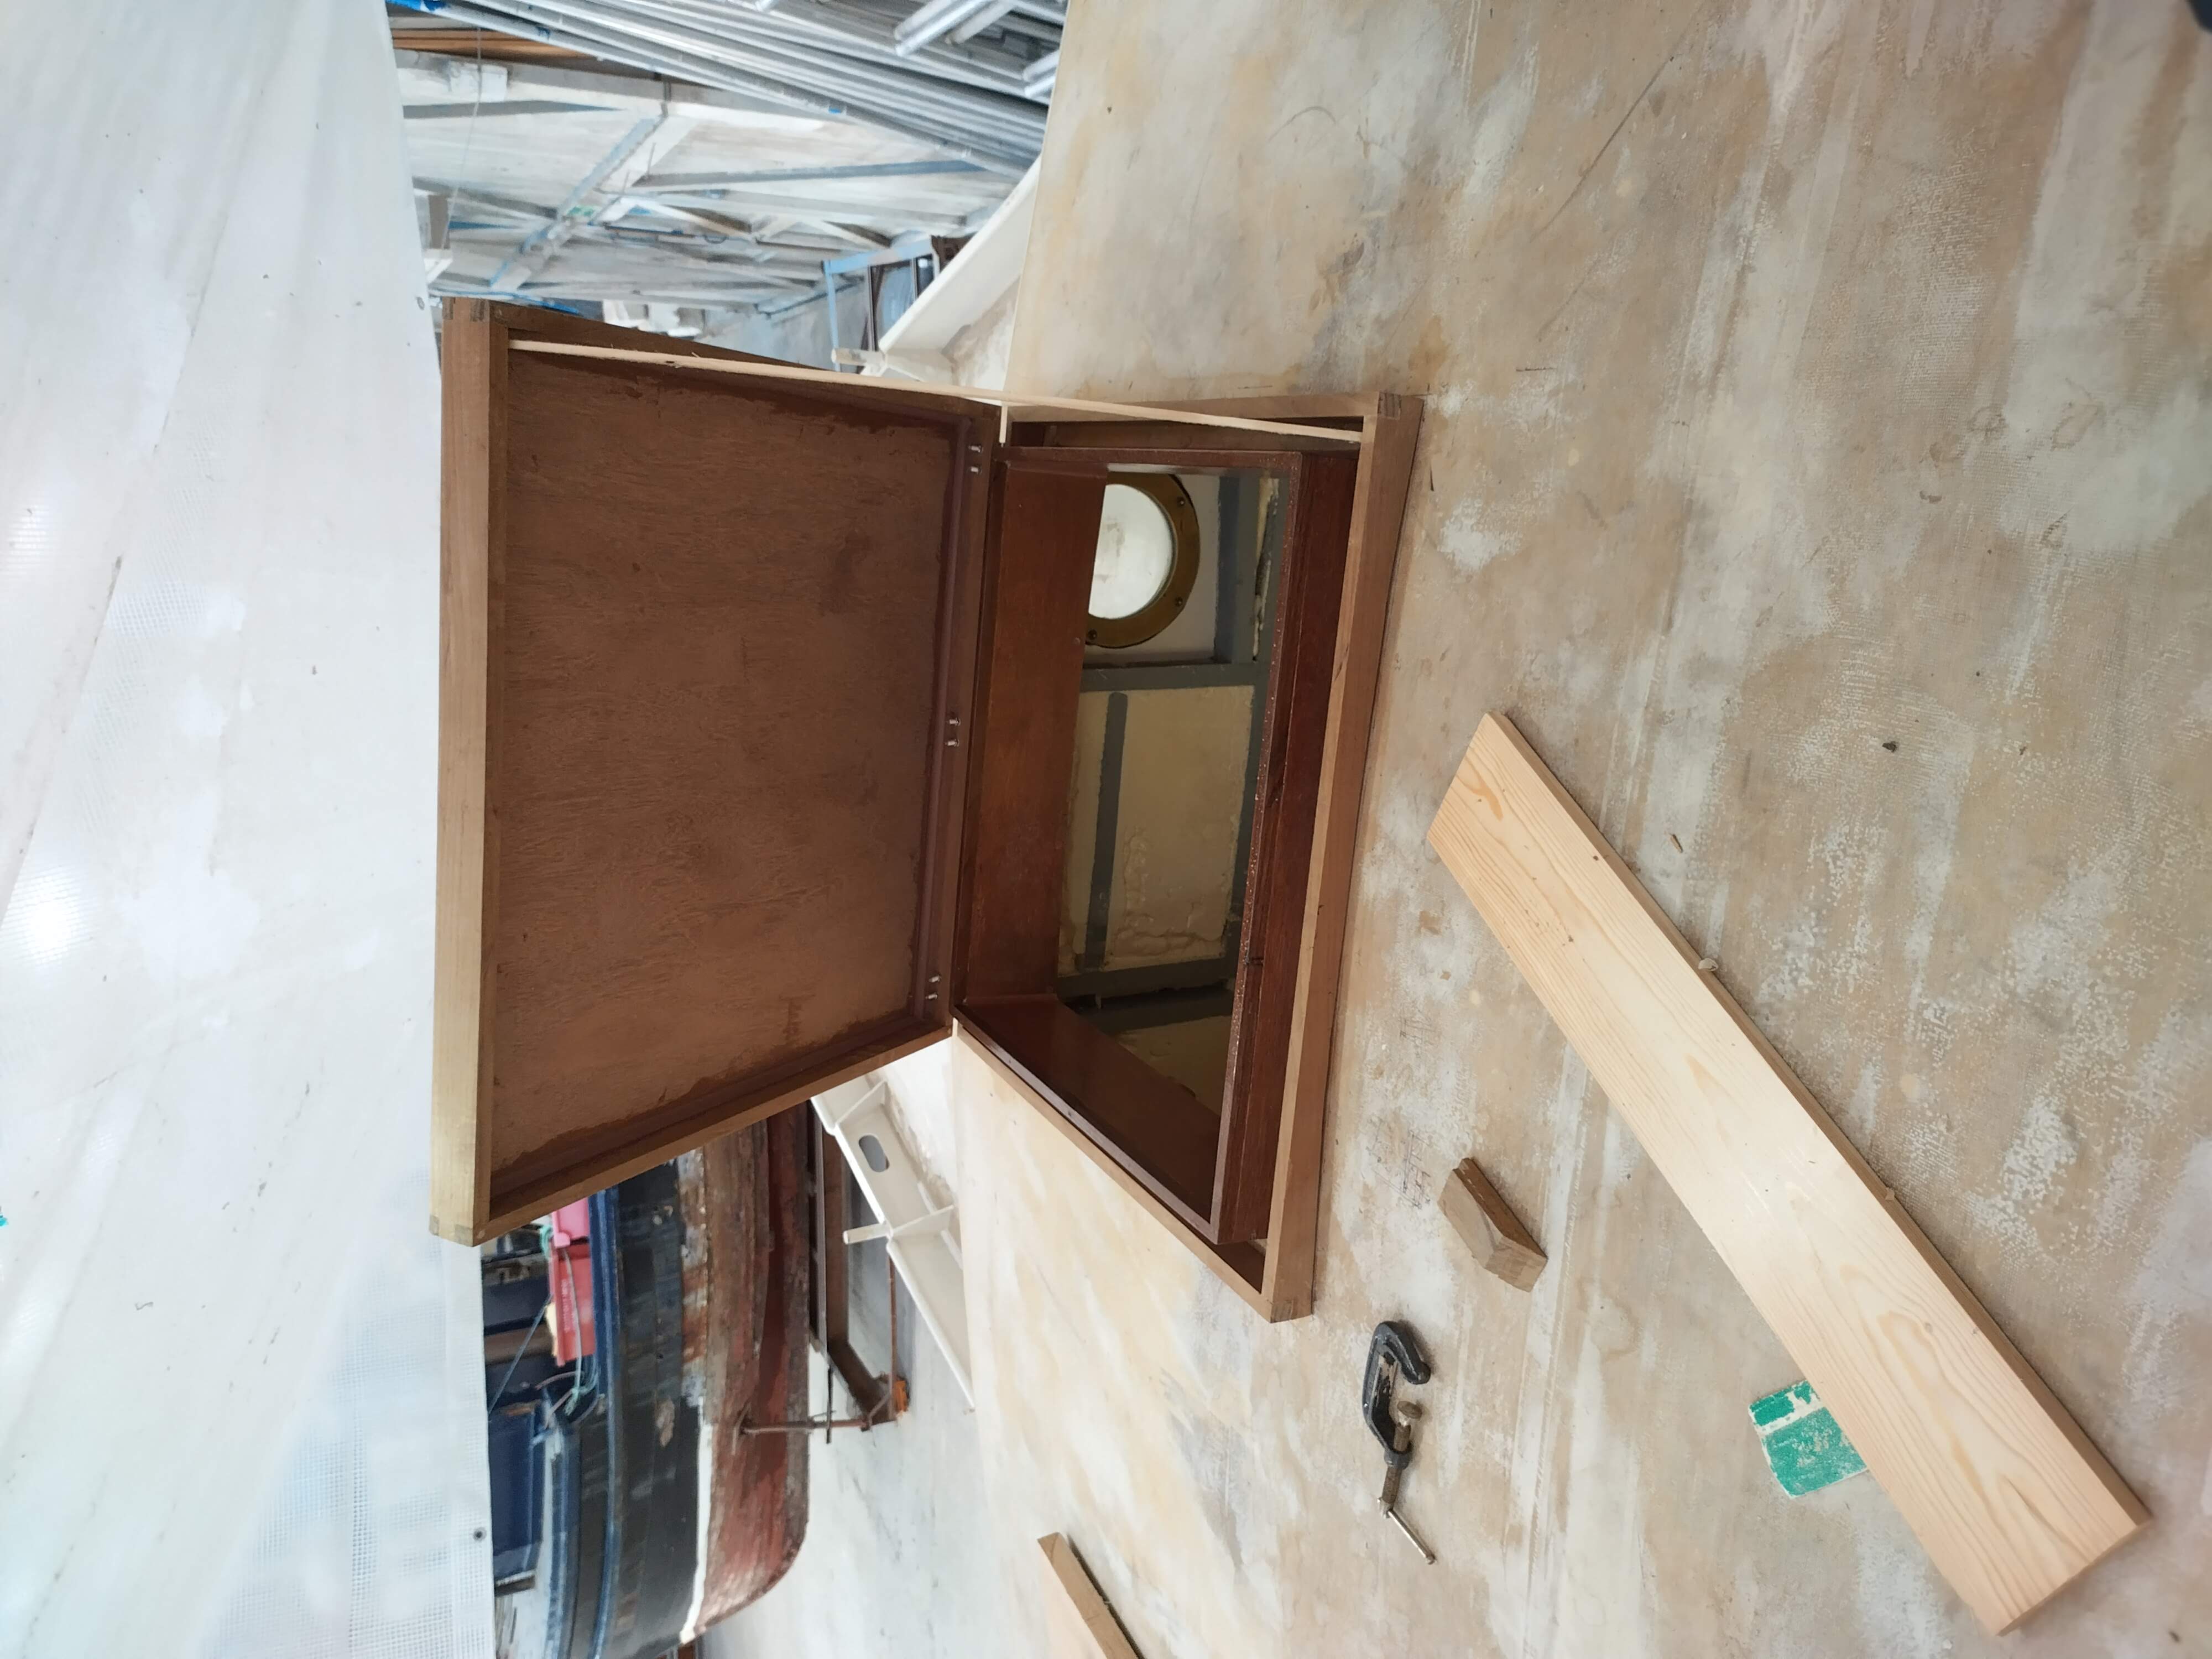
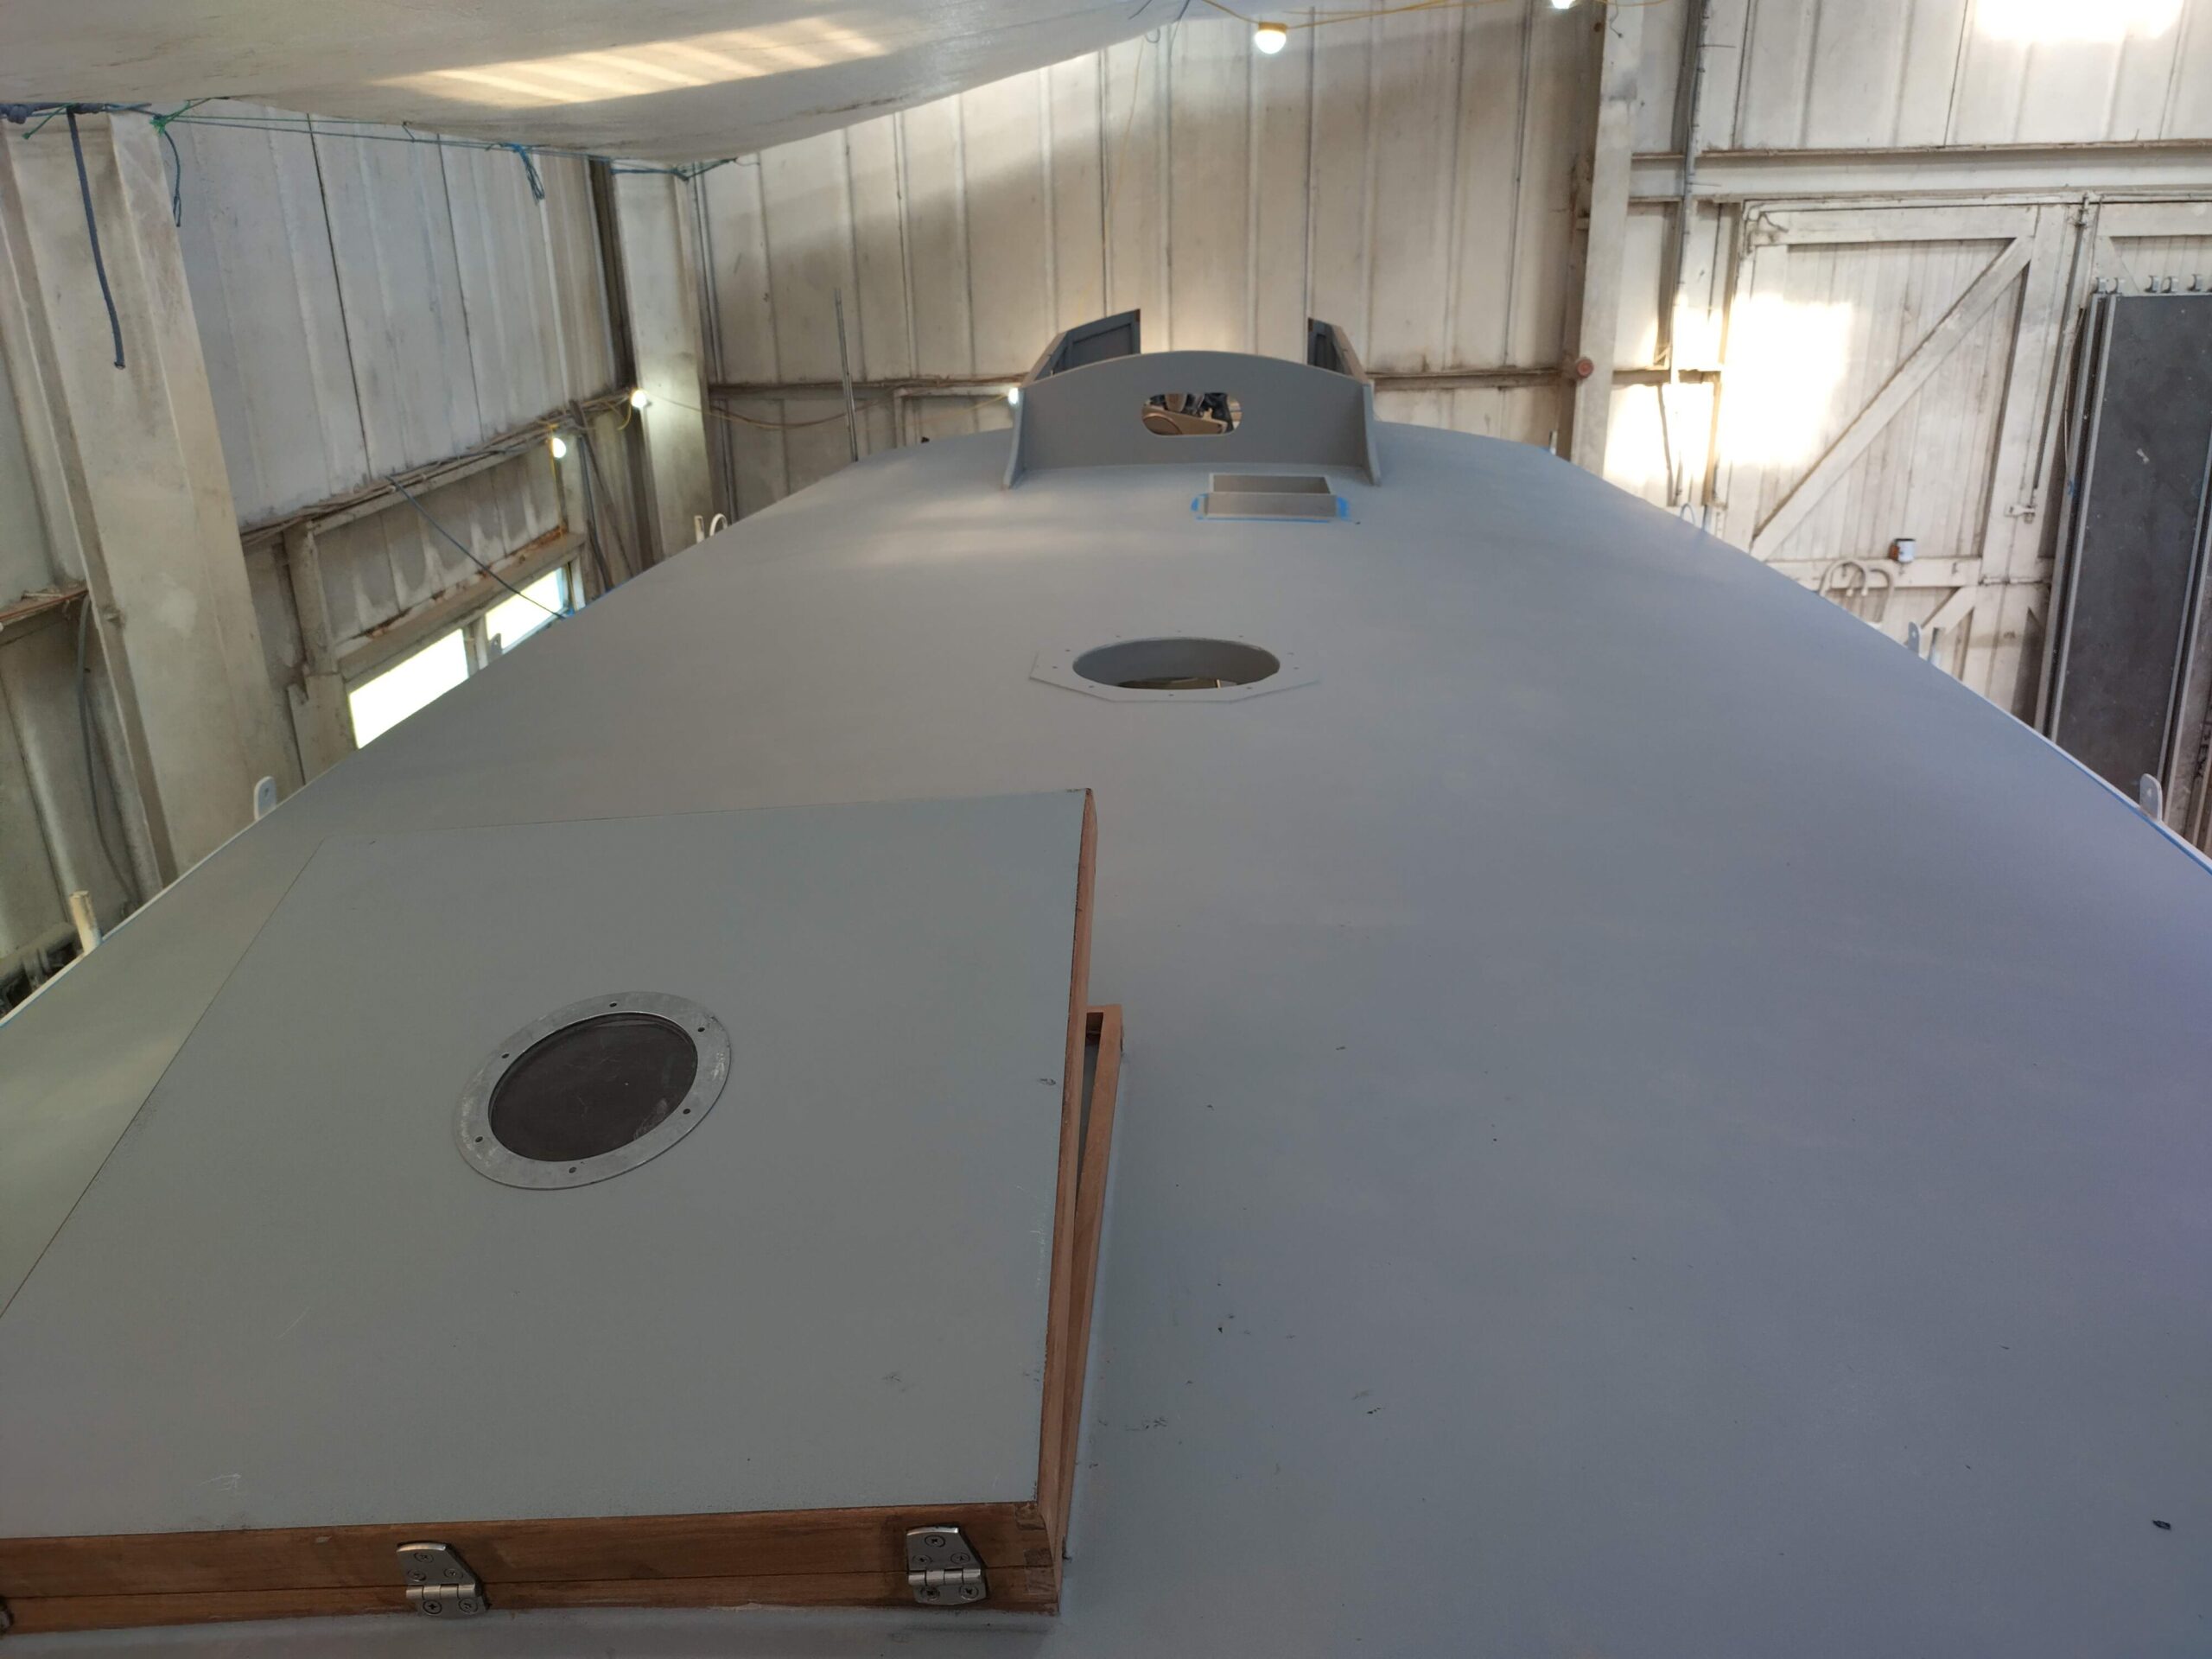
Finding myself with some spare time in between waiting for all this epoxy to go off, I then measured for and cut my second hatch aperture, which is in the galley above the cooker. This is a much smaller aperture, and the cutting went smoothly. Again I needed to fit carlines on two of the four sides (both hatches are nestled into the corner where a deck beam and the centreline deck stringer meet, so already have two sides well supported), so used the same technique with epoxy glue and filleting for strength. Again I trimmed all around the sides with my router and then fitted a 12mm plywood liner / coaming and glued / screwed and filleted as before. Both coamings were then fitted with a strip of teak trim to protect and seal the end grain and provide a durable edge for the hatch rubber to seal against.
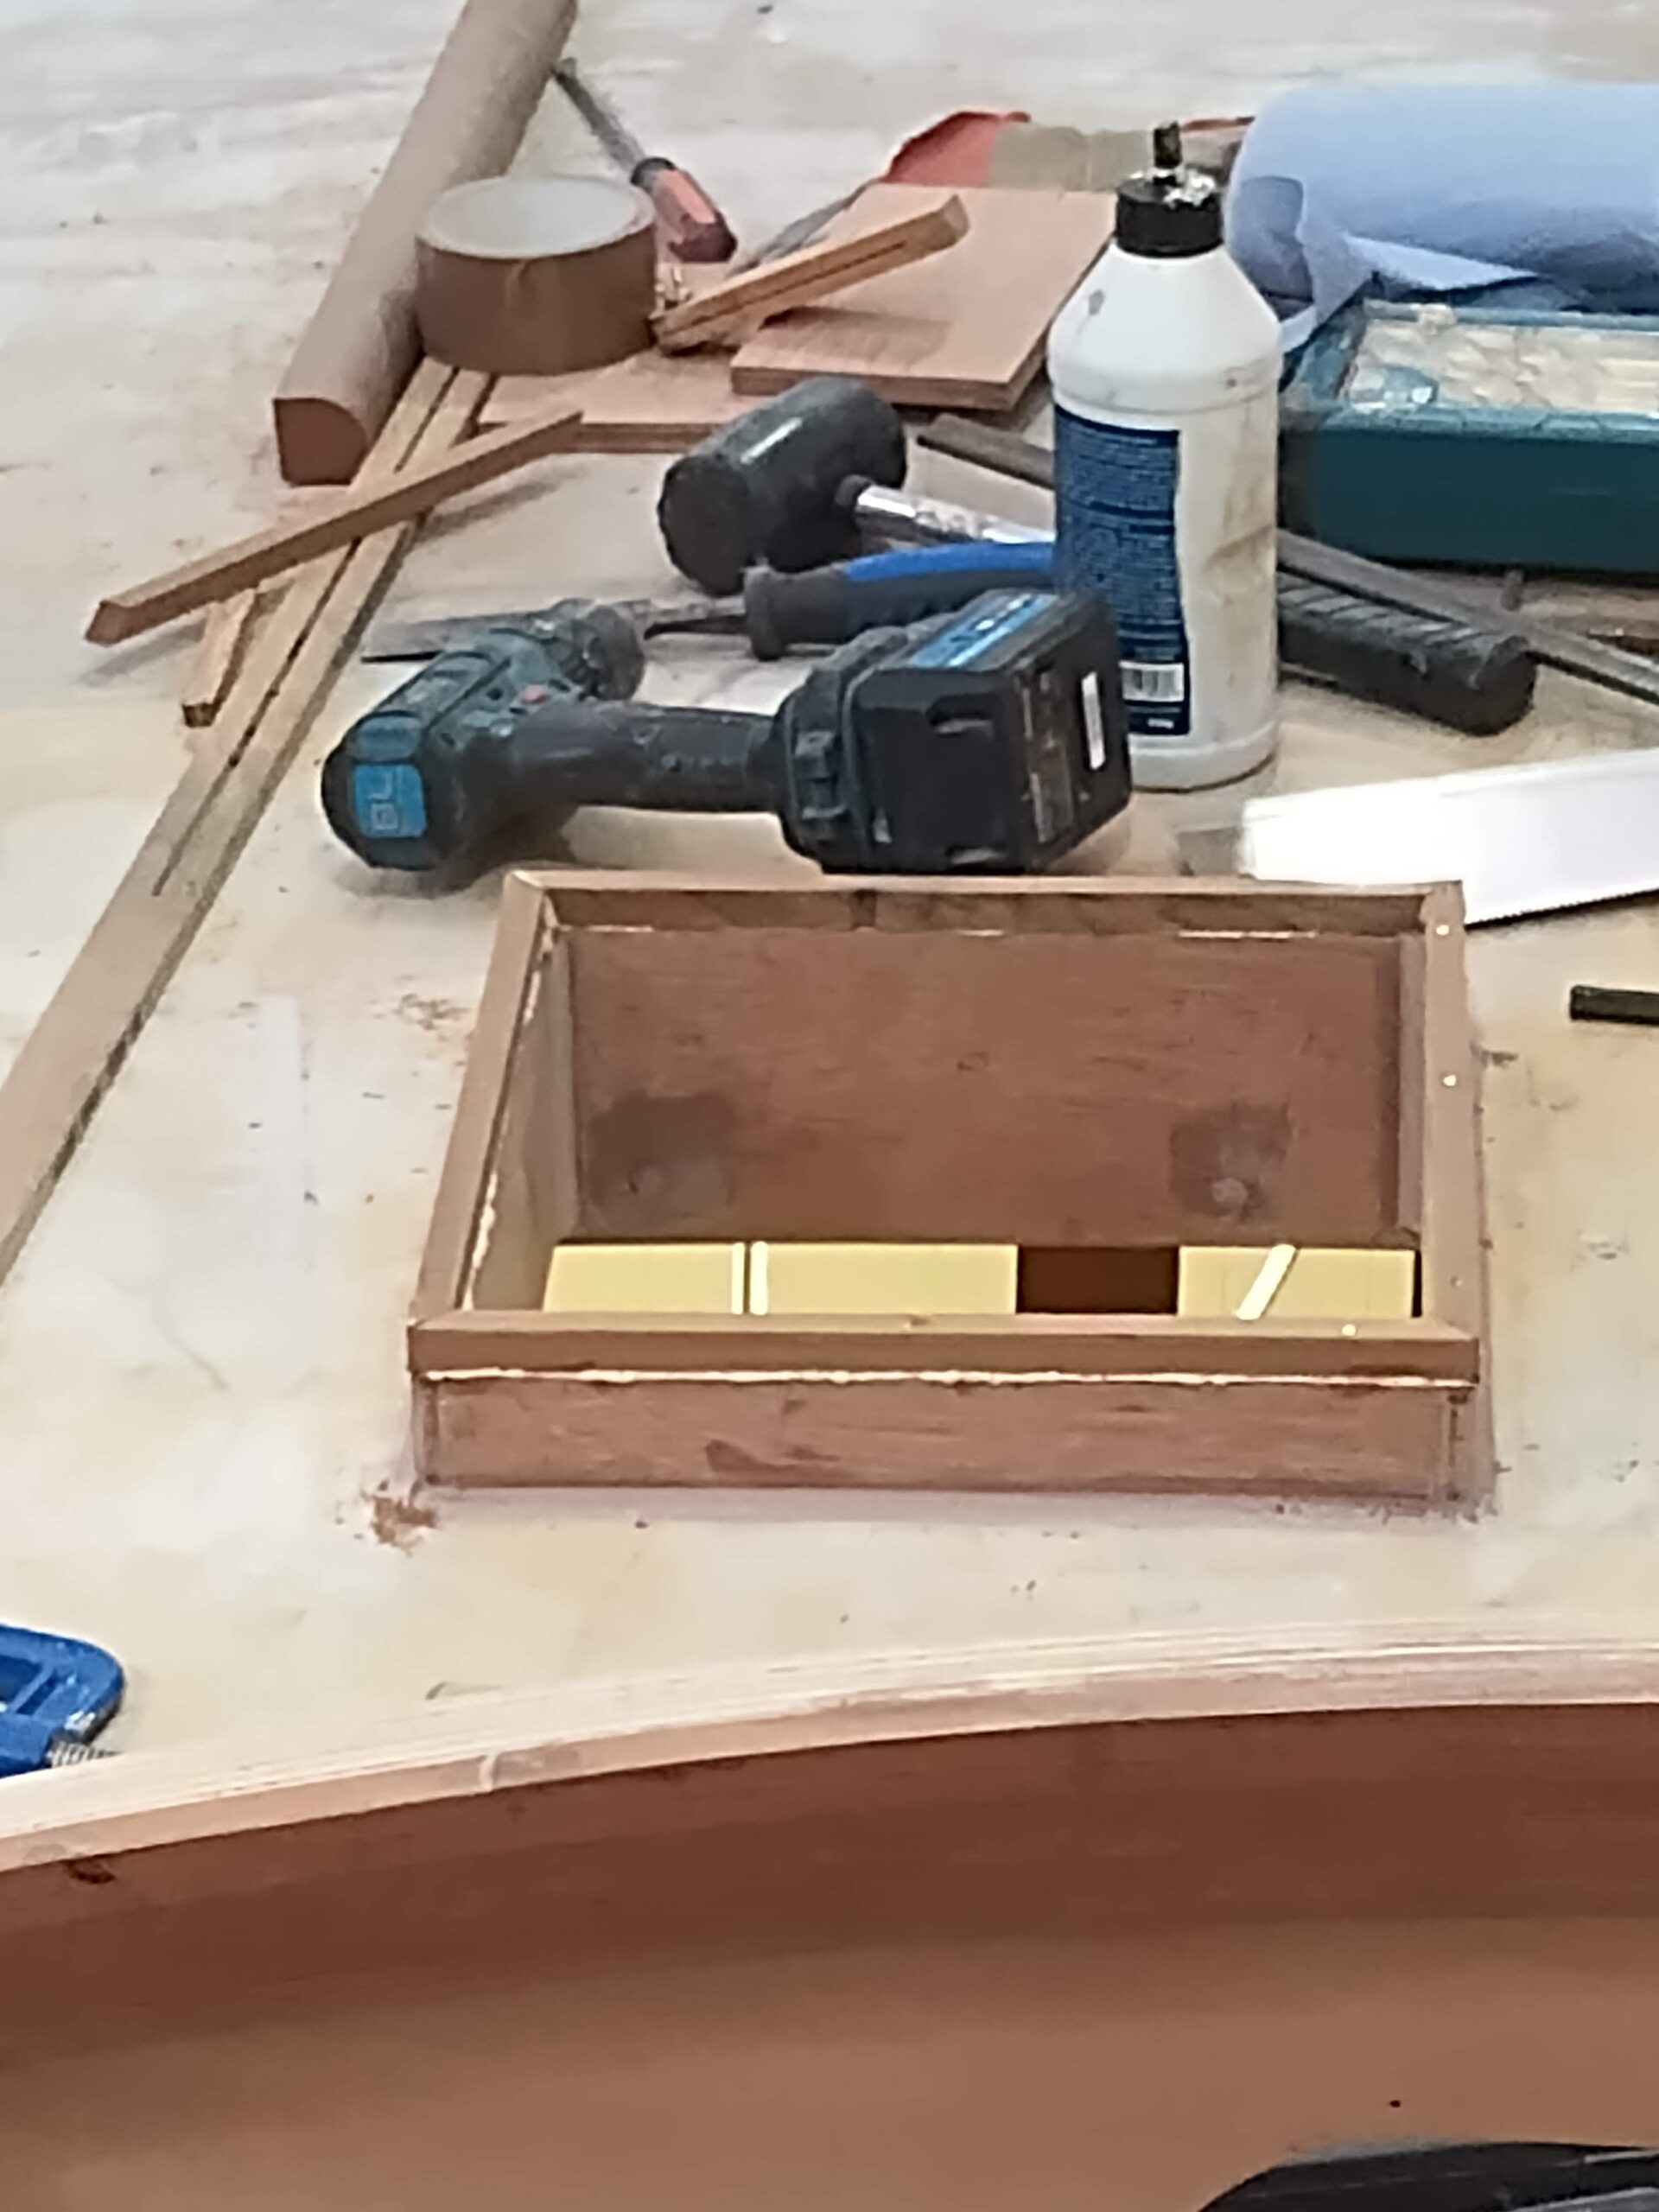
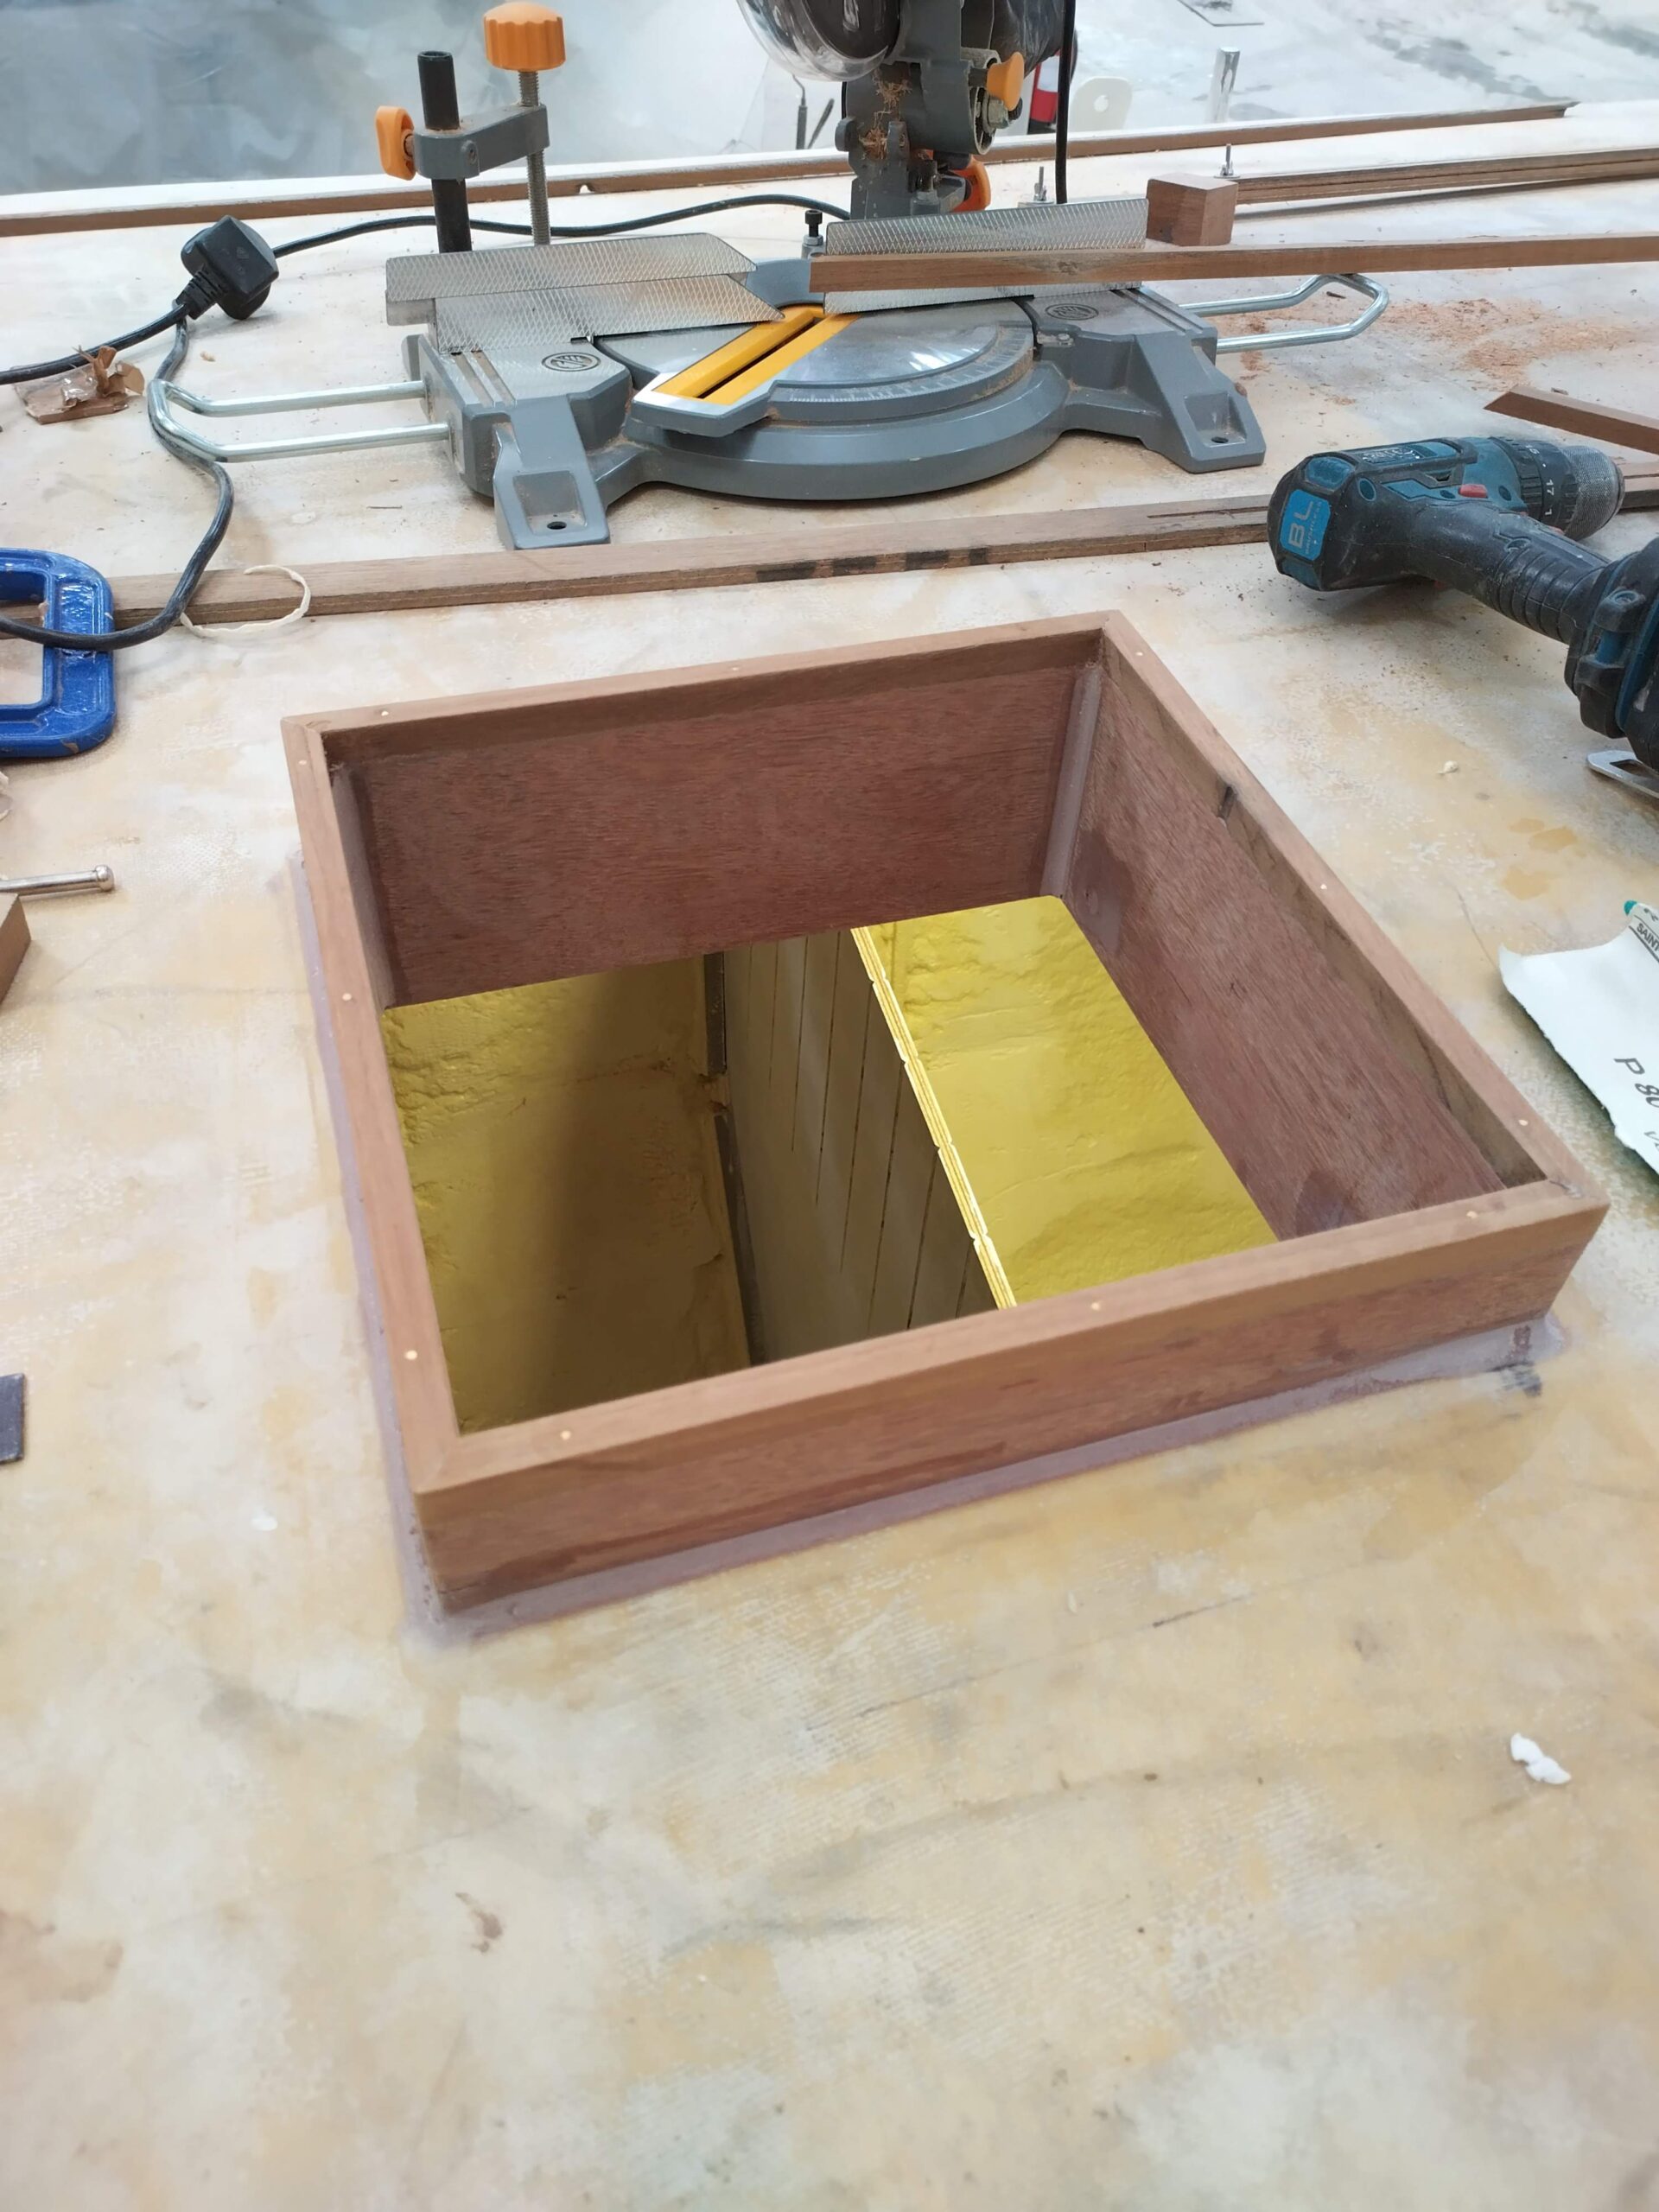
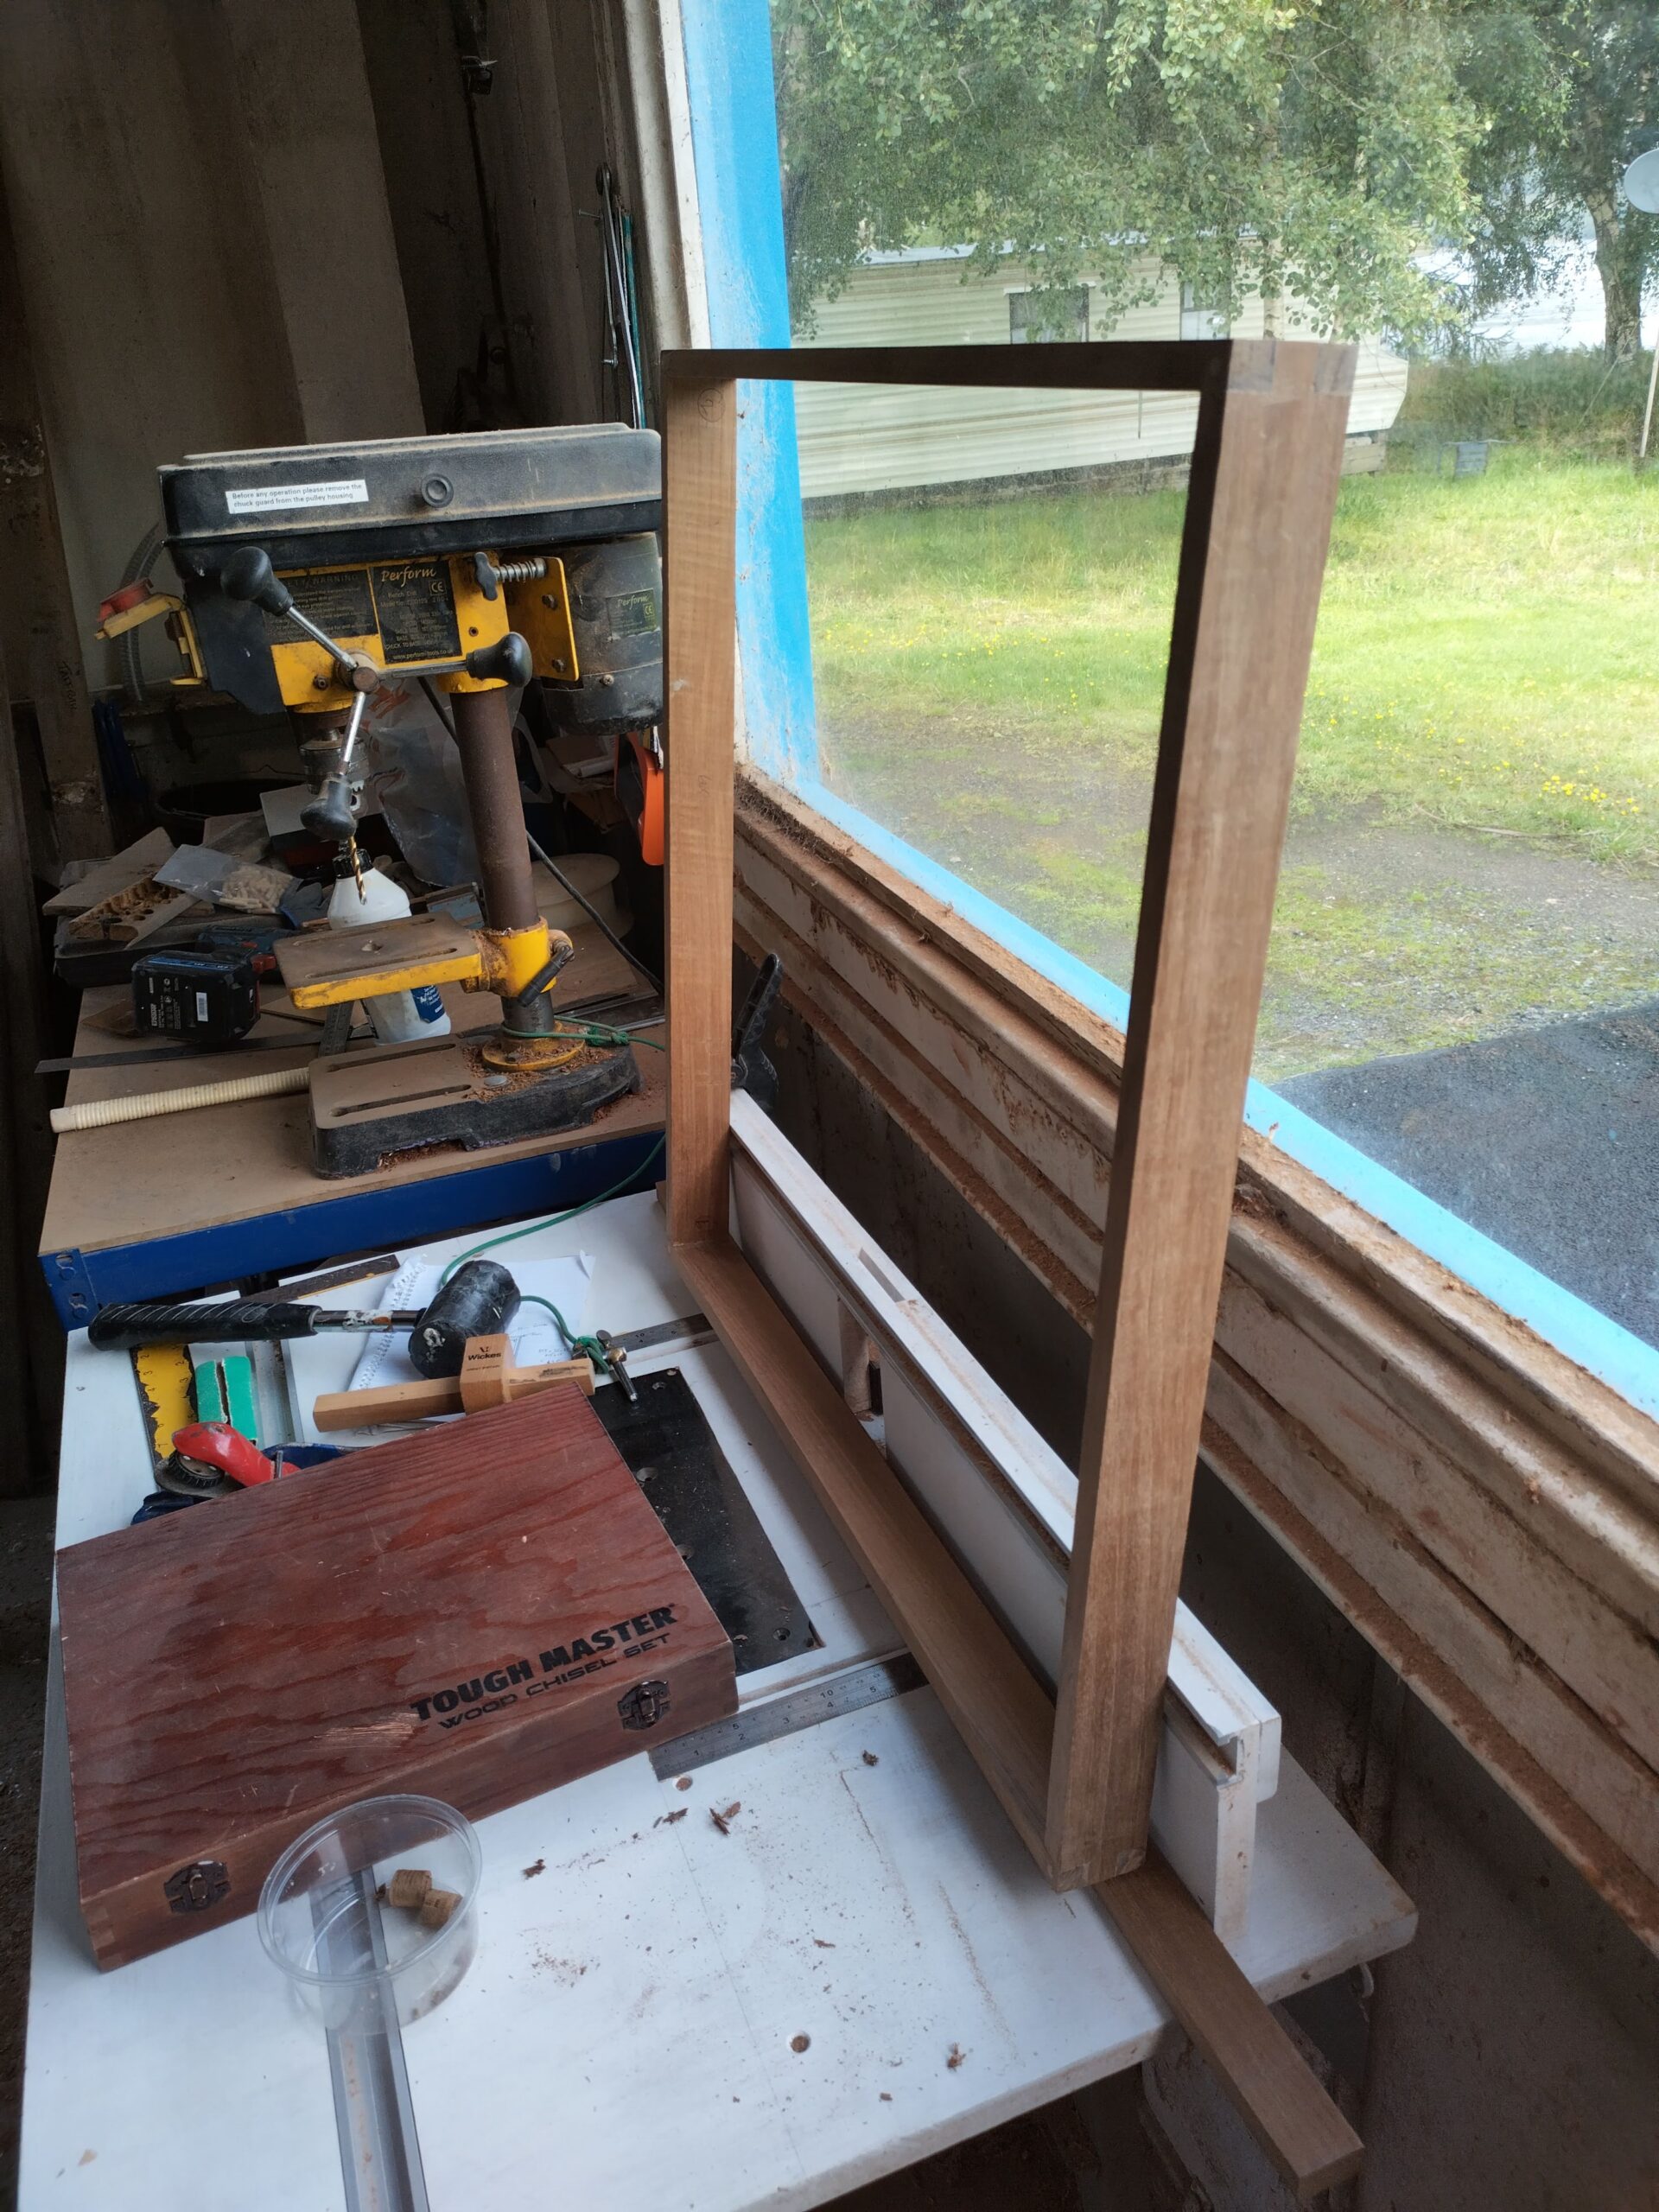
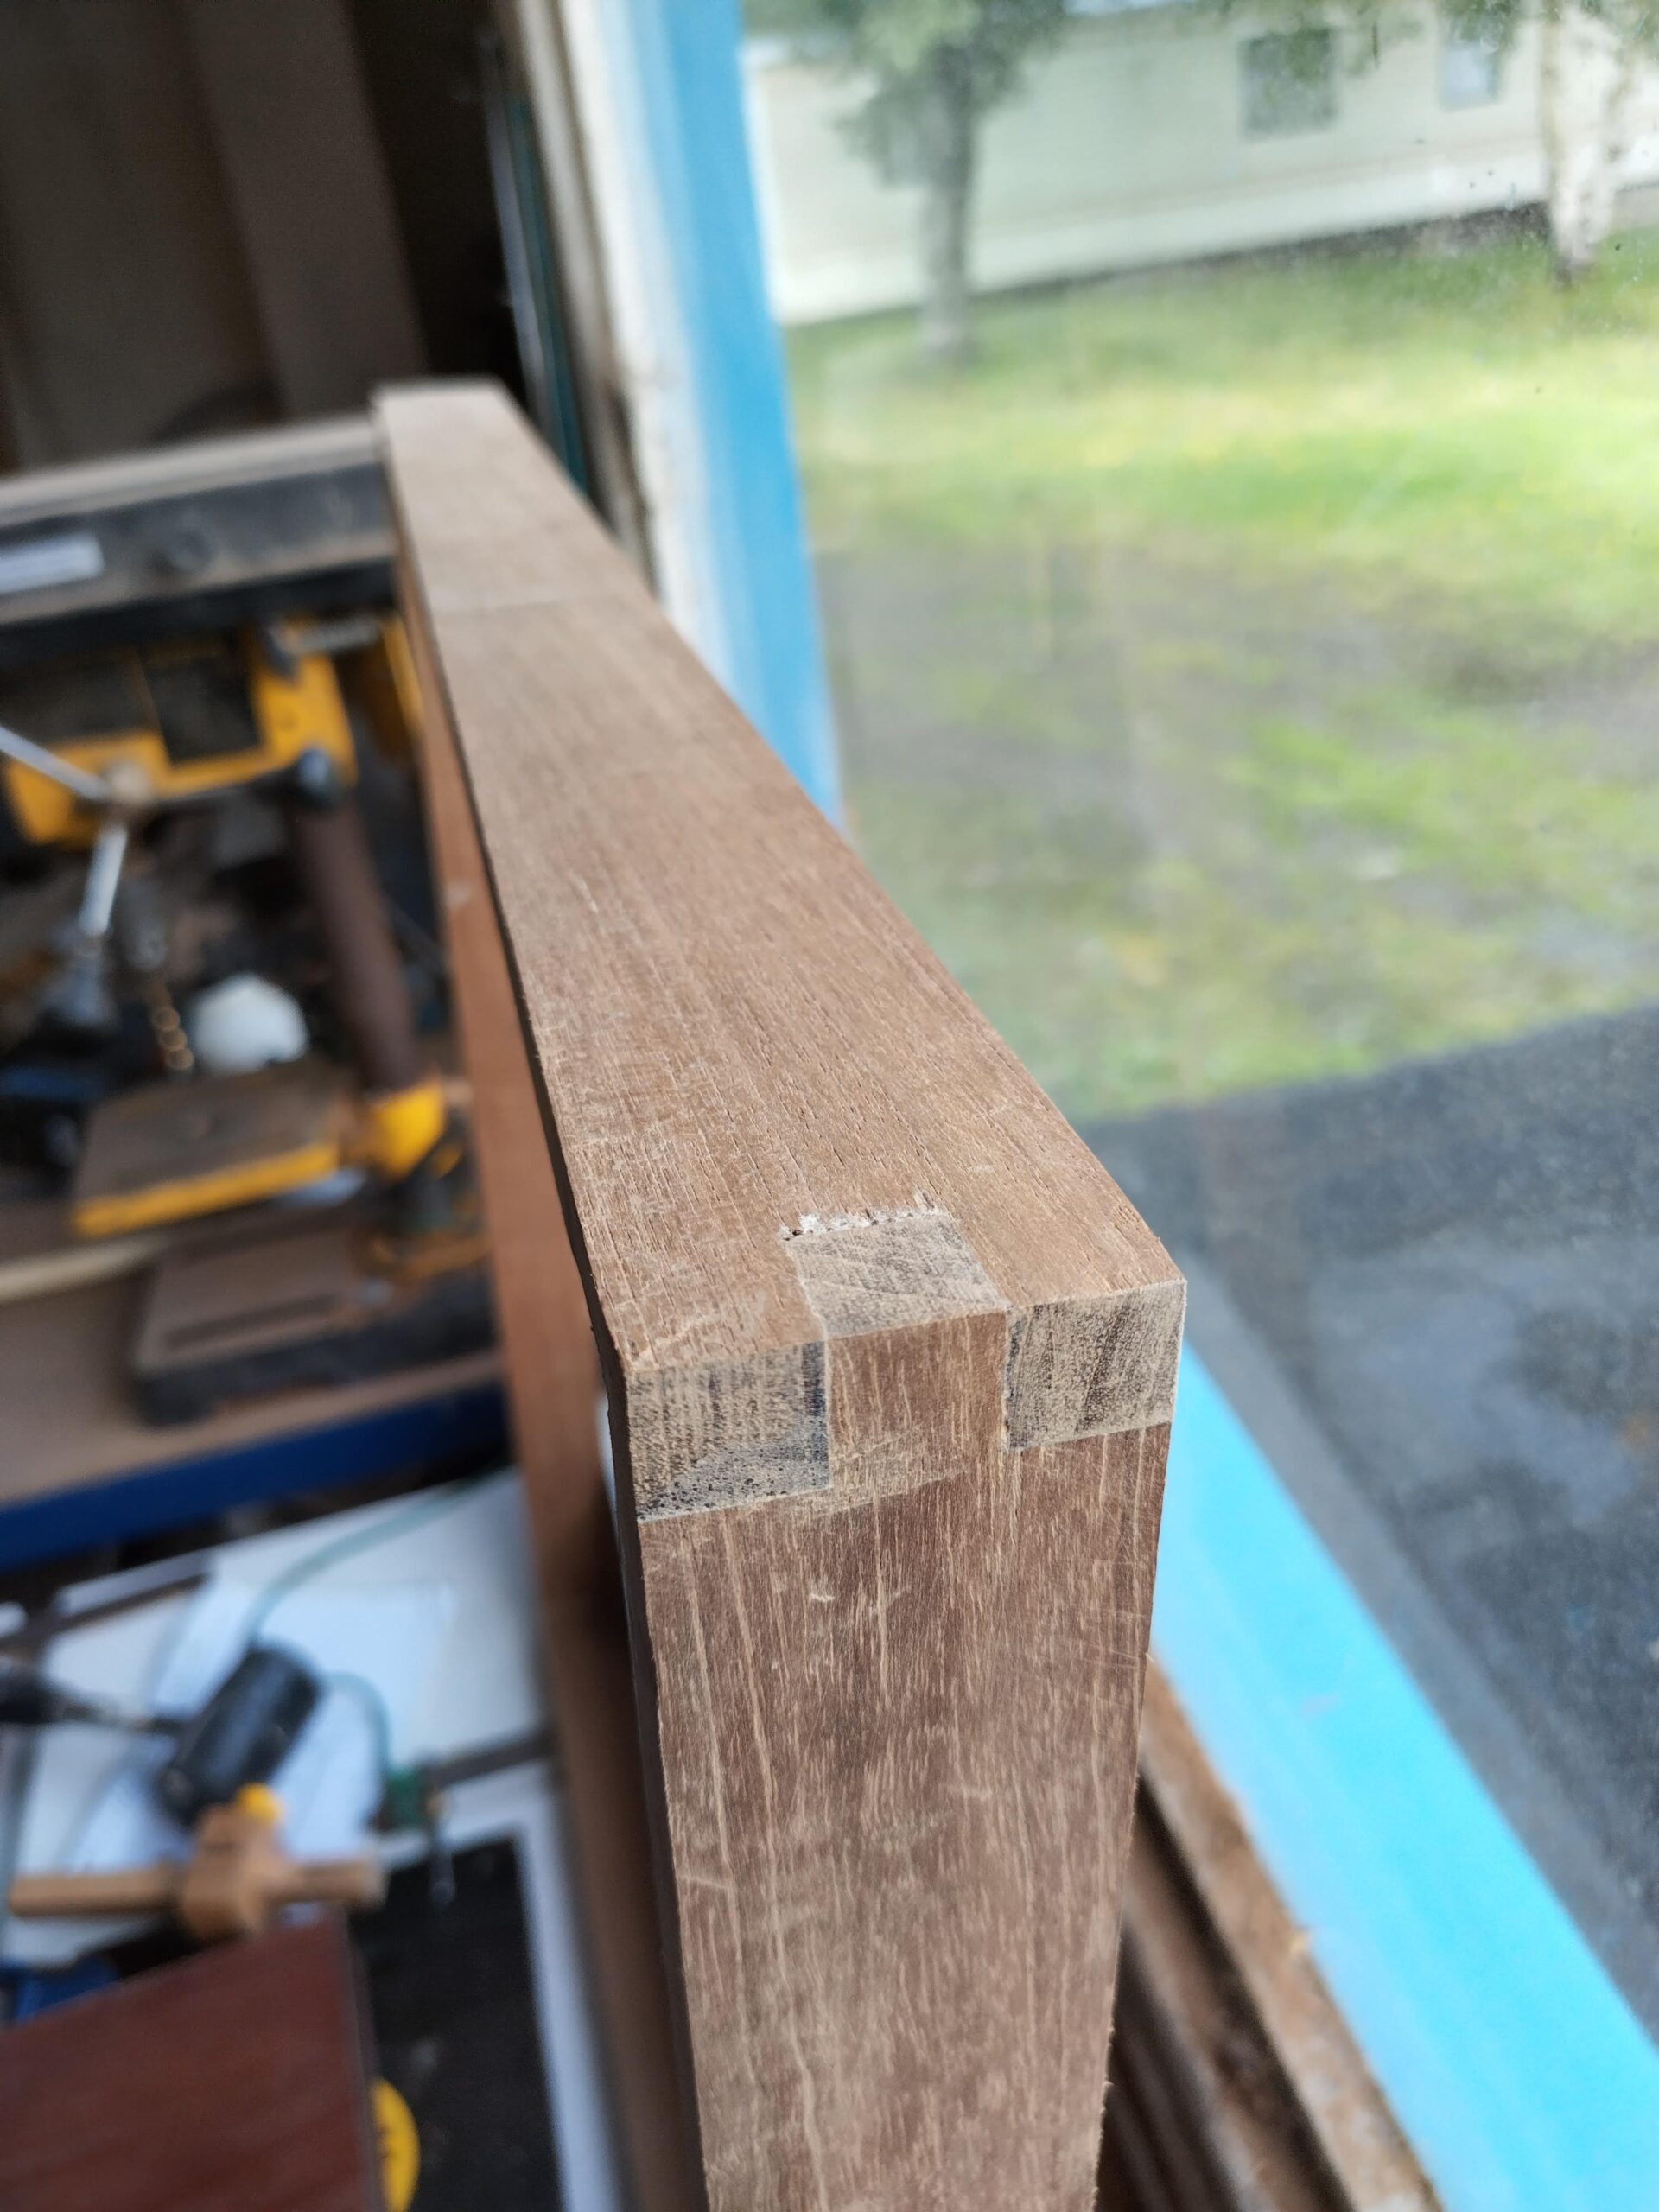
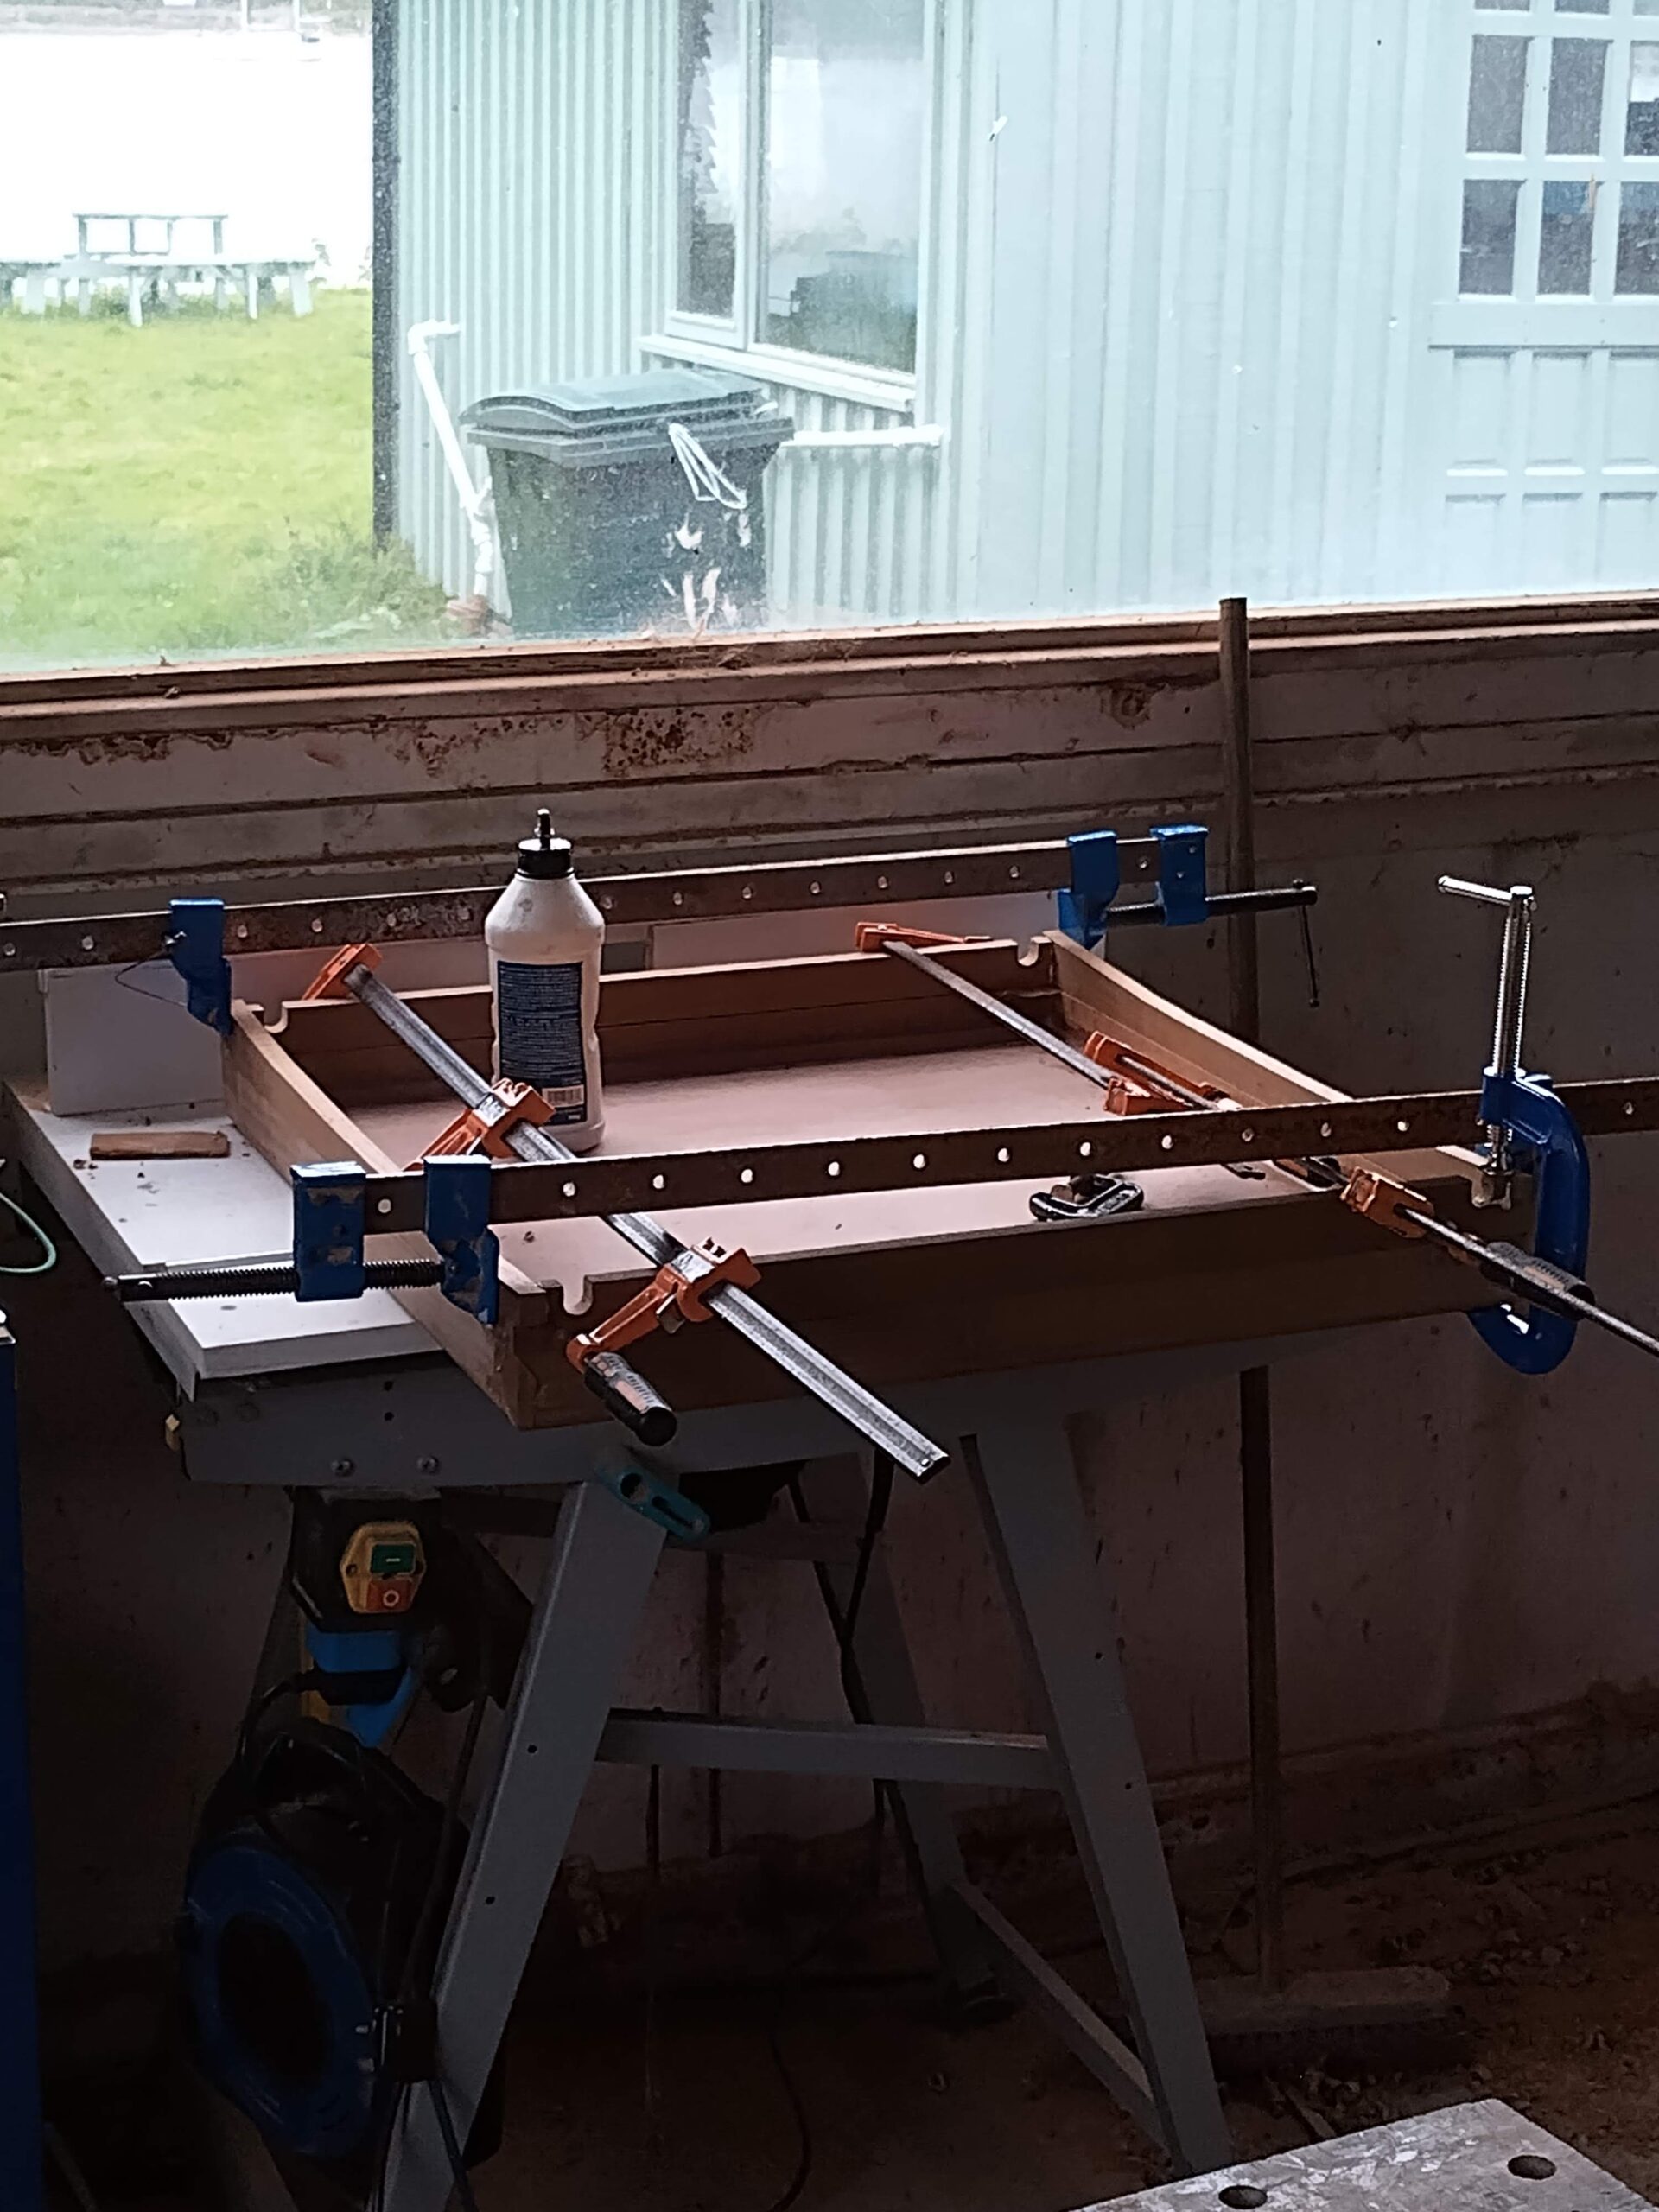
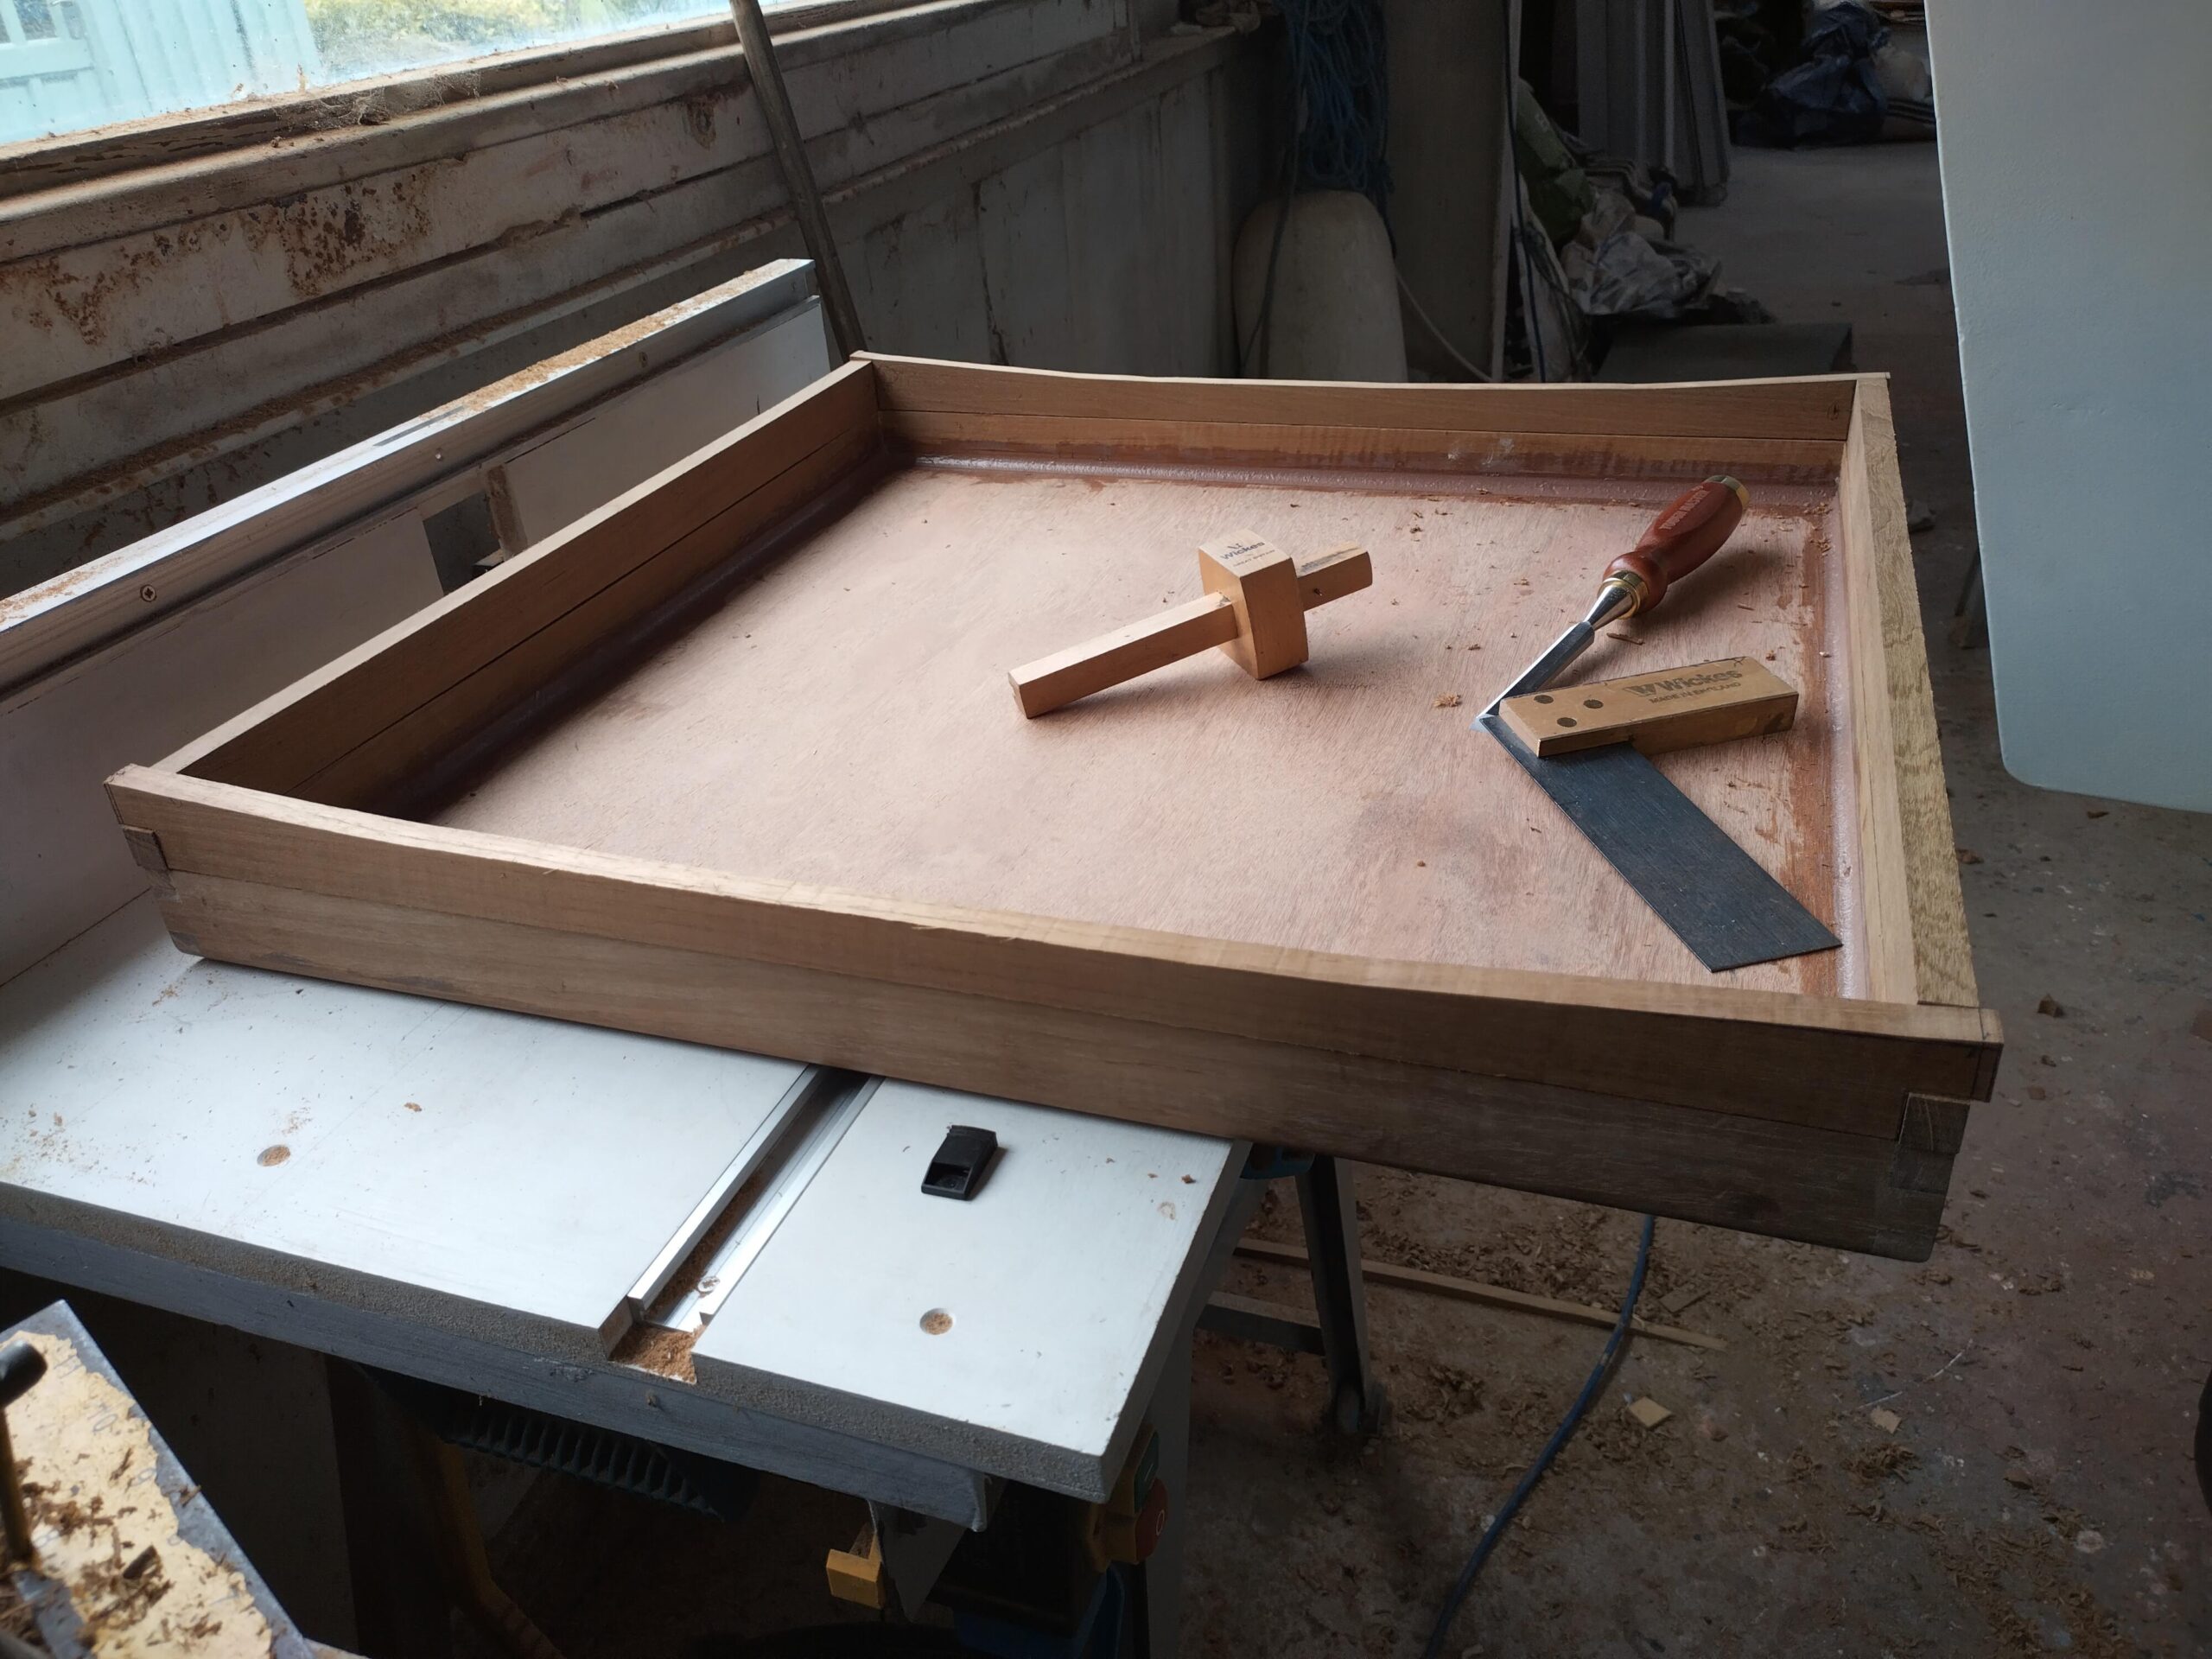
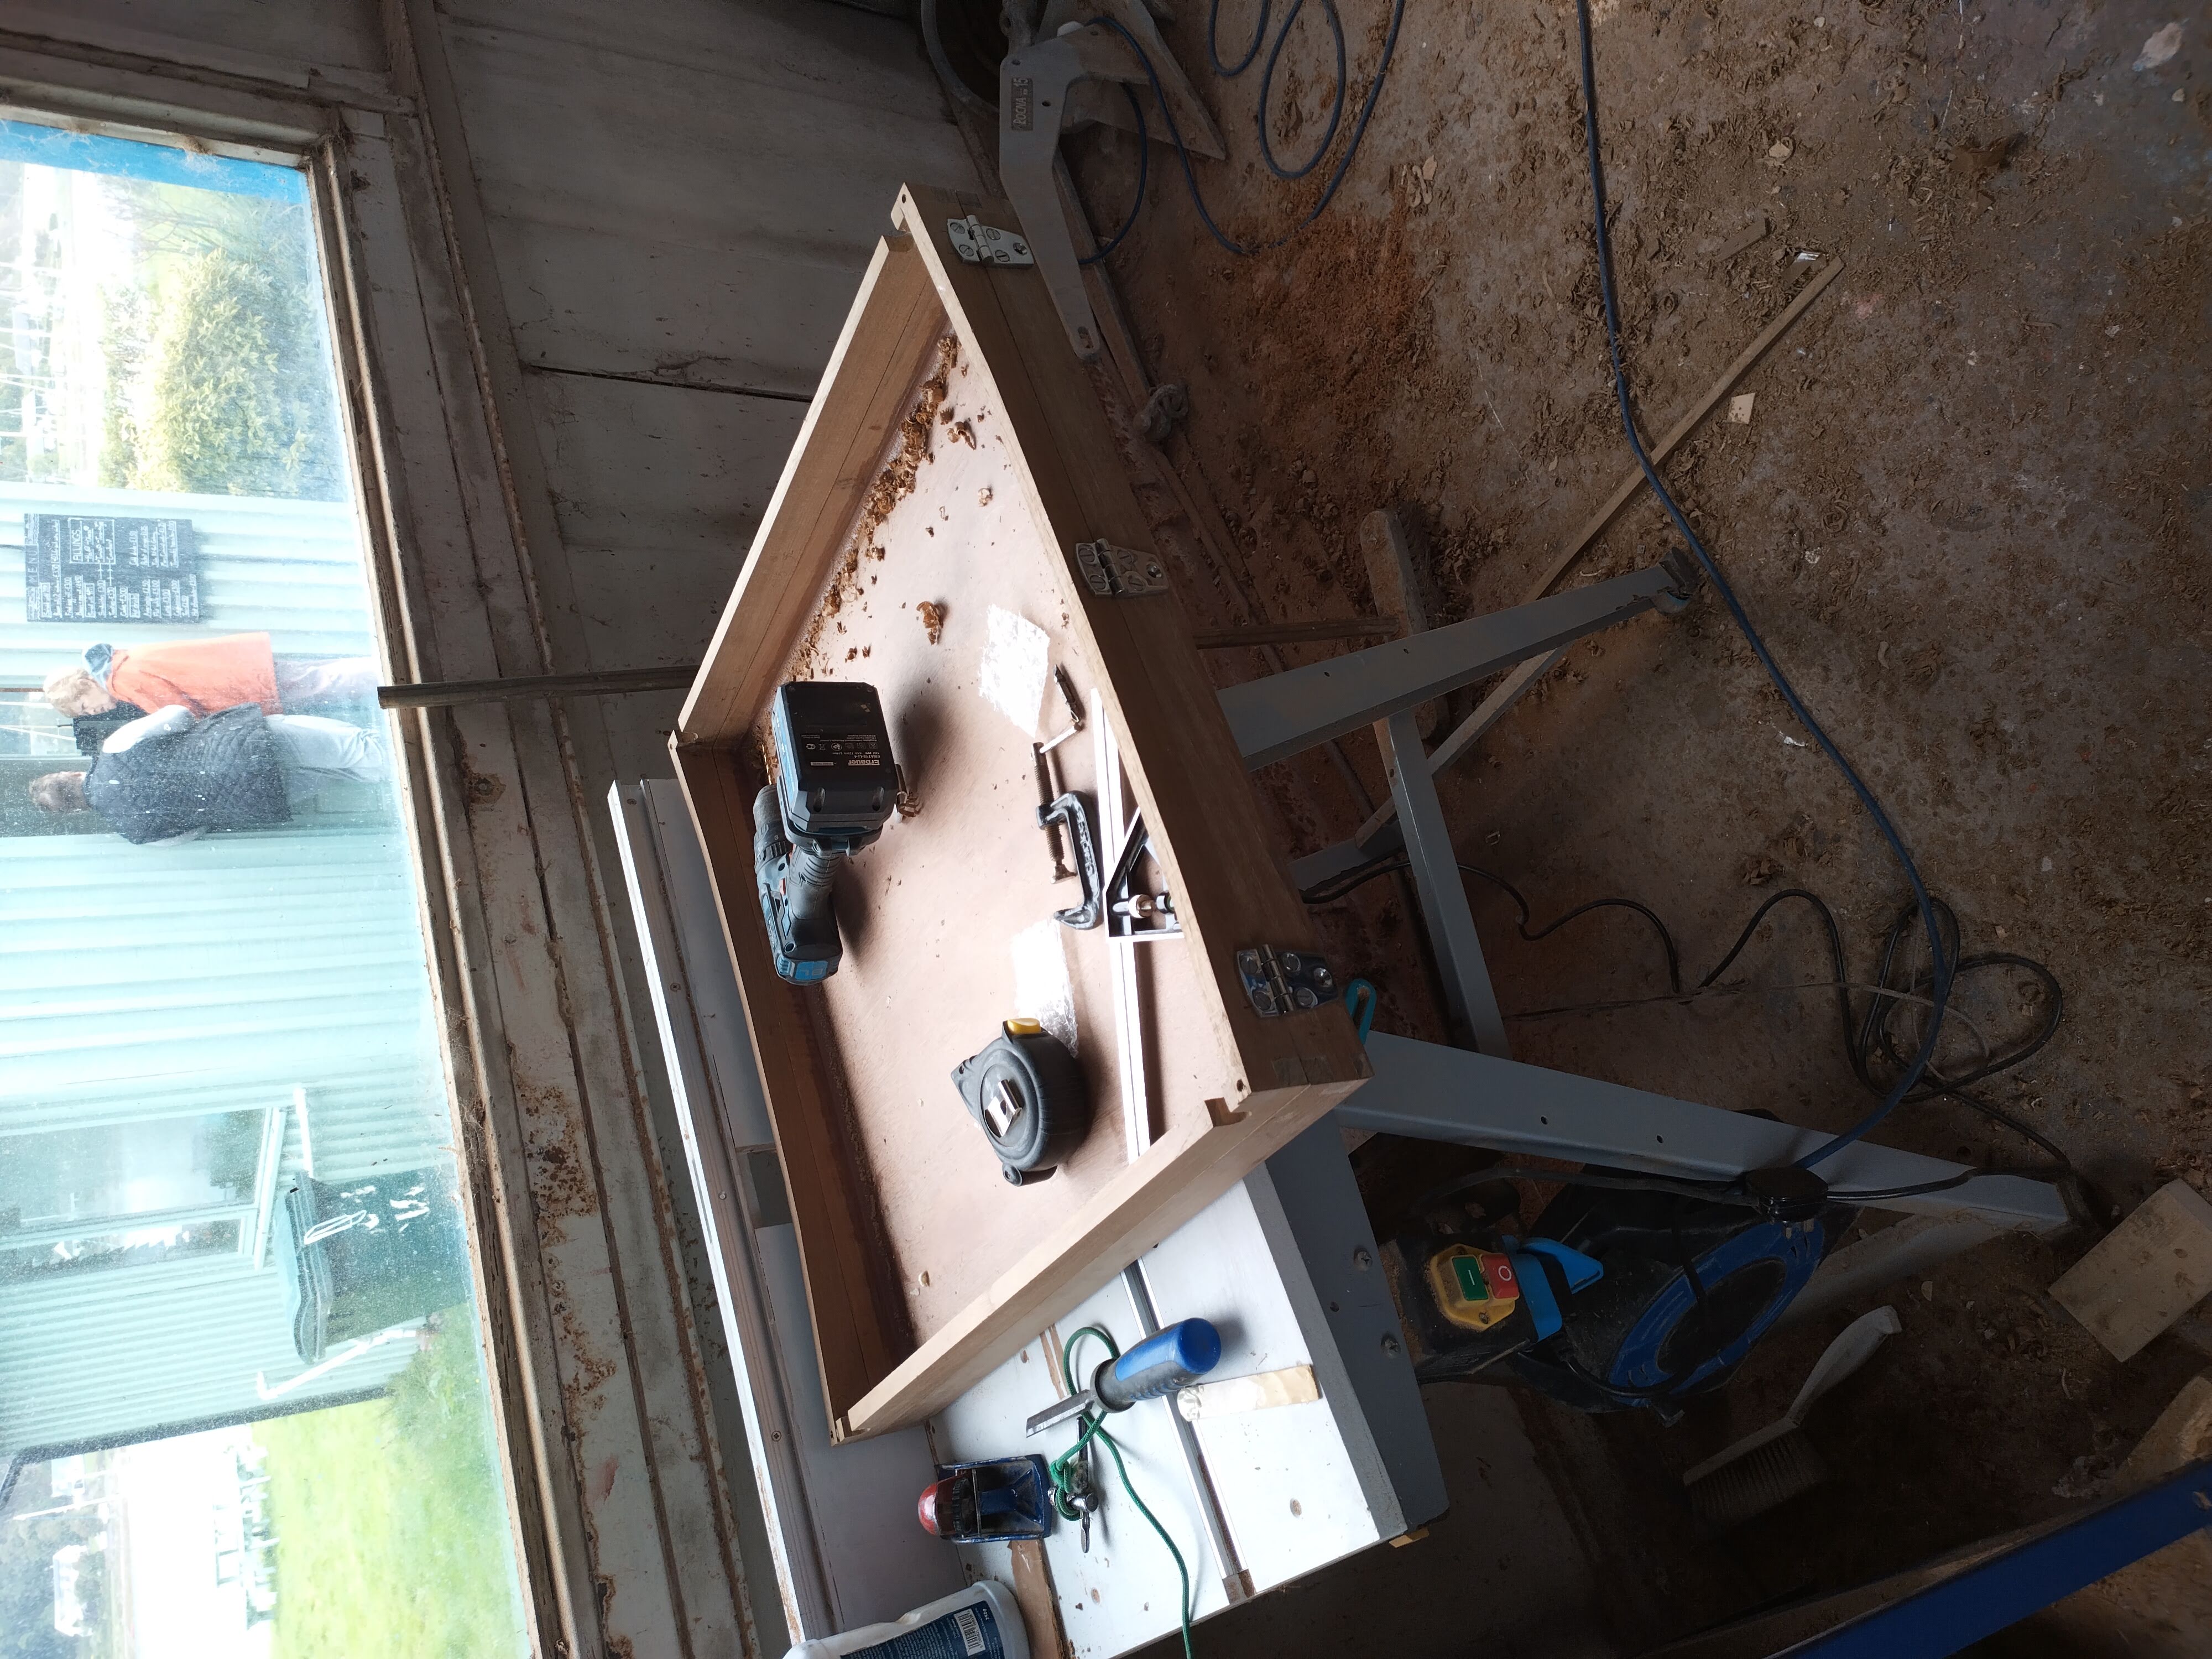
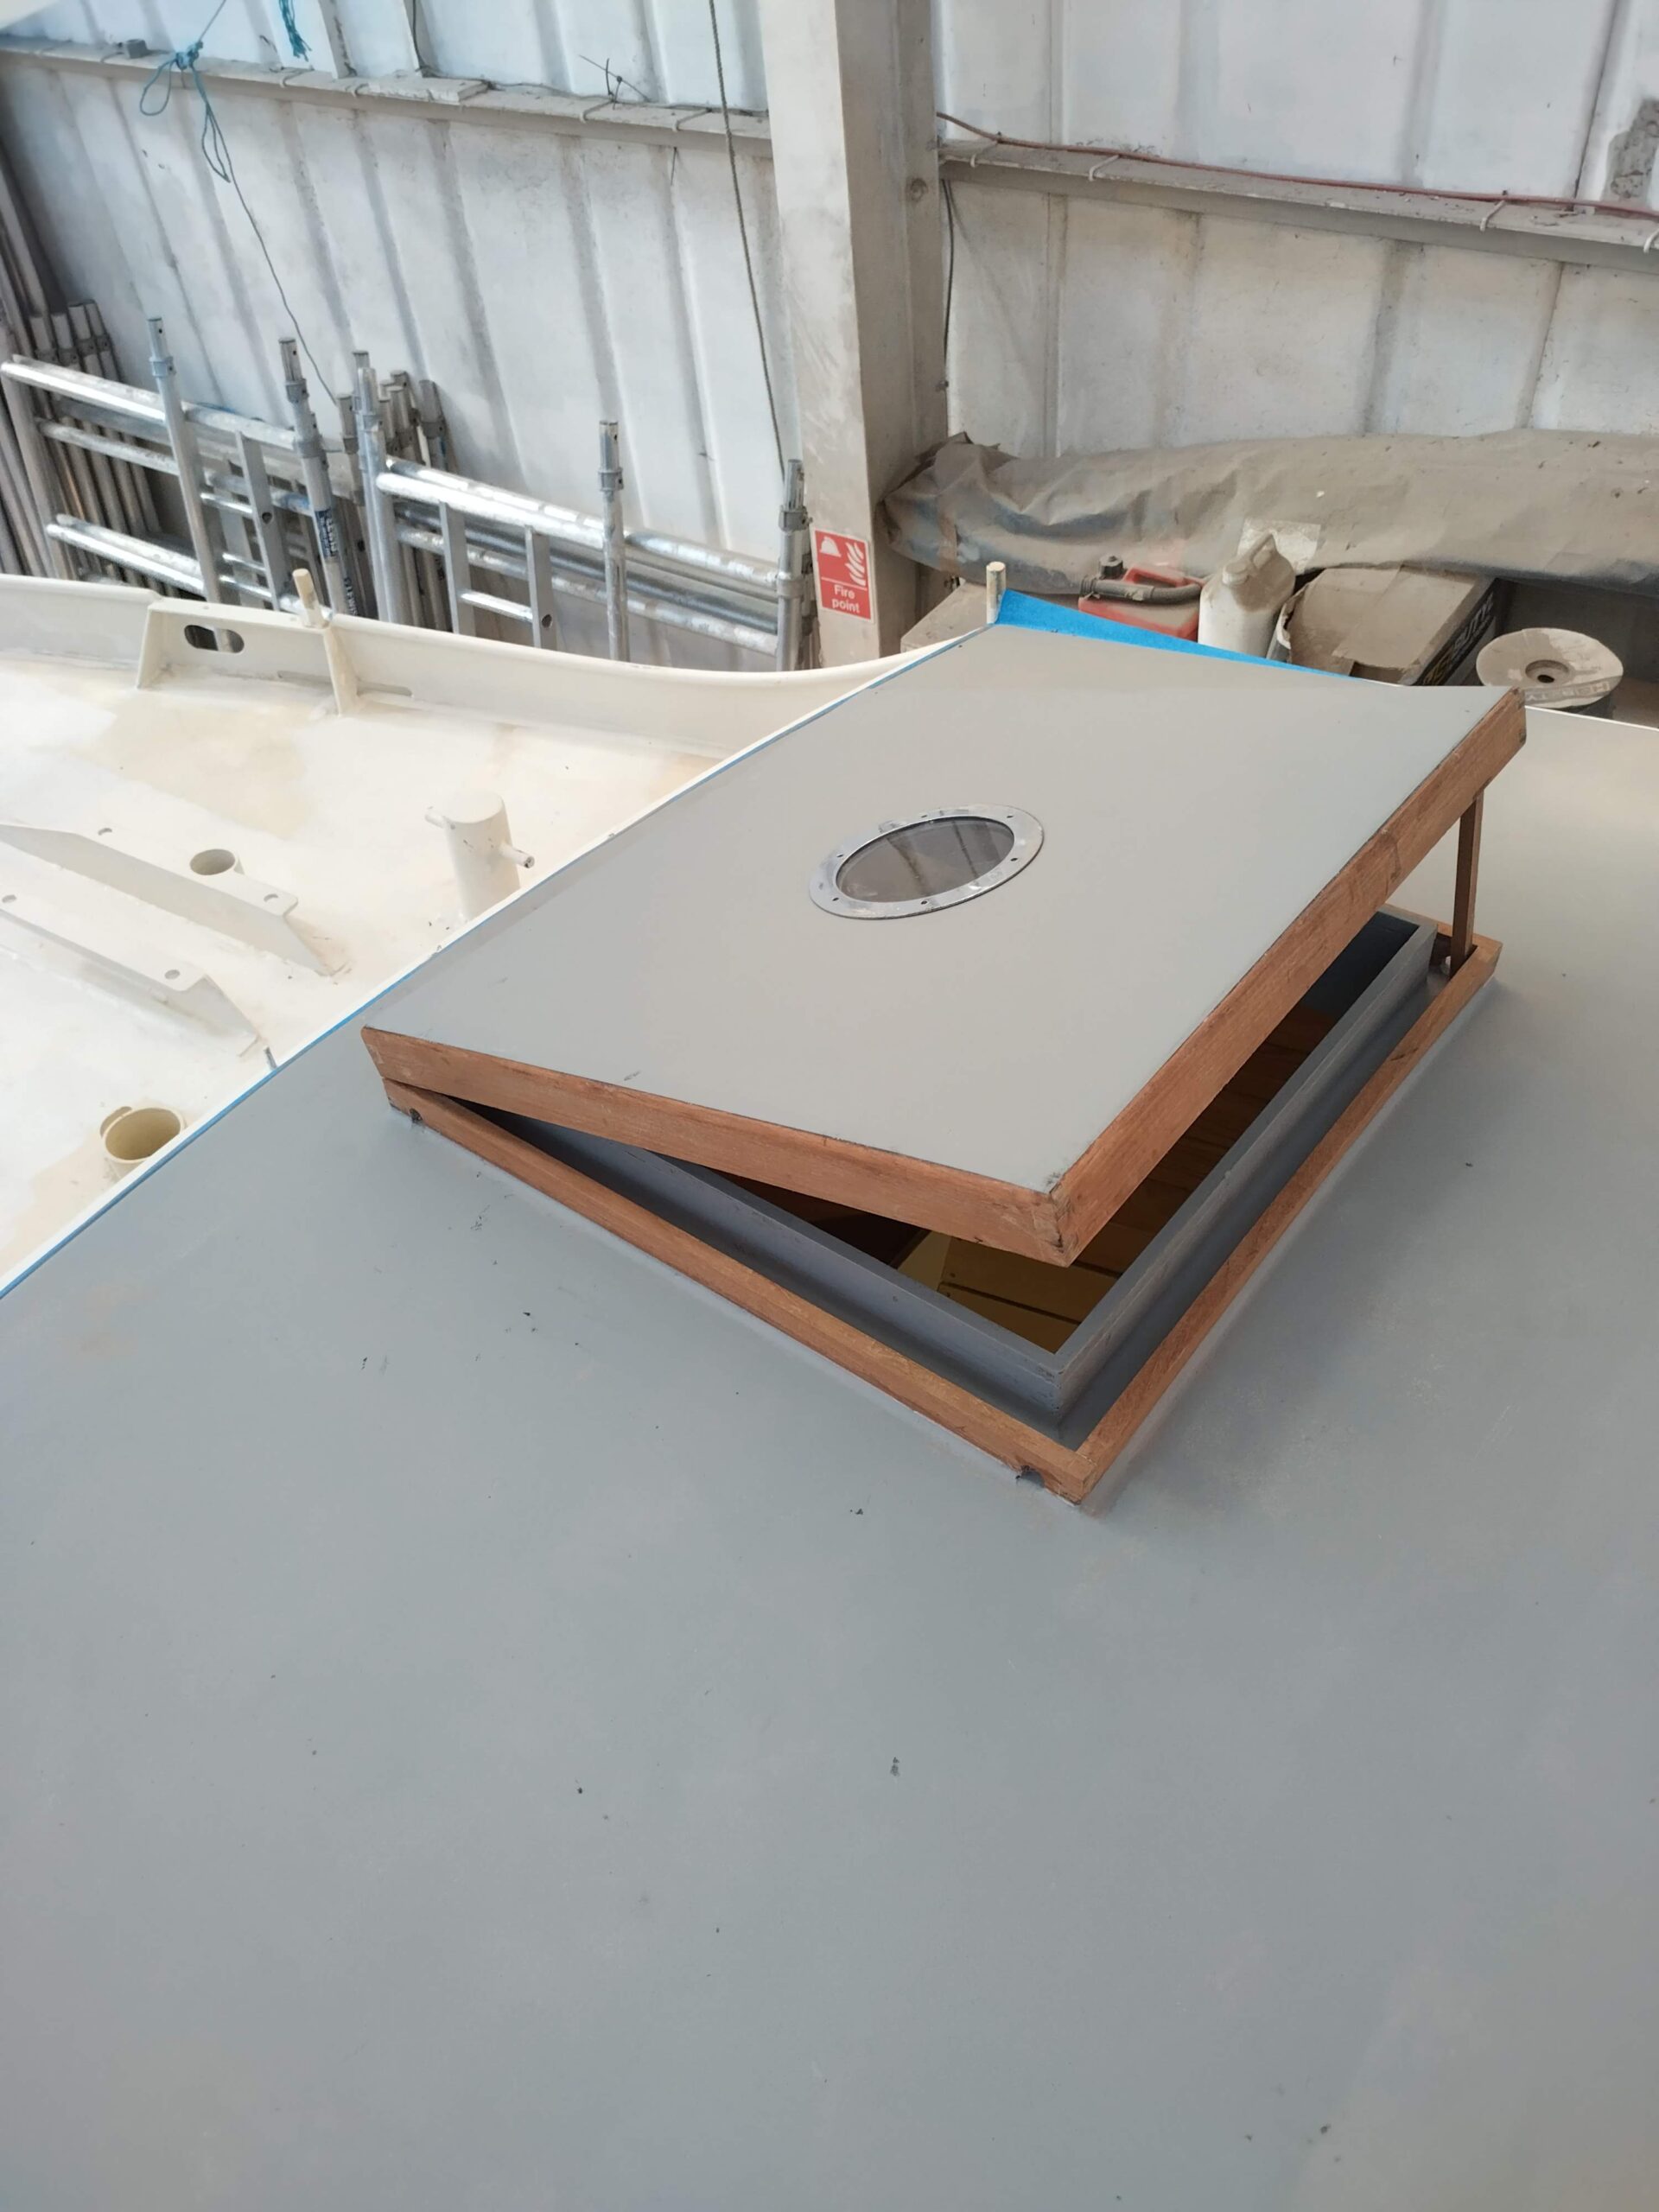
Once this process was completed with both hatches, I took the opportunity to seal all my new structures with 3 coats of raw epoxy resin to protect them from future water damage – these being the two hatch coamings, the mast partner bed and reinforcement, and the doghouse, before continuing. I also started building the hatch cover for the forehatch. This was finally an opportunity to start using some of the reclaimed teak planks I had been storing for several years. They are a fairly uniform 18mm thick by 750mm wide, but have suffered from weathering, occasional damage and being drilled at regular intervals in their previous life. This means that first of all the drilled screw holes needed drilling out neatly and plugging, then the planks needed planing and thicknessing (ending up around 15mm thick) and cutting and planing the edges square, leaving a plank about 650mm wide. For the hatch cover rim, these were cut down further to around 50mm wide, cut to length and then I built up the hatch rim using glued and box joints which I then dowelled from the underside for increased strength. Having clamped this frame on a level surface and being very careful to ensure it was square, after the glue cured I was then able to rout a rebate in the top edge to take the 12mm ply lid. This I sheathed with a layer of glass cloth prior to gluing in, to avoid undue risk of getting epoxy smeared over the teak by doing it in situ. A little bit of filler was required around the edges of the hatch lid, and then I applied a fillet all round the inside corners of the lid. I happened to find in my boxes of bits a couple of 12mm thick round perspex ports with nice chromed brass trim rings, so before applying two more coats of epoxy to the ply lid (top and bottom), I cut holes for one of these in the lid, as well as fabricating a ply trim ring for the underside to hold the perspex in place, and glued this in place.
My deck hatches are both of the Maurice Griffiths double coaming type, so having built the hatch lid oversize compared to the ply inner coaming, I then had to construct a teak outer coaming to match the size of the hatch. As these were only 30mm or so high, the corners were a simple lap joint, and the whole assembly clamped onto the hatch lid as it glued. Cutting two of these parts was complicated slightly by having to cut a female camber into the bottom edge to match the deck camber, and this was done prior to gluing up the assembly. Similarly to the hatch lid frame, I drilled the corners from the underside for dowels, but this time I also left them proud by a quarter of an inch, so when I fitted the coaming to the deck I was able to locate them to matching blind holes in the deck. Once the corners were glued, I set this coaming down on a good bed of thickened epoxy, clamped in place until cured, and then again applied a healthy fillet of epoxy filler round the outside and a smaller fillet on the inside, making sure the space between the inner and outer coamings was clear of obstructions for good drainage.
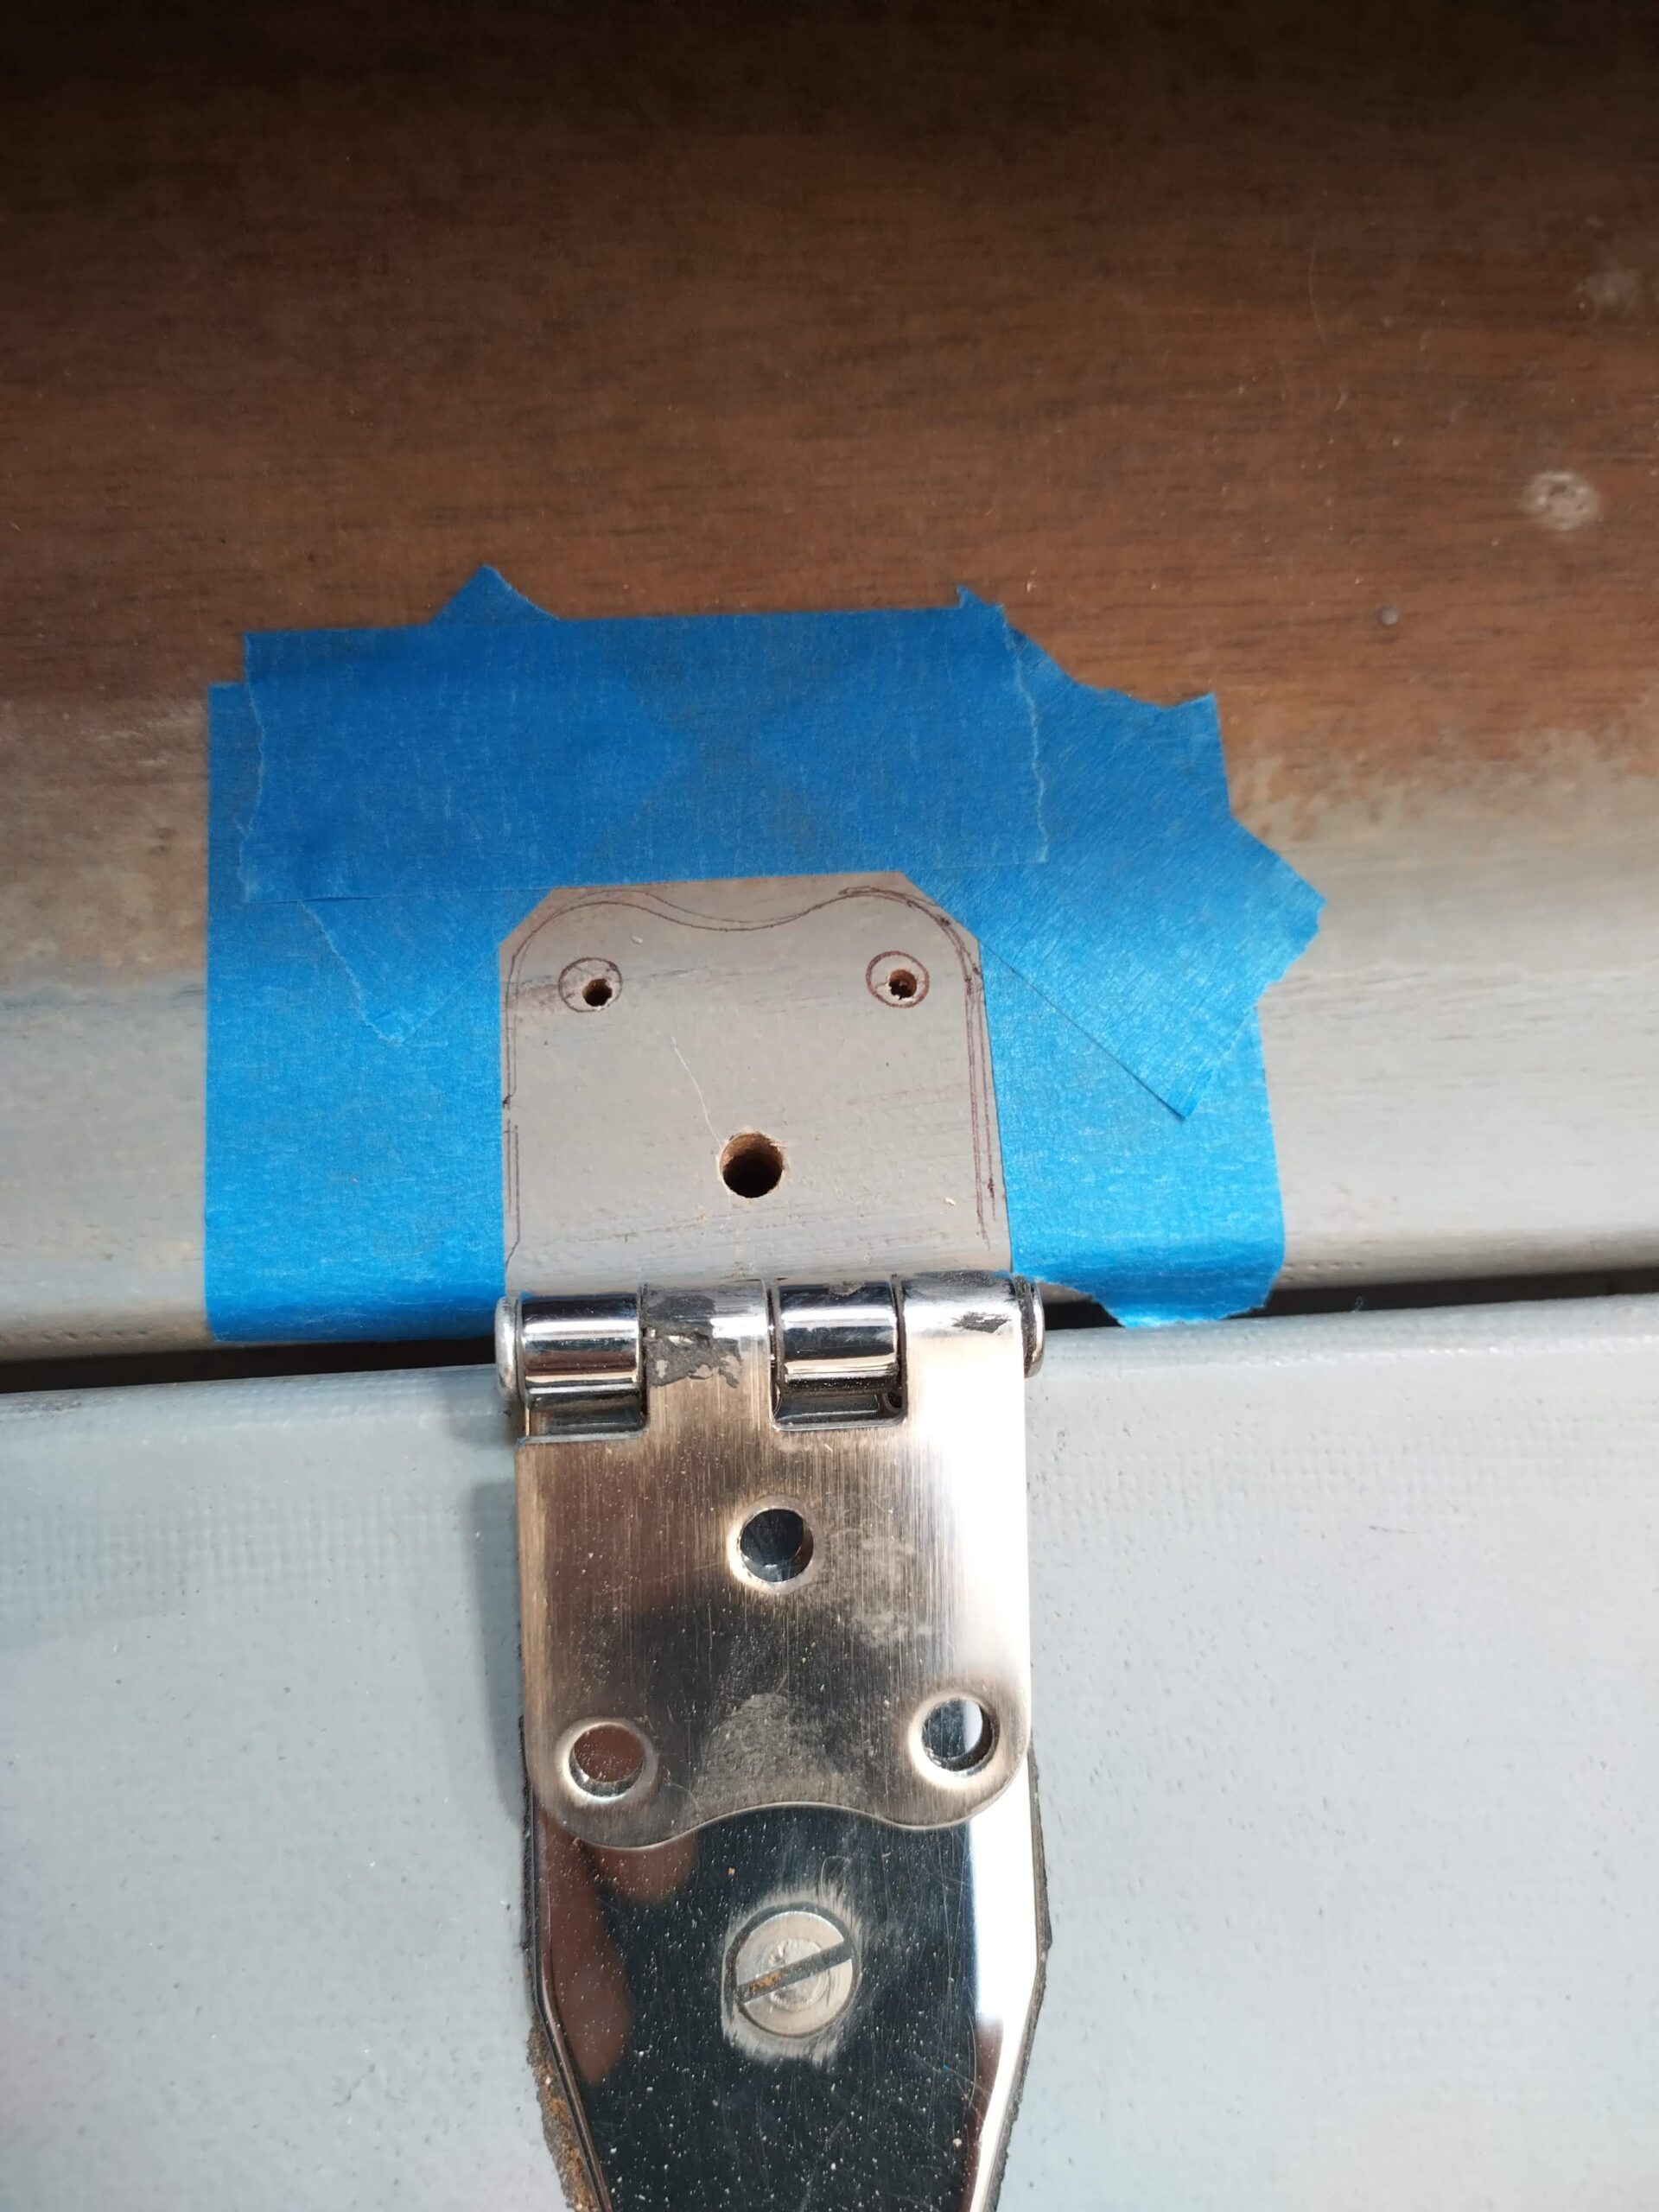
Prior to gluing the outer coaming in place, I had once again matched it up to the lid and drilled holes for the hinge bolts (I am a big believer in bolting hinges rather than screwing where I can, as previous boats of mine suffered from wobbly-hinge syndrome). This would make it easier to fit the hinges in due course.
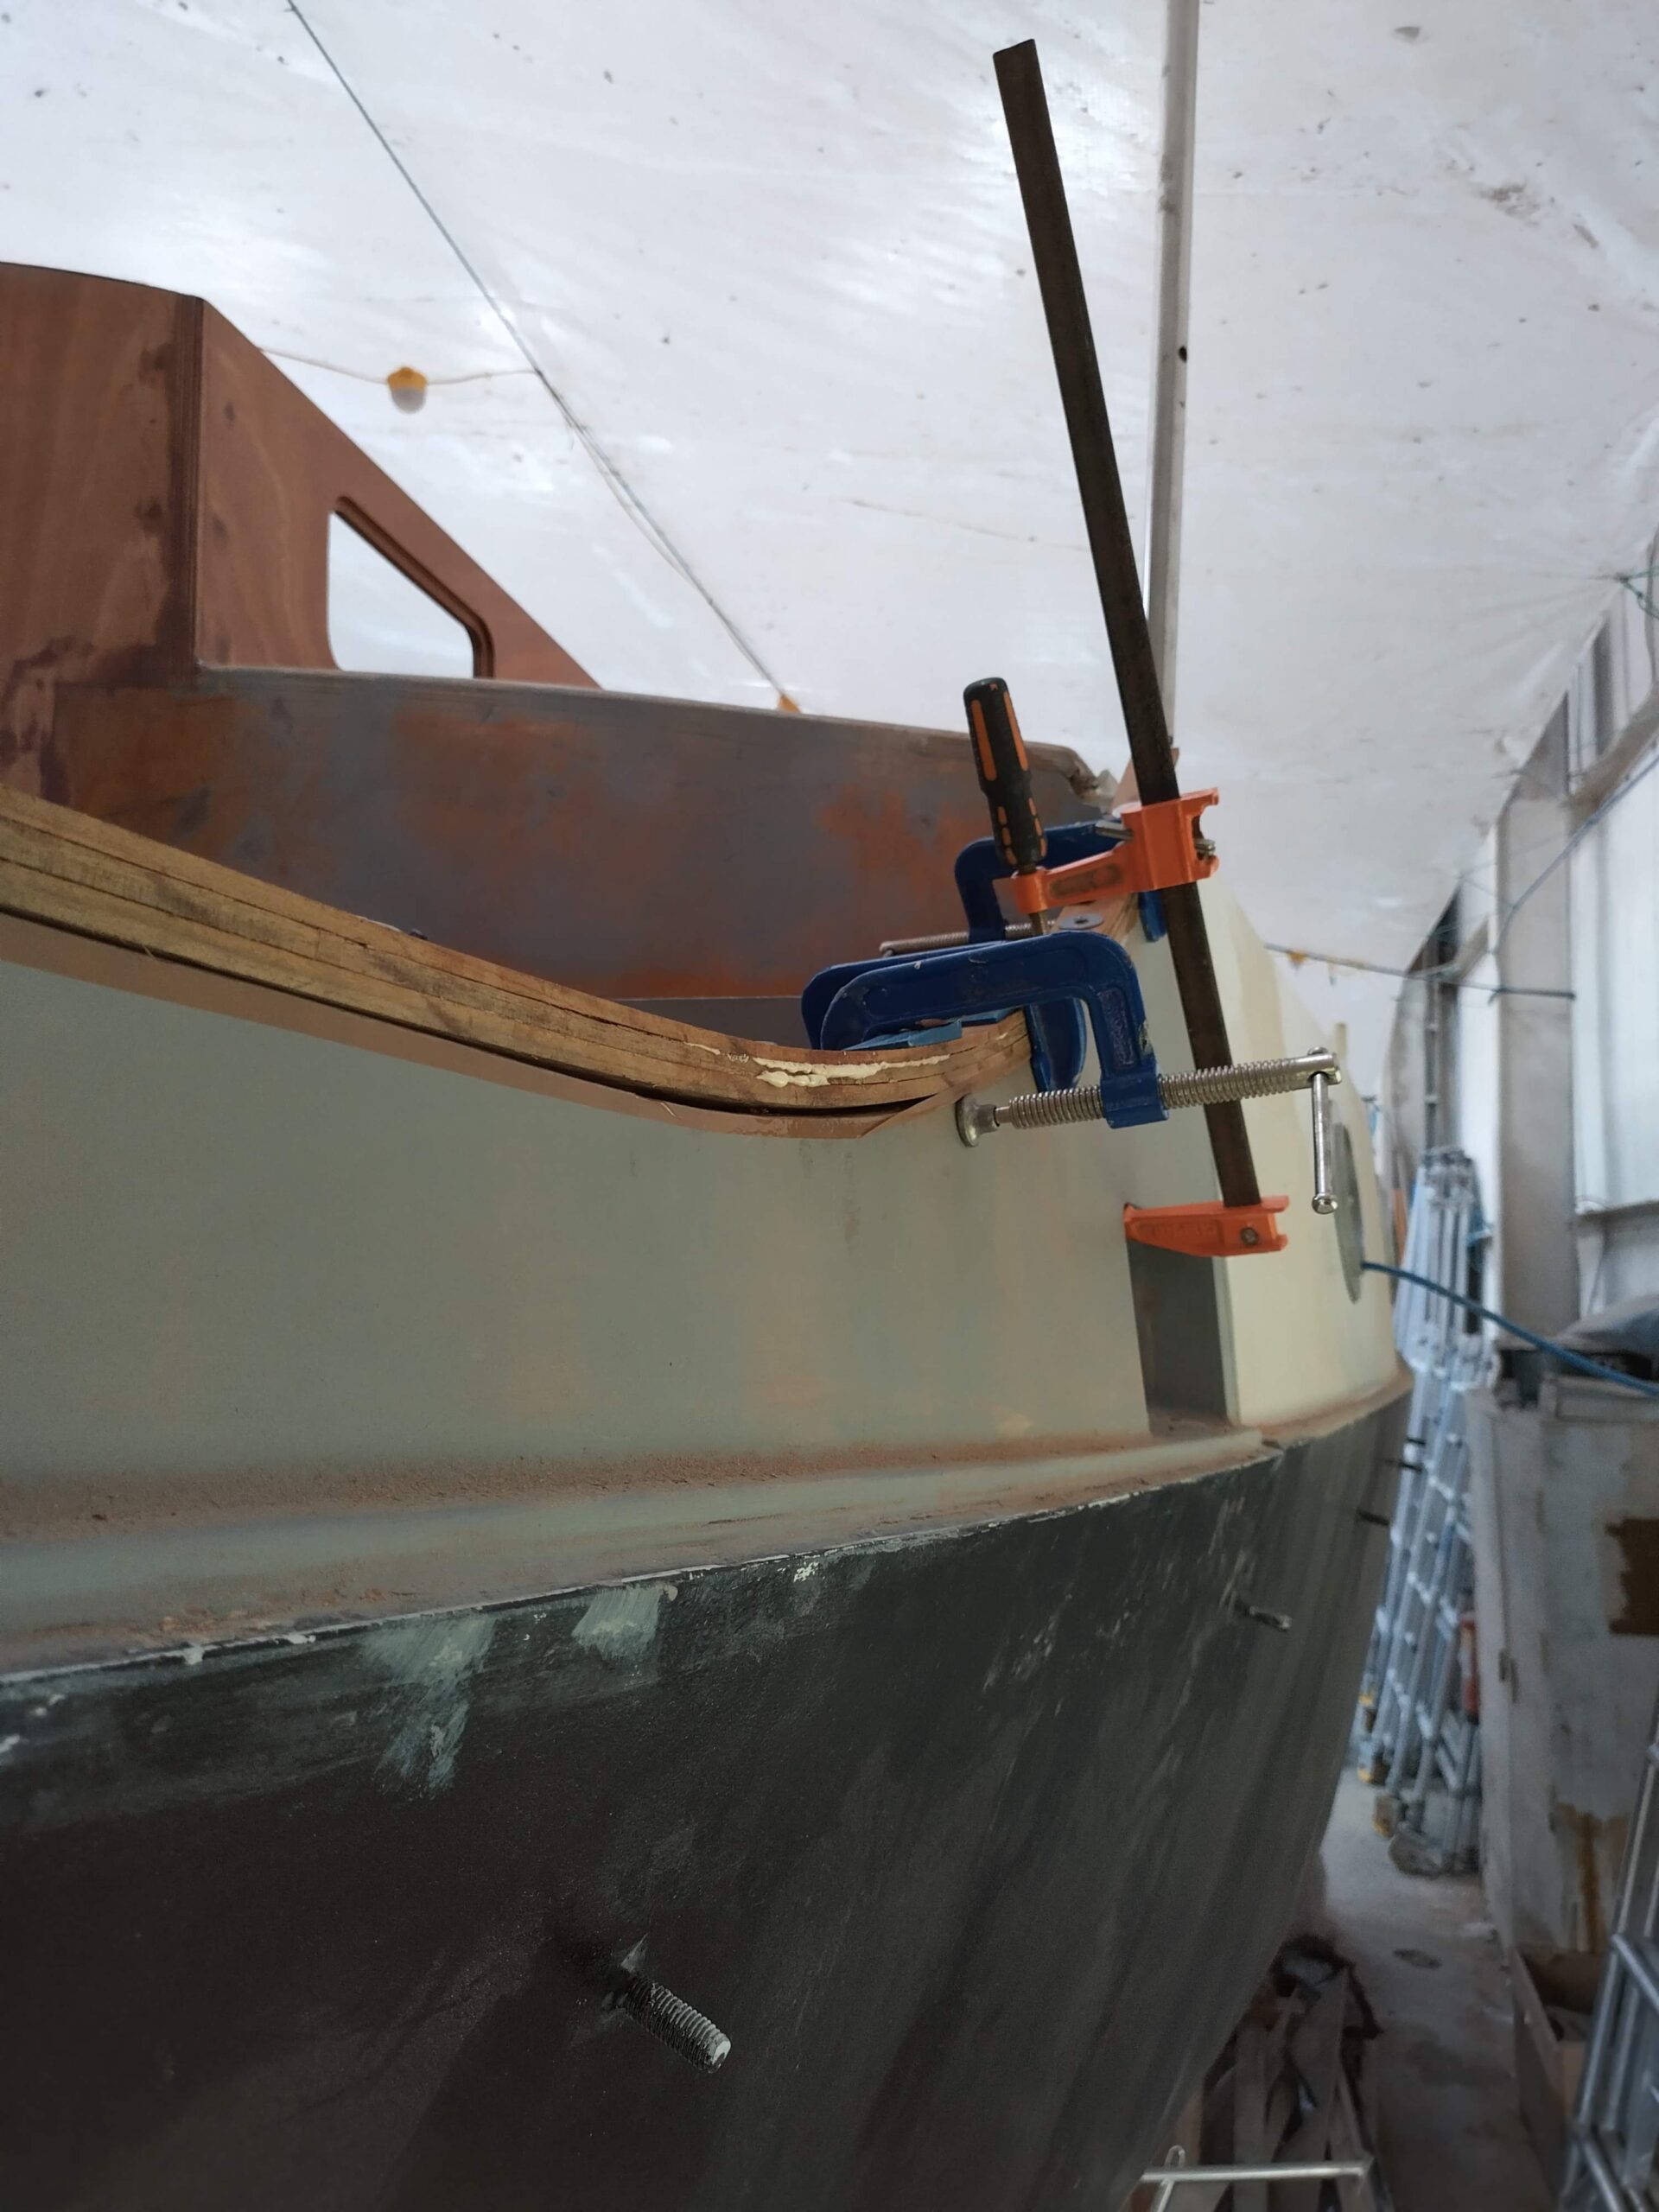
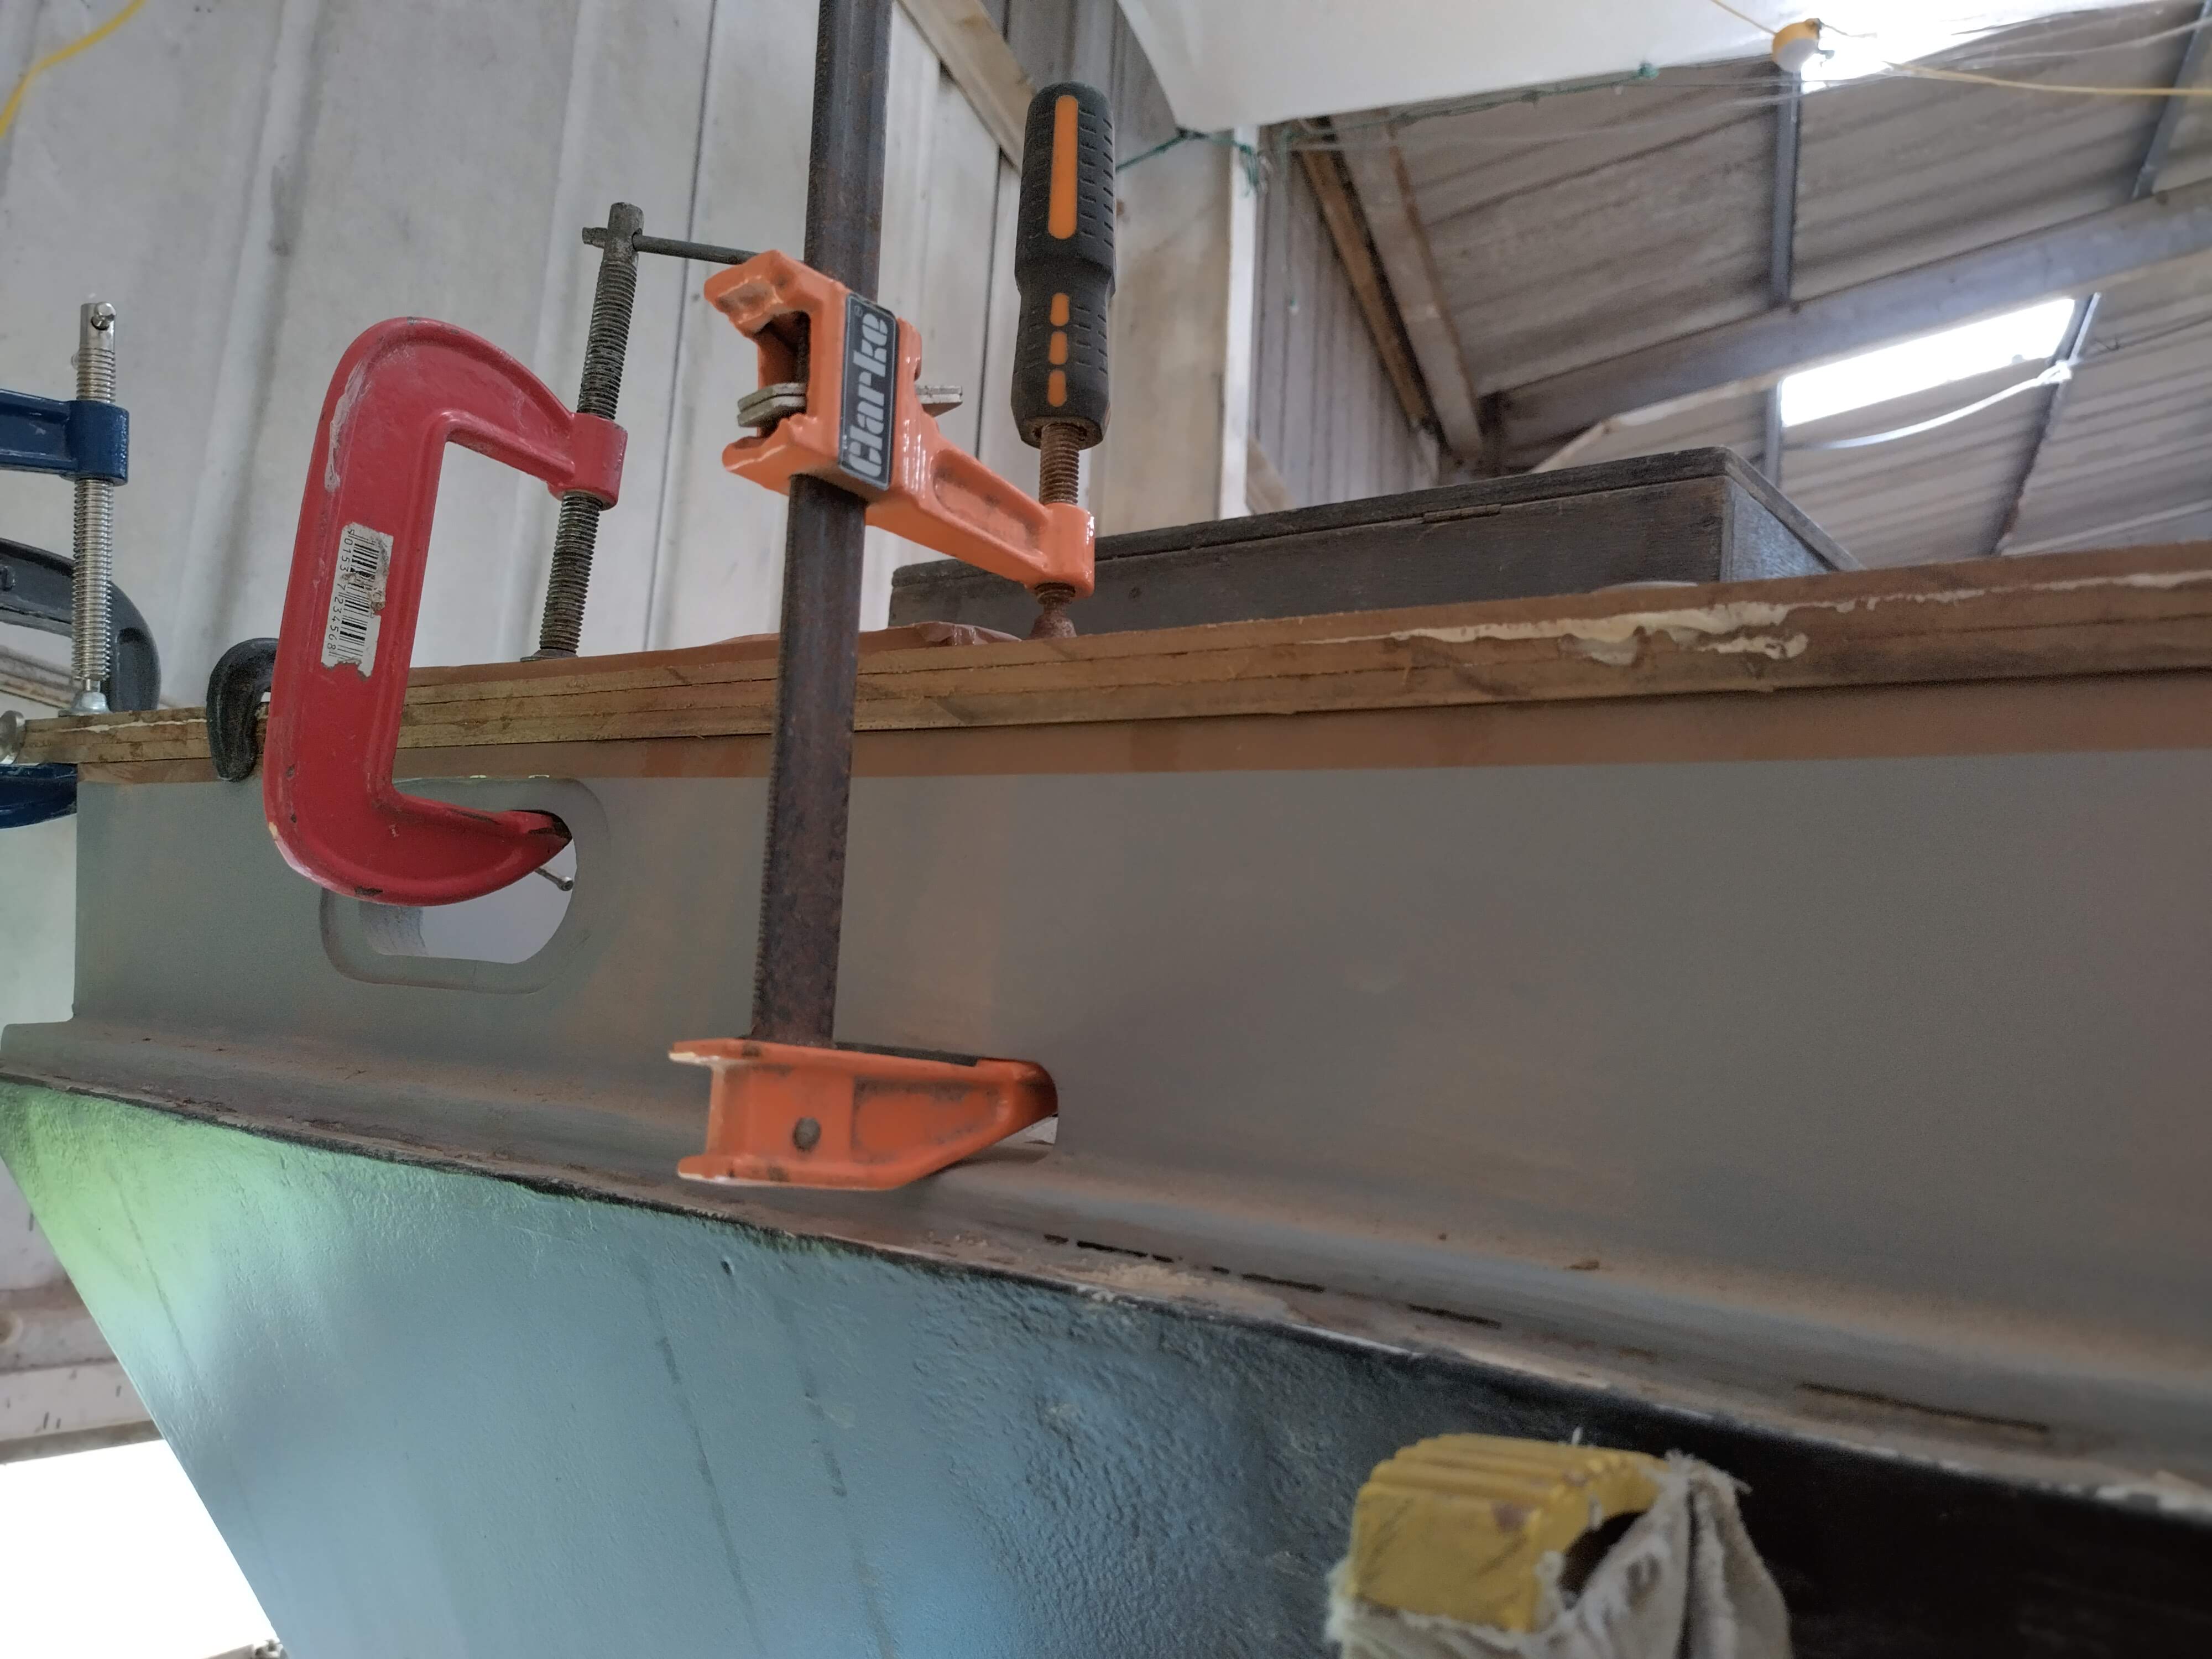
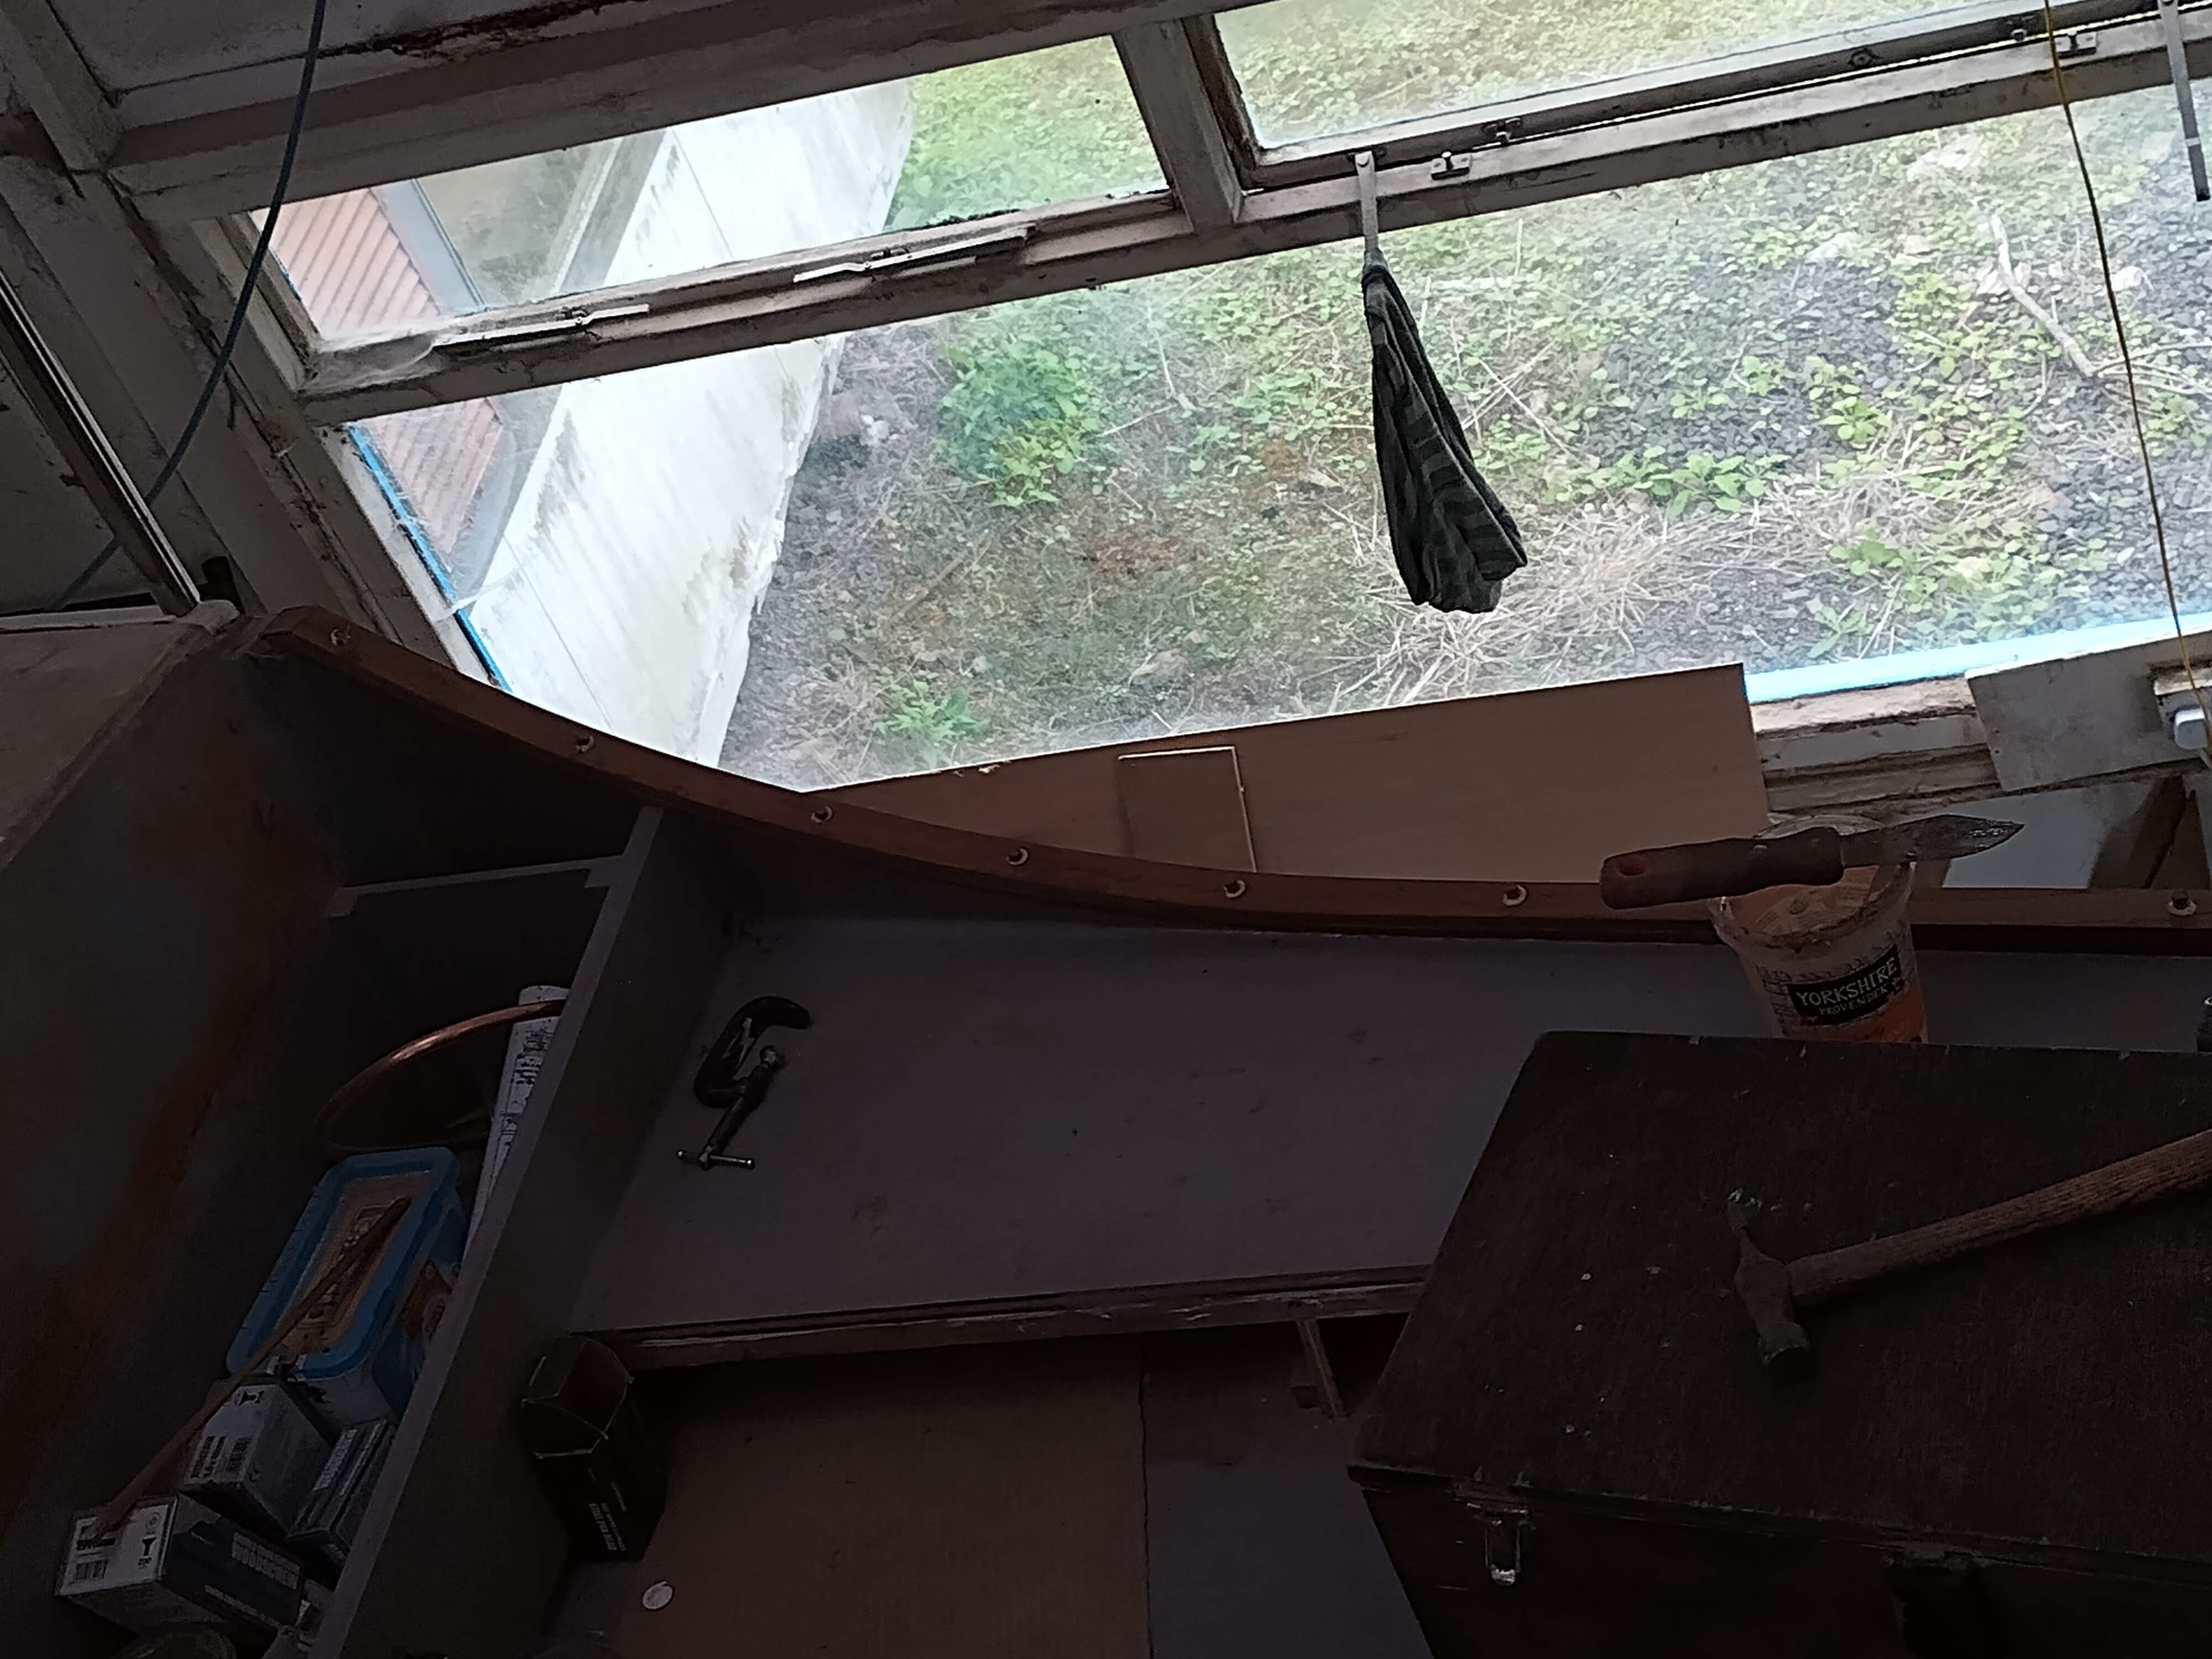
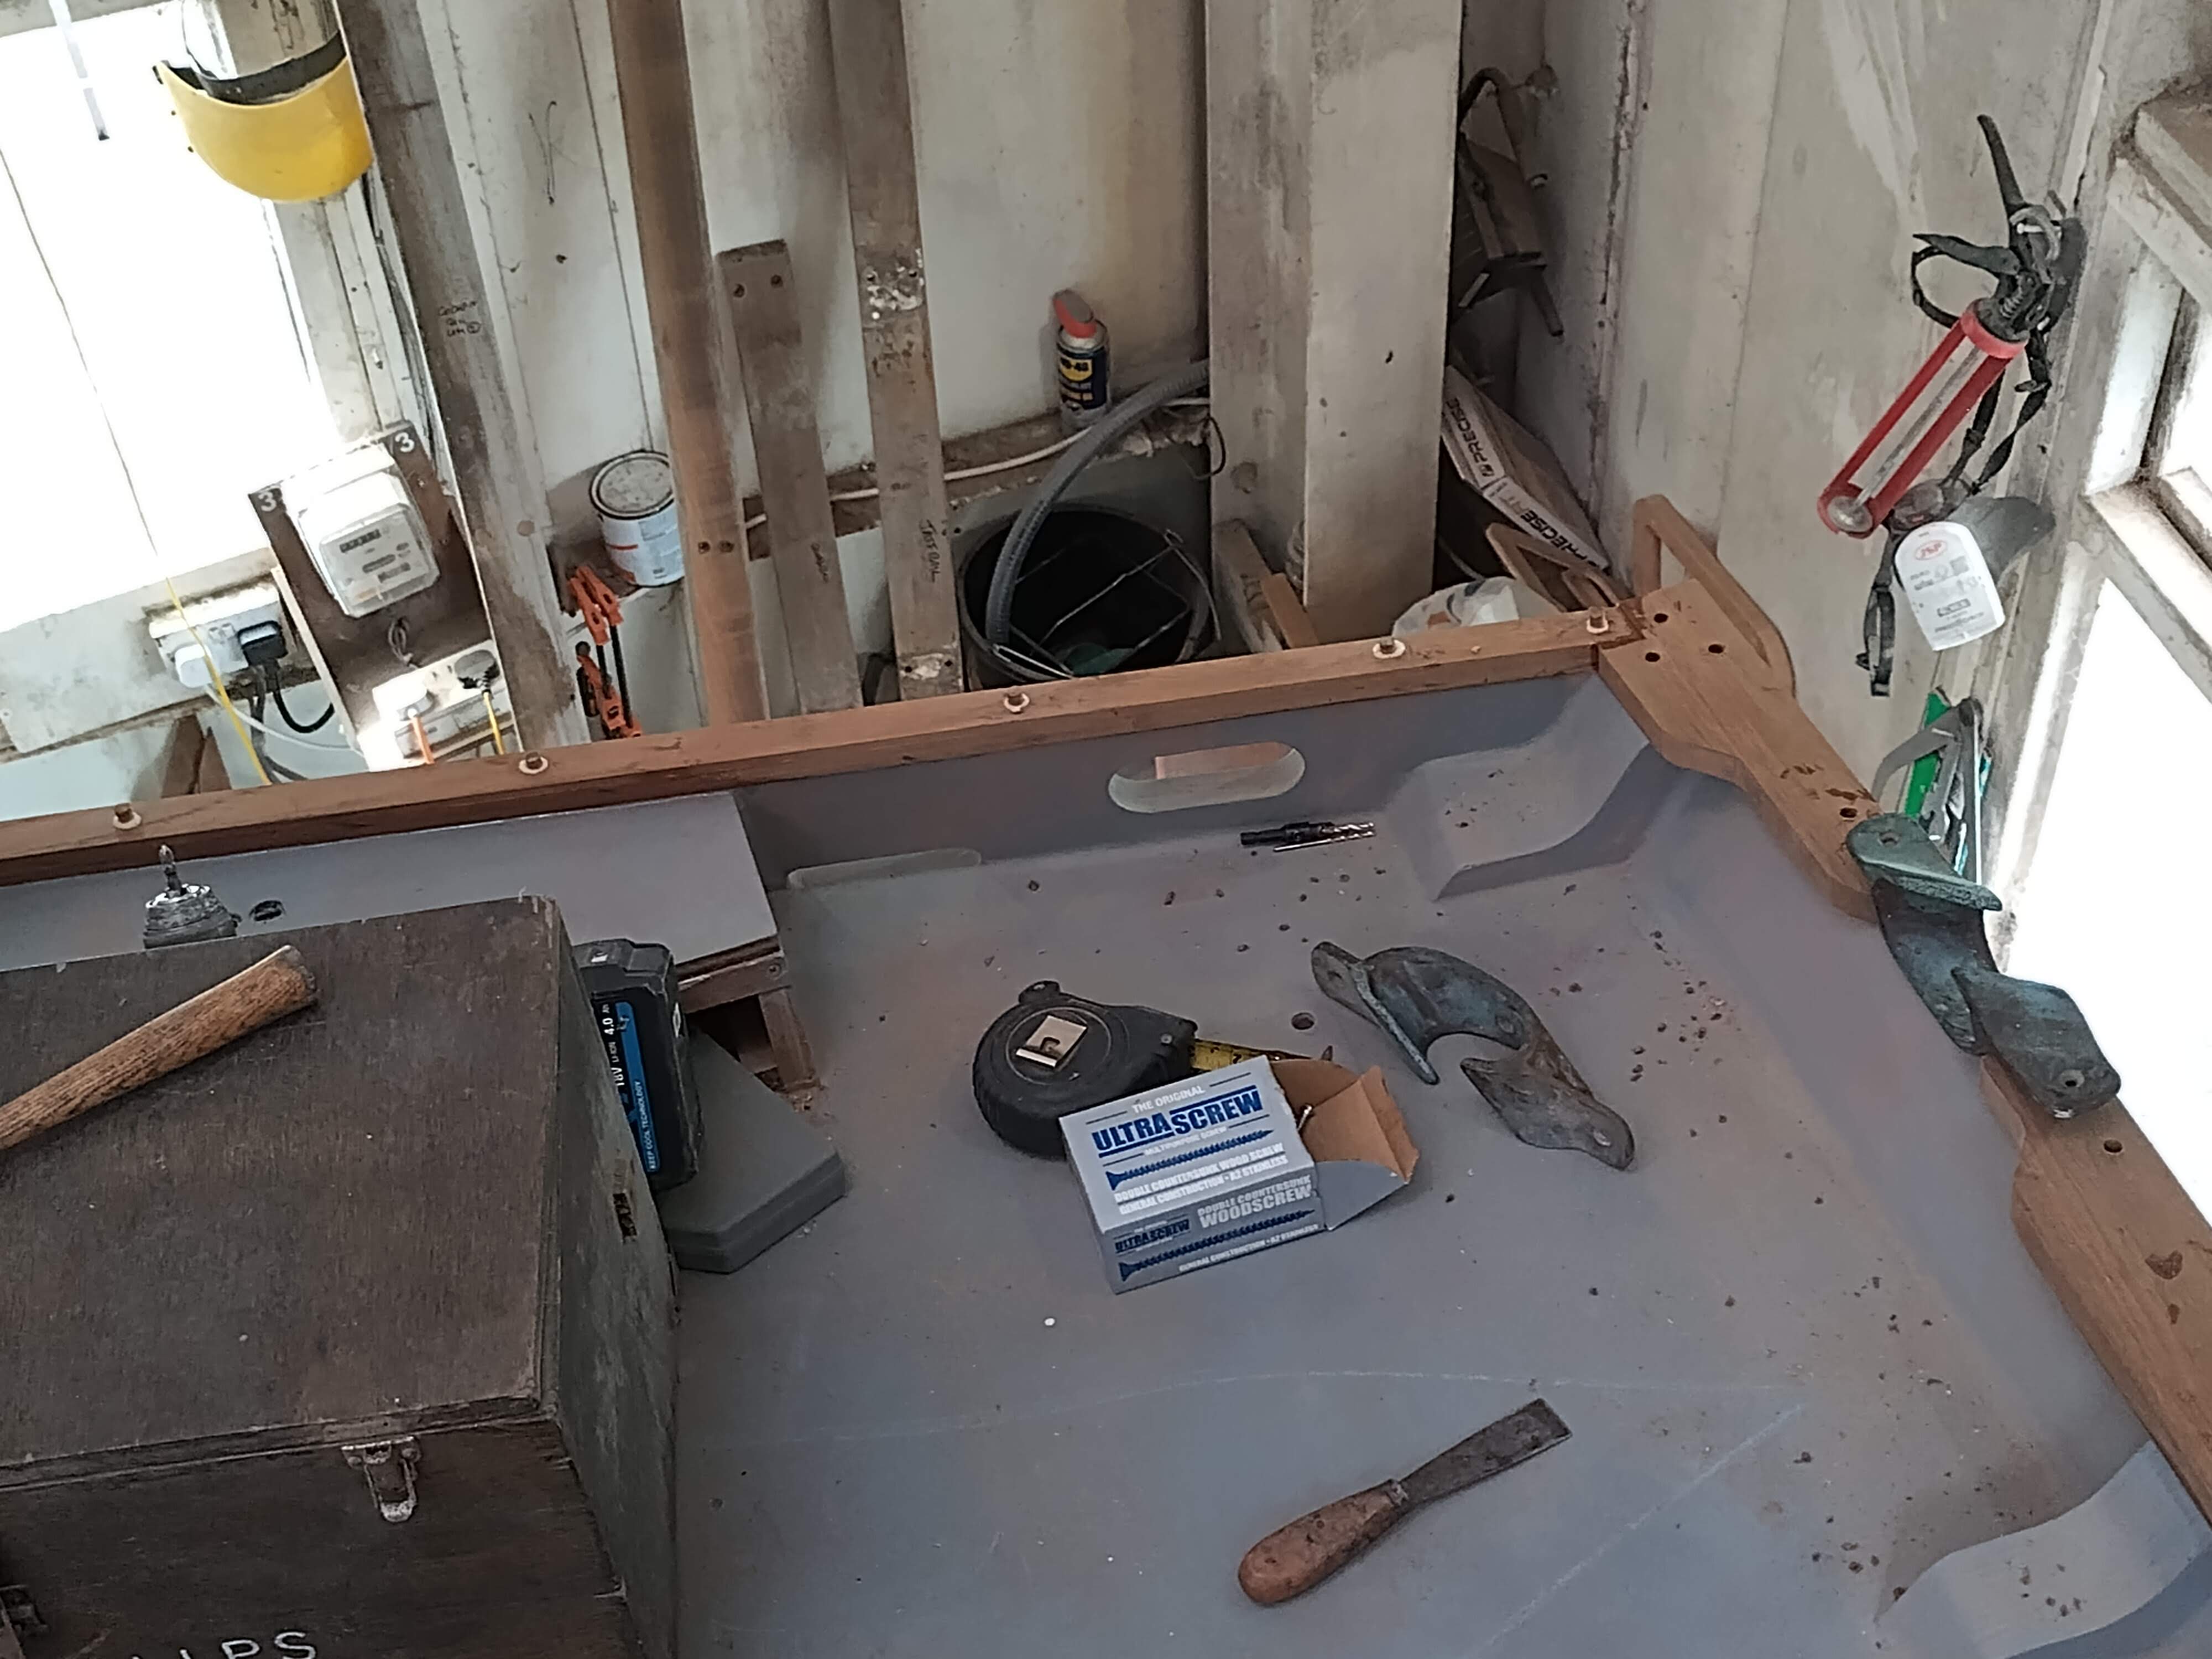
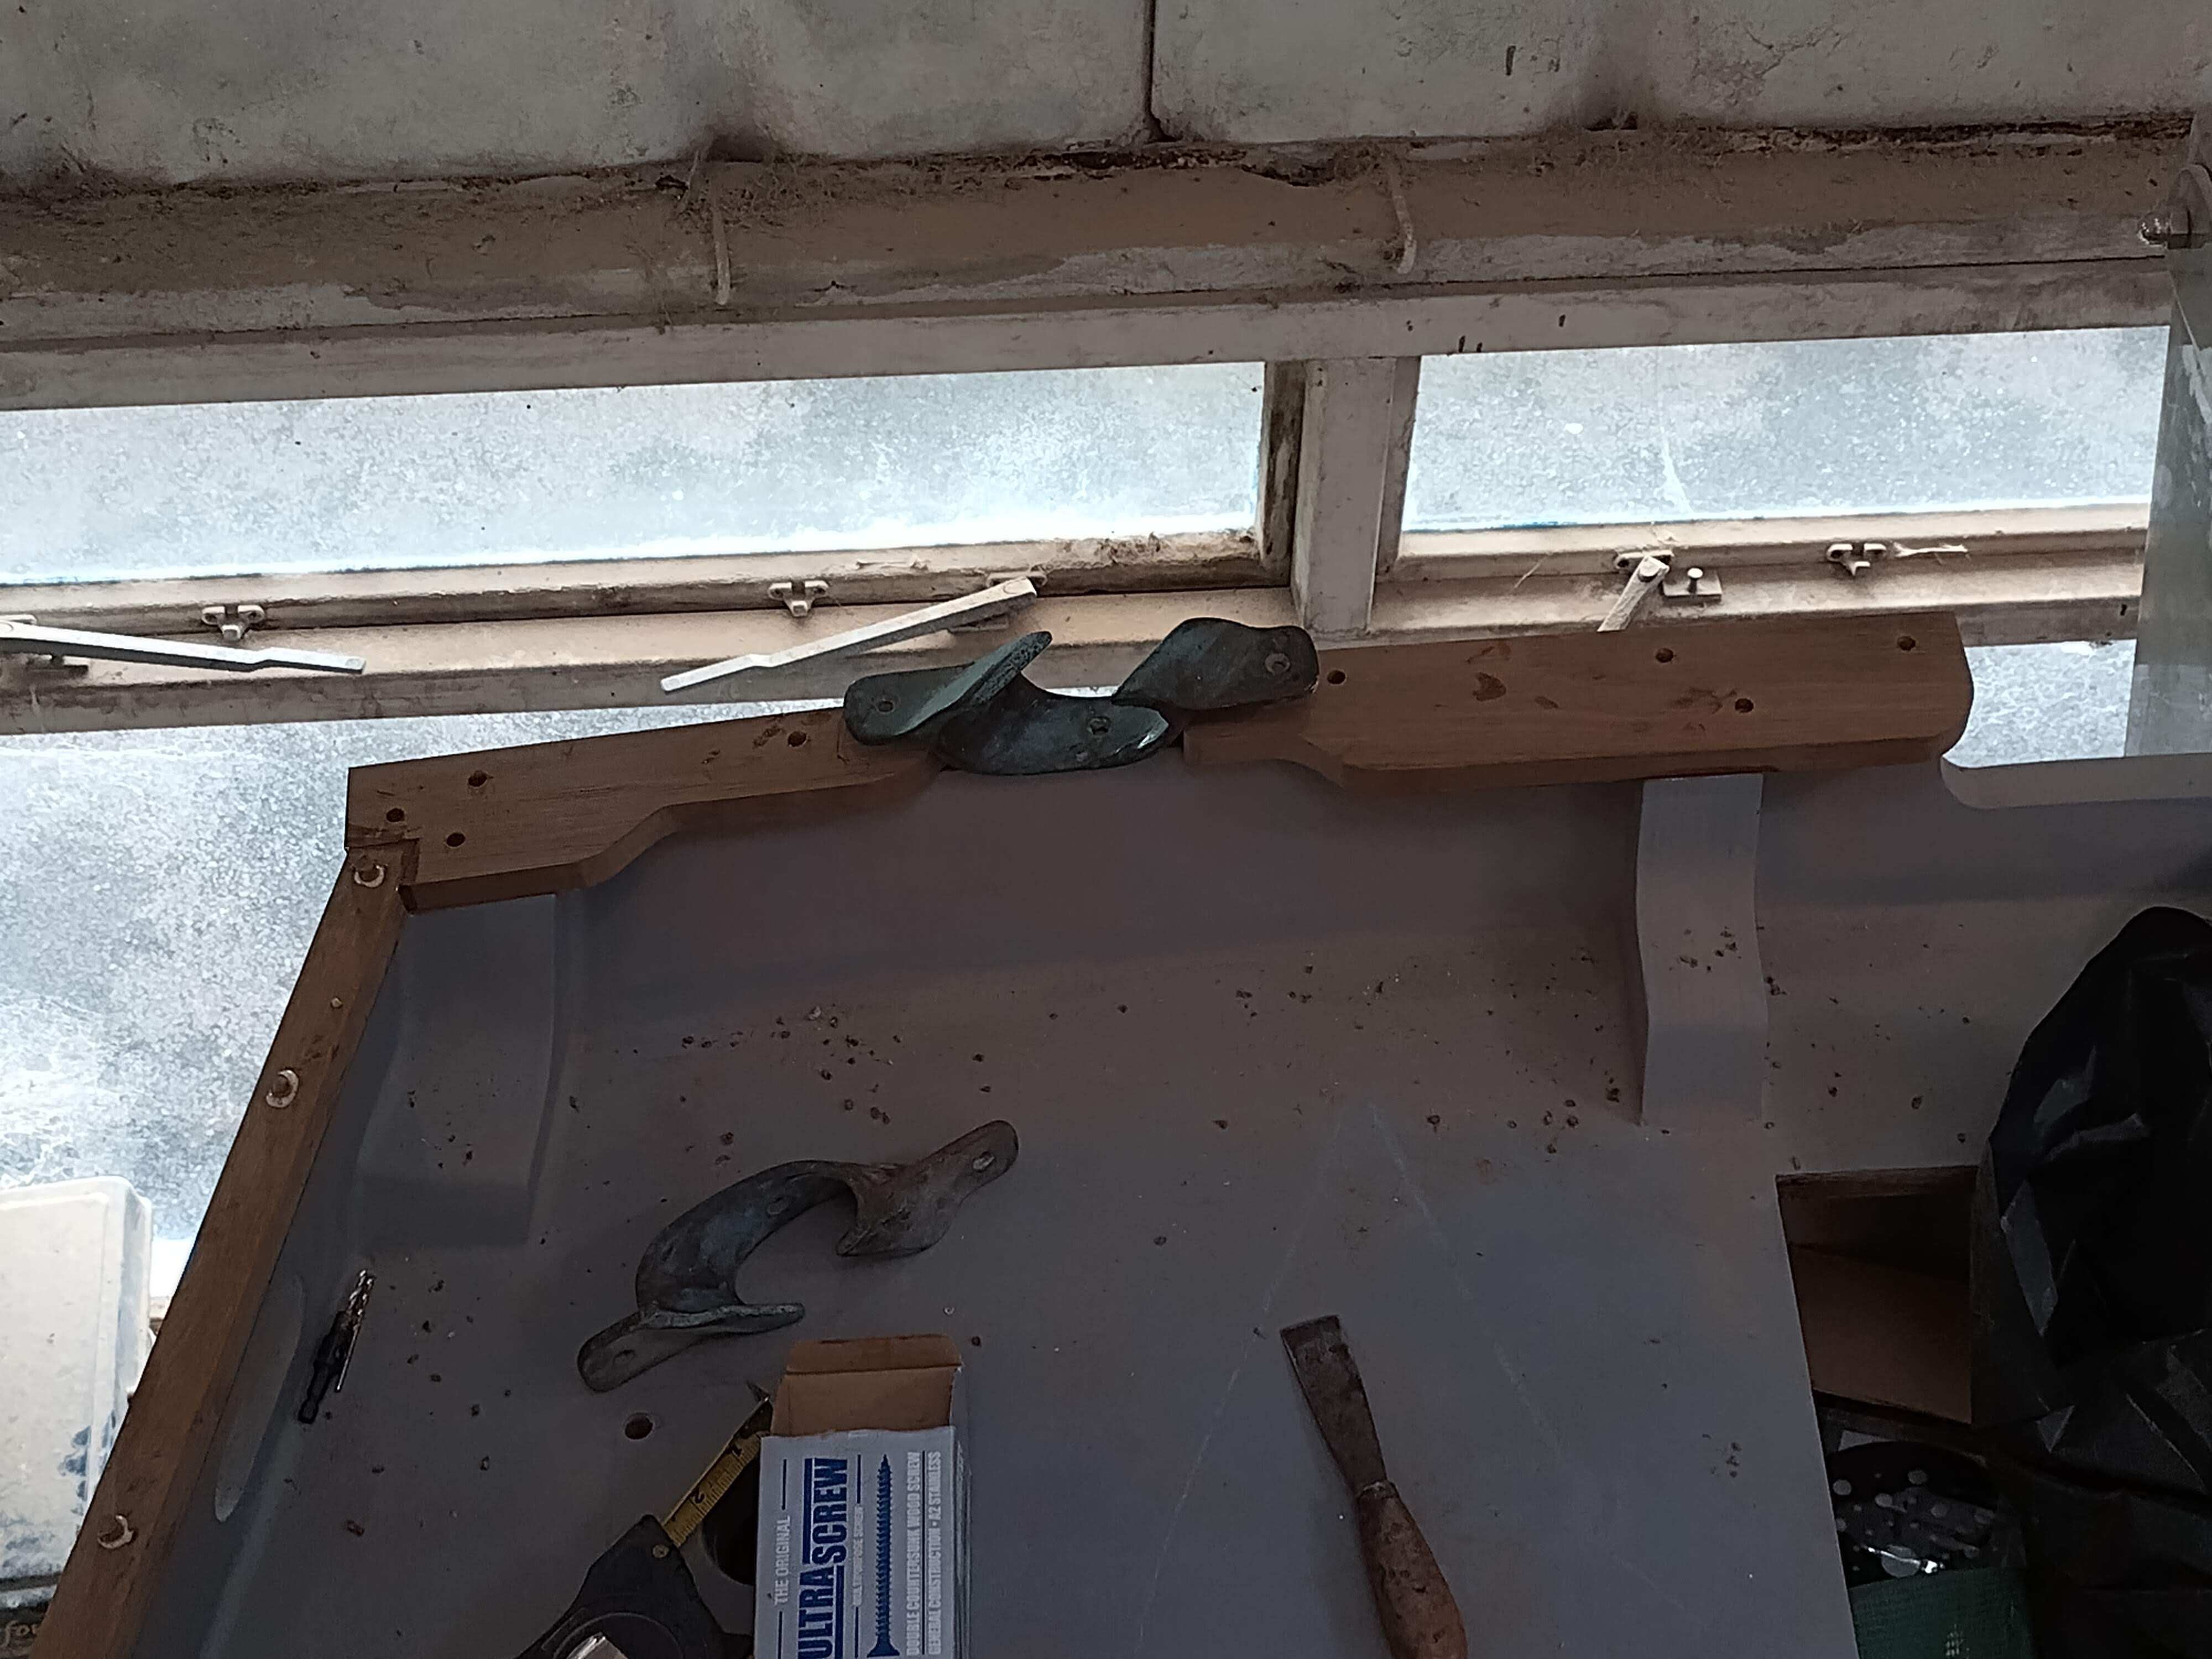
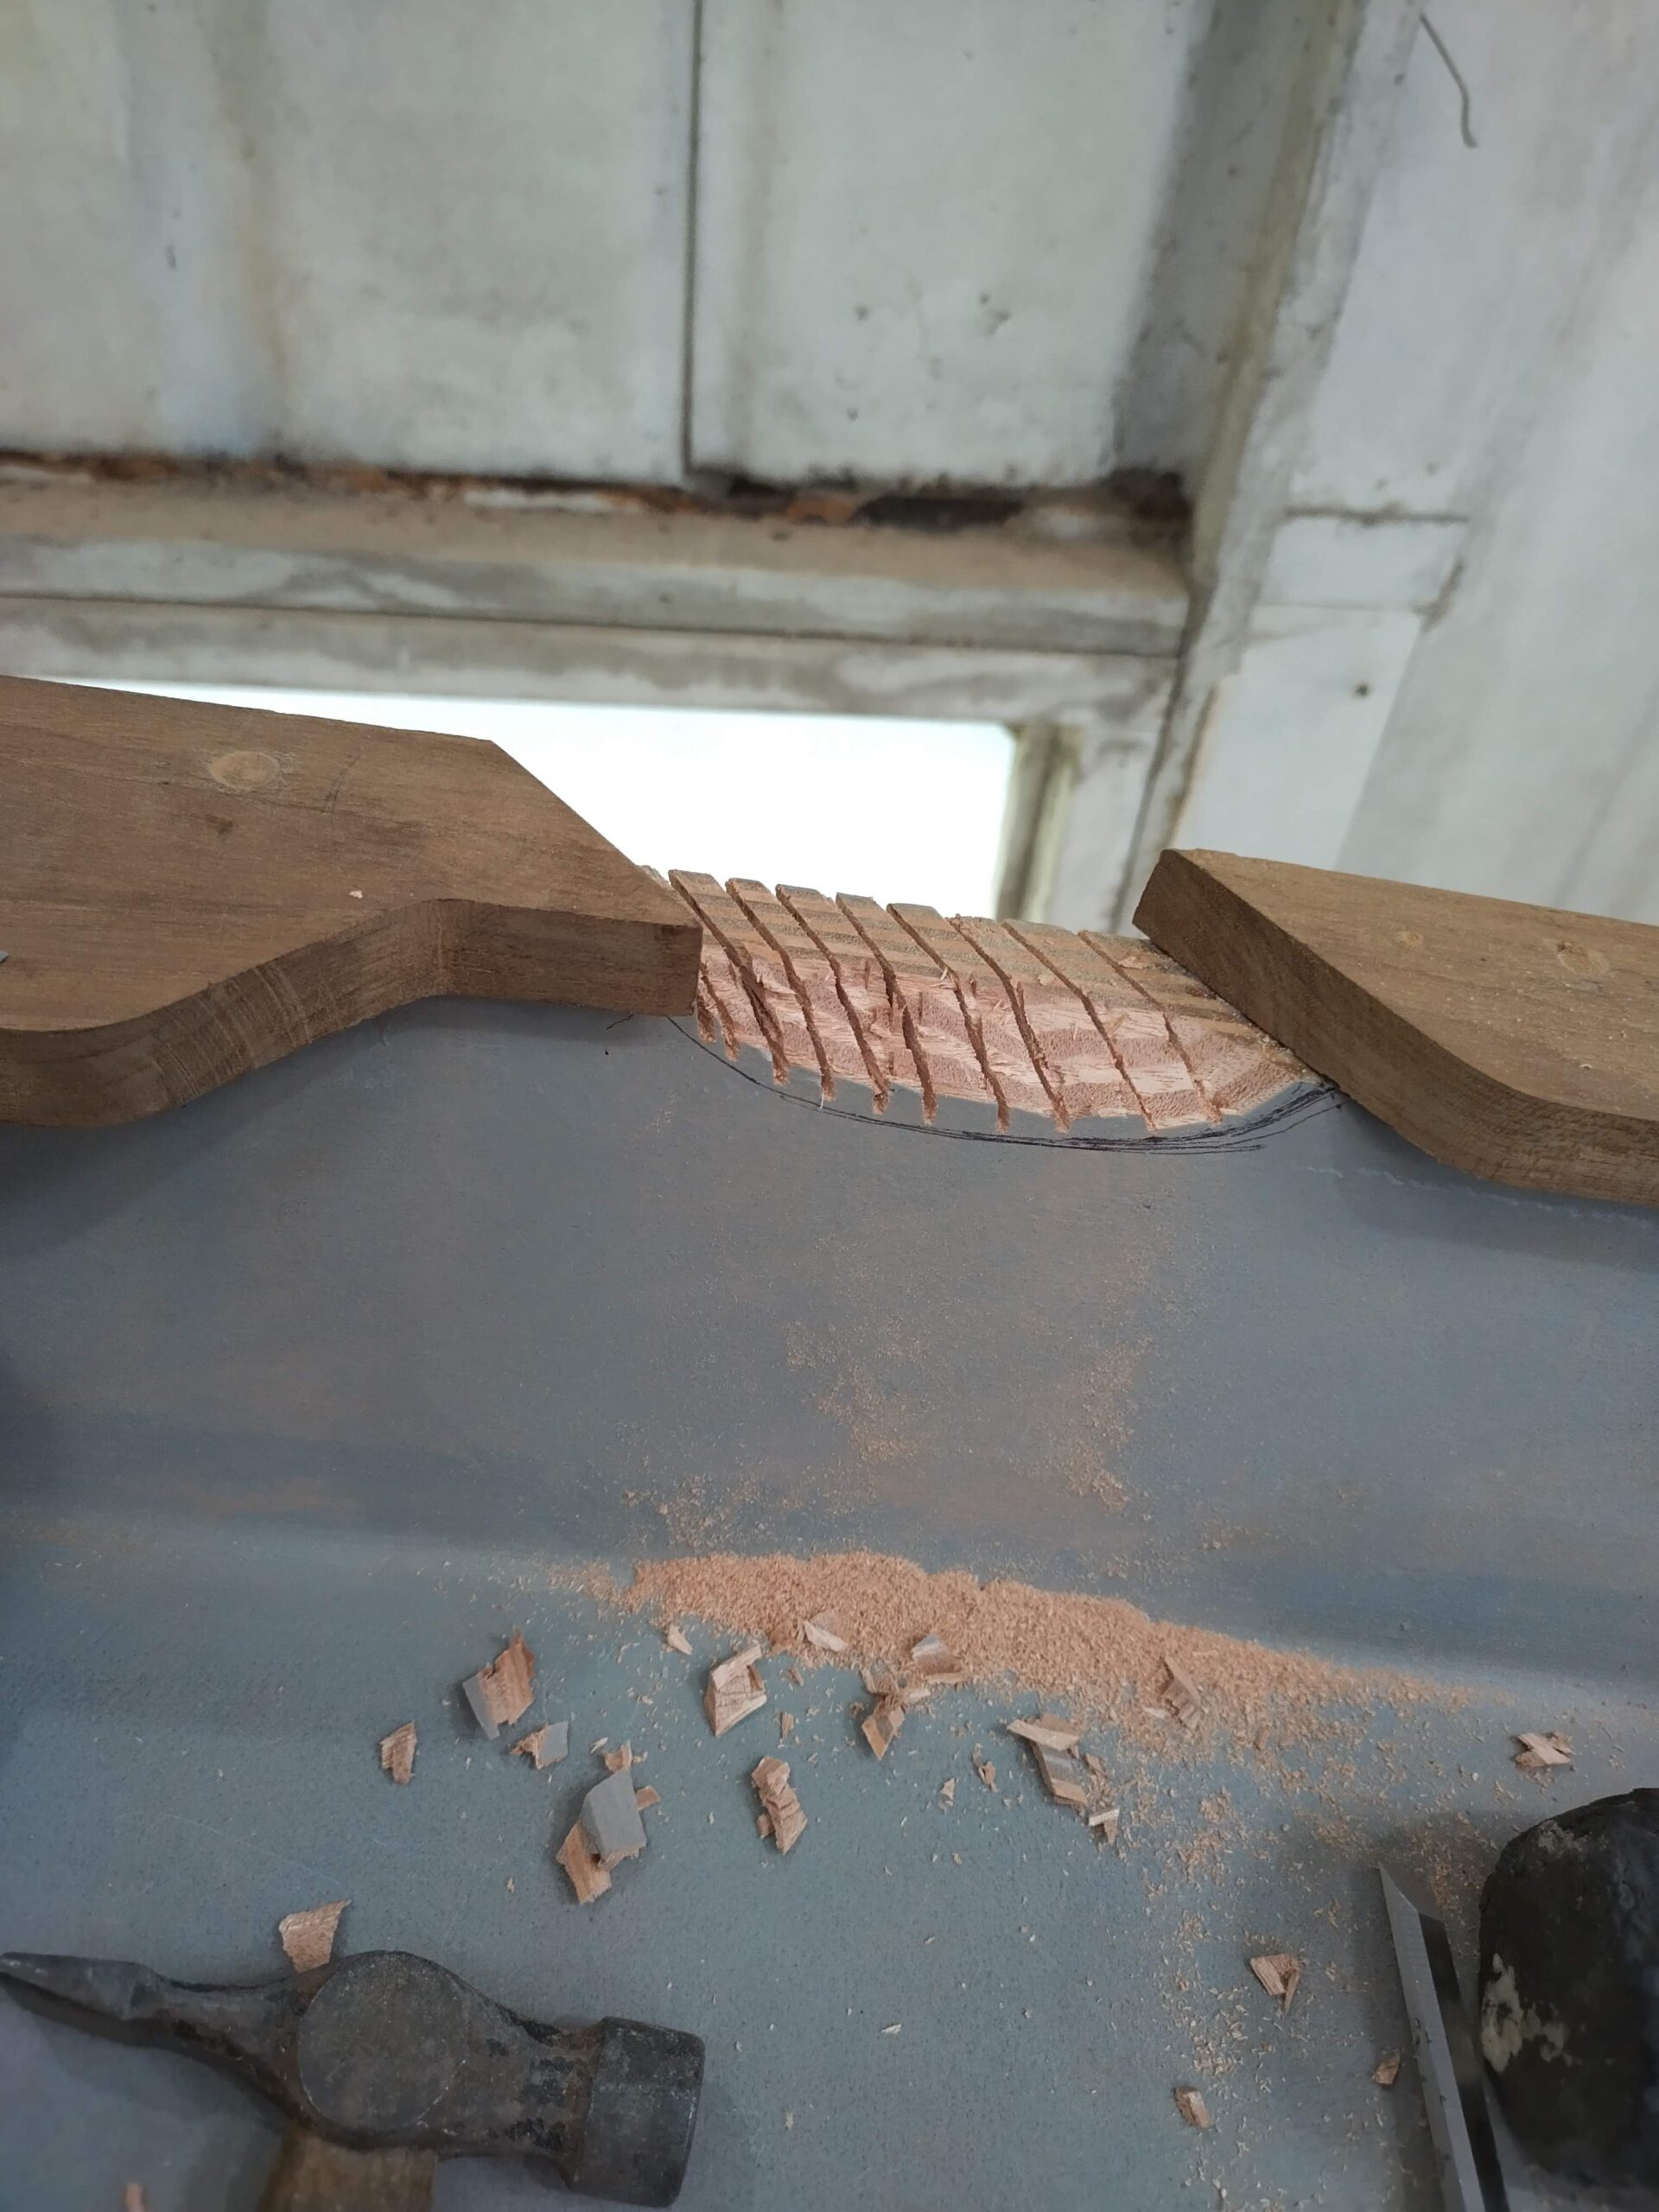
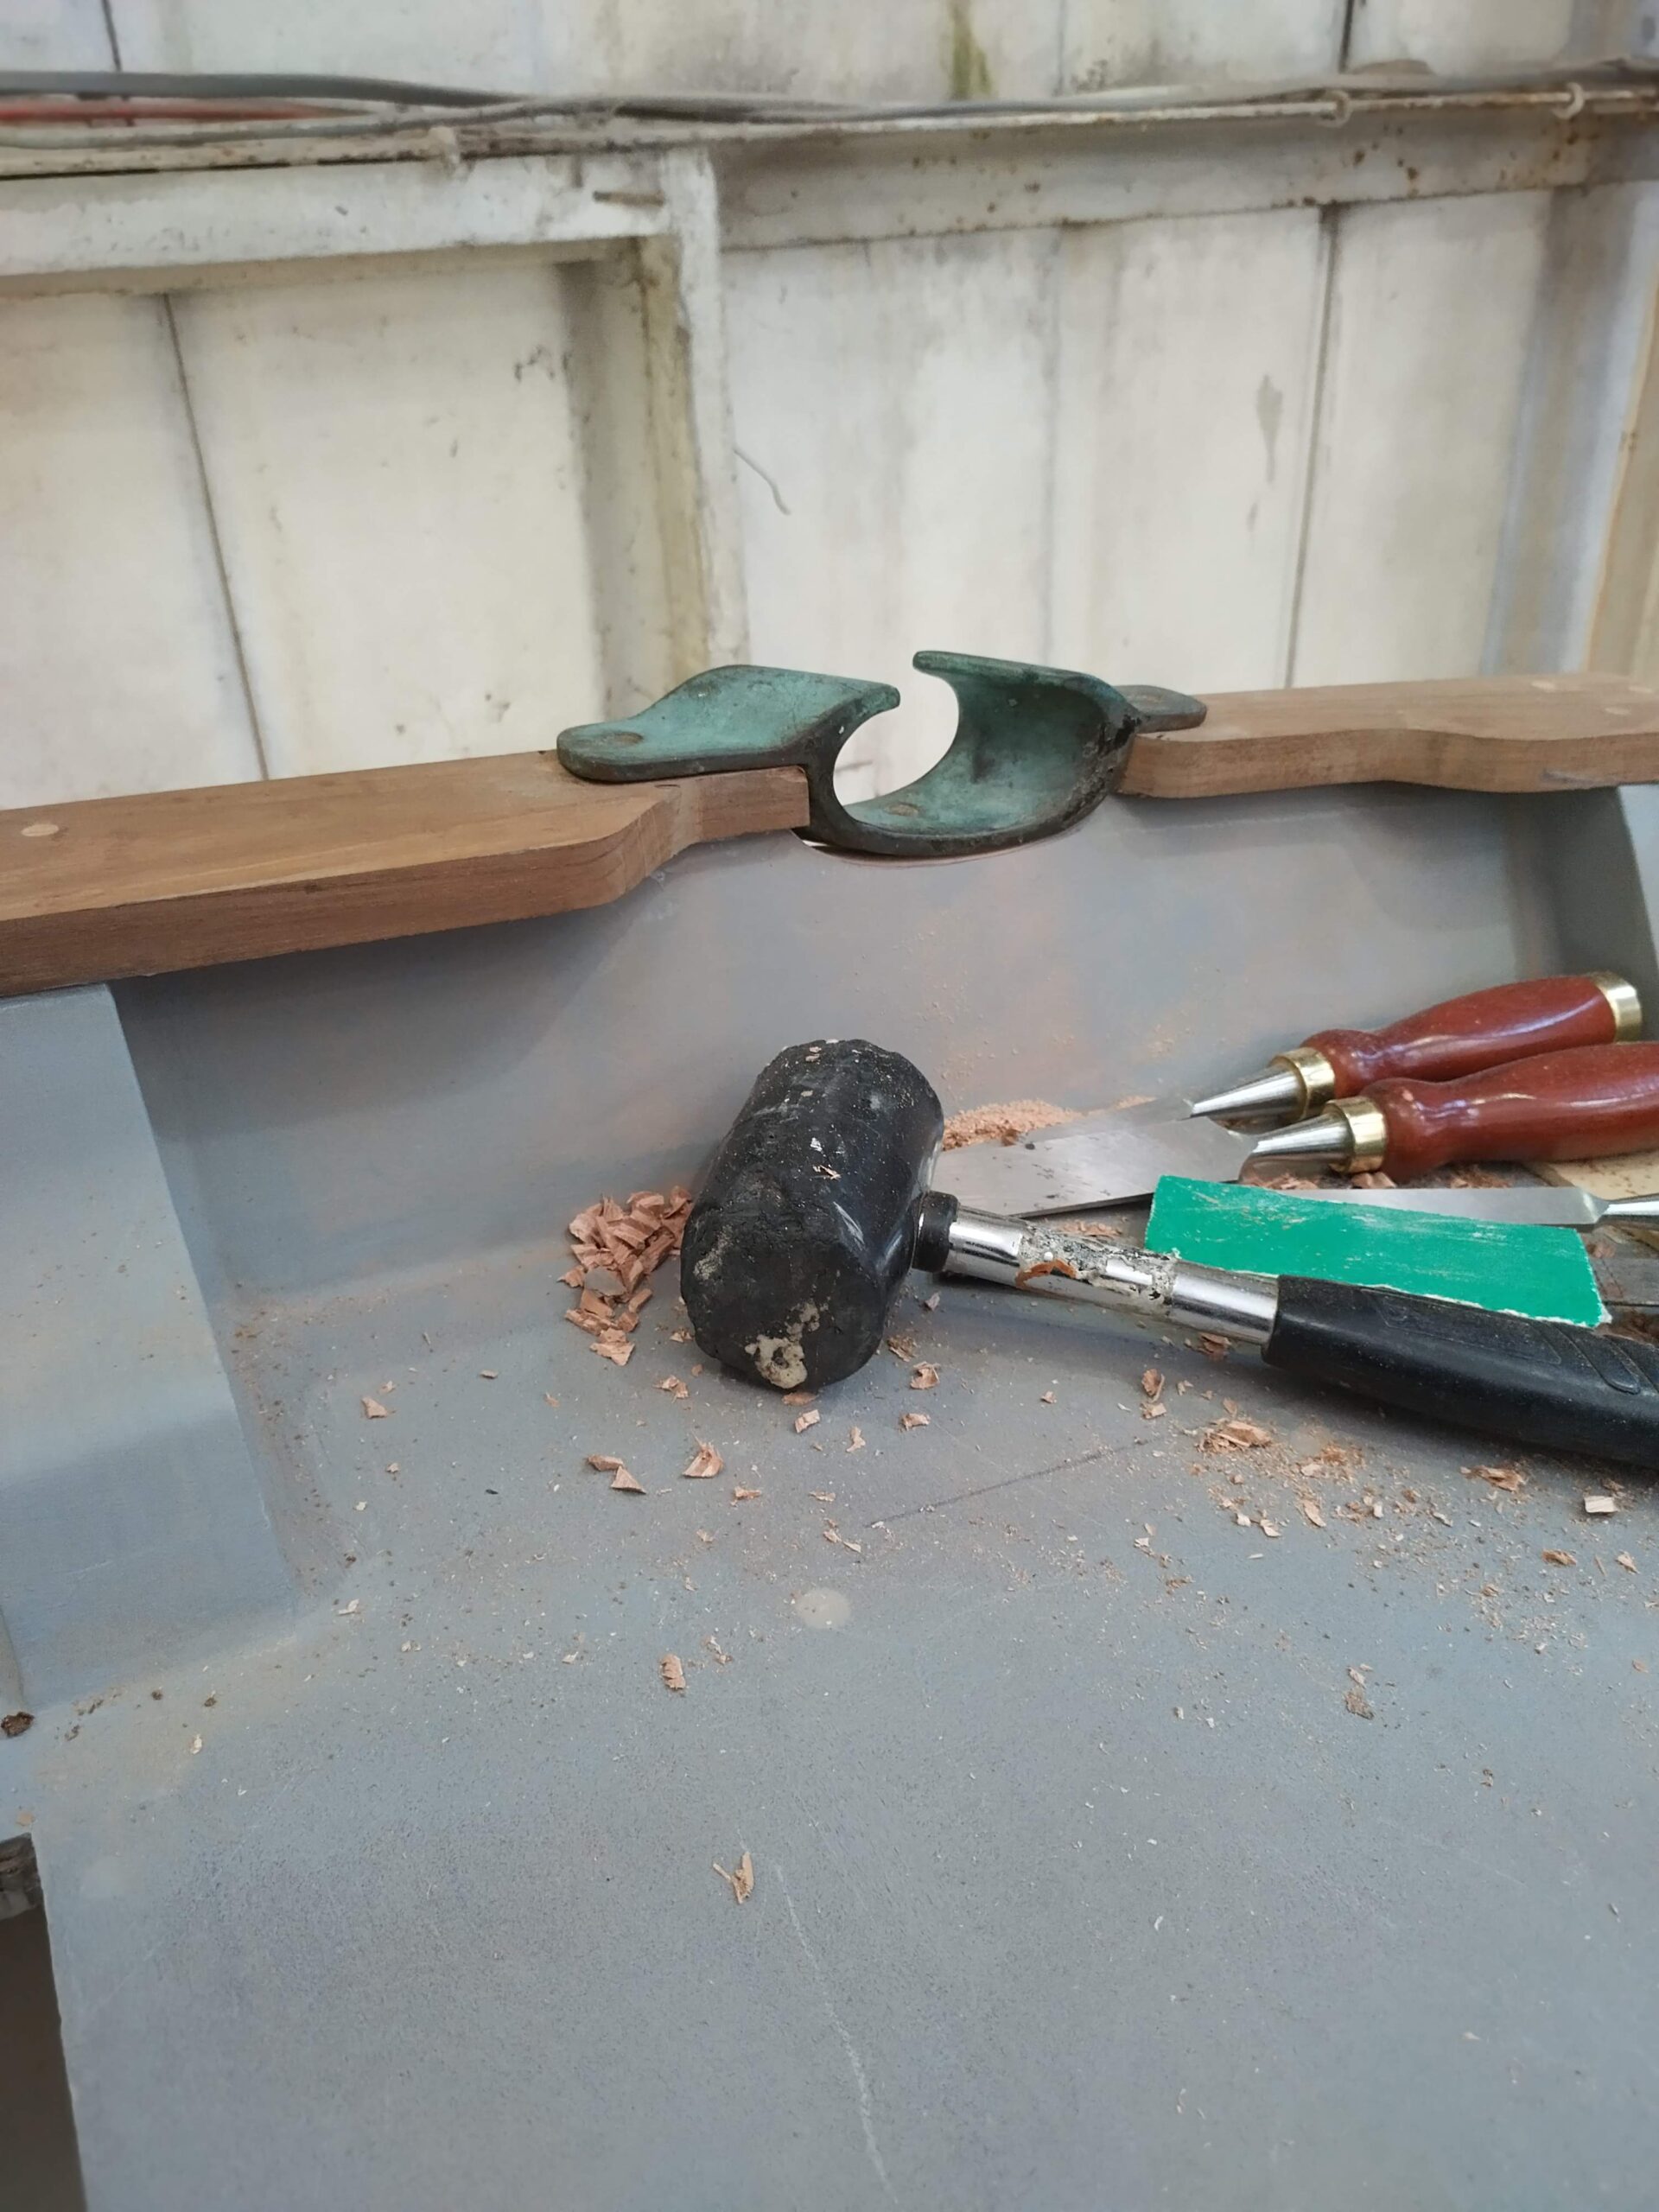
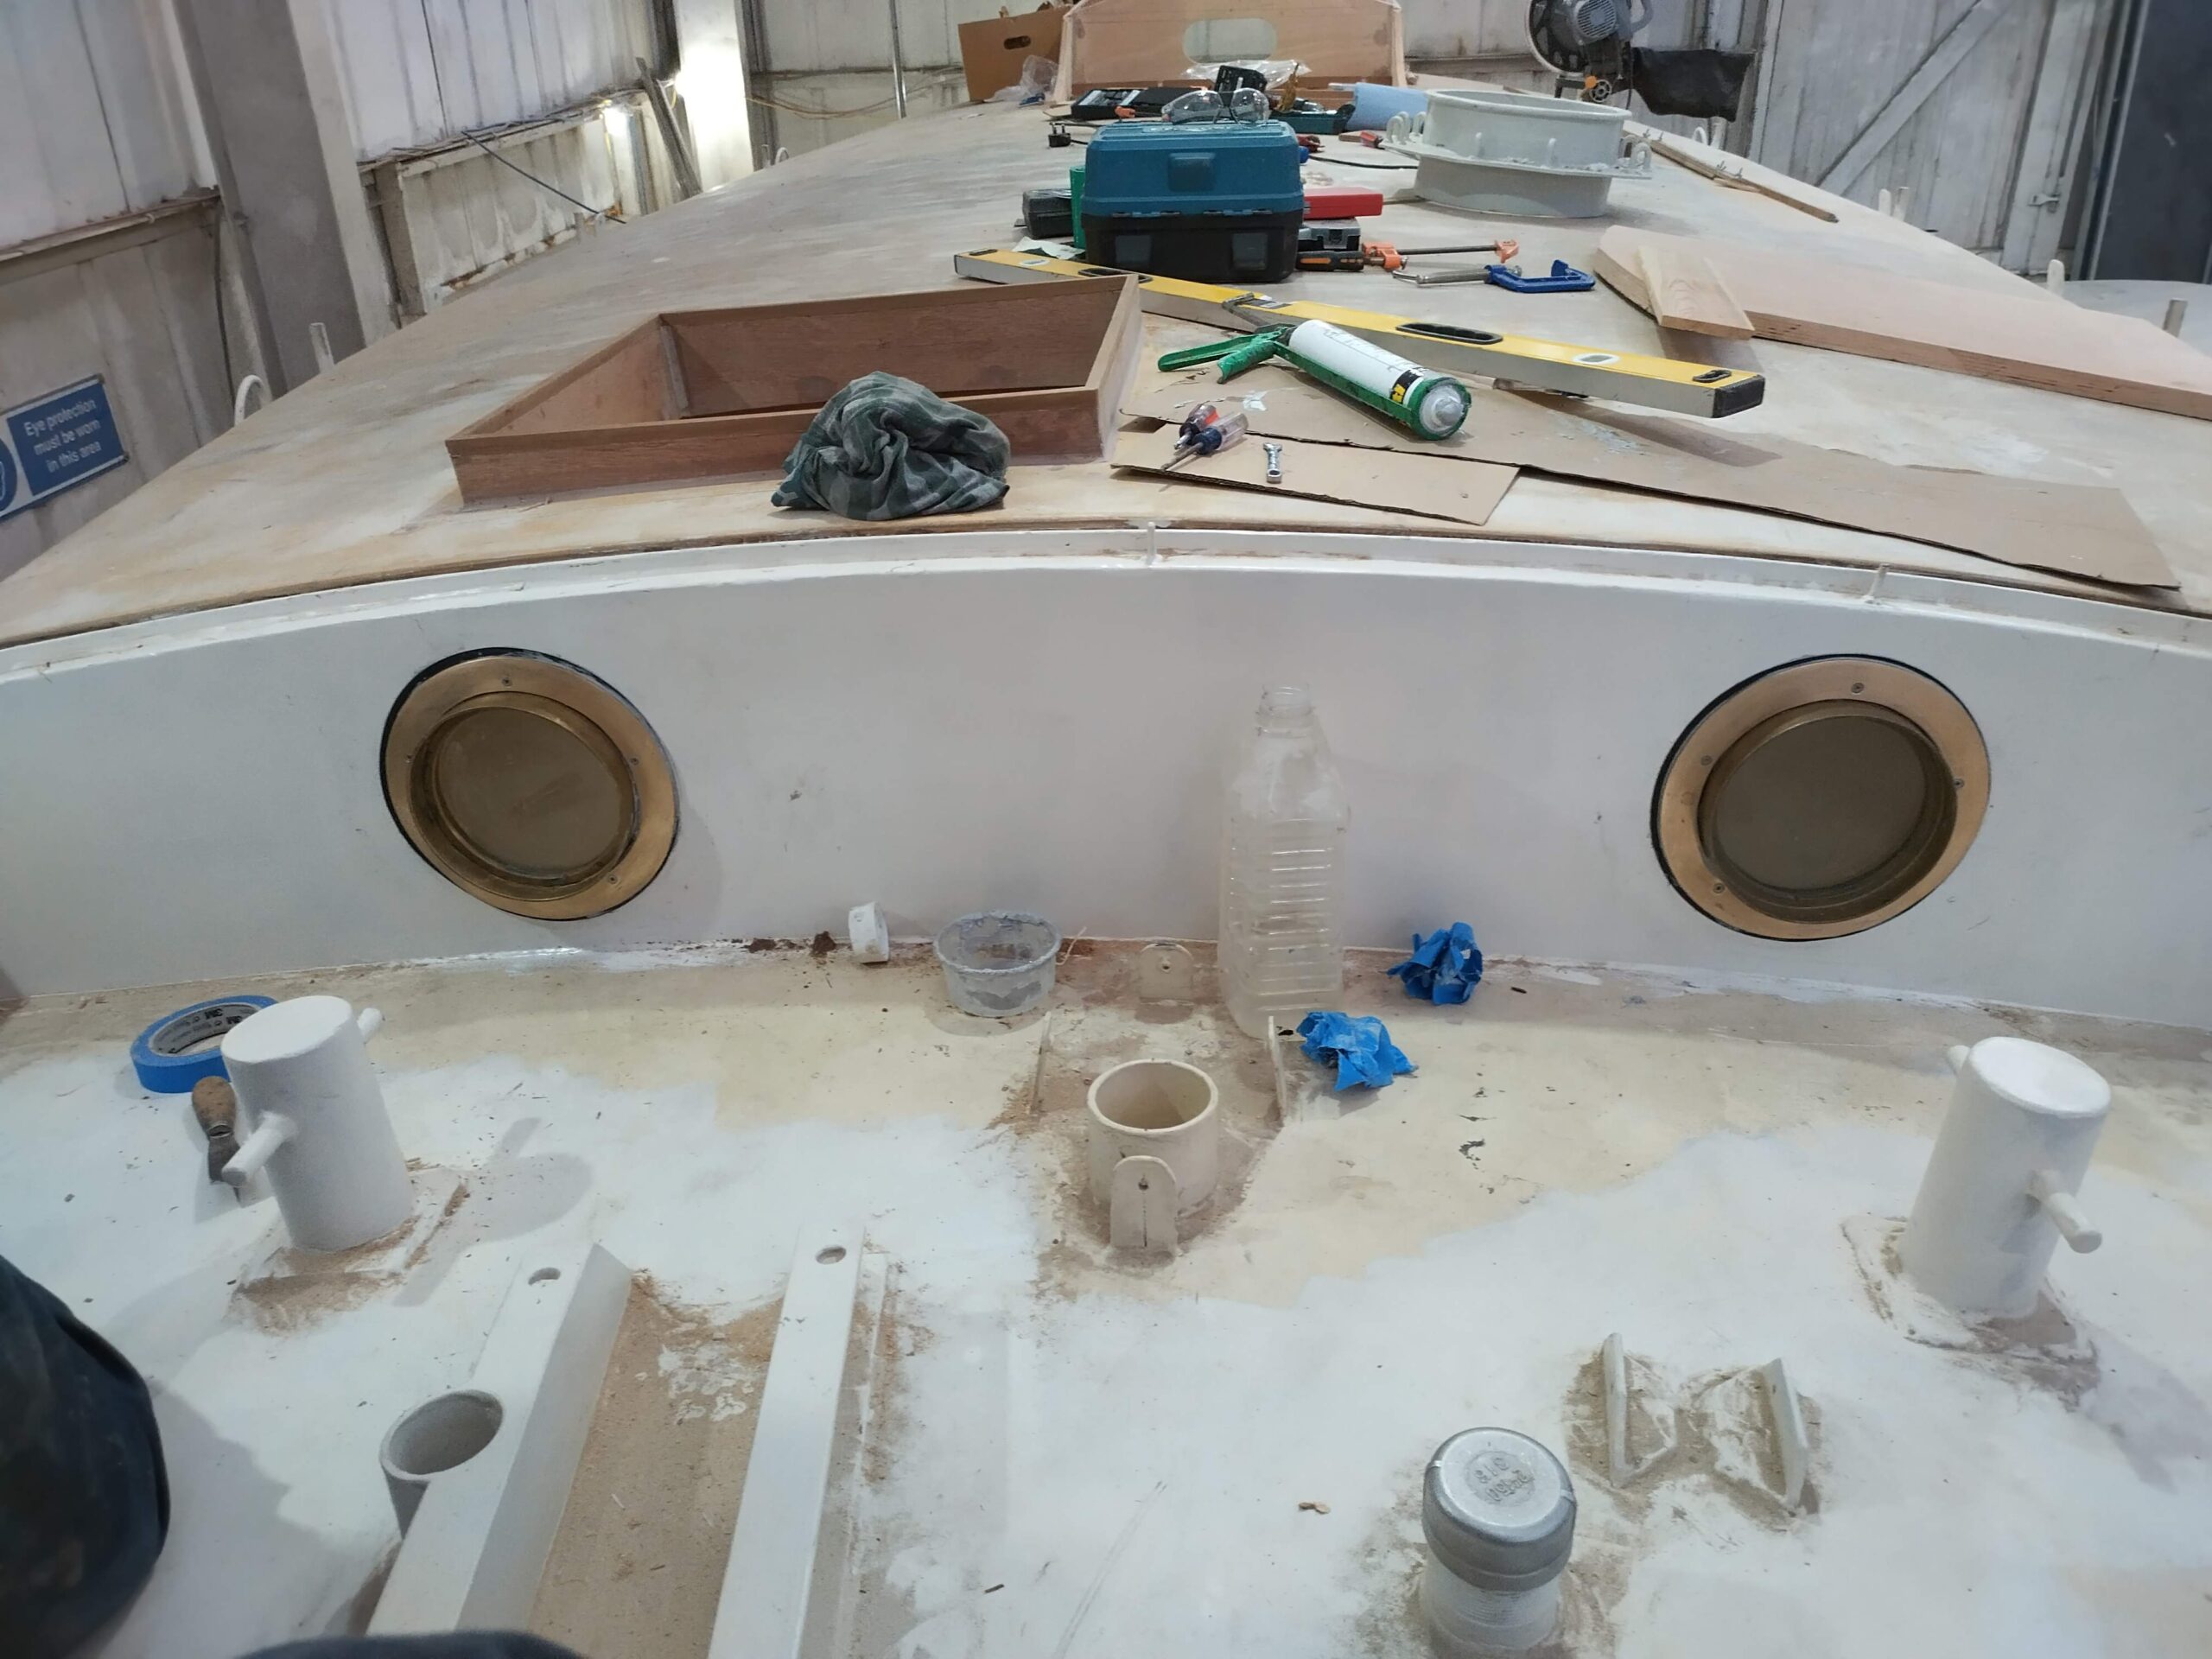
Again keeping a number of jobs going concurrently in the name of progress, I had by now started dealing with the concerning problem of the cockpit capping rails. I had long been worrying about how to fabricate these, wanting to keep the process simple but effective. The main issue is the graceful upward curve of the cockpit bulwark as it runs forward to meet the cabin sides. As I mentioned in an earlier post, the original Wylo design has these bulwarks fabricated from steel plate, perhaps with some round bar as a capping, in the same vein as my foredeck bulwarks. However, Guy had for some reason (known only to himself) not fitted these in steel prior to laying the ply deck, so I had decided that replicating them in ply was the best bet, which I did last autumn. The capping rails therefore had to be laminated to fit this curve, and I had been agonising over whether to do it in one length all the way from cabin side to taffrail, or to laminate the main sweep of the curve (about 1/3 of the total length) and scarph it to a thicker single strip for the aft 2/3. I went for the first option in the end, making for a single-piece rail, and decided to laminate them in place. Back to the reclaimed teak planks then, and I cut and thicknessed several strips of 5mm x 30mm in readiness. I did one side at a time, using a combination of clamps, wedges and screws (with penny washers) to force the glued strips to conform to the curve until the glue cured. Then they could be removed, cut to length and the sides planed smooth, before finally epoxying them into place with numerous screws. There were some gaps in the final join due to the inconsistencies in the top edges of the bulwarks, but these were later filled with epoxy filler and will be invisible once painted. Once both rails were glued in place, I trimmed the ends and plugged the screw holes, and went about templating and cutting four pieces to make up the taffrail, to be nicely jointed with the bulwark capping and fitted round the two bronze stern fairleads I had acquired in a boat jumble. These are handed, and a shallow recess had to be cut into the ply transom bulwark, which I achieved with the help of my Japanese saw, nice sharp chisels, a rasp and some sandpaper! I was quite pleased with the job, and the fairleads should fit snugly once the end grain has been epoxy sealed. I was also very pleased with how the corner joints turned out, and all in all, after rounding the edges with my baby router and giving the whole lot a good rub down, it all looks rather nice and almost professional!


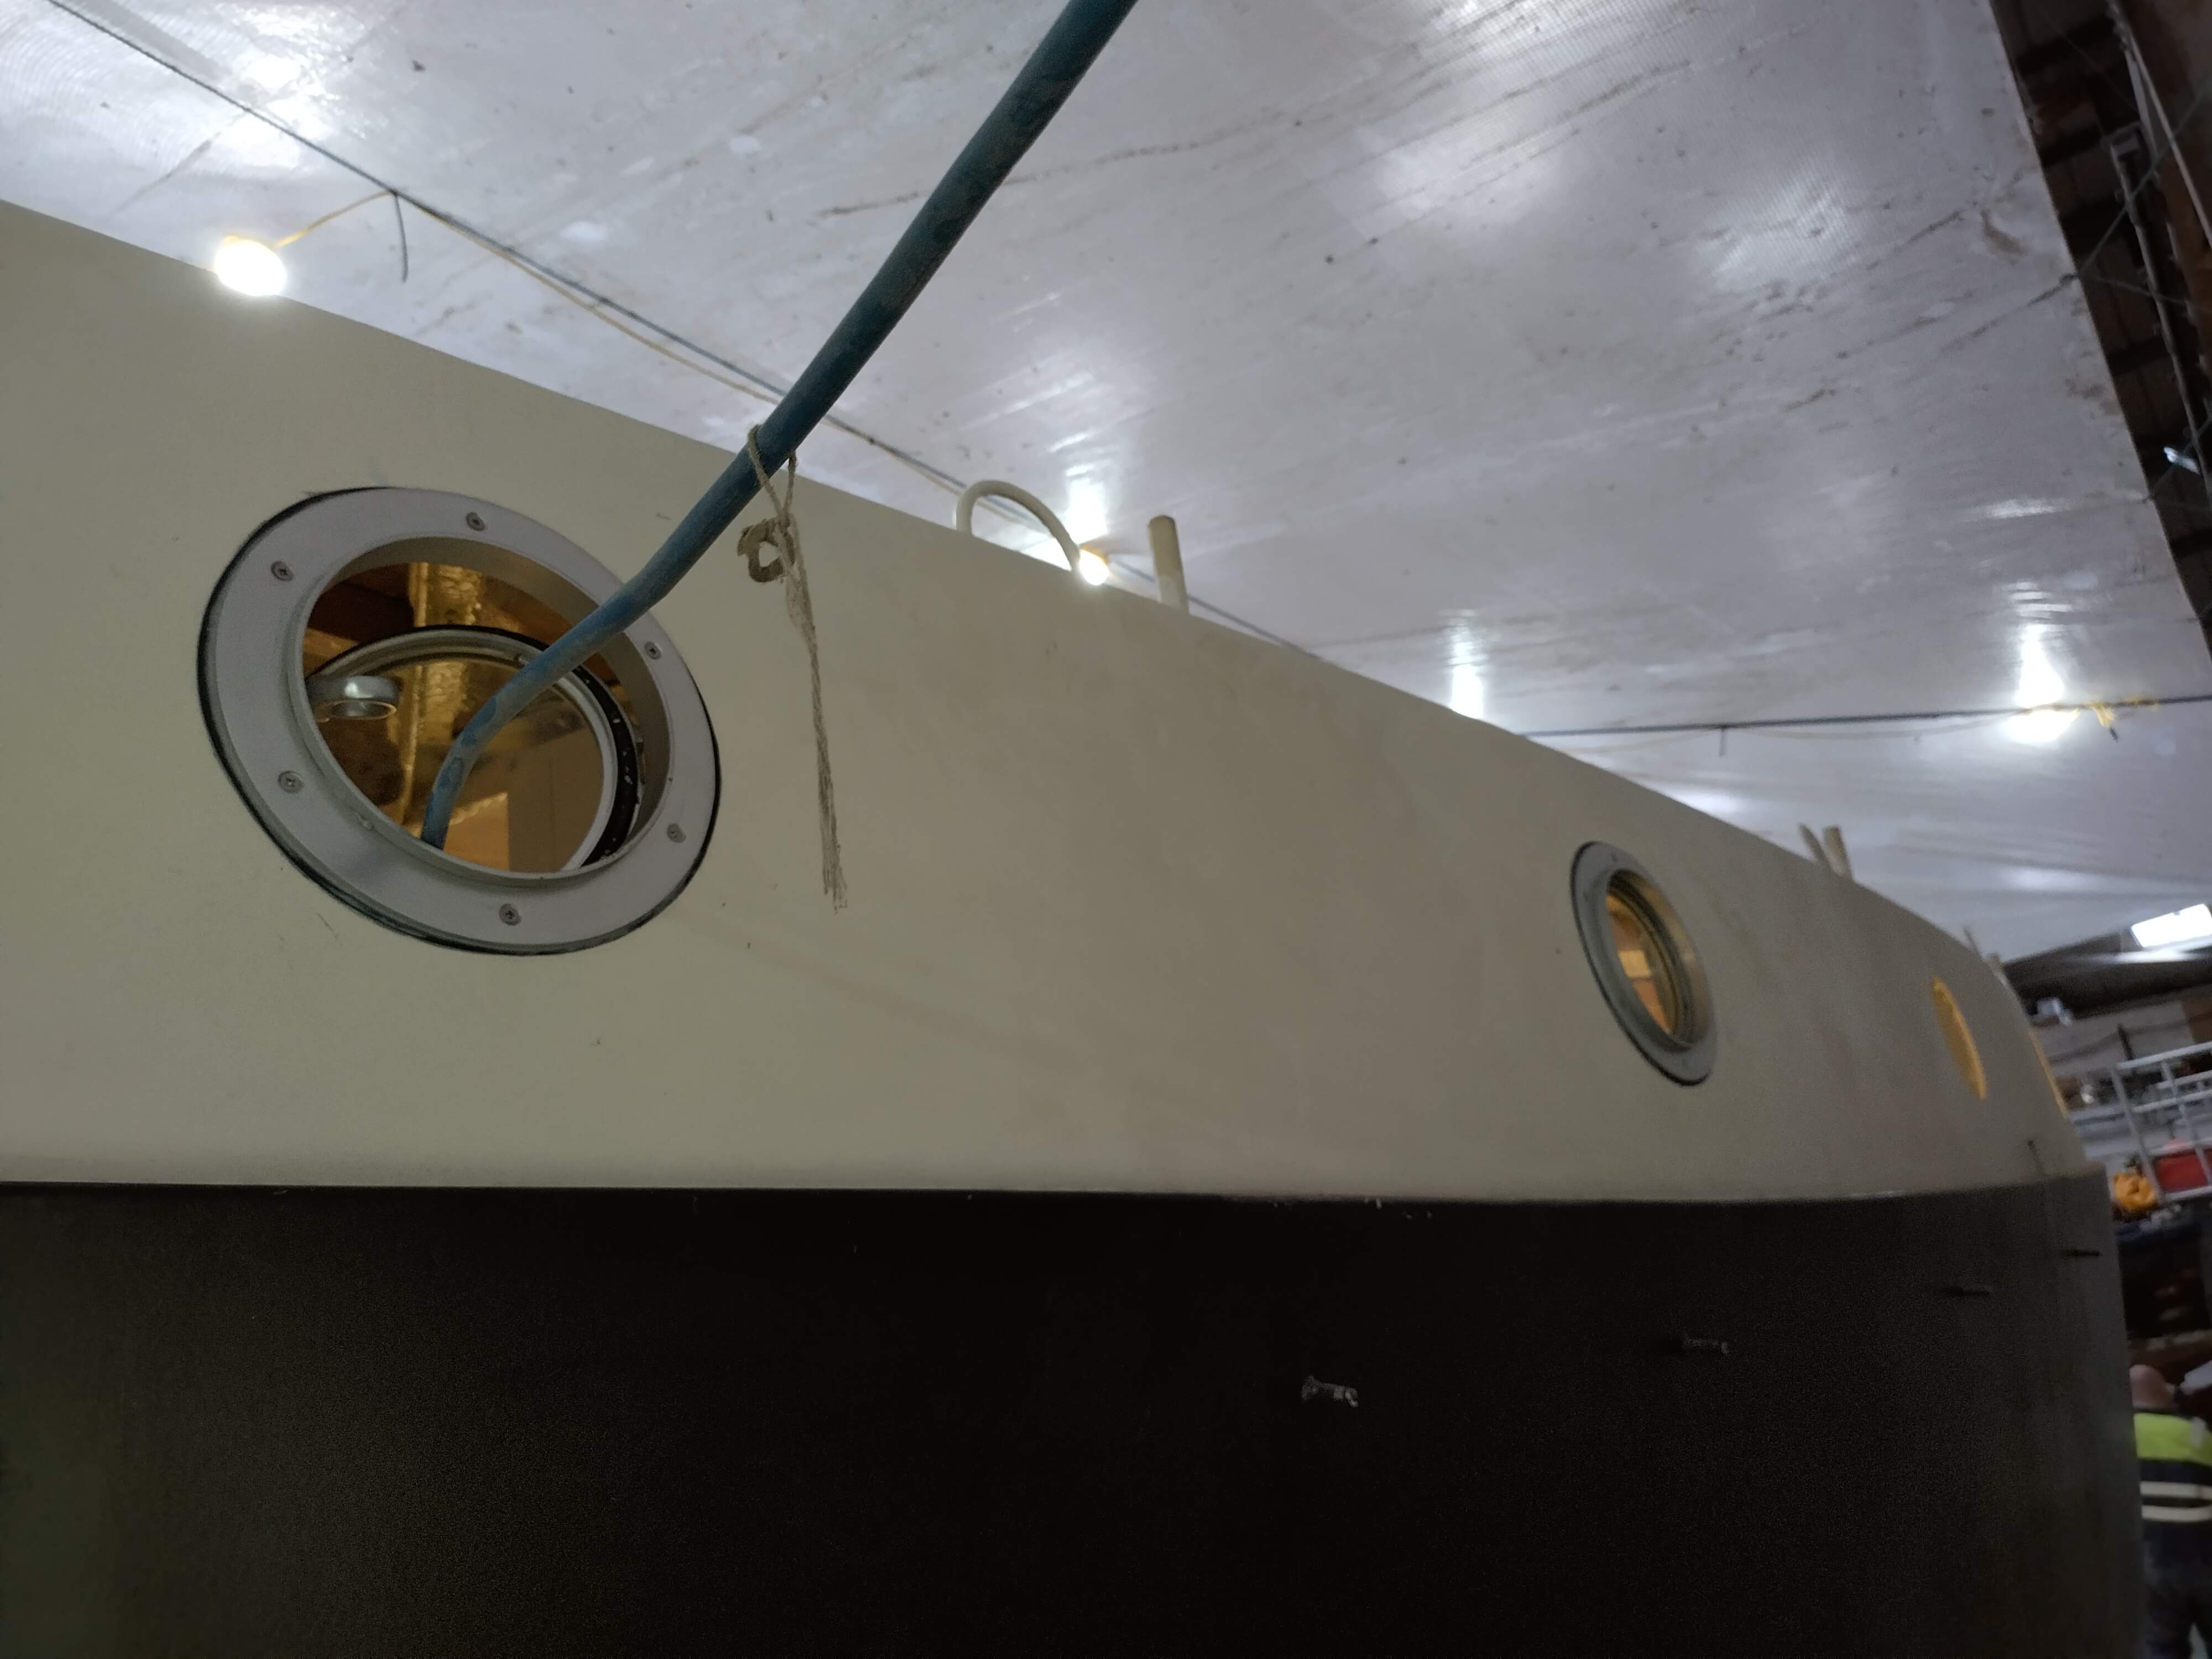
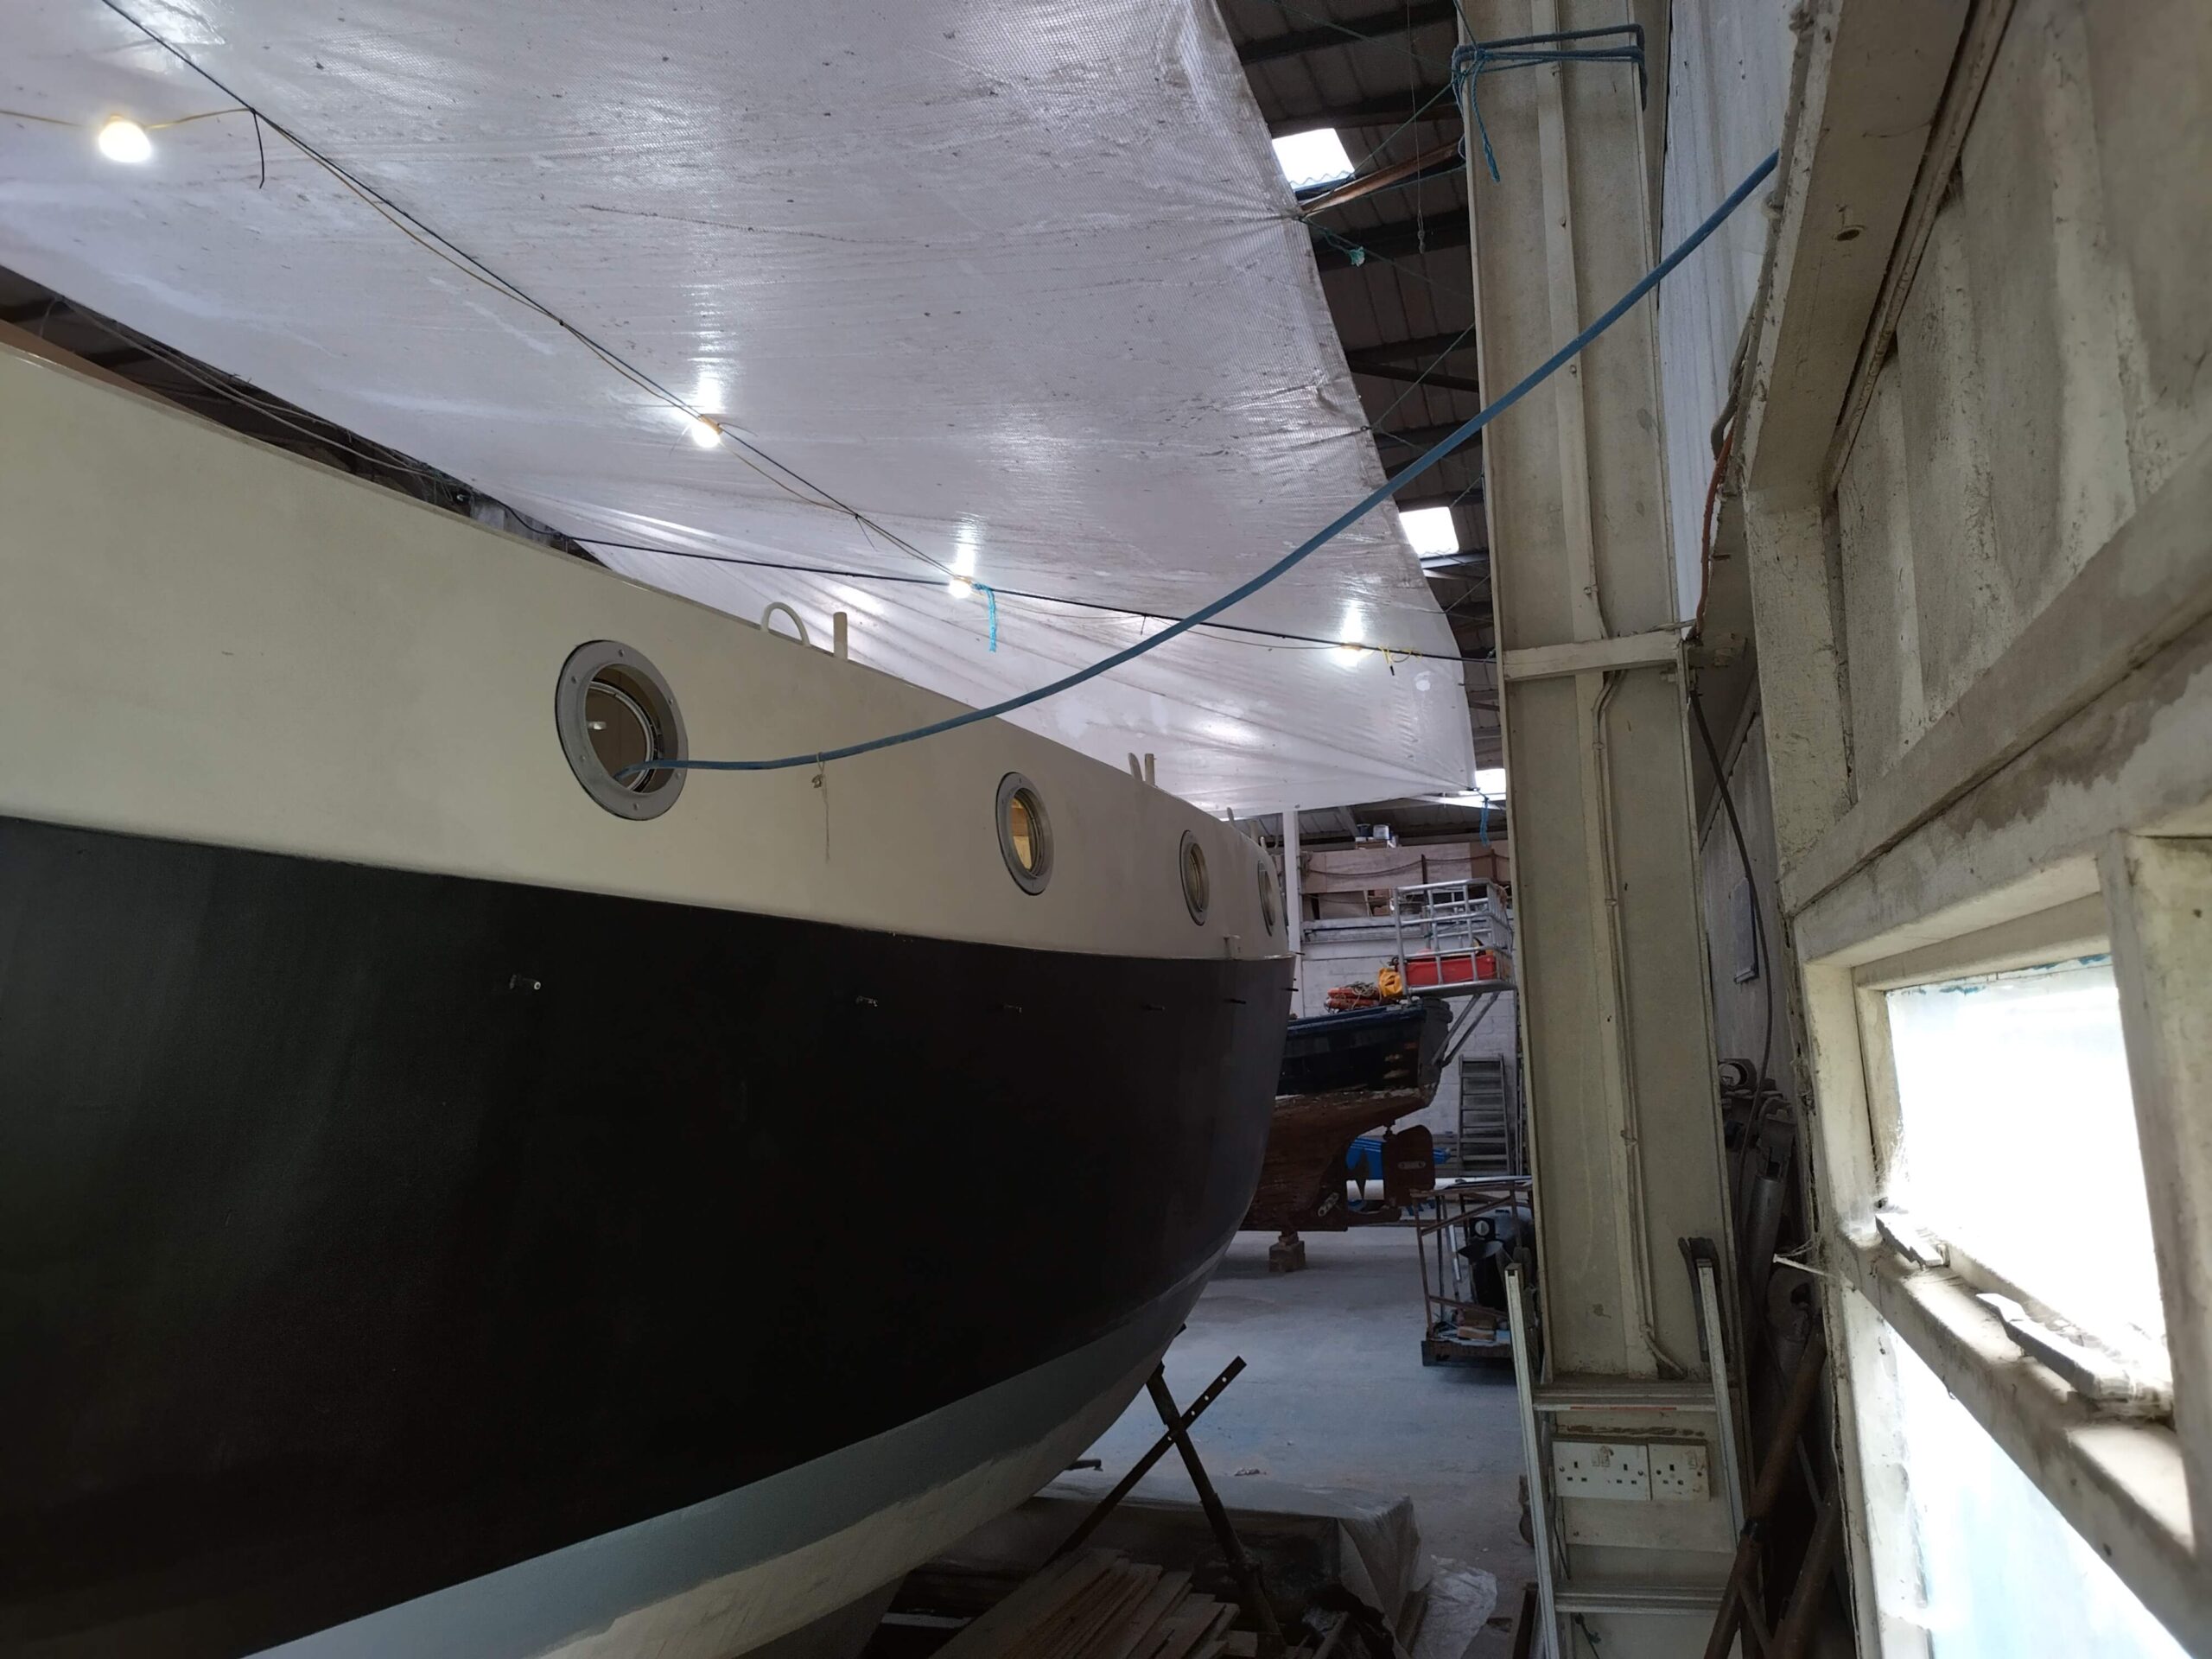
Somewhere in amongst all this lot, I had a visit for a day from my friend Ned, and in deciding upon a good two-person job, thought we could have a bash at fitting the portholes. This is not a straightforward task, as in order to have the best chance of avoiding corrosion arising between the steel cabin sides and the aluminium porthole rims (or two bronze ones), I had previously had made a set of rubber gaskets for each port. On the inside rim (the main body of the porthole), I intended to fit a 4mm neoprene foam gasket, nice and soft to take up the slight curve in the cabin sides. On the outside is a corresponding trim ring, and this is bedded onto a 1mm neoprene rubber gasket (the ring itself would bend to follow any curve, so soft foam is not required for these). M4 countersunk stainless machine screws then pass through from the outside, with nylon top-hat washers lining the screw holes, and a nice domed nut finishes off the inside. All of this is sandwiched together with nice layers of flexible mastic called Arbomast, which is incredibly sticky stuff, gets everywhere and makes a horrible mess. Ned and I started off with a couple of the aluminium ports on the starboard side, and developed an effective method for getting the assembly together without too many tears or too much mess. The screws were deliberately bought quite short so as not to need trimming to fit the domed nuts. This gave us the issue of having to squeeze everything together in order to get the nuts to catch the first thread on the screws. To do this we first lined everything up by using a couple of overlength screws inserted from inside to outside, and normal nuts nipped up on these to hold everything together. However, with just two of these, it was not possible to get the nuts on all the way around the rim, so I suddenly thought of using a G-cramp to squeeze the rims together at each hole whilst the screws were inserted and the nuts threaded on just a turn or so. Once all the screws were in and nutted, we could then go around and nip them all up tight, squeezing the goo out, which was then cleaned up with a combination of a scraper and a rag soaked in white spirit. Once we had done two of the opening ports, I decided it was time to tackle the non-opening bronze ports in the forward face of the coachroof. As these do not open, it was not possible to use the G-cramp method, so with these we had to squeeze everything up first with the overlength screws, then one by one remove them and insert the proper screws and dome nuts. This took a bit of working out, and time to achieve, so by the time we had fitted both of these, it was time to pack up for the day. Fortunately, the method we had developed for the opening ports was feasible for one person to achieve, so after Ned had gone I spent the next couple of days fitting the remaining 10 ports. This was a very satisfying job, which together with the appearance of the hatches and capping rails, makes the boat look like it might one day be finished!

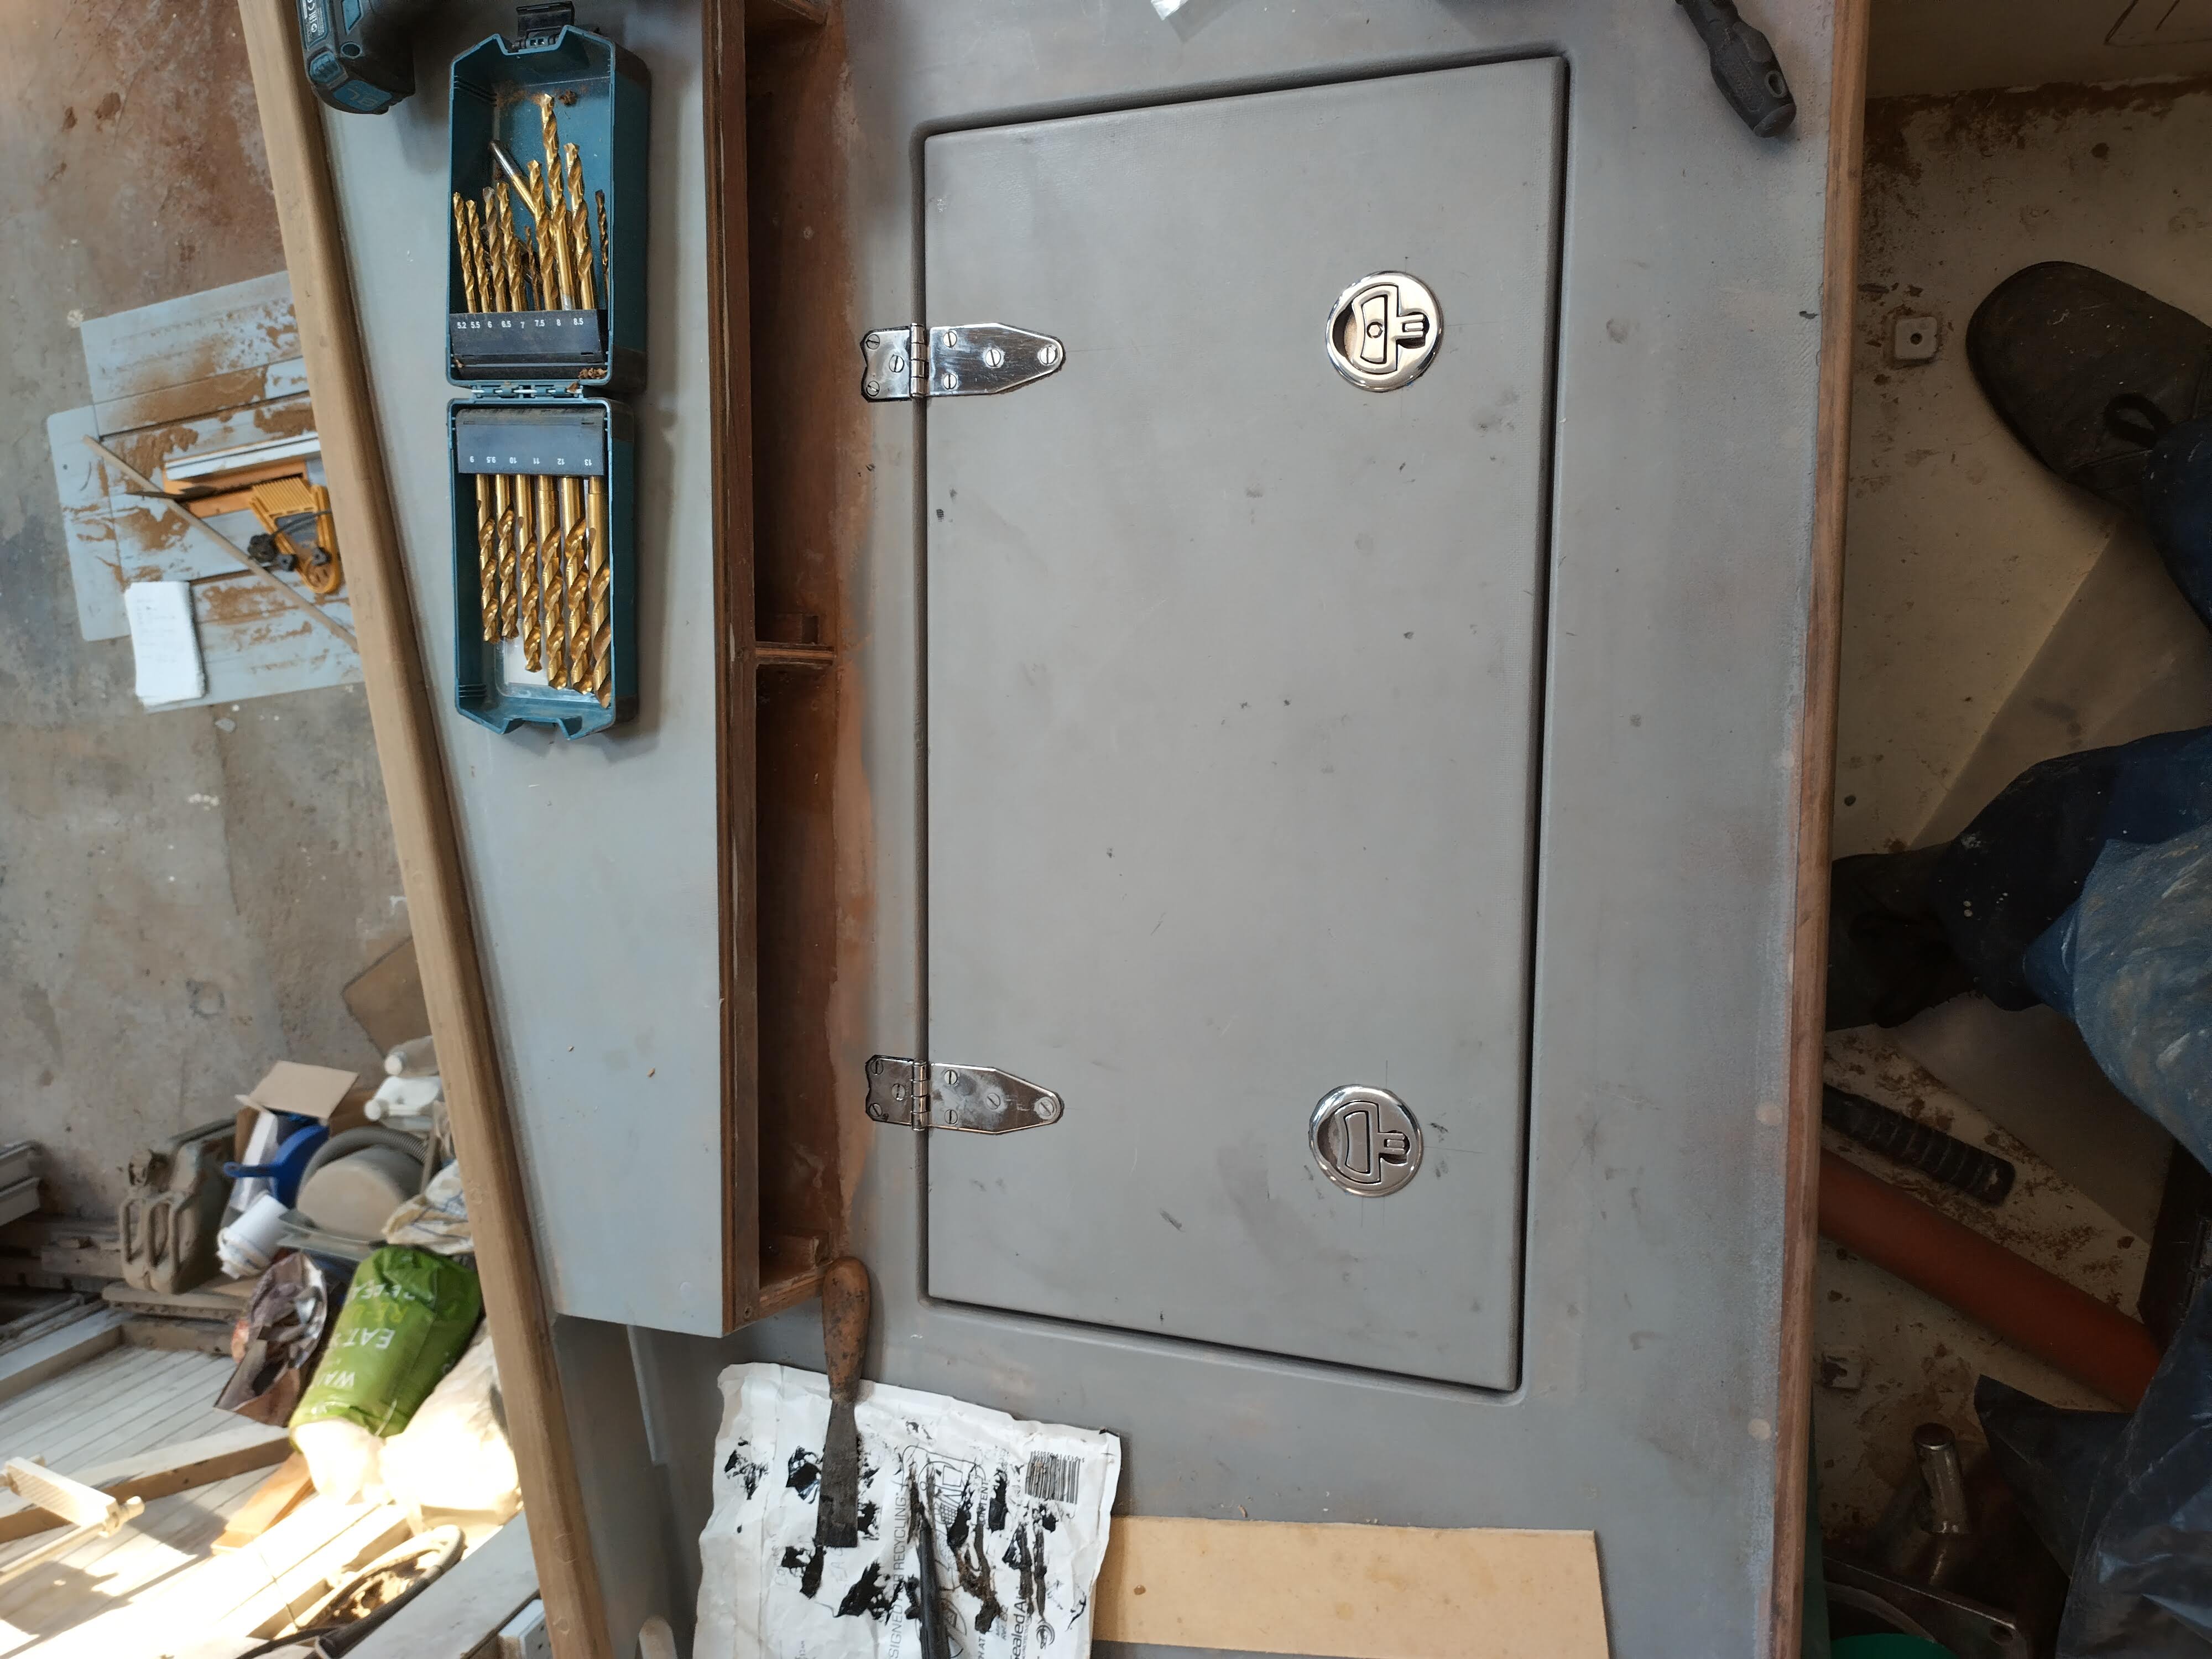
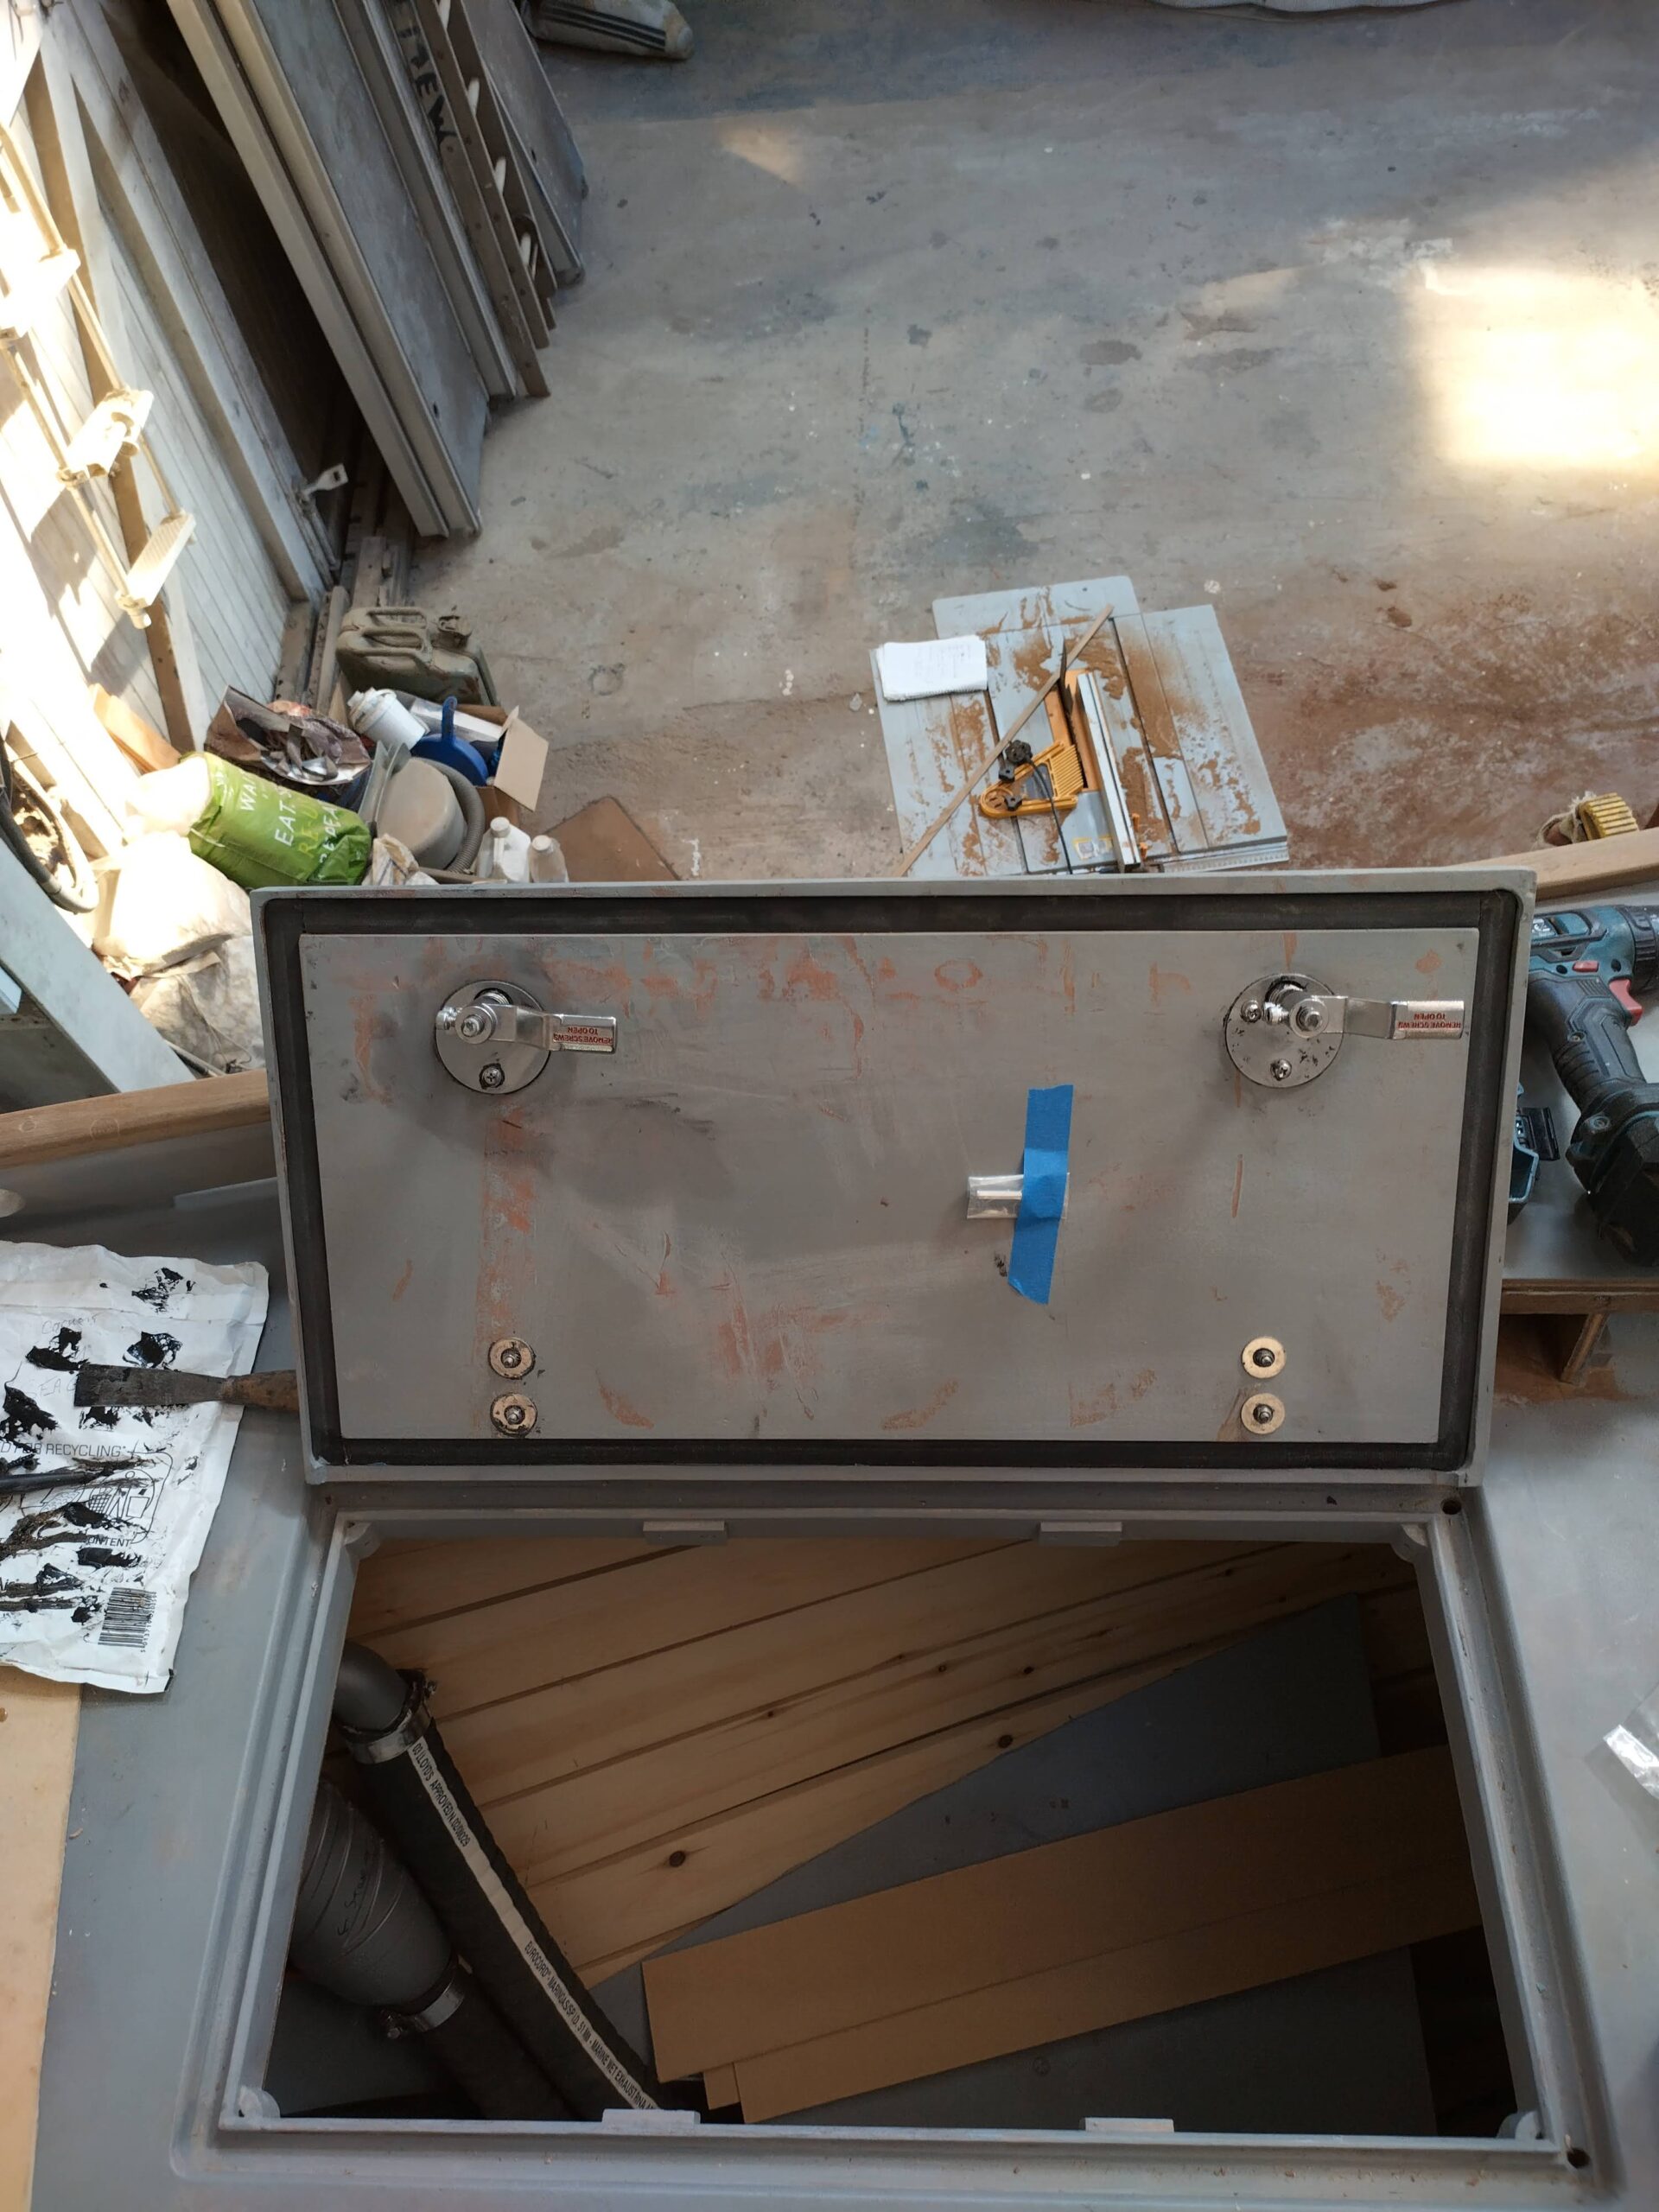
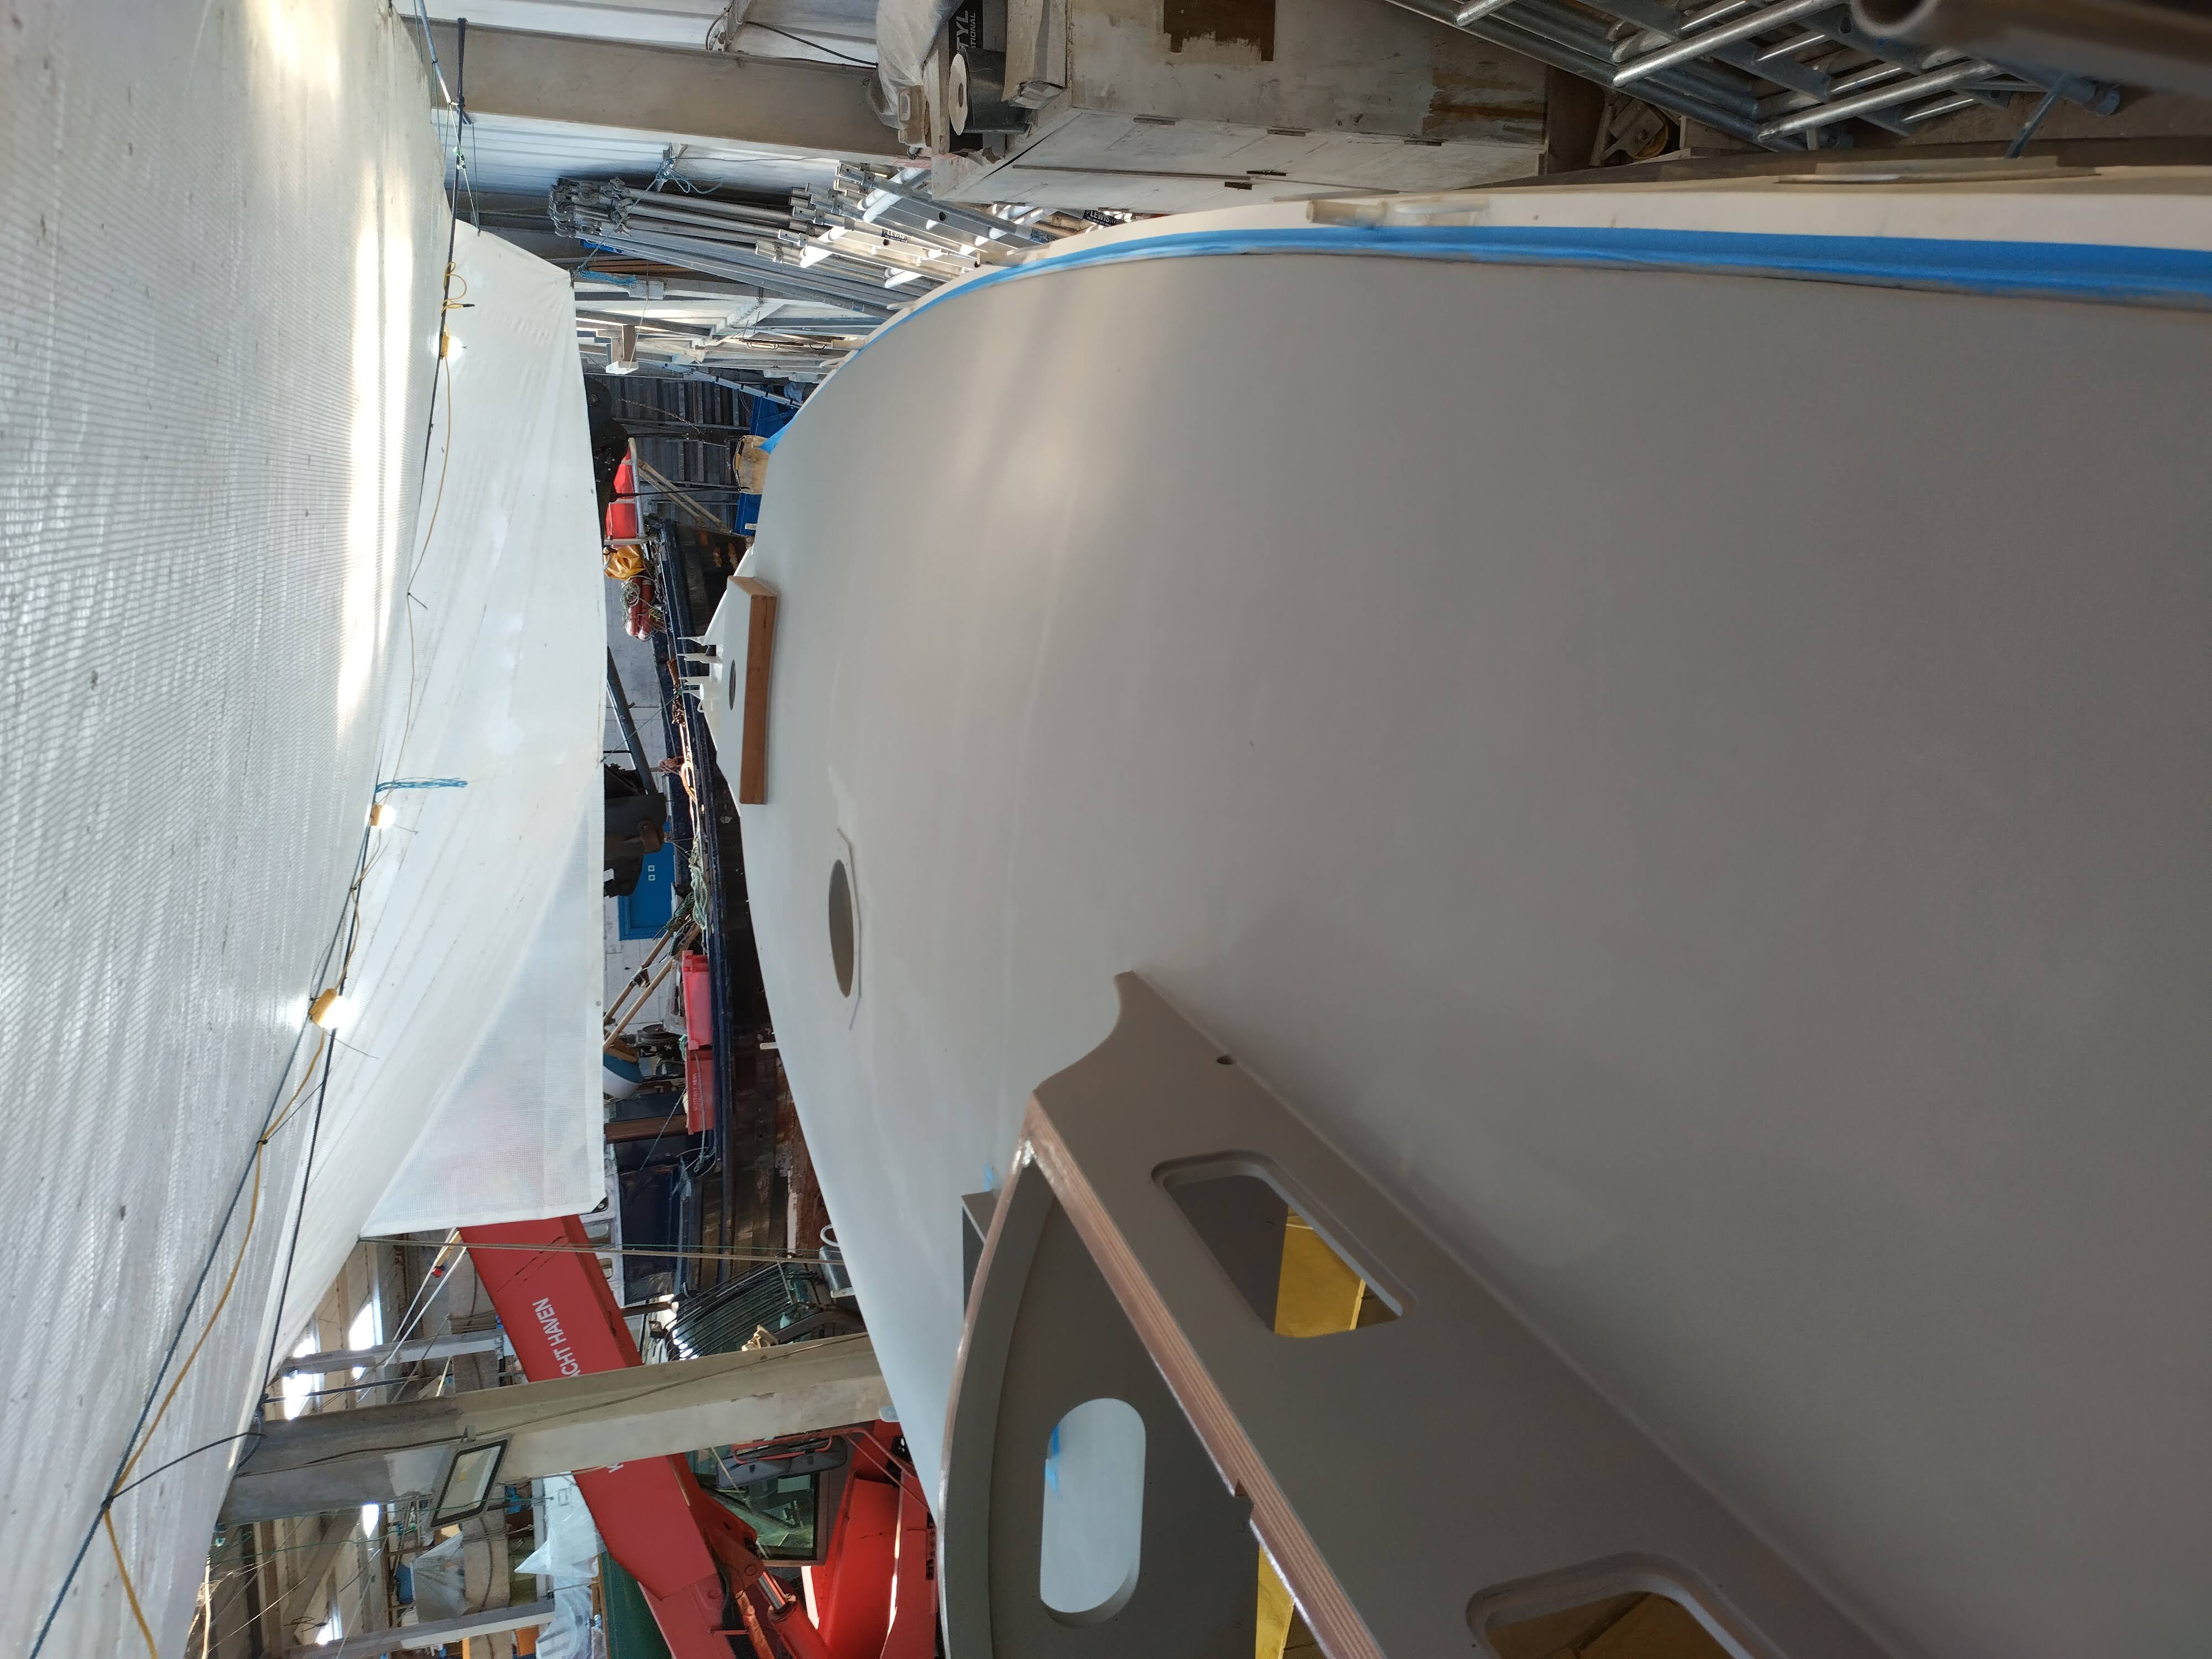
A final couple of jobs I managed before having to wrap up and return to work (yawn!) were firstly the final fitting of the hinges and latches to the cockpit locker hatch (as well as the rubber seal), and also cutting rough blanks for the teak steps / rope bins at the forward end of the cockpit. These latter pieces were cut from a piece of the teak laboratory worktop I acquired from Shore Timber in Porchester last time I was south – I purchased a good job lot from them for a very reasonable price for use for the table tops, worktops and bunk boards in the accommodation. The piece I used in this case was the mankiest of them all, with inconsistent thickness and a bit of a curve to the underside, so a lot of careful and gradual use of the thicknesser was required in order to get a half-decent, flat board to work from. These are now awaiting proper trimming and fitting next time I’m home. The last jobs I did were to give the whole coachroof deck, as well as the doghouse and hatches, a coat of primer. I was very pleased to discover how fair and smooth I have managed to get the deck once paint is applied – no more filler required! Lastly, I finished by bolting the forehatch lid to its coaming.
Having tidied and swept and generally left everything far tidier than when I am working on the boat, I have now said goodbye to the project for another three months or so, and have returned to the Scenic Eclipse II for my second trip as Safety Officer, which will take me all the way from Reykjavik to the Antarctic peninsula and Ushuaia where I will pay off just before Christmas. In the meantime, having started now with the deck layout, I will be putting some more thought into the location of vents, handrails and other fittings, as well as the arrangement of the various control lines for the two junk sails. When I return in December I will probably finish off the galley hatch and rope bin lids before diving back down below and continuing the interior fit-out over the winter months.
Another enjoyable read Chris.
You do realise that you are in danger of becoming a boatbuilder one day, don’t you ? 😊😊
Looks like an amazing boat in the making. Do you have any pictures of the ports from inside the hull? How do you keep them isolated from the steel?
What part of the world are you building in?
Hi Tom,
Sorry, I only just came to your comment, having been away for a long while. I will have a look for any pictures I might have of the ports, but essentially I used Neoprene gaskets inside and out: the outside ones behind the trim rings are thin neoprene rubber, and the ones on the inside are 4mm neoprene foam. The latter I chose in order to take up the slight curvature of the cabin sides as well as to isolate electrically and insulate thermally. All this was bedded with a flexible mastic called Arbomast, and the bolts were isolated through the porthole frames with nylon top hat washers.
I am on the west coast of Scotland, near Oban.