It’s been too long, but not without cause
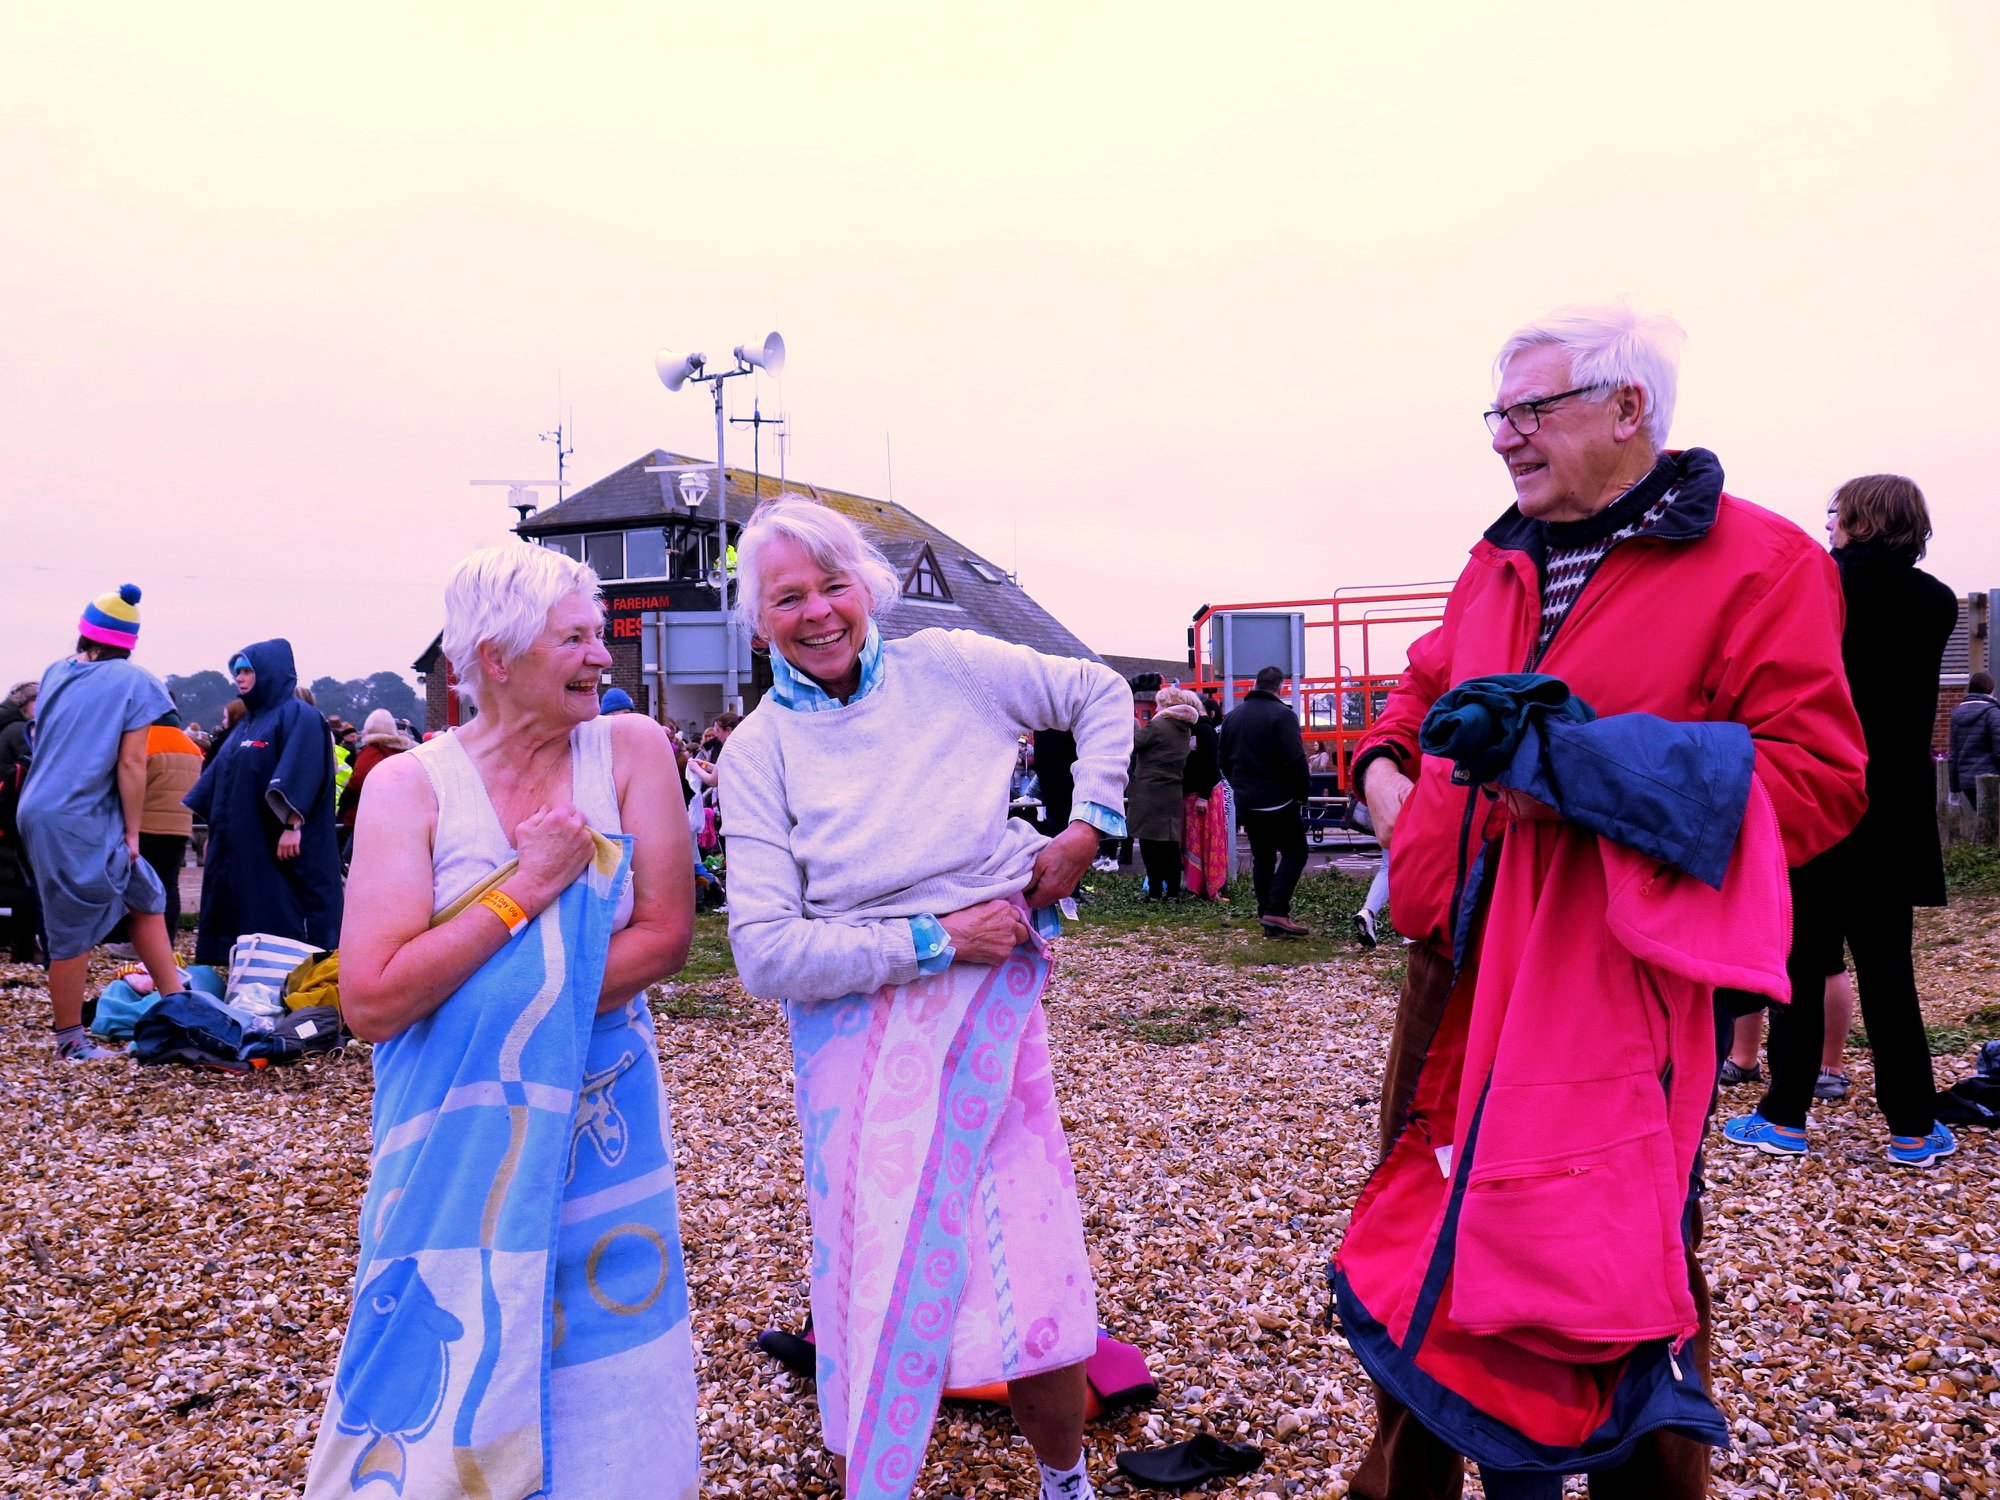
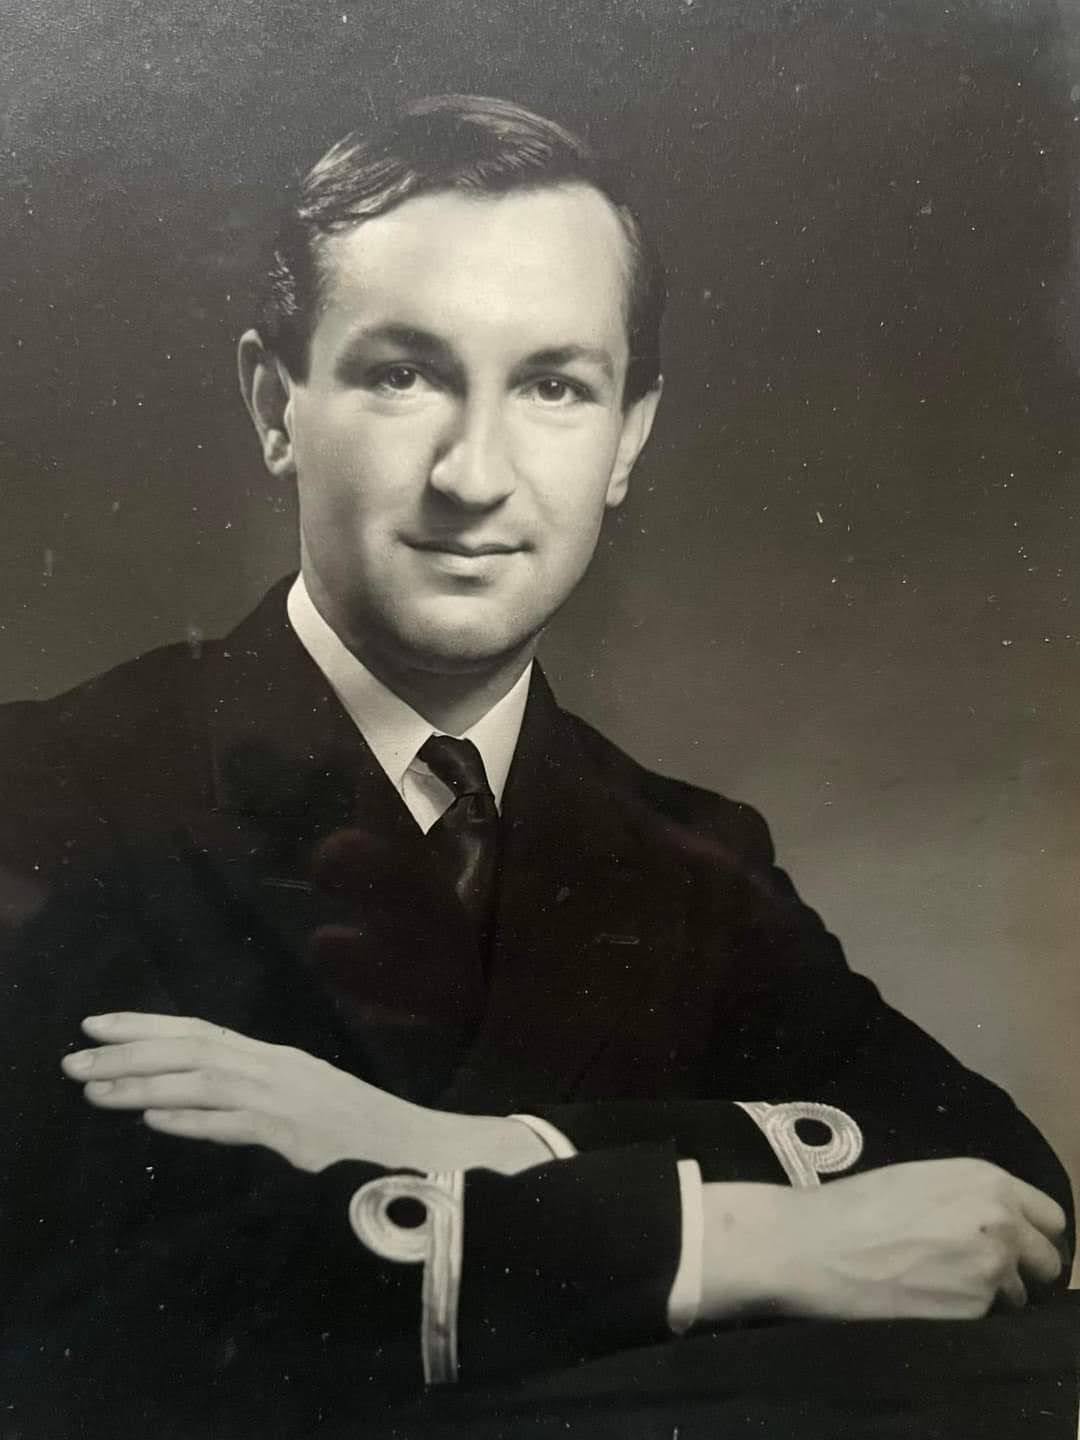
I cannot believe, as I sit here writing this, that it is a full six months since my last post. In that time there has been loss, achievement, change, and most importantly some progress! In the latter part of 2023 I lost a much-loved aunt, an equally loved and respected godfather and, also to which I was more than slightly attached, the top half inch of my right forefinger. I have made two Atlantic crossings, one transit of the Panama canal, one visit to a Panamanian hospital; I have seen the Patagonian channels in all their beauty and wonder, landed helicopters (as Helicopter Landing Officer, not pilot) on the Antarctic ice amongst the Emperor Penguins, and plunged into the icy waters of the Antarctic Peninsula surrounded by beautiful ice formations and bergs, and playful Minke whales. I have changed jobs, giving up my position with Scenic in favour of returning to Sail Training as skipper of Gordonstoun School’s fine 80ft Oyster sail training yacht, having in between done a trip on Pelican of London from Tenerife to the Caribbean and worked hard to maintain my sanity whilst doing so. My interviewers at Gordonstoun were interested to find out that I was attending (online, thanks to the school for their forbearance!) from on board ship just a mile or so east of Cape Horn. I have also had time for a fantastic week trekking and camping in the Anti-Atlas mountains of Morocco as a much needed break from everything, and finally made a lot of progress with the boat!

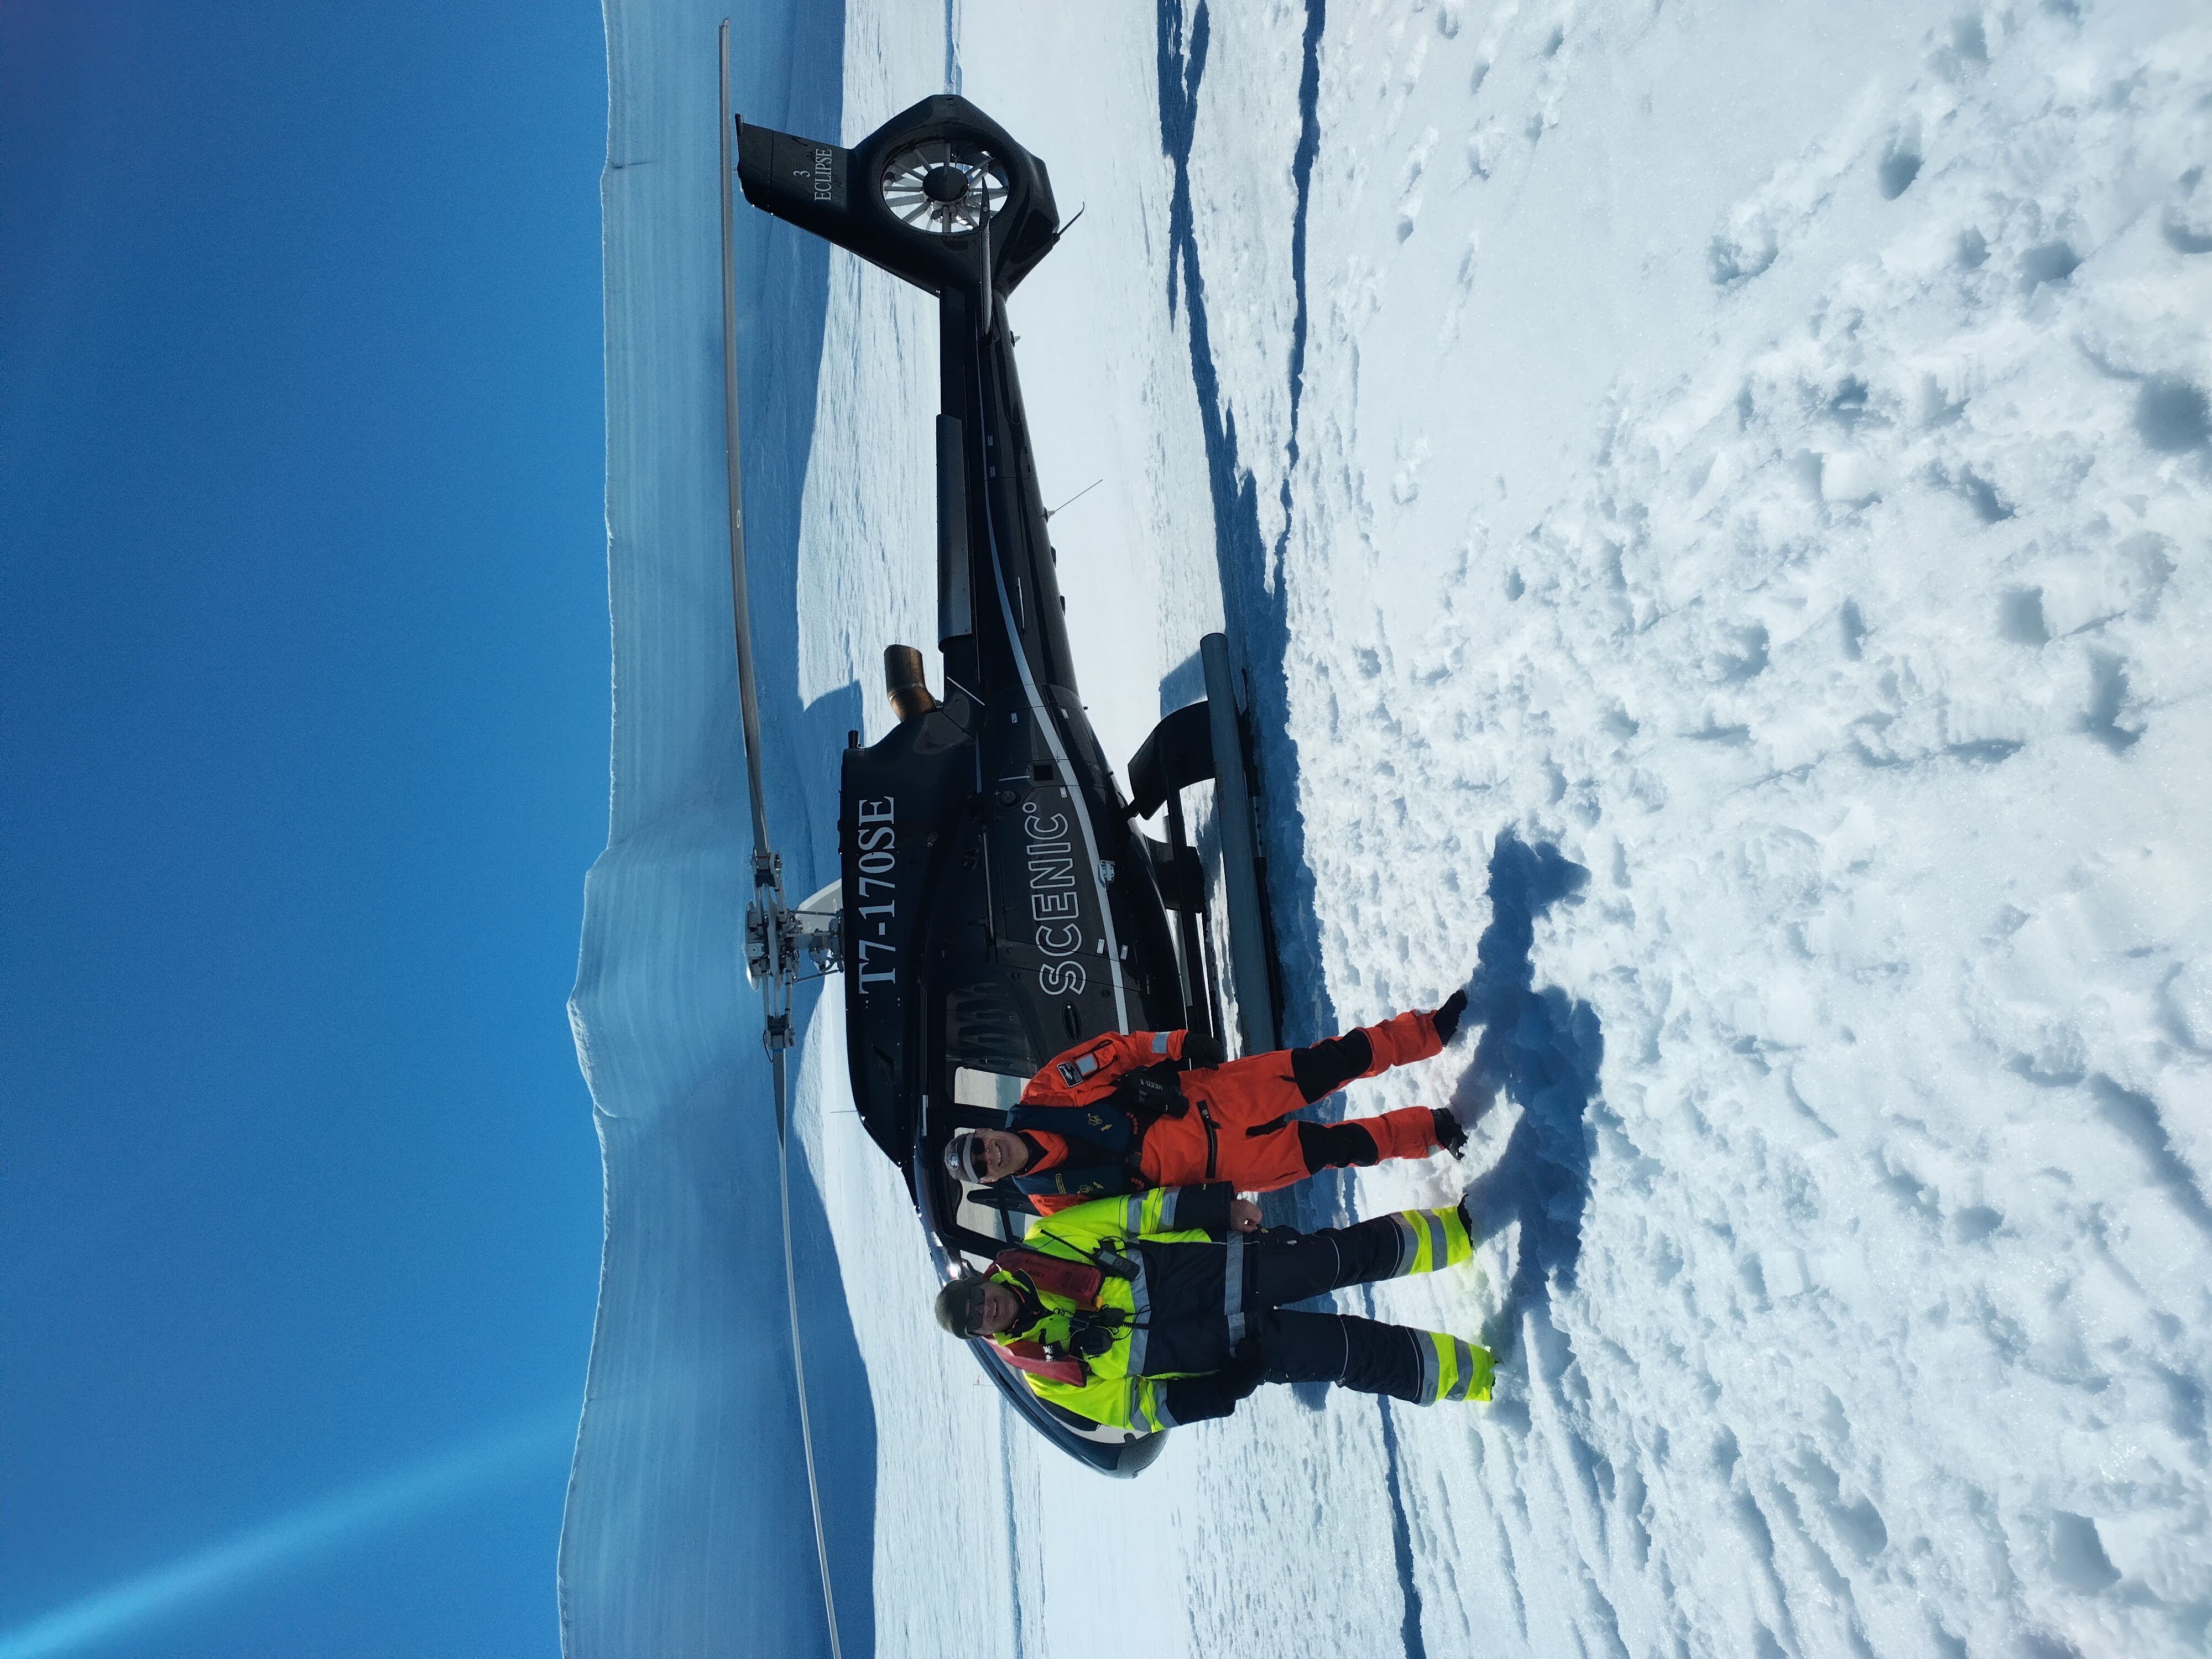

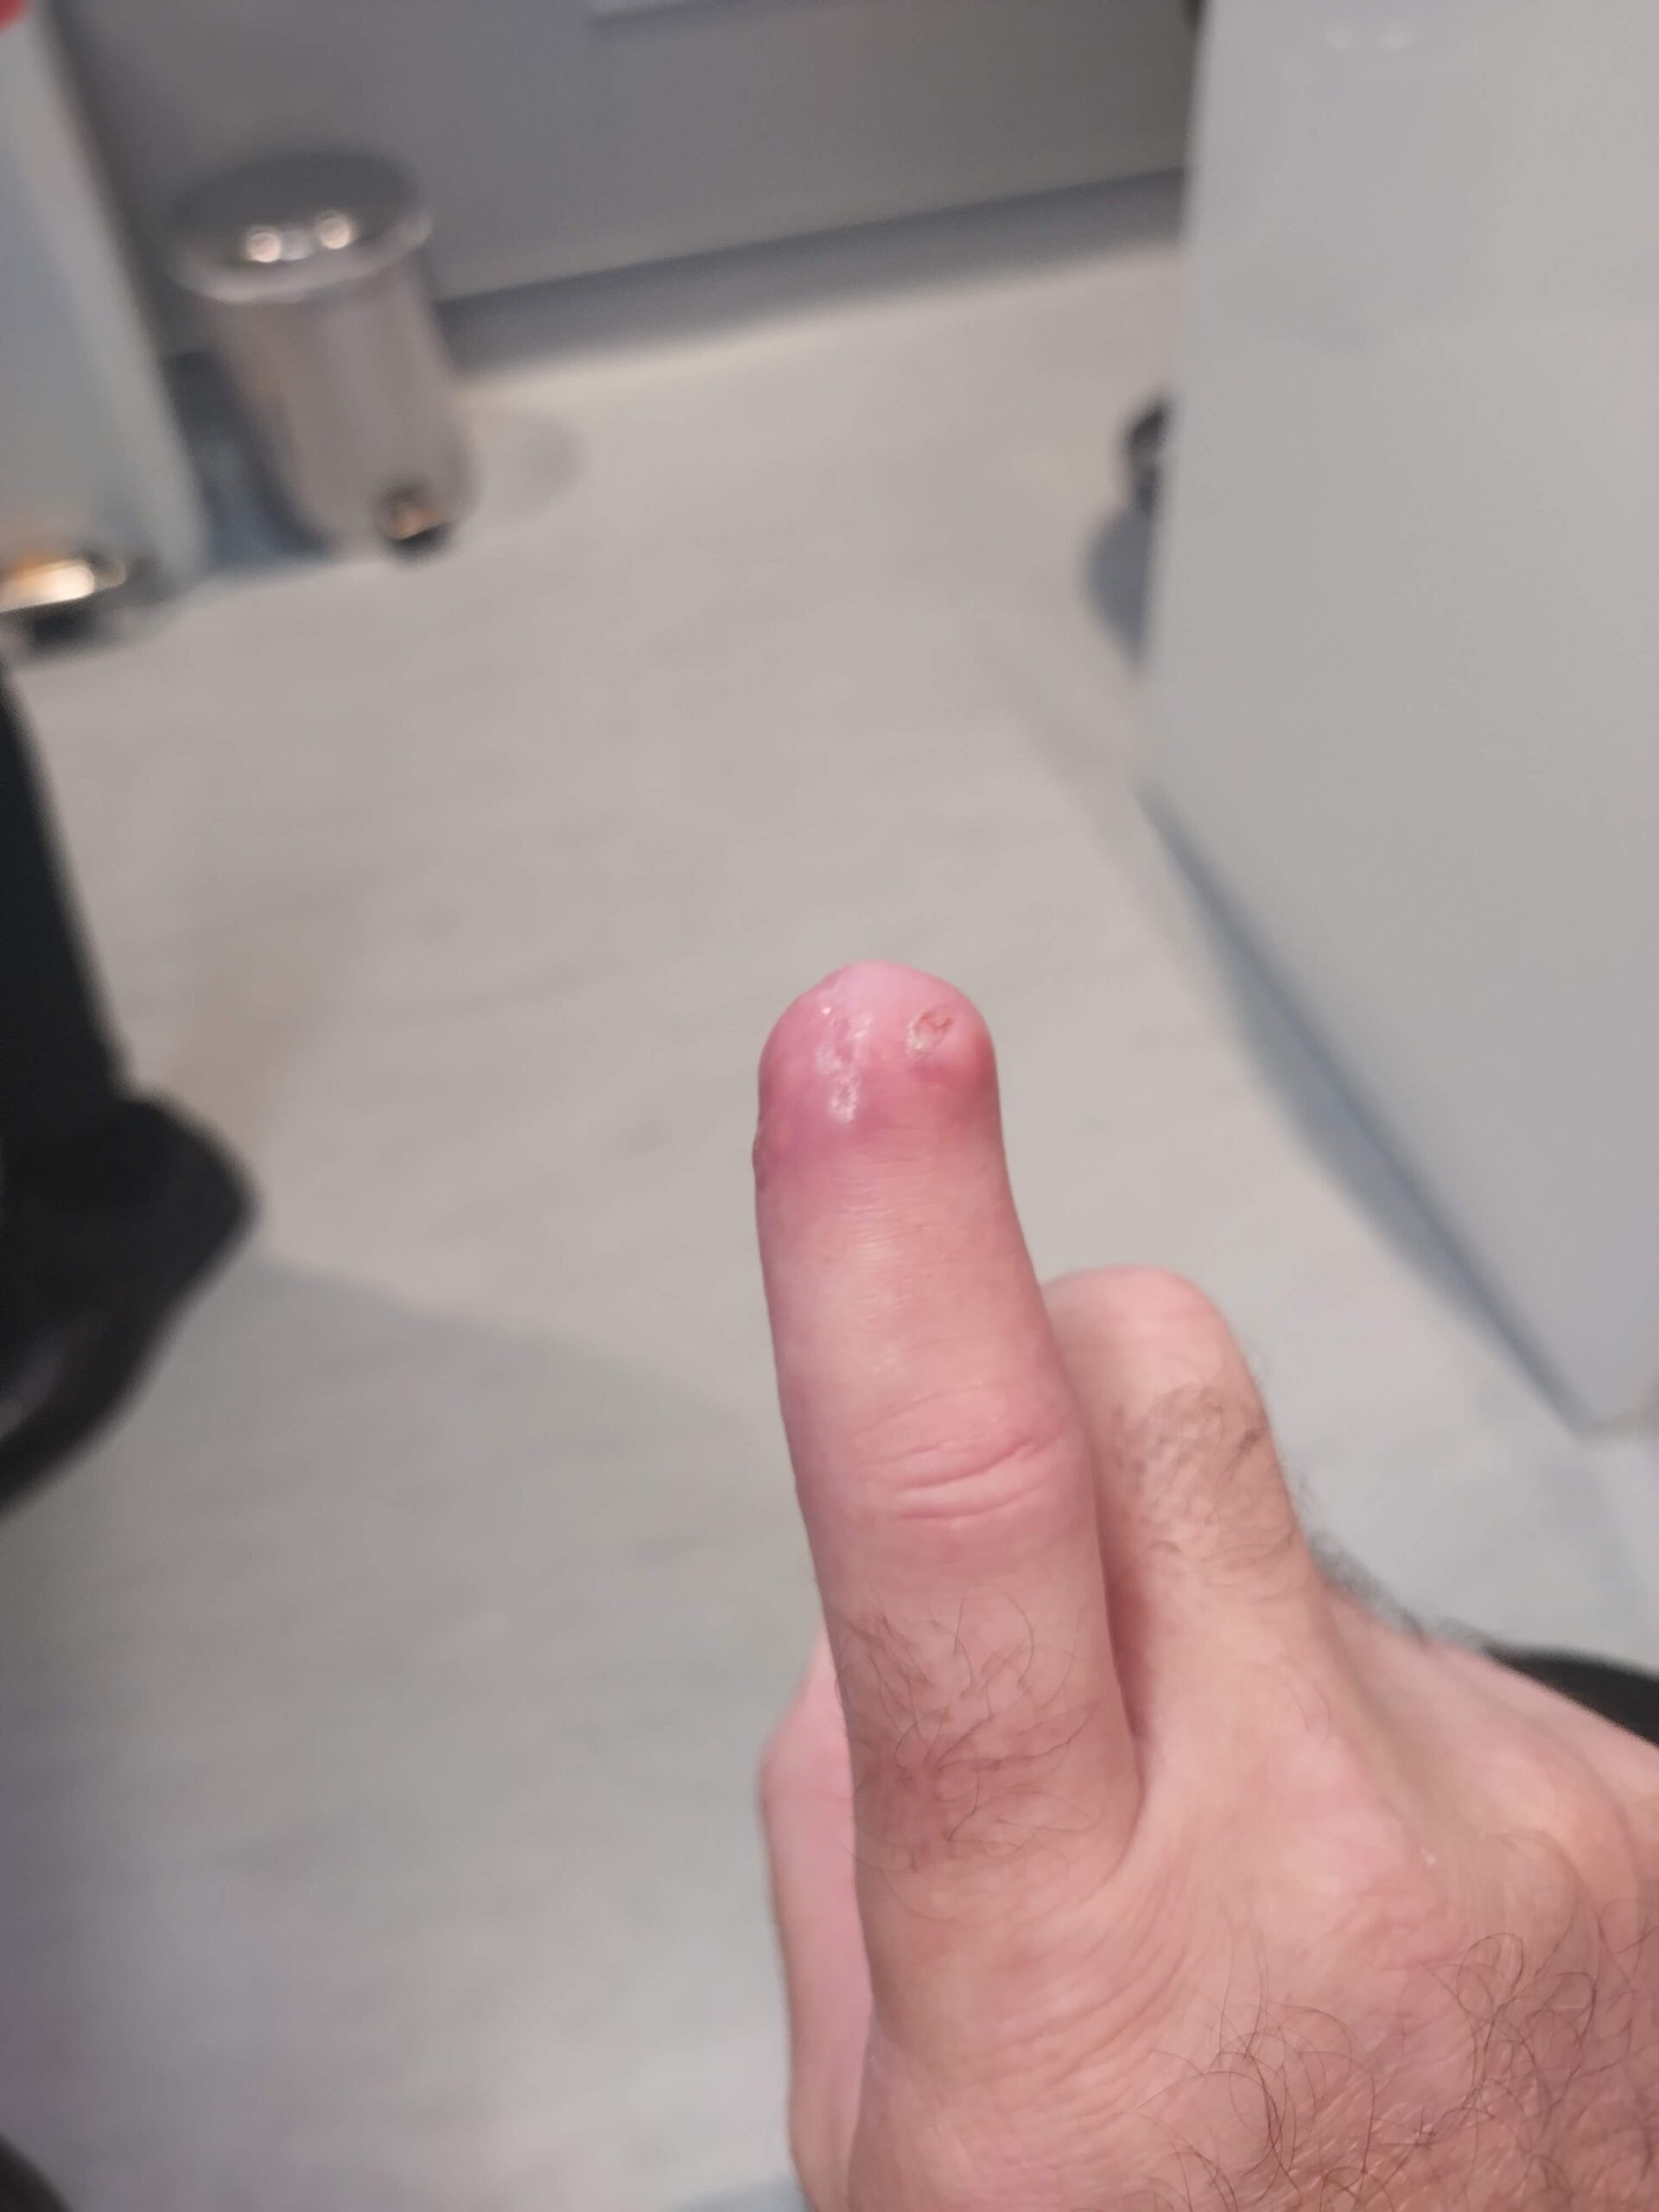
I wrote my last post soon after rejoining Scenic Eclipse II in Iceland, from where we made our way south via the Northern Isles, Scotland (including a day in Oban), Ireland, Wales, and Atlantic ports in Europe to the Azores, then to Boston and south to the Caribbean and through Panama before continuing south to Chile and Ushuaia then the Antarctic Peninsula. The first part of the trip was fairly busy, with the prospect of the ship’s first US Coastguard inspection on arrival in Boston. Thereafter I was able to enjoy some of the sights a bit more, but the actual job began to become a bit stale. It was in early November, having not long before gone home on personal leave to be with my family for a few days following my aunt’s death, that I managed to get my forefinger trapped in between a liferaft which we were moving and a bit of the ship’s structure, thereby lopping off a portion of my fingertip. This was sewn up adequately by a surgeon in Panama City (we’d been through the canal the previous day), and I returned to the ship in time to sail the same day. Fortunately the ship’s doctor was very experienced in caring for that type of injury, and was mildly excited by the prospect of looking after its healing, so I was able to remain on board as long as it was healing without any infection or complication. Fortunately by the time we were due to head away from civilisation towards the Antarctic peninsula the wound had fully closed and the last scab had dropped off, so I was able to continue southwards to the ice, which was ultimately why I had wanted to join Scenic! During the previous weeks I had become aware that Gordonstoun were advertising for a skipper, so I applied for the job, and was invited to interview (fortunately they were able to accommodate an online interview), being offered the job the very next day. I had decided over the preceding couple of months that life in the cruise industry was not really for me, so I was delighted to get the offer and accepted almost immediately.
I signed off Scenic Eclipse II in Ushuaia in early December, and from there made my way directly to Tenerife, where Pelican was awaiting me and preparing for her annual transatlantic voyage with Ocean College. It was fun to be back in the sail training environment again, but the trip was marred by a procession of technical problems, so I was glad to sign off in St Martin after finally arriving in one piece.
I returned to the UK in the second half of January, and after spending a week in the south visiting family and attending the UK Sail Training Conference, I finally got home and threw myself back into fitting out Serchthrift. With a stumpy finger and after so long away I made a slow but steady start, and finished off the job I had started before I went away, making lids for the forward cockpit steps / rope lockers. These were cut from some of the teak worktop I had bought down in Portsmouth last year, and I just needed to shape and fit these, as well as the teak frame on which they will hinge. They turned out quite nicely, and have been dry fitted, but with the weather being so cold, I left the epoxying of the frames to the aft bulkhead until the weather turns a wee bit warmer (and also until I have bought the right hinges).

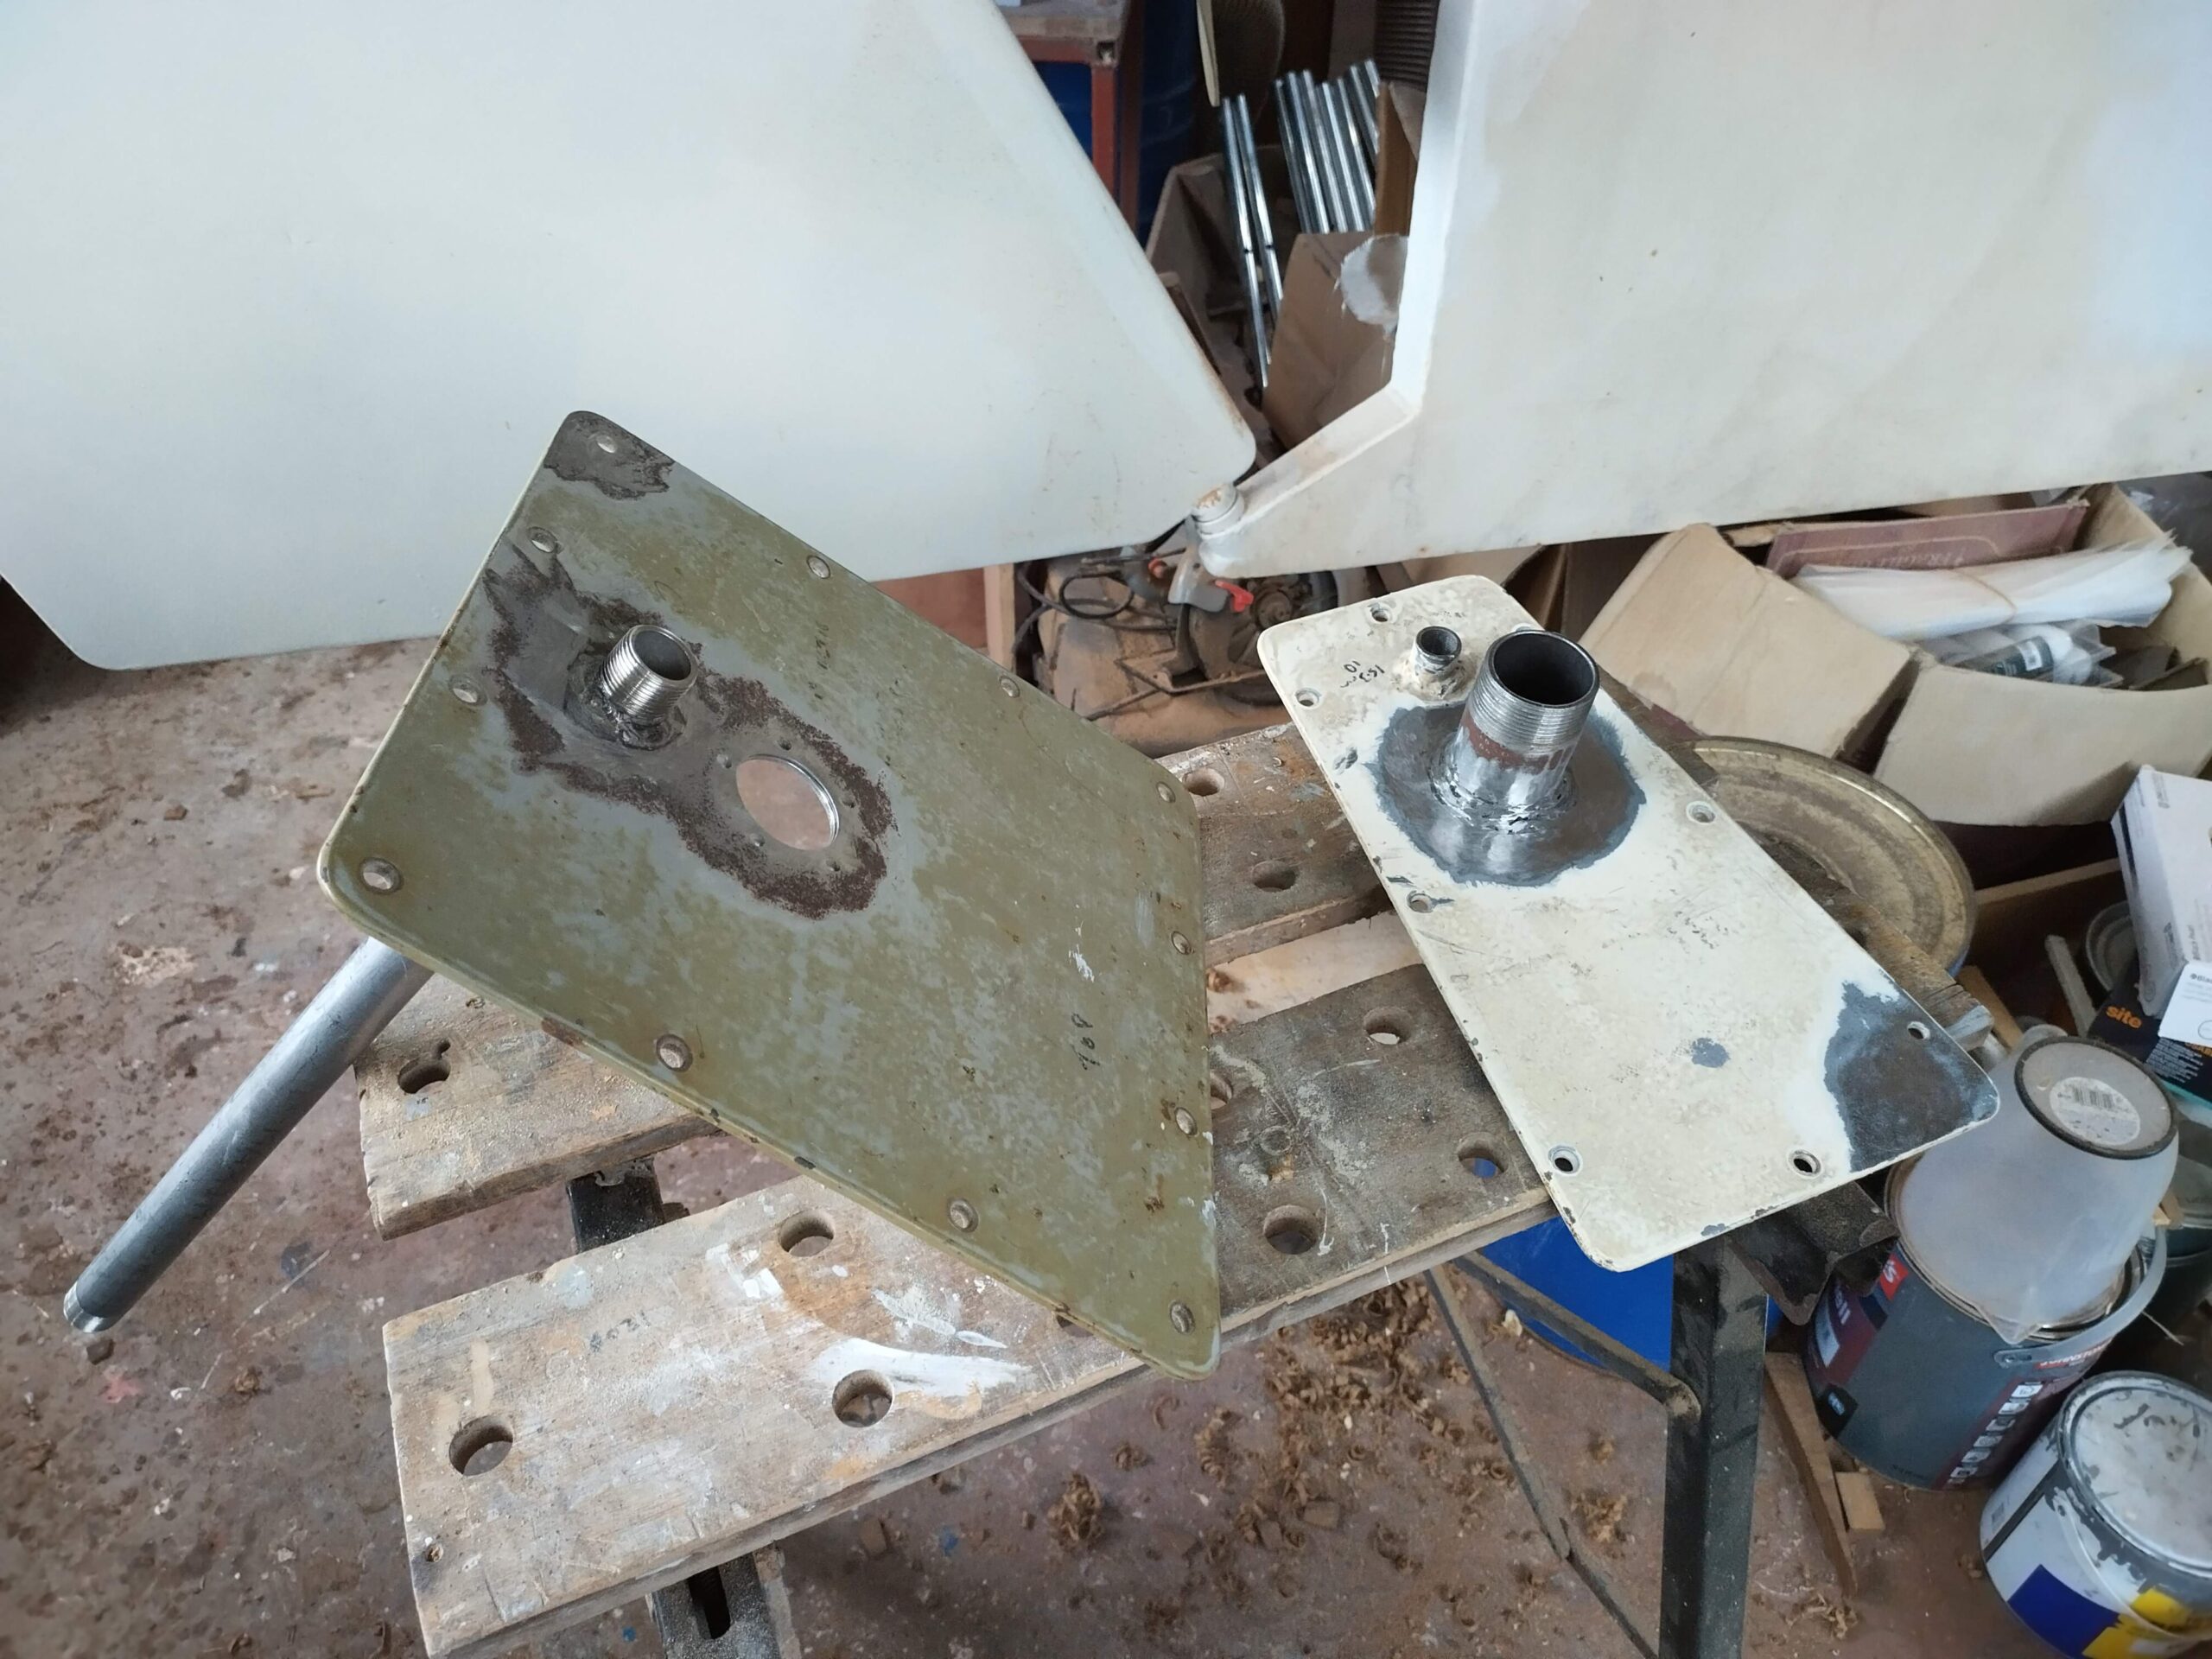
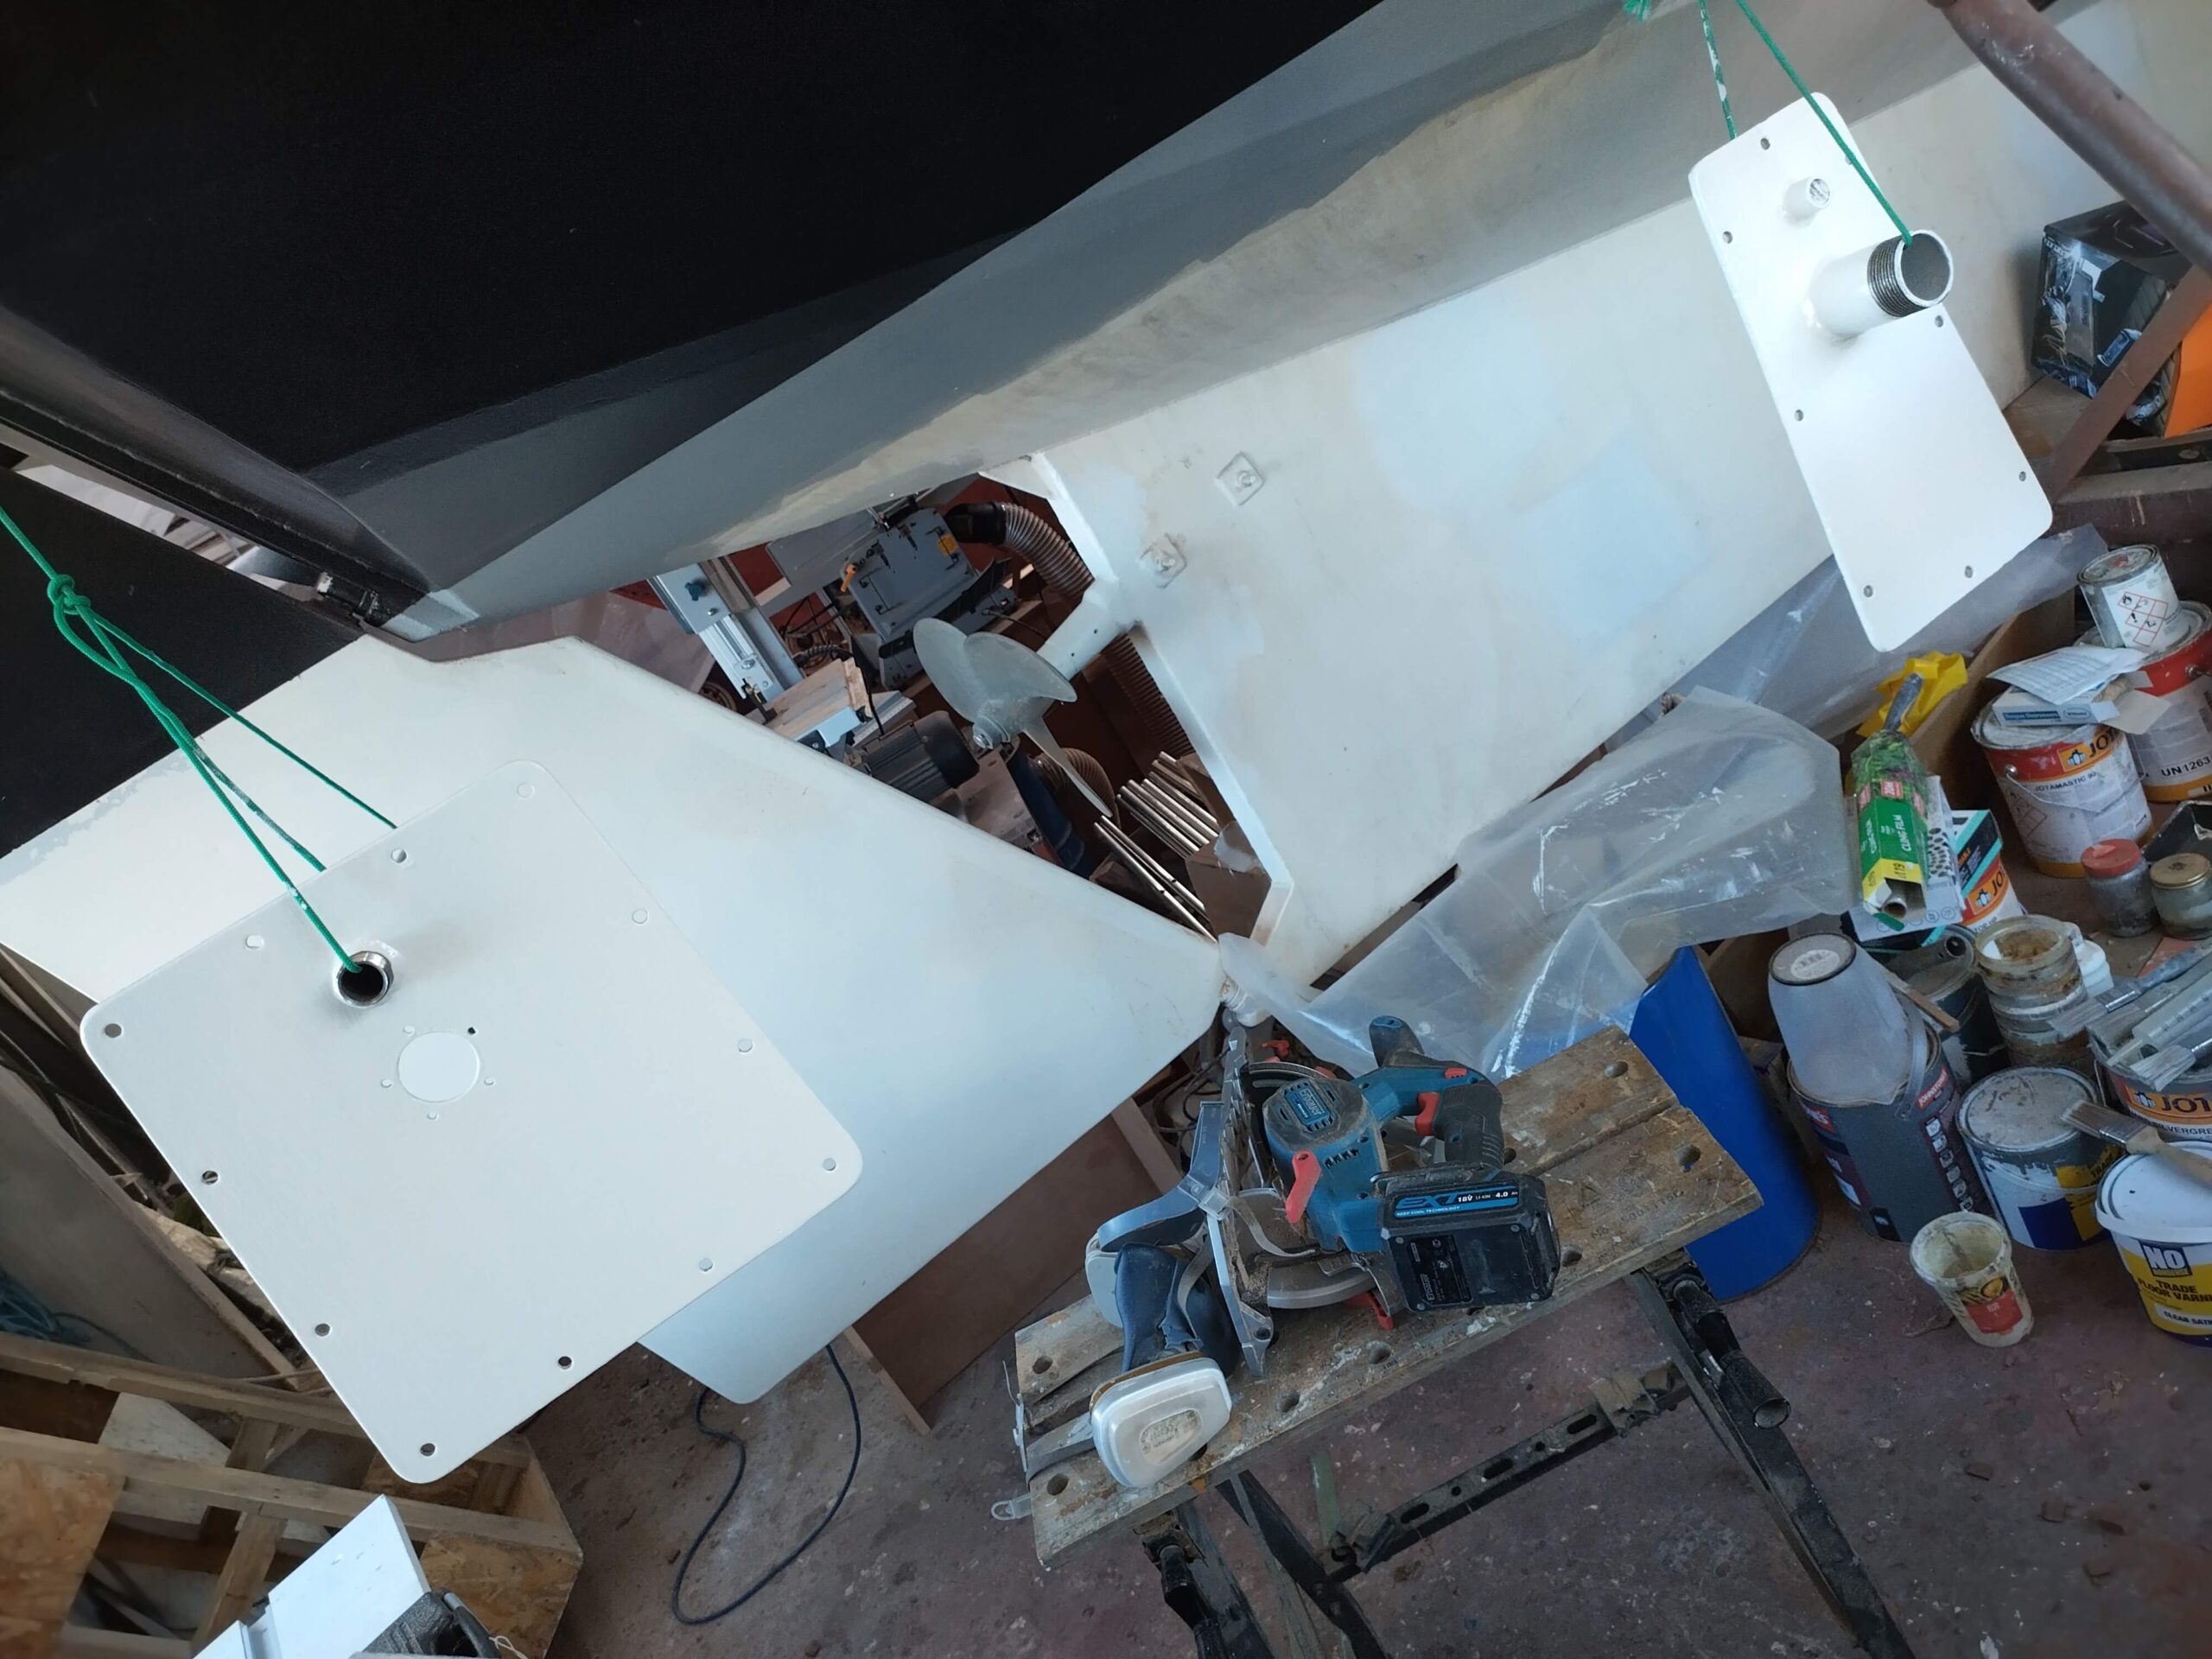
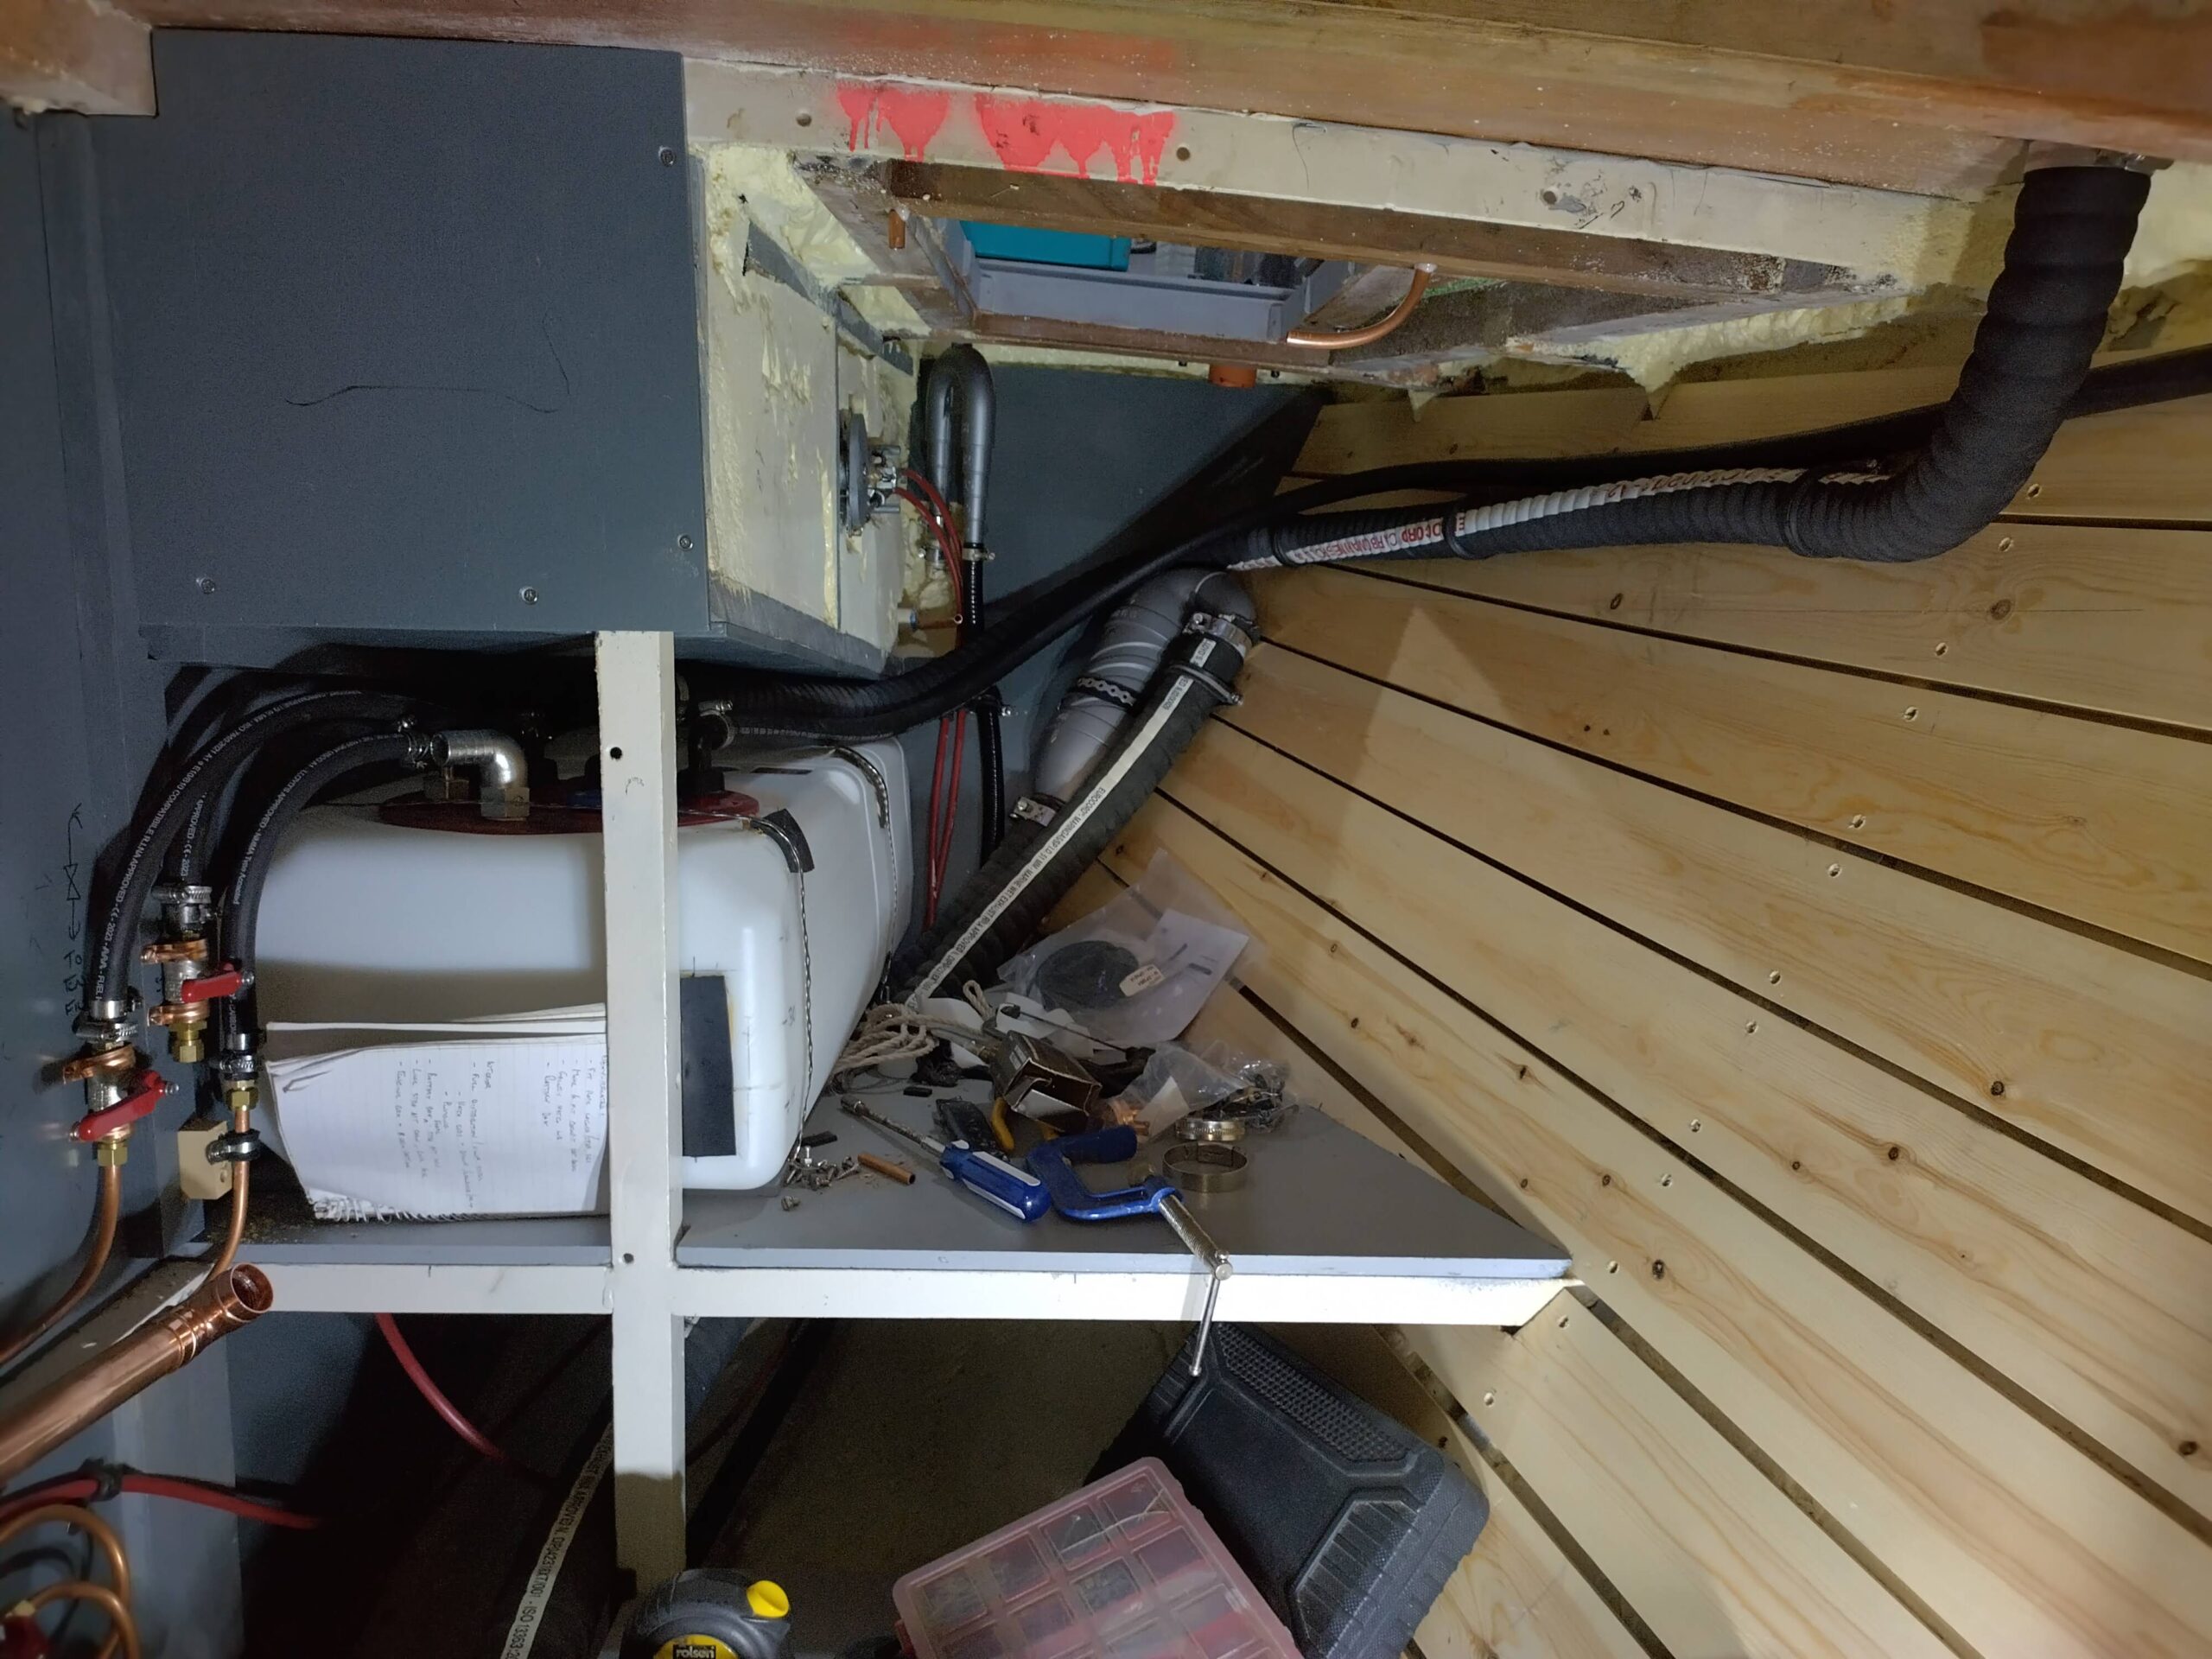
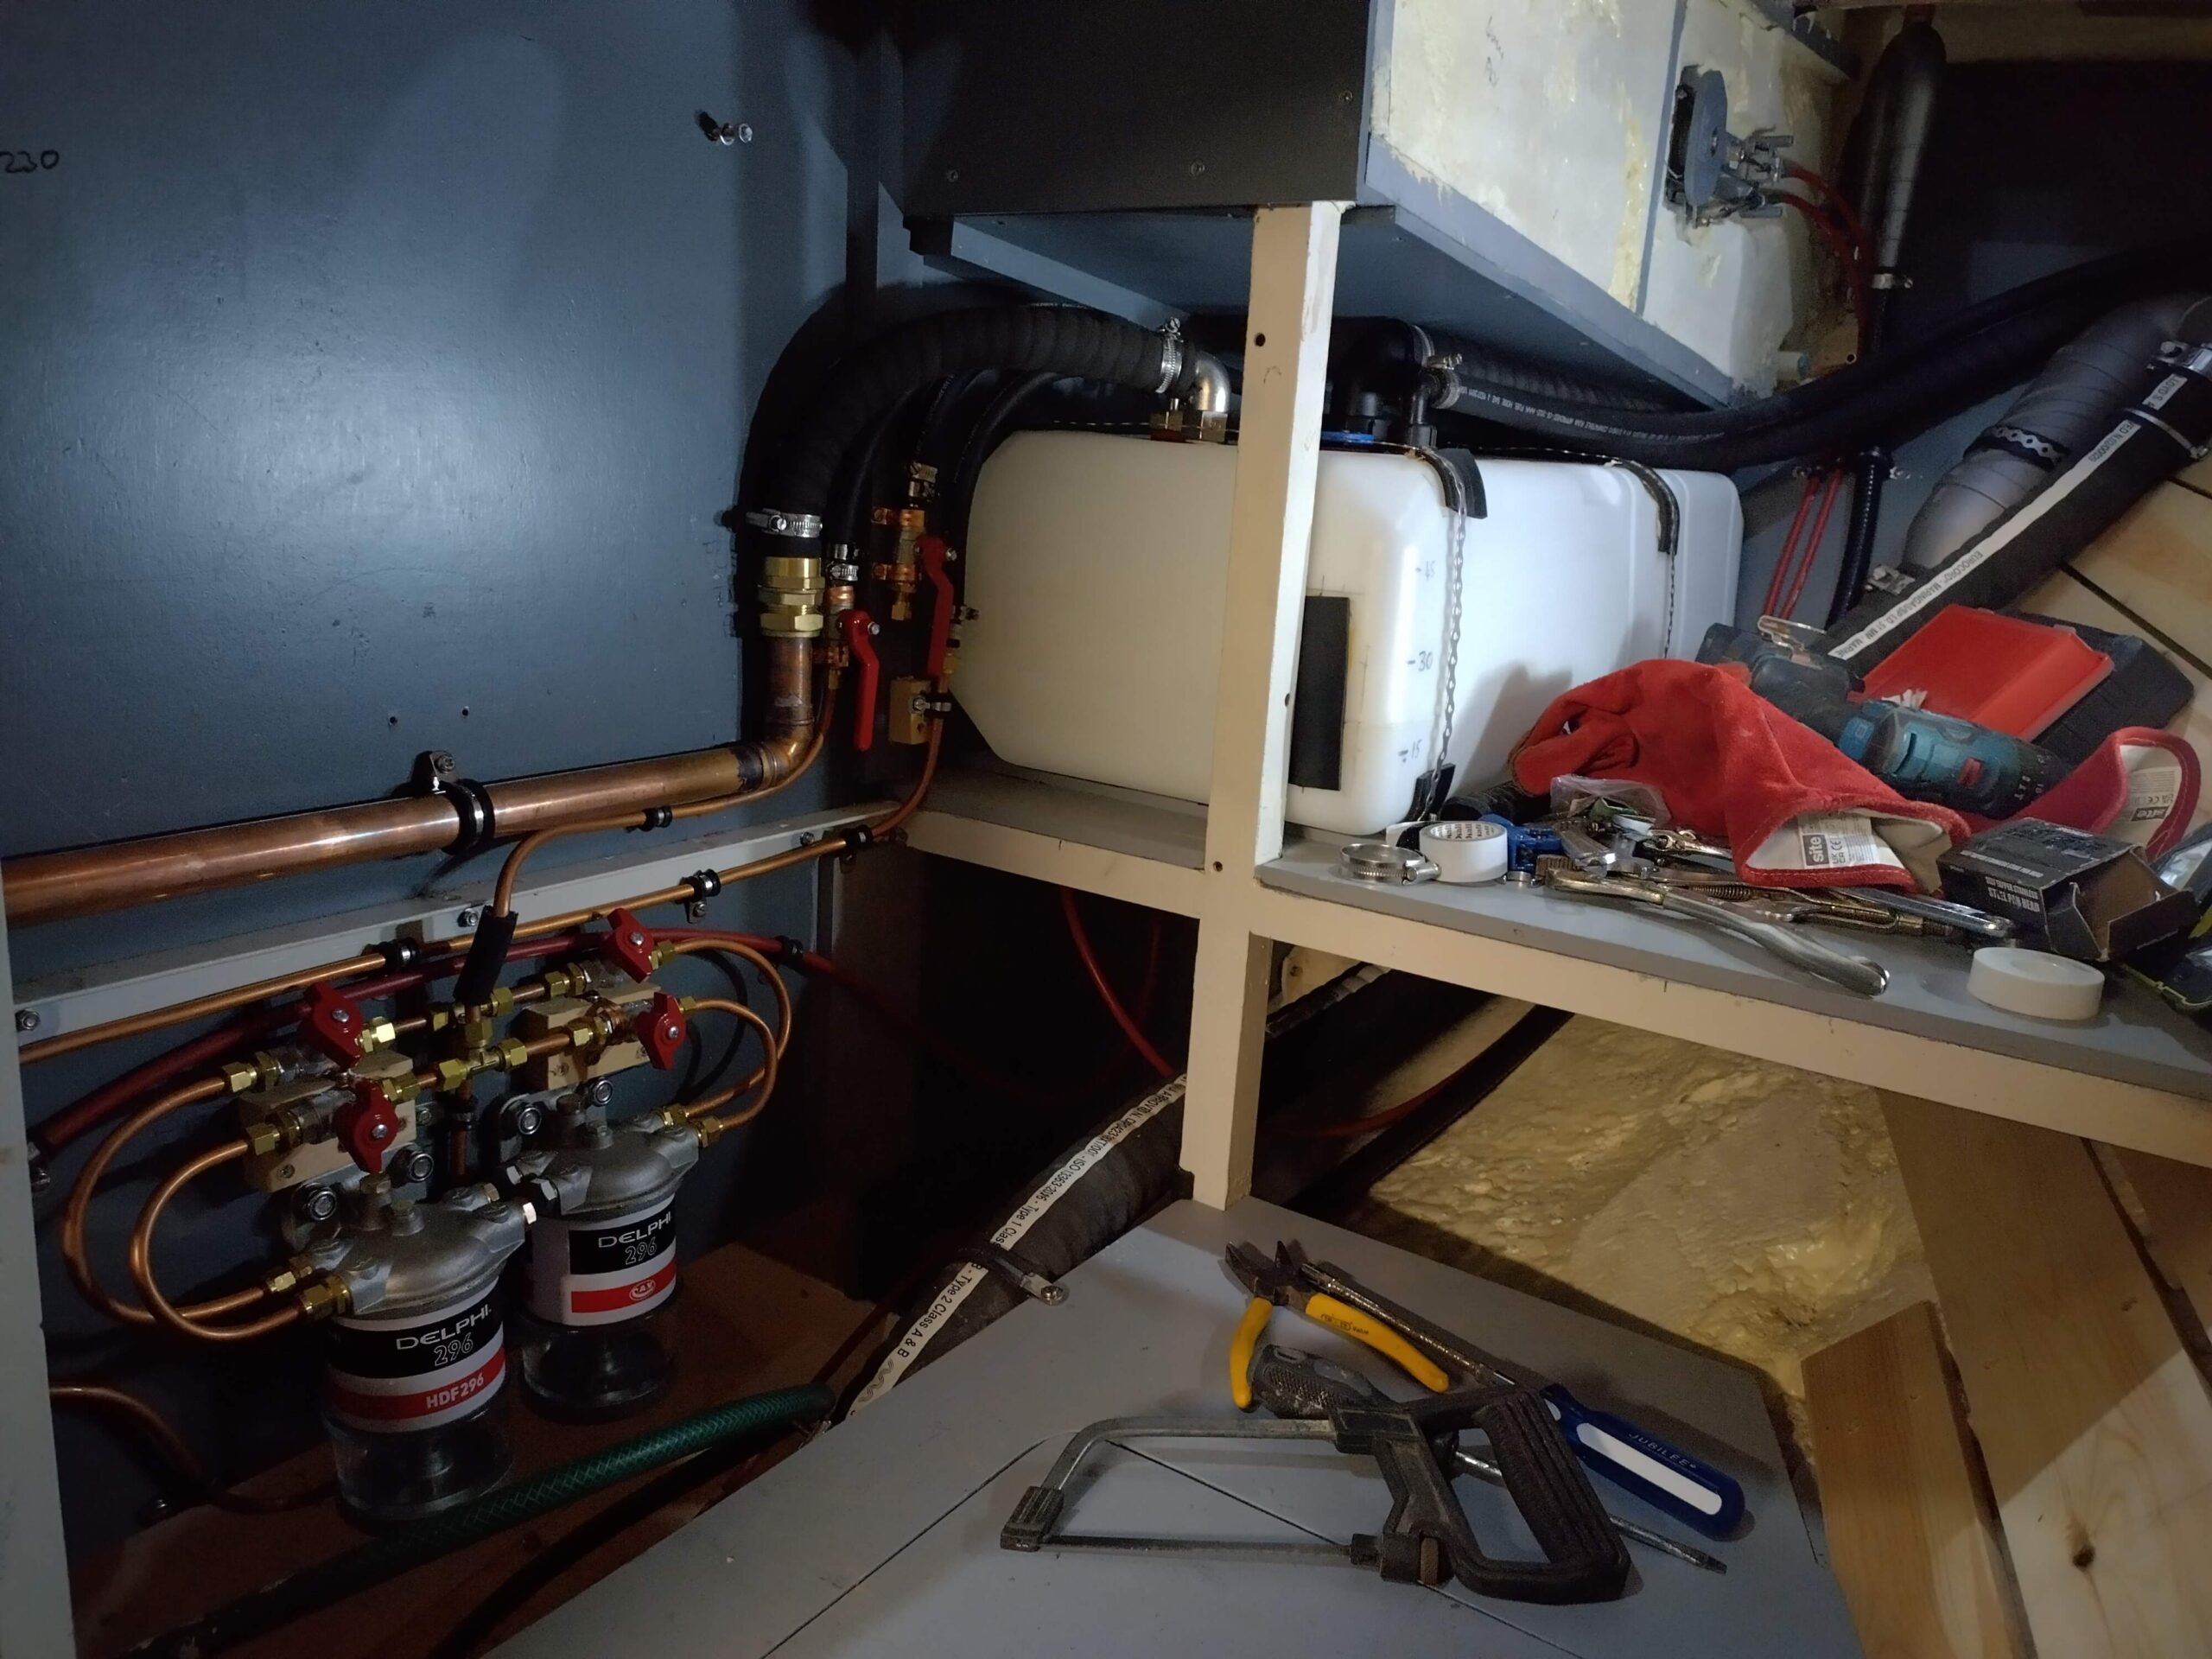
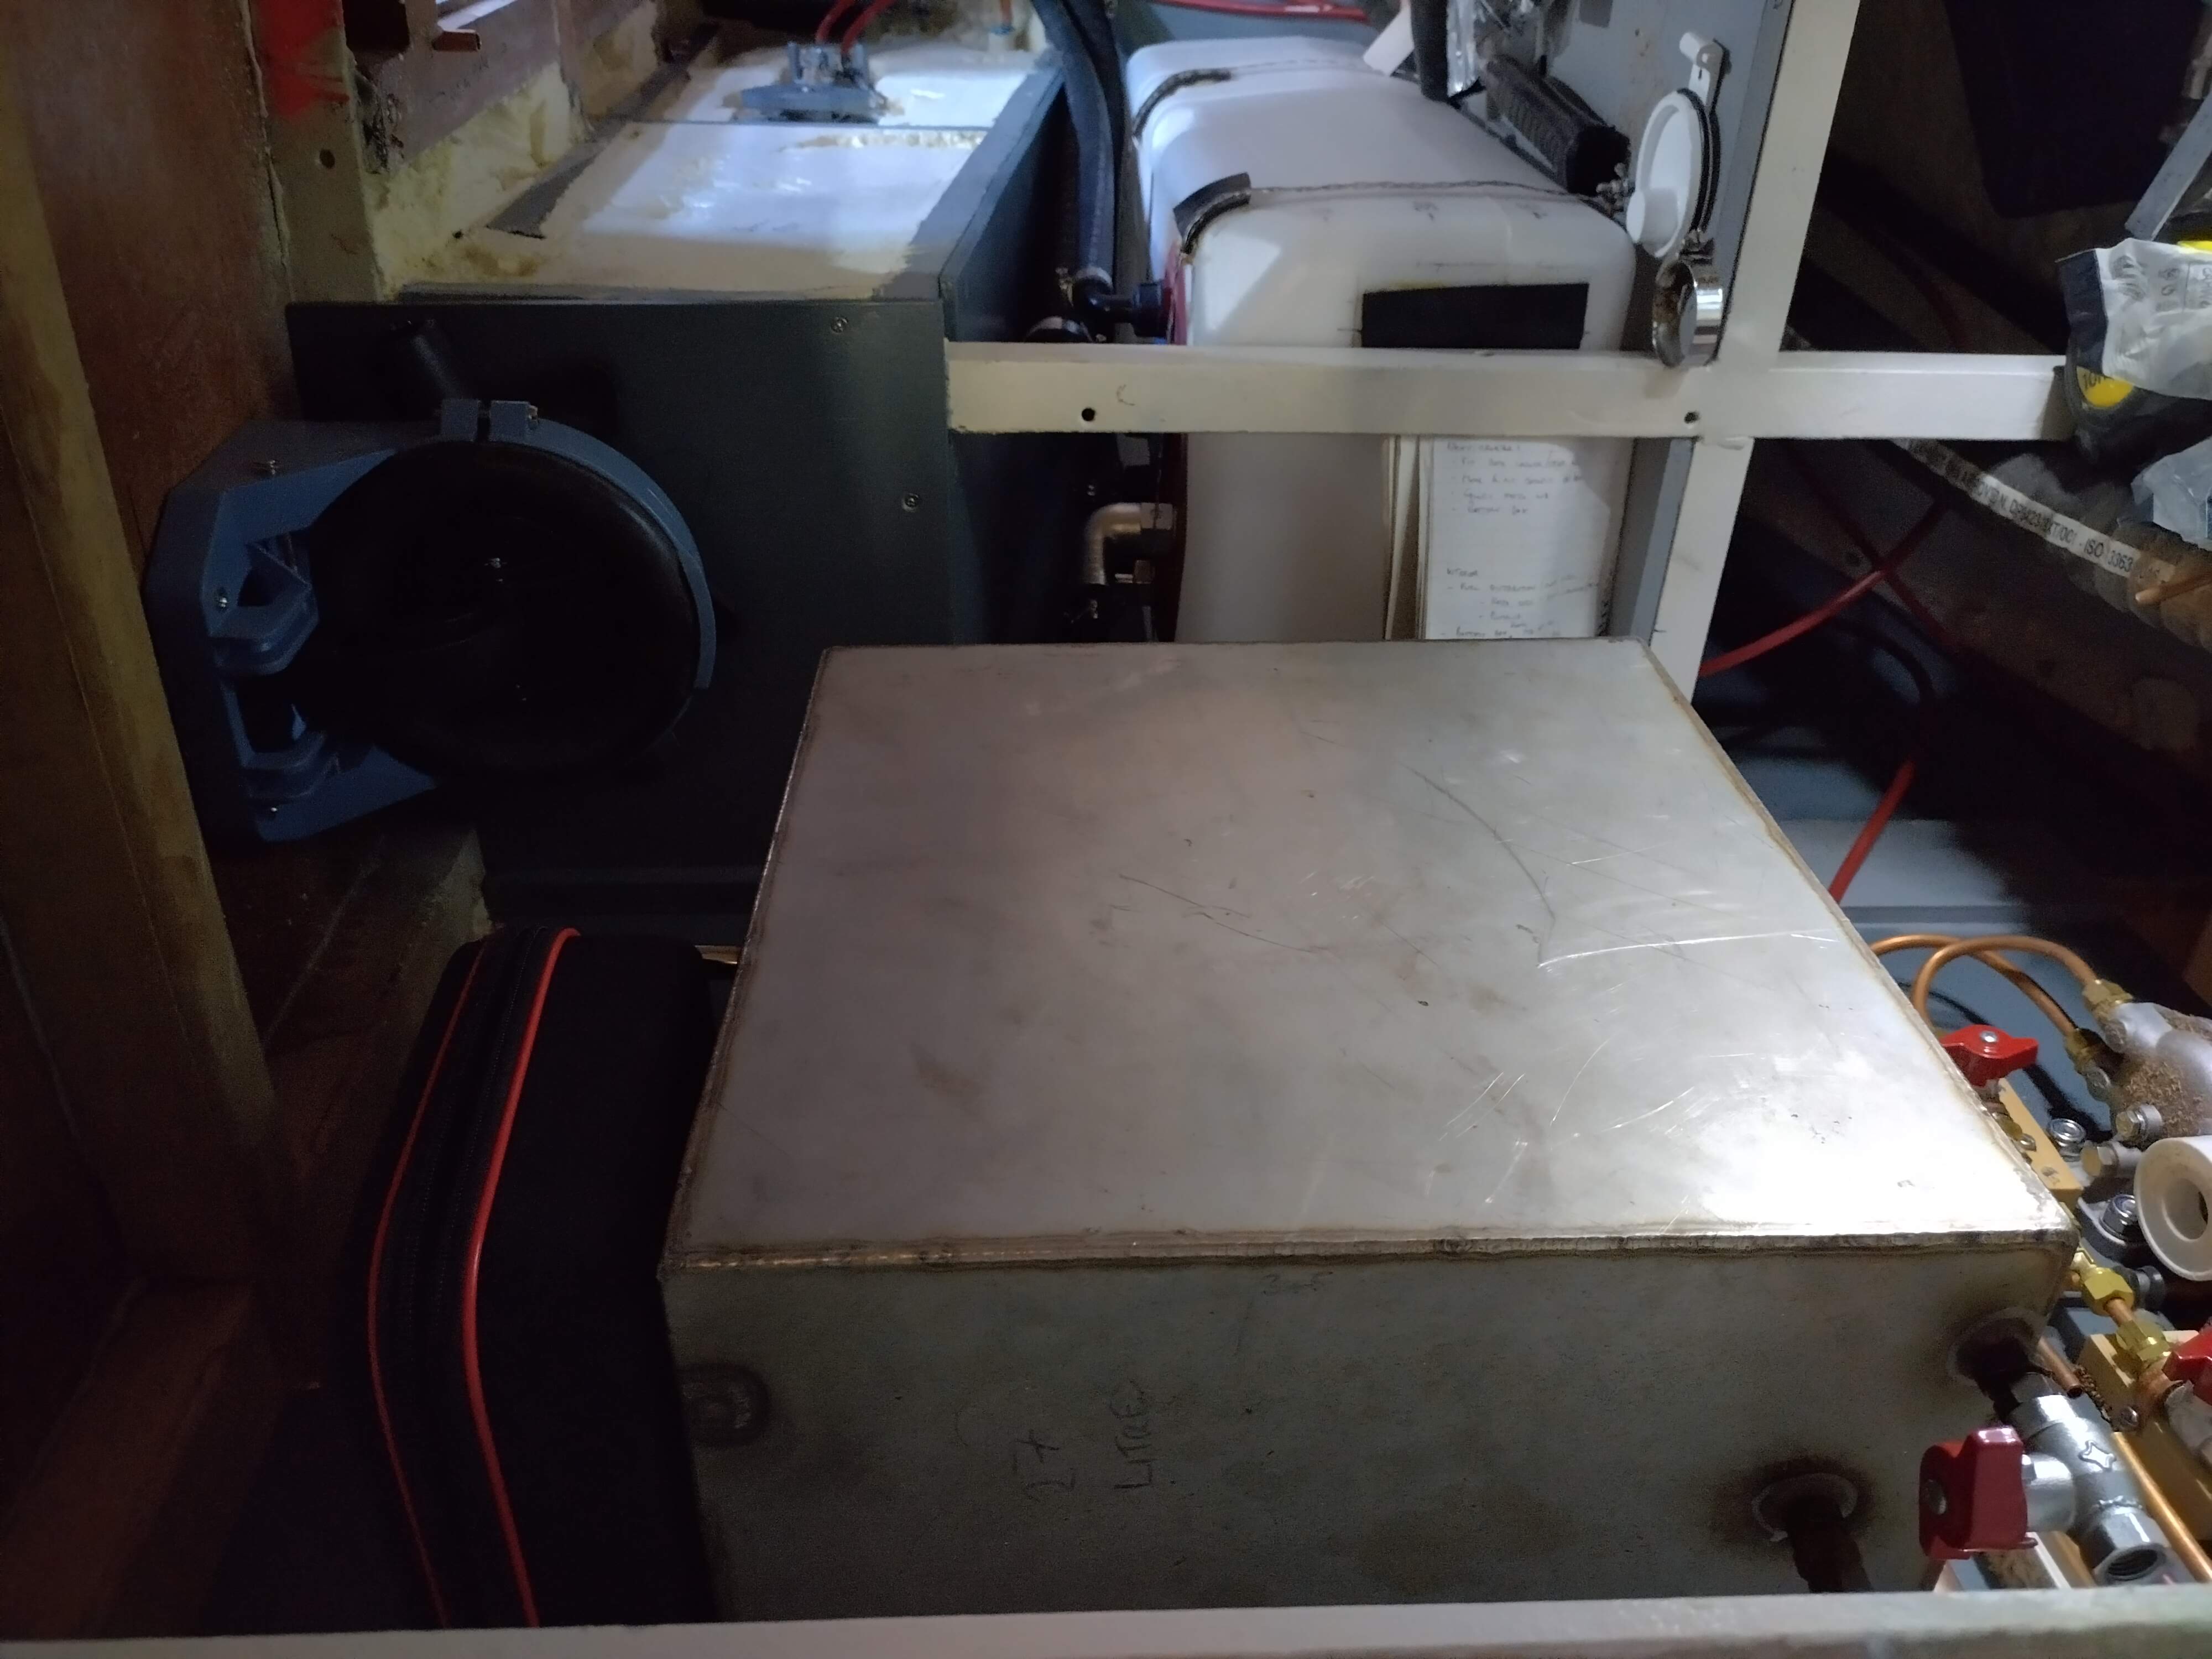
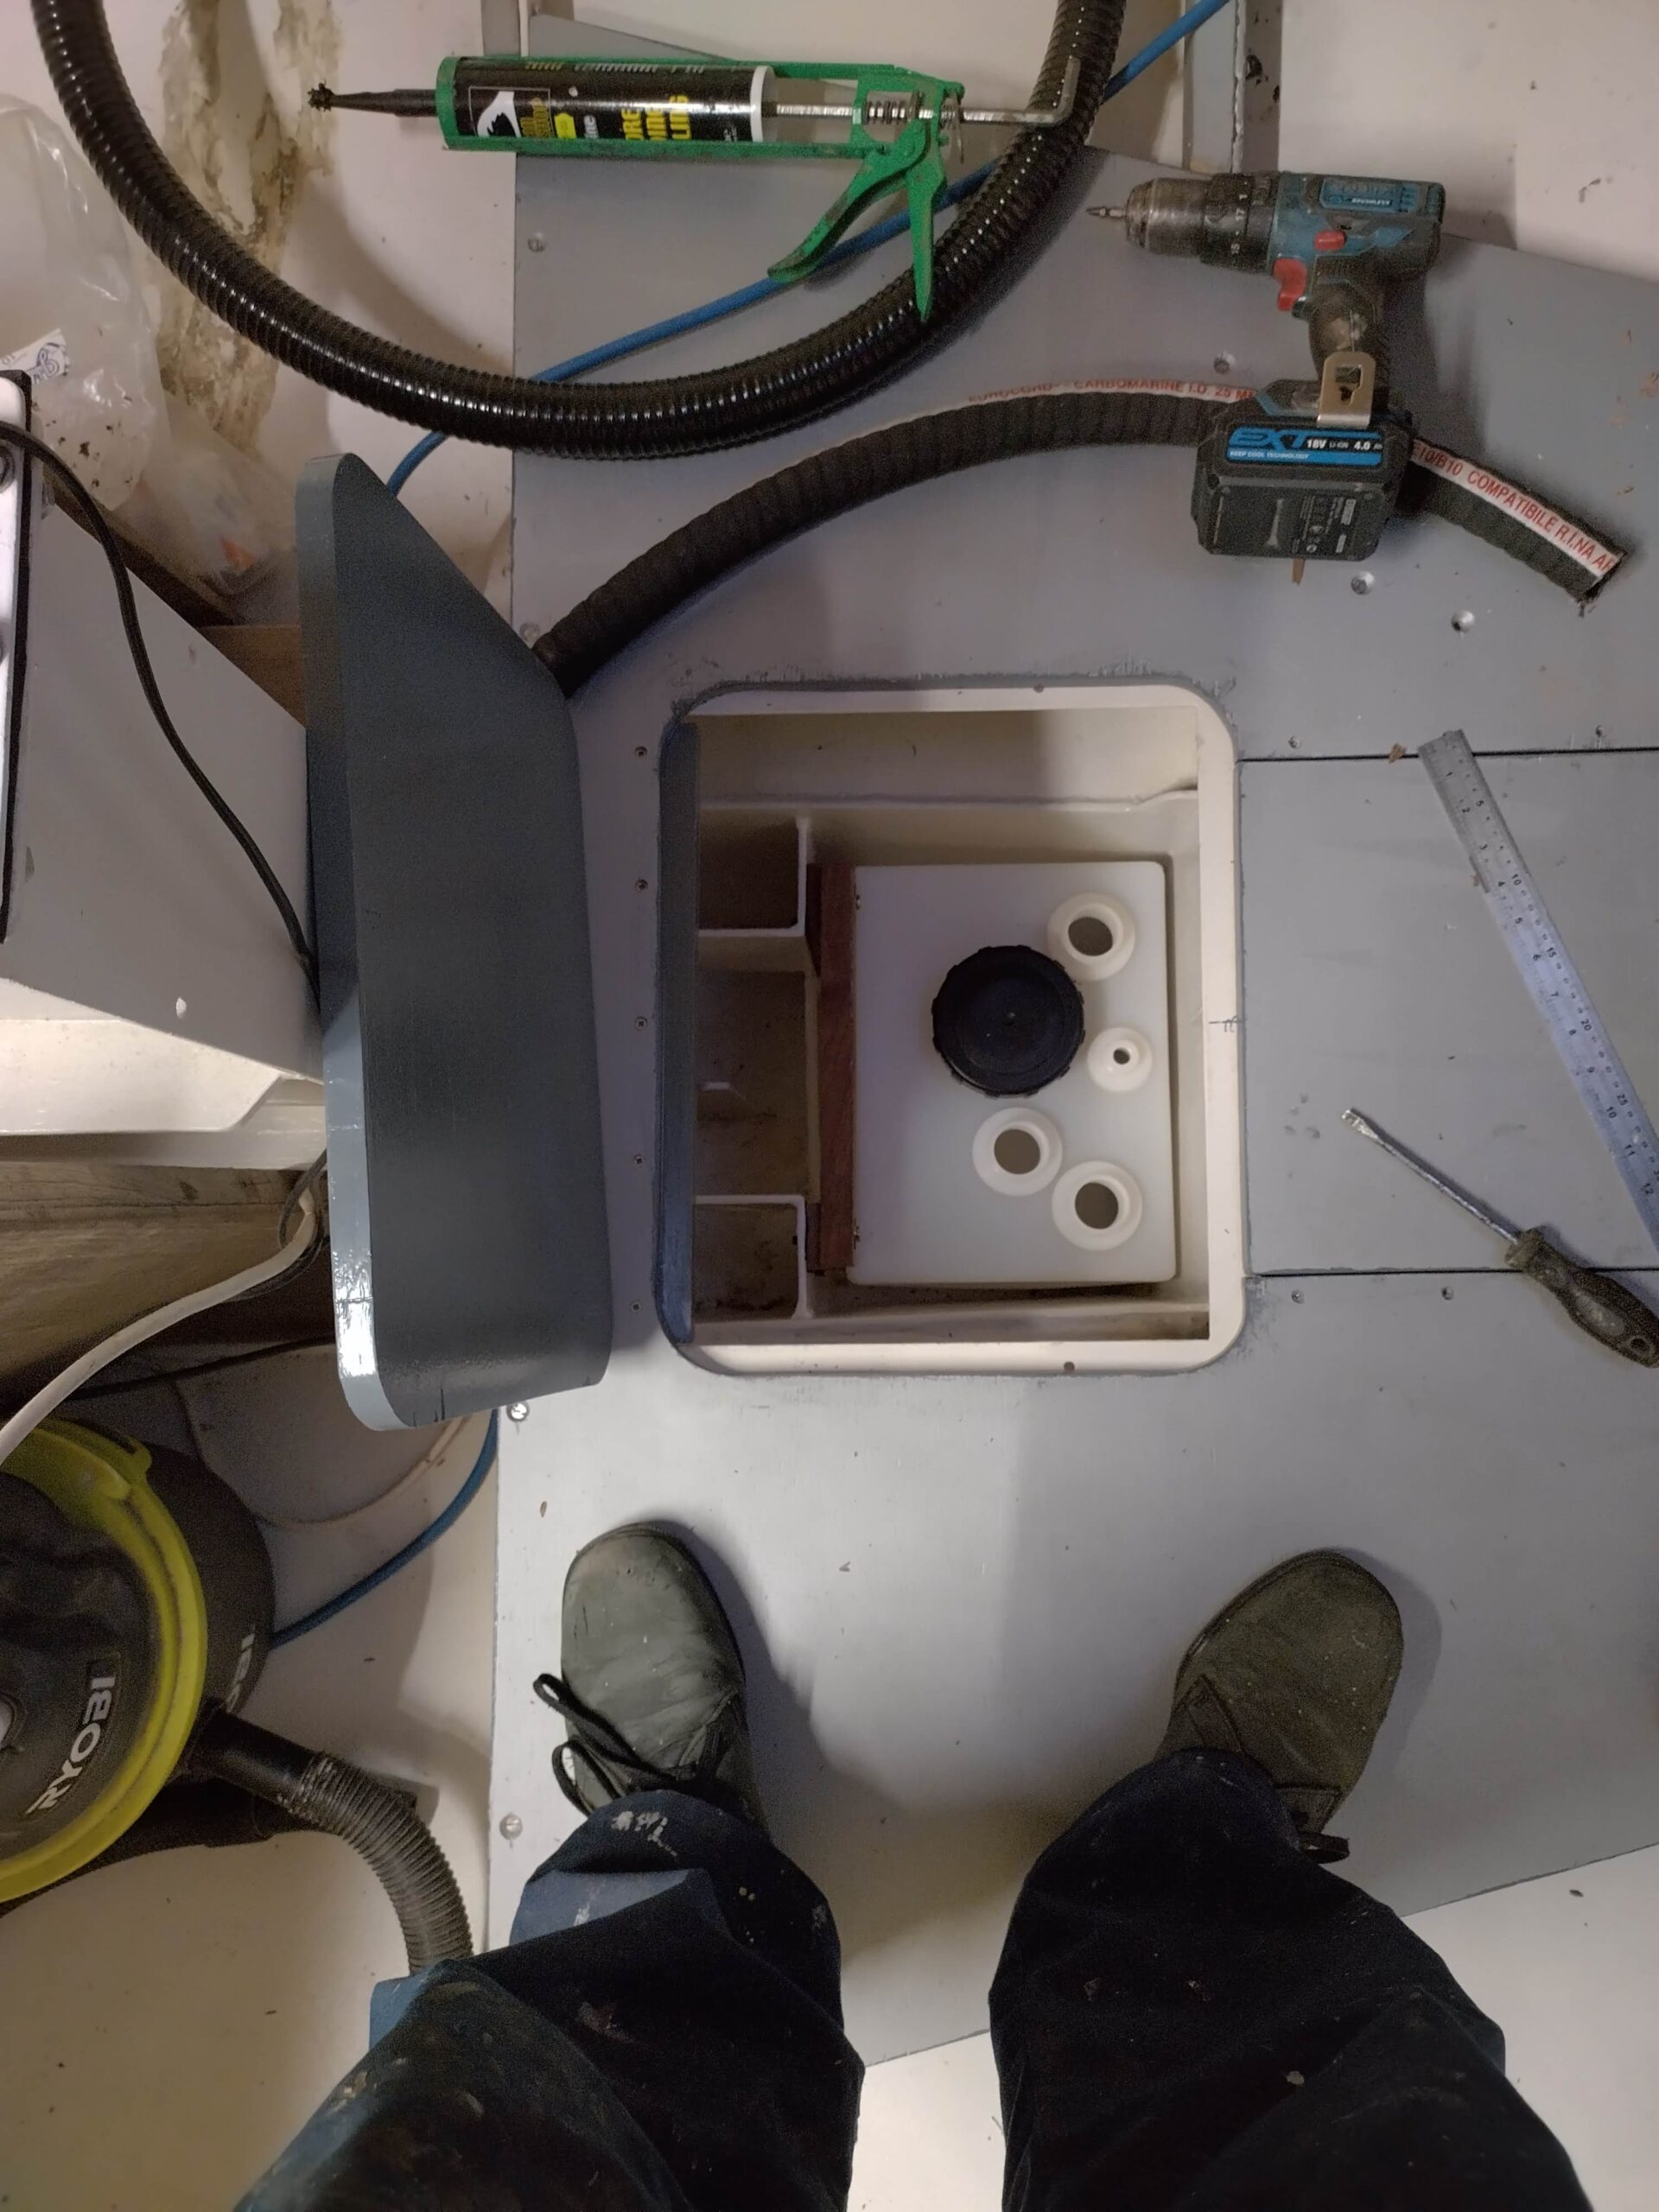
I then returned to some of the internal fitting out around the fuel system in the aft technical space / cockpit locker, as well as finishing off some of the other systems which run through there and forward into the main cabin and engine compartment. This was a multi-faceted job, for which I needed to recall my welding skills, in order to weld in the fittings to the keel fuel tank lids: the pick-up pipe in the forward lid, and the filler nipple in the aft lid, as well as cutting a hole for a tank gauge sender and tapping the nipple for the tank vent. Once the metalwork was done, these lids needed repainting with several coats of epoxy primer and a couple of topcoat before fitting and plumbing in, so whilst this was ongoing I decided to return to the cramped space to assemble the engine fuel supply filter manifold. This consisted of a number of valves and two combined fuel filters / water separators to enable fuel to be drawn from the day tank through either filter to the engine. The system also required a main fuel shut-off valve and a return line to the day tank. The diesel supply to the heating stove will have its own supply and filter, and at this stage I also fitted and plumbed in from the tank to the shut-off valve for this supply. Eventually I intend to link both valves to a fuel shut-off handle in the companionway so I do not need to enter the boat in the event of an engine, stove or fuel fire. Also running through the same part of the compartment is the fuel transfer line from the keel tank via a manual fuel transfer pump, and I made up part of this from 28mm copper pipe, thereby practicing my soldering skills, with a short hose linking to the tank and at the pump end. In this congested area there is also one of the two manual bilge pumps – this one is pumped from in the cockpit, with the pump mounted just under the bridge deck with a proper Whale deck fitting.
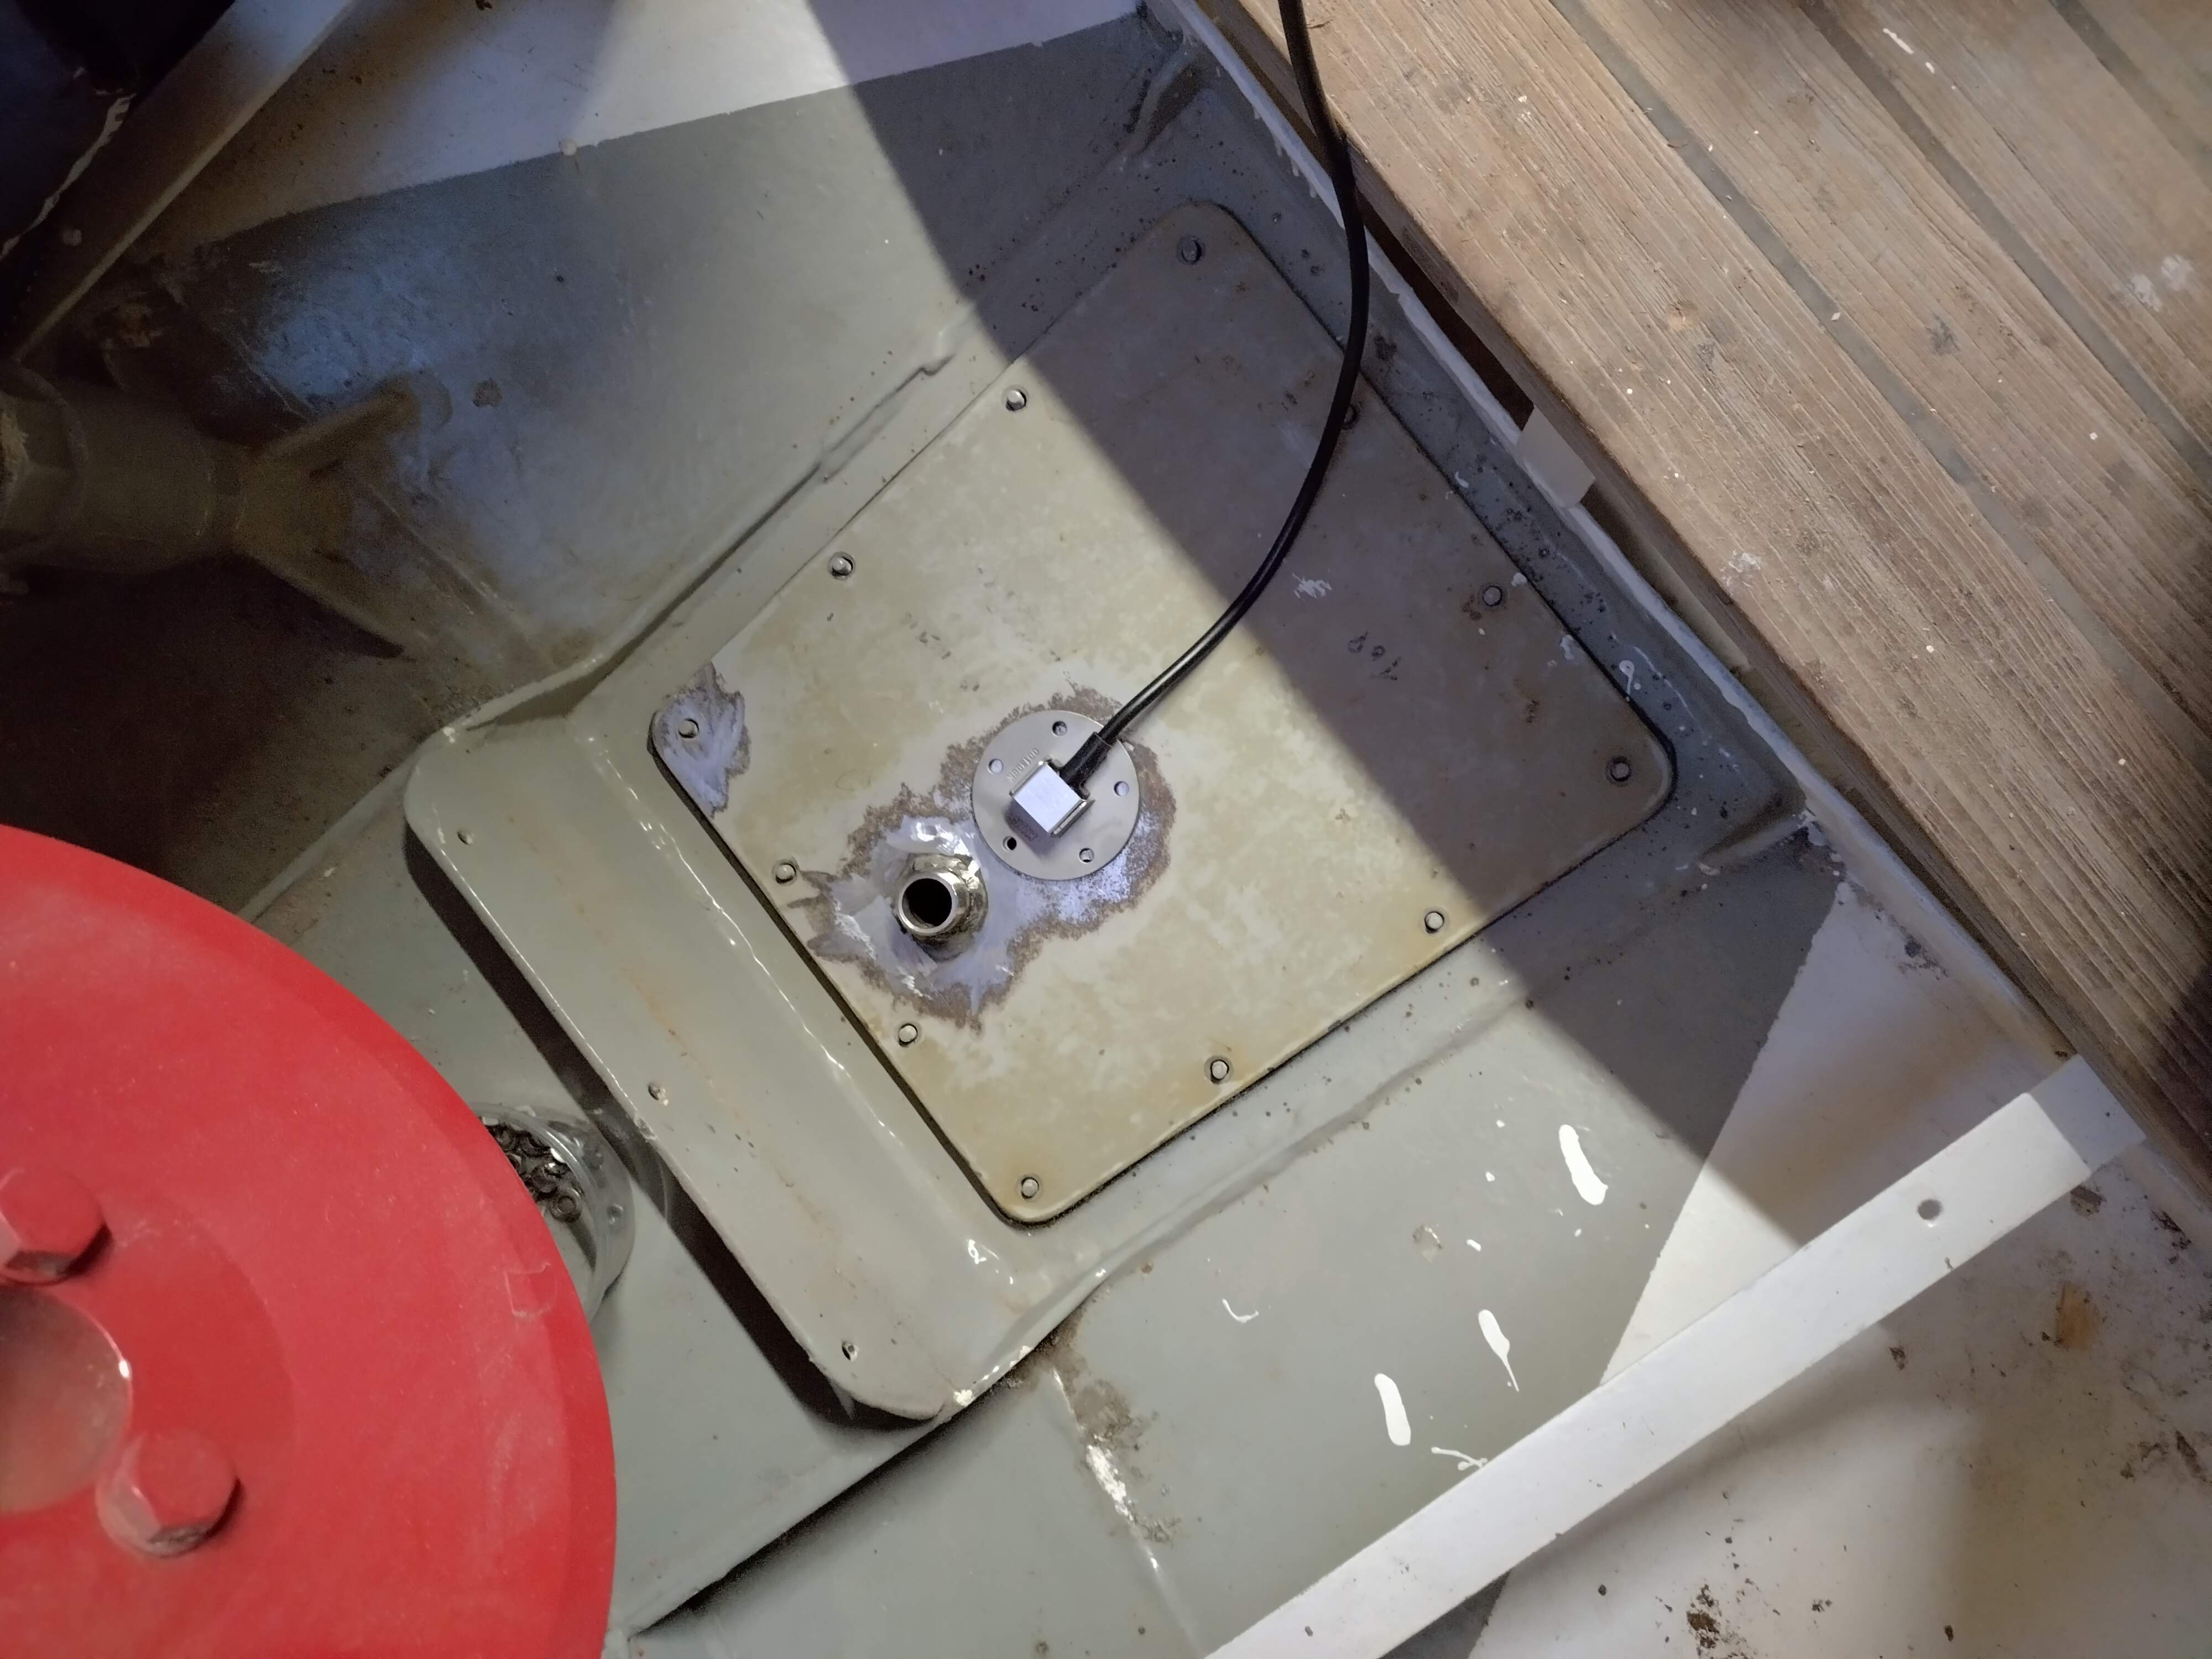
Once the many coats of paint had been applied, I was able to refit the two tank lids to the keel tank, and start plumbing this tank in as well. I ran filler hoses for both tanks from the fuelling point in the port cockpit coaming, and vent hoses to the proprietary vent trap fittings which are hidden in the port rope locker / step. These are designed to allow the tanks to breathe, but to stop seawater from entering if the boat is swamped or knocked down. These vents were one of my early considerations when thinking about how to make the boat as “knock-down proof” as possible. I have since been considering how to manage the other tank vents in a similar way – as you can imagine, it is very important that the fresh water tanks remain clear of salt water, and we also don’t really want the sea entering the boat via the waste tank vent lines, although this is more a consideration to protect the carbon filter which will be fitted to stop the smells escaping from the tanks rather than particularly to prevent flooding the boat via the tanks, which in theory is still possible, but harder! I have a simple and well-tested big ship solution of gooseneck vents with a floating ball in the vent opening to prevent water entry, which, although commercially unavailable at this small scale, should be possible to manufacture from 15mm copper water pipe and some other plumbing fittings, buoyant plastic balls from ebay and a bit of soldering and bending. I intend to try making one of these soon, so will keep you posted with how it turns out.
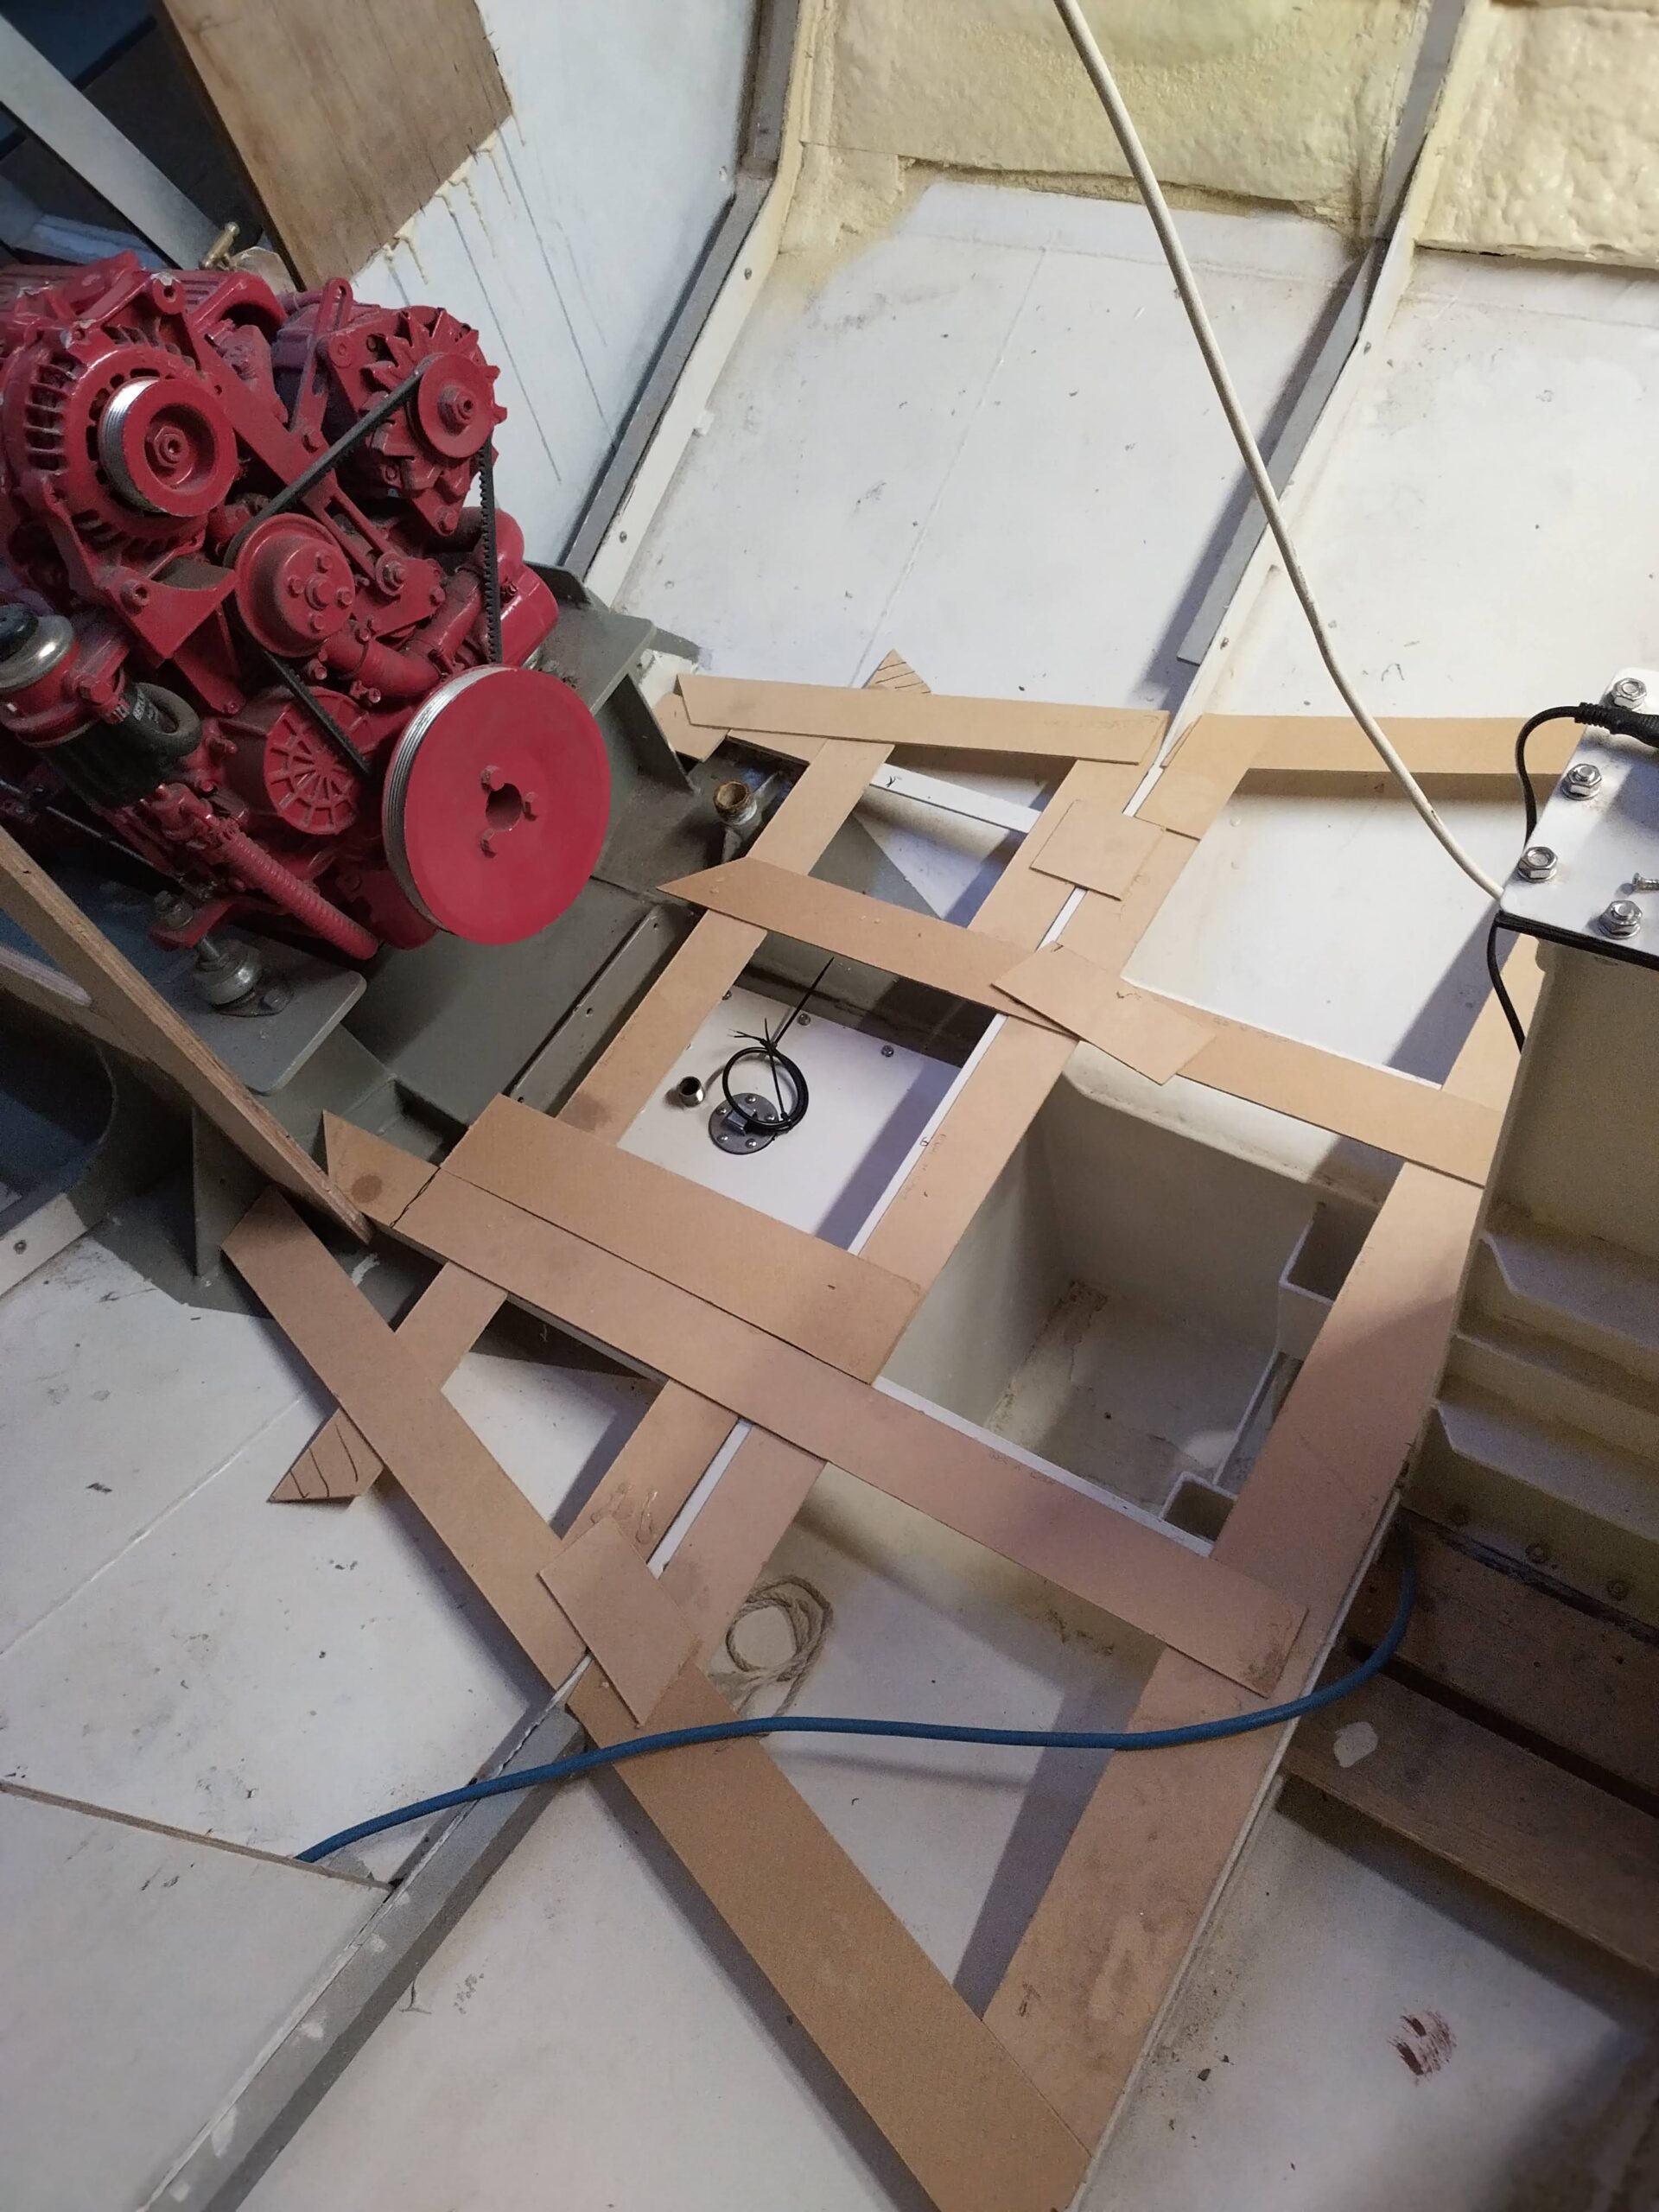
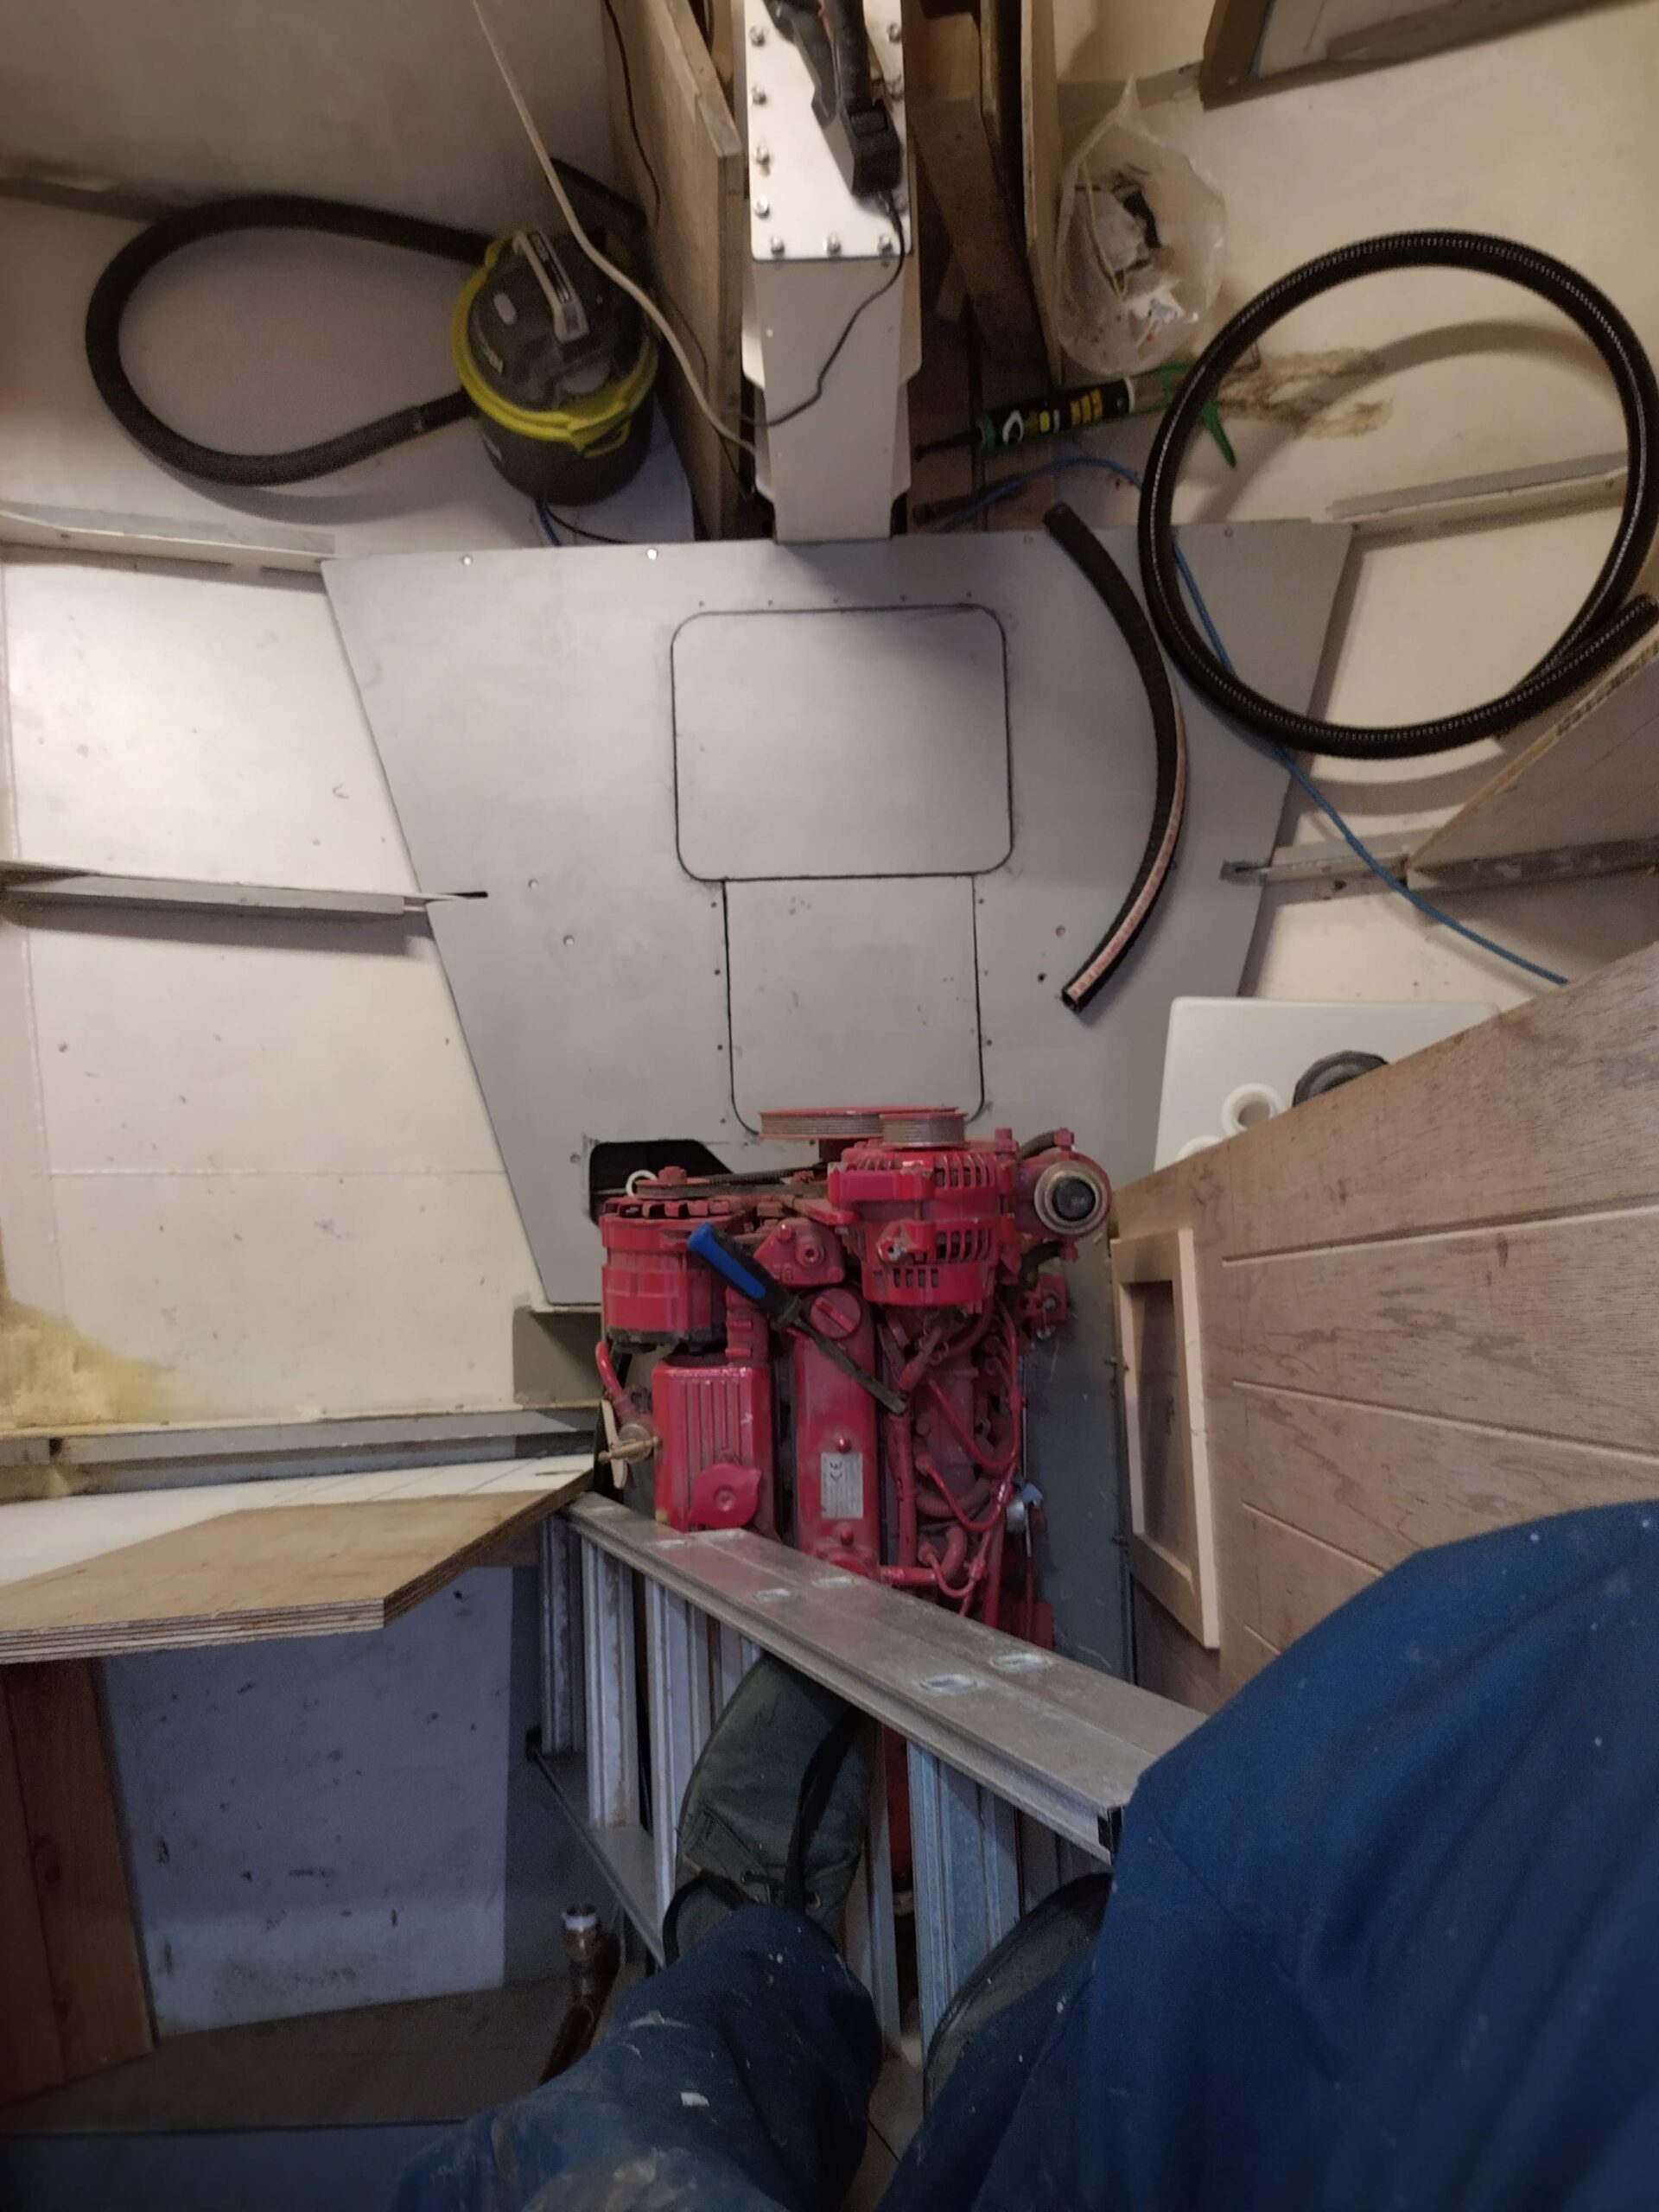
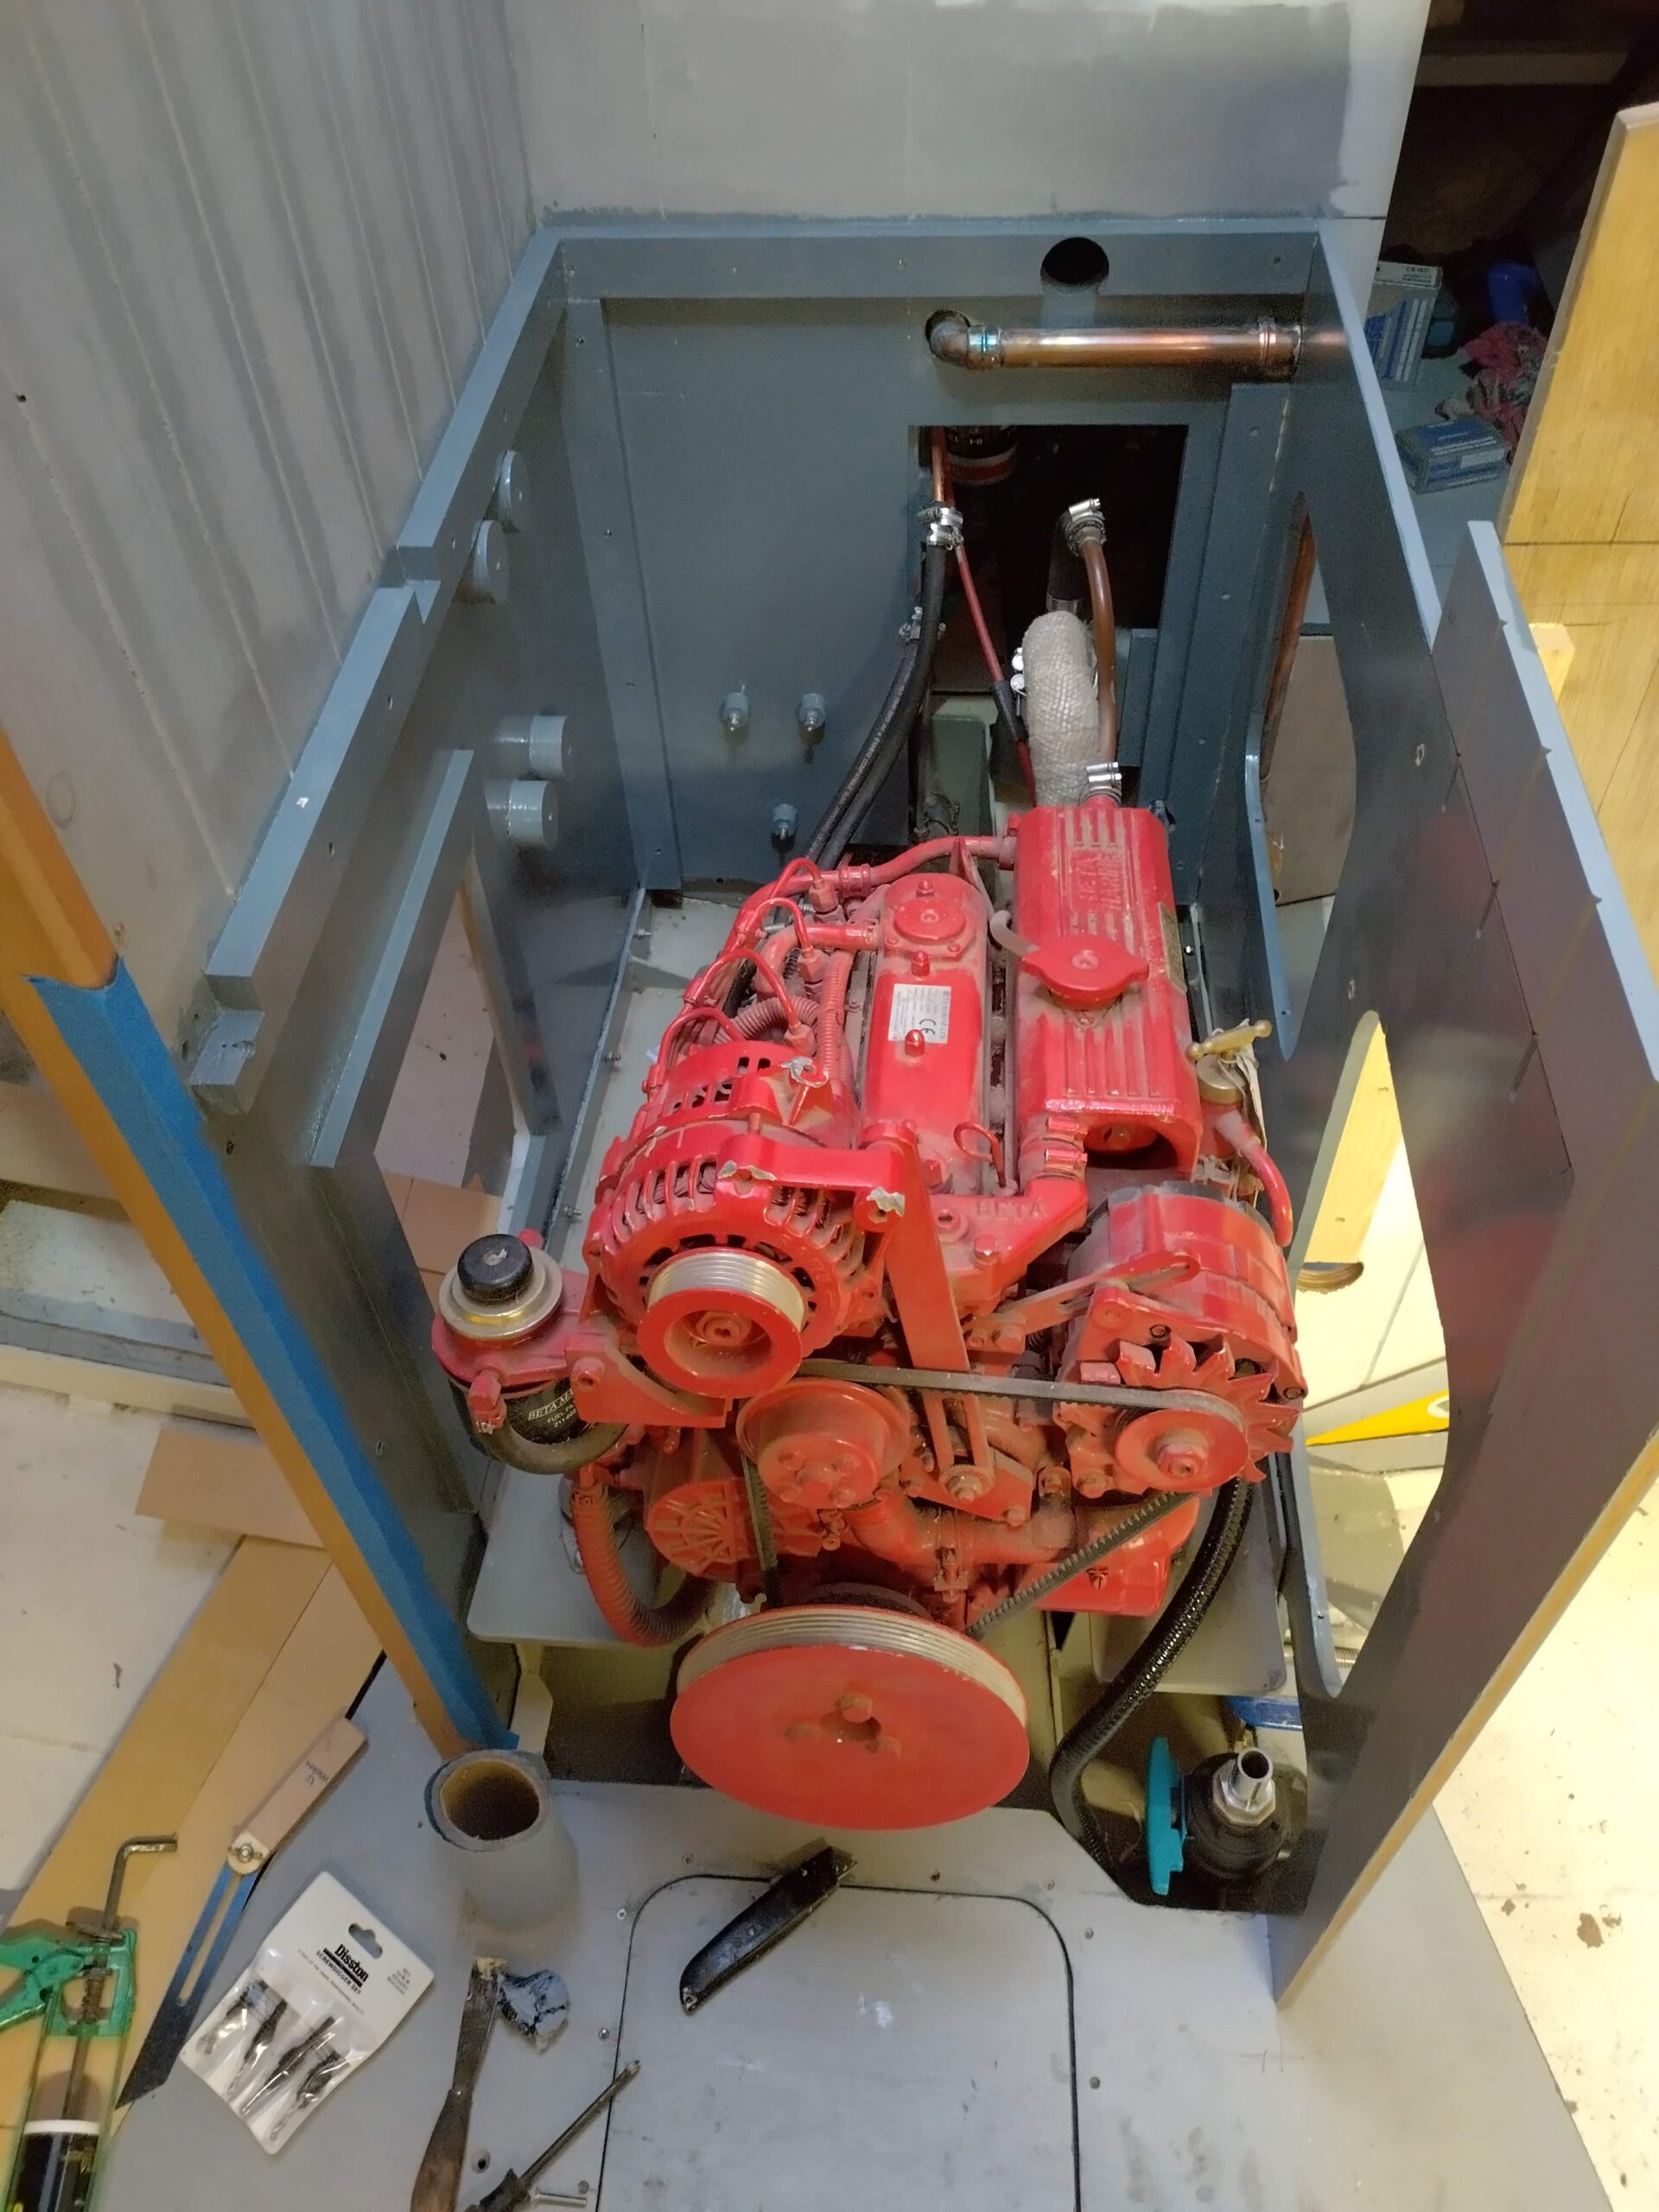
Also in the space I had to run two bilge discharge lines to the two overboard discharge seacocks I had fitted in the port topside – one from the cockpit bilge pump in the bridge deck, the other for the main bilge pump, which I had not yet worked out where to fit, so this led me to the next stage of the project – the skipper’s cabin longitudinal bulkhead and engine box. The main pump is a big Whale Gusher 30, and I had envisioned fitting this somewhere around the engine compartment, but in order to get a proper idea of exactly where, I needed an actual engine compartment! The cabin bulkhead forms the starboard side of the enclosure, and this was what I needed to tackle first. Before templating and cutting this, I first needed to finalise the shape and size of the skipper’s bunk, and its relationship with the companionway steps and the engine compartment. Whilst it would have been desirable for the bunk to extend over the aft end of the engine, so it would have been a proper double, this would have entailed some complex joinery with a cutout in the longitudinal bulkhead and a box projecting out beneath the companionway steps. This would have compromised the steps somewhat, and made the whole bulkhead construction very complicated, so I decided to compromise on the bunk and make it a bit narrower, to a large single (space for the skipper and a very good friend), and the bulkhead could then be a flat vertical surface. This would be set inboard about 4 inches from the side of the doghouse, with a shelf at the top which can be used for useful watchkeeping things like binoculars, cups of coffee and the VHF radio, as well as perhaps some books and a translucent panel letting light into the cabin below from the doghouse windows. Prior to templating the bulkhead itself therefore I built a light hardwood framework to form this shelf and to provide a sturdy anchor for the top edge of the bulkhead. This lines up vertically with the steel upstand forming the side of the engine bed structure, to which the bottom edge of the bulkhead would bolt. The aft edge of the bulkhead is butted up to the aft cabin bulkhead which forms the aft end of the coachroof and the partition between the engine compartment and the skipper’s cabin / cockpit locker spaces, whilst the forward edge forms the edge of the diagonally orientated doorway opening to the aft cabin, between the navigator’s seat (forward of the cabin) and the lower companionway steps / engine box. I templated this as now usual with hardboard strips and hot glue, carefully removing it, carrying it down the ladder to the shed floor and transferring the shape to 18mm plywood. This was roughly cut to the templated shape and taken “upstairs” for its first fitting. I then marked where it needed extra trimming or shaping, as well as the positions of any boltholes needing to be drilled, then took it back “downstairs” for further work. After two or three repetitions the piece was ready to fit, so the next step was to epoxy the edges which fay against parts of the steel structure. This is to prevent any condensation wicking into the end grain of the ply and causing rot in parts of the interior which will not in future be easy to rip out and replace. Finally I routed v-grooves on surfaces which would be visible in the final finished form to imitate T&G construction, as I have with all the other bulkheads, and cut an access hatch for future access to the starboard side of the engine, in particular the water pump. These hatches require care to cut, as the idea is to use the cut-out section as the hatch cover itself. Usually the straight line sections I cut with my circular saw, using a plunge cut to start the run. Once all four sides are cut, I’ll finish the ends of each line with a handsaw, then with a jigsaw I will very carefully cut the radiused corners, being careful to follow the lines and not allow the saw to cut at an angle or run away from me. Once the cuts are finished, I’ll finish the edges of the hatch cover with my bench sander, and the internal corners of the cutout with a flap wheel on my battery drill to ensure a smooth radius on each part.
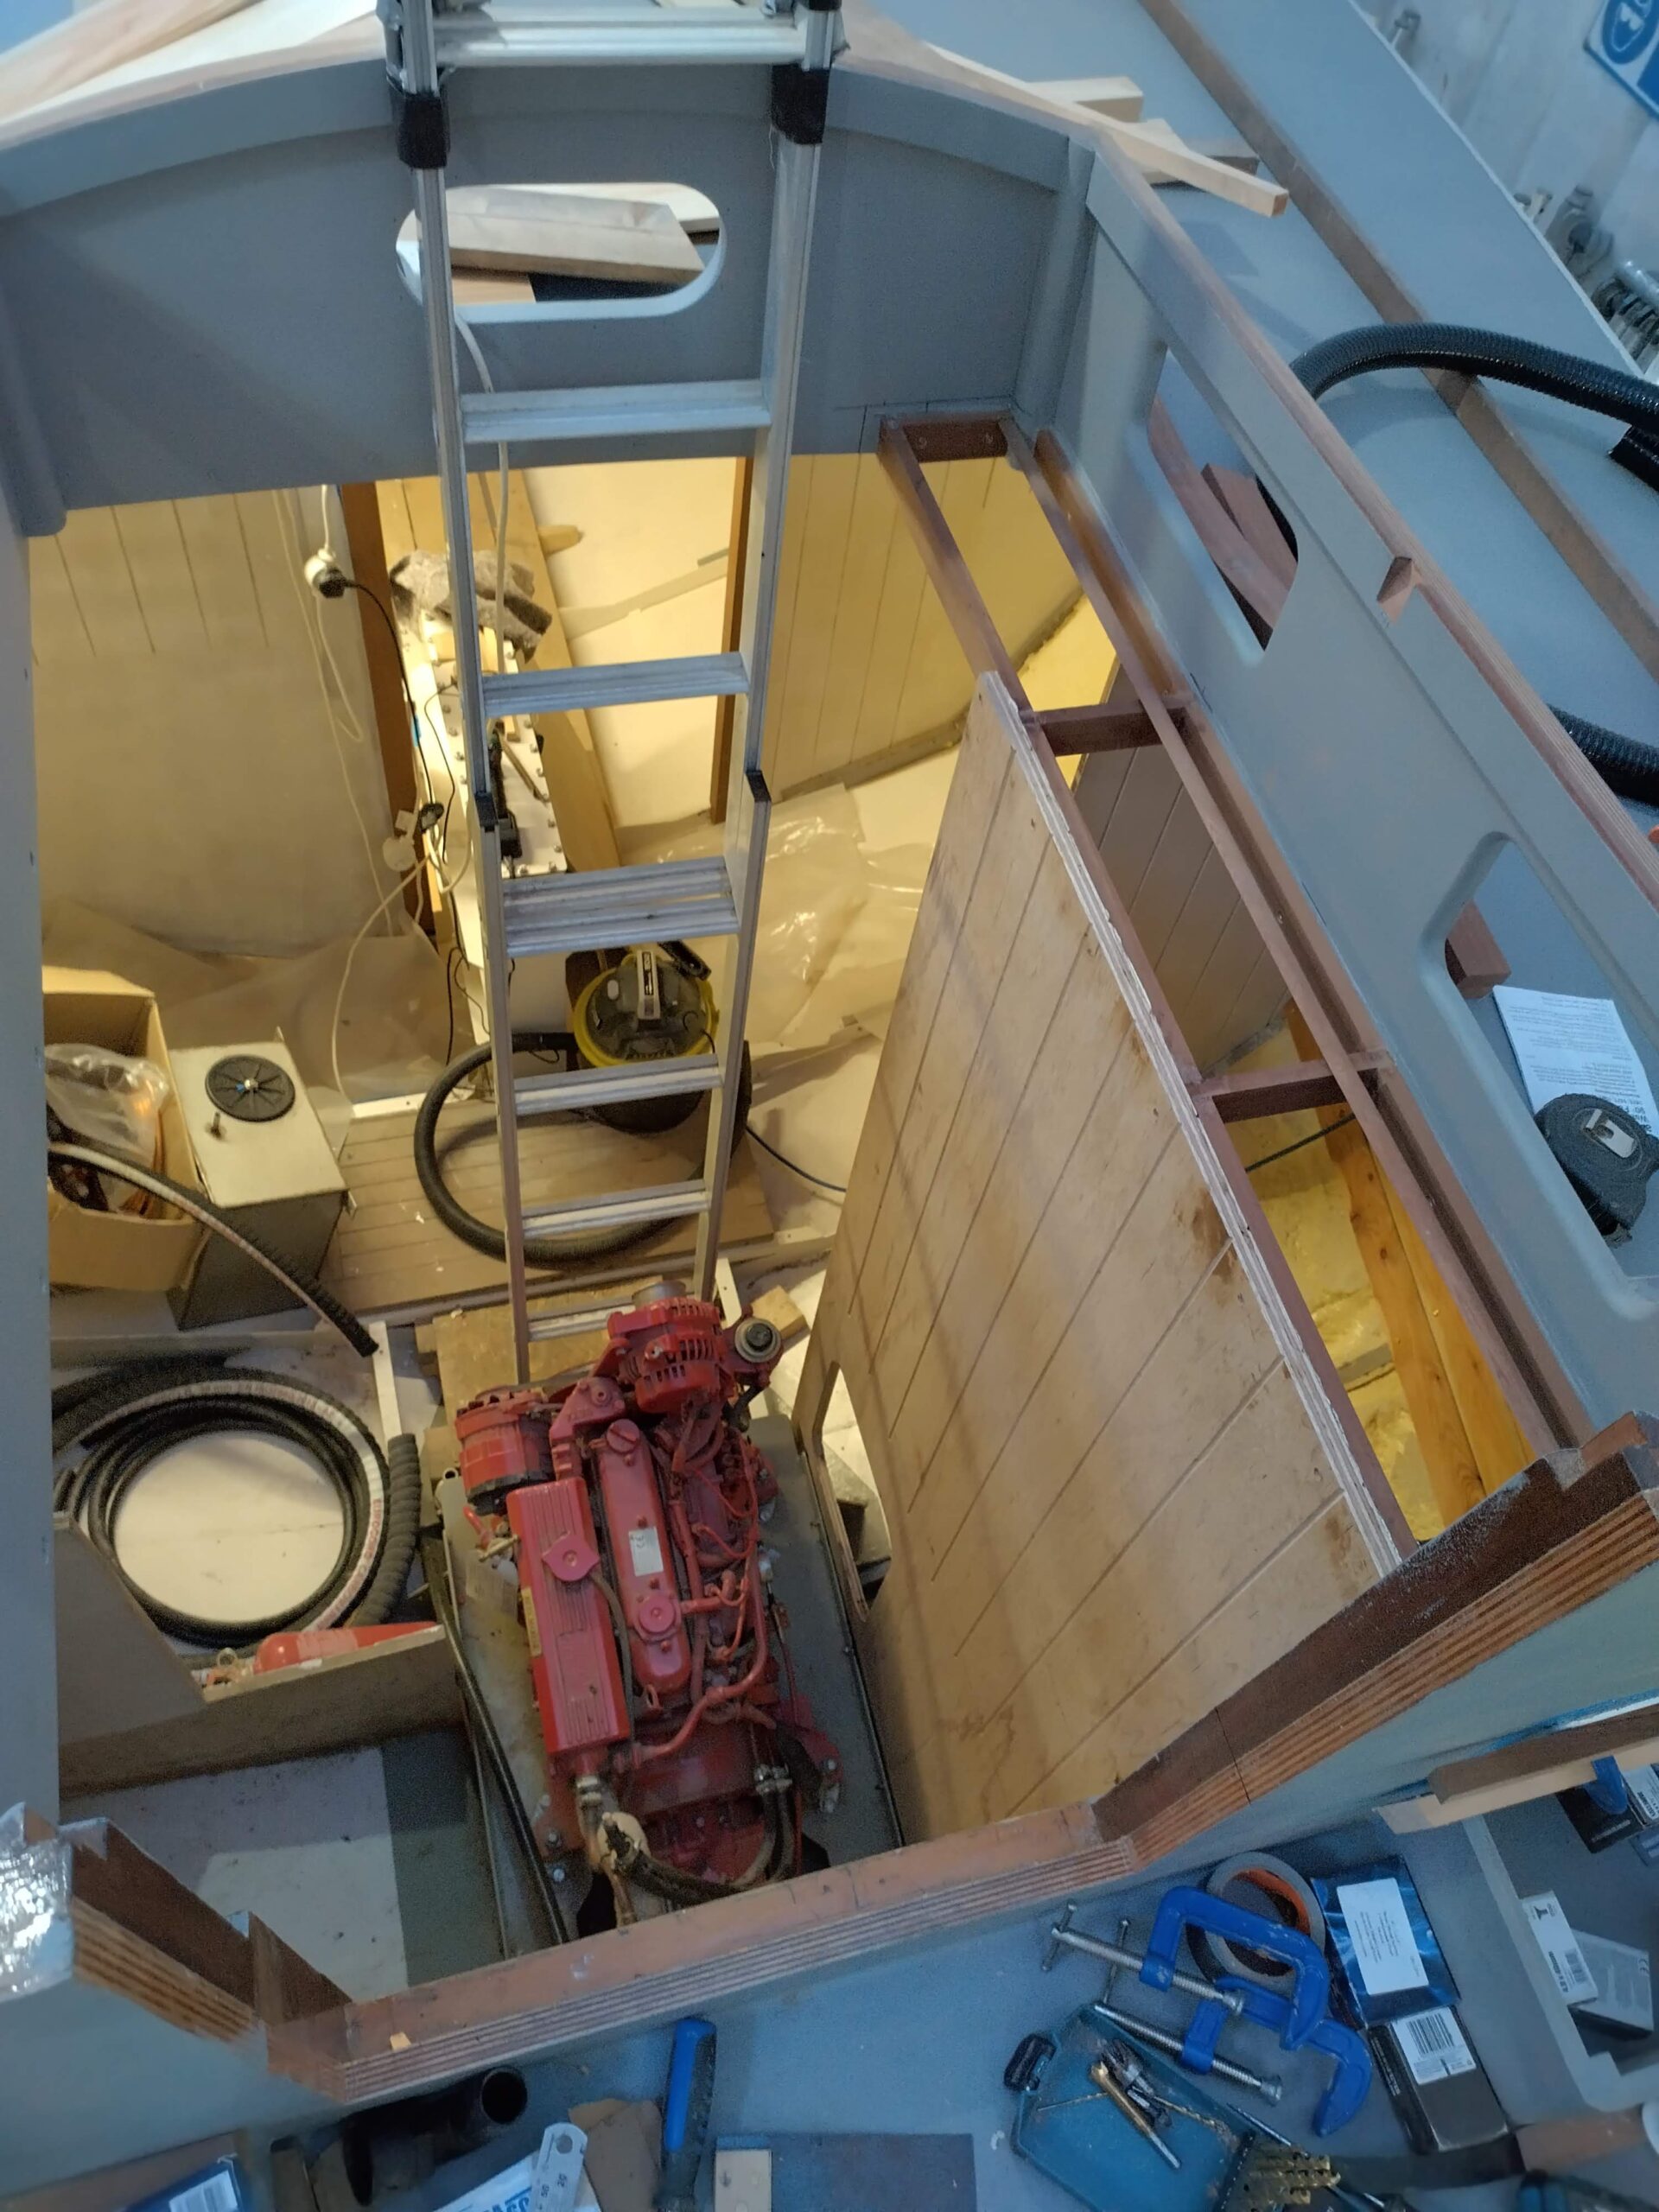
Finally I could install the bulkhead, gluing with polyurethane where it fayed against other wooden surfaces, and black sticky poo on the steel surfaces, bolting the bottom edge to the engine bed and screwing the top edge to the shelf framework.
Once this was fitted, I realised that the next step would need to be the cabin sole forward of the engine box, as various other parts of the box would rely on this being in place for their final shape. This again was templated with hardboard and cut from 18mm ply, with a similar process adopted for shaping and fitting. A two-part hatch was cut in this before fitting, to allow access to the bilge sump, grey water tank (occupying part of the large sump) and forward keel fuel tank lid. A length of oak was cut to form a sole support at the forward edge of the engine bed, whilst the rest of the board would rest on the steel framework I welded in back in the early days of the project. Before fitting the board I fabricated a wooden support frame for the access hatches where there was no steel frame for them to rest upon, then painted the whole assembly with 3 coats of vinyguard primer and 3 of garage floor paint on the underside. The top I left in primer, as eventually this will be covered with a cork-based floor covering (for aesthetic appeal and a bit of insulation). Once painted, the board could be fitted and bolted to the steel framework.
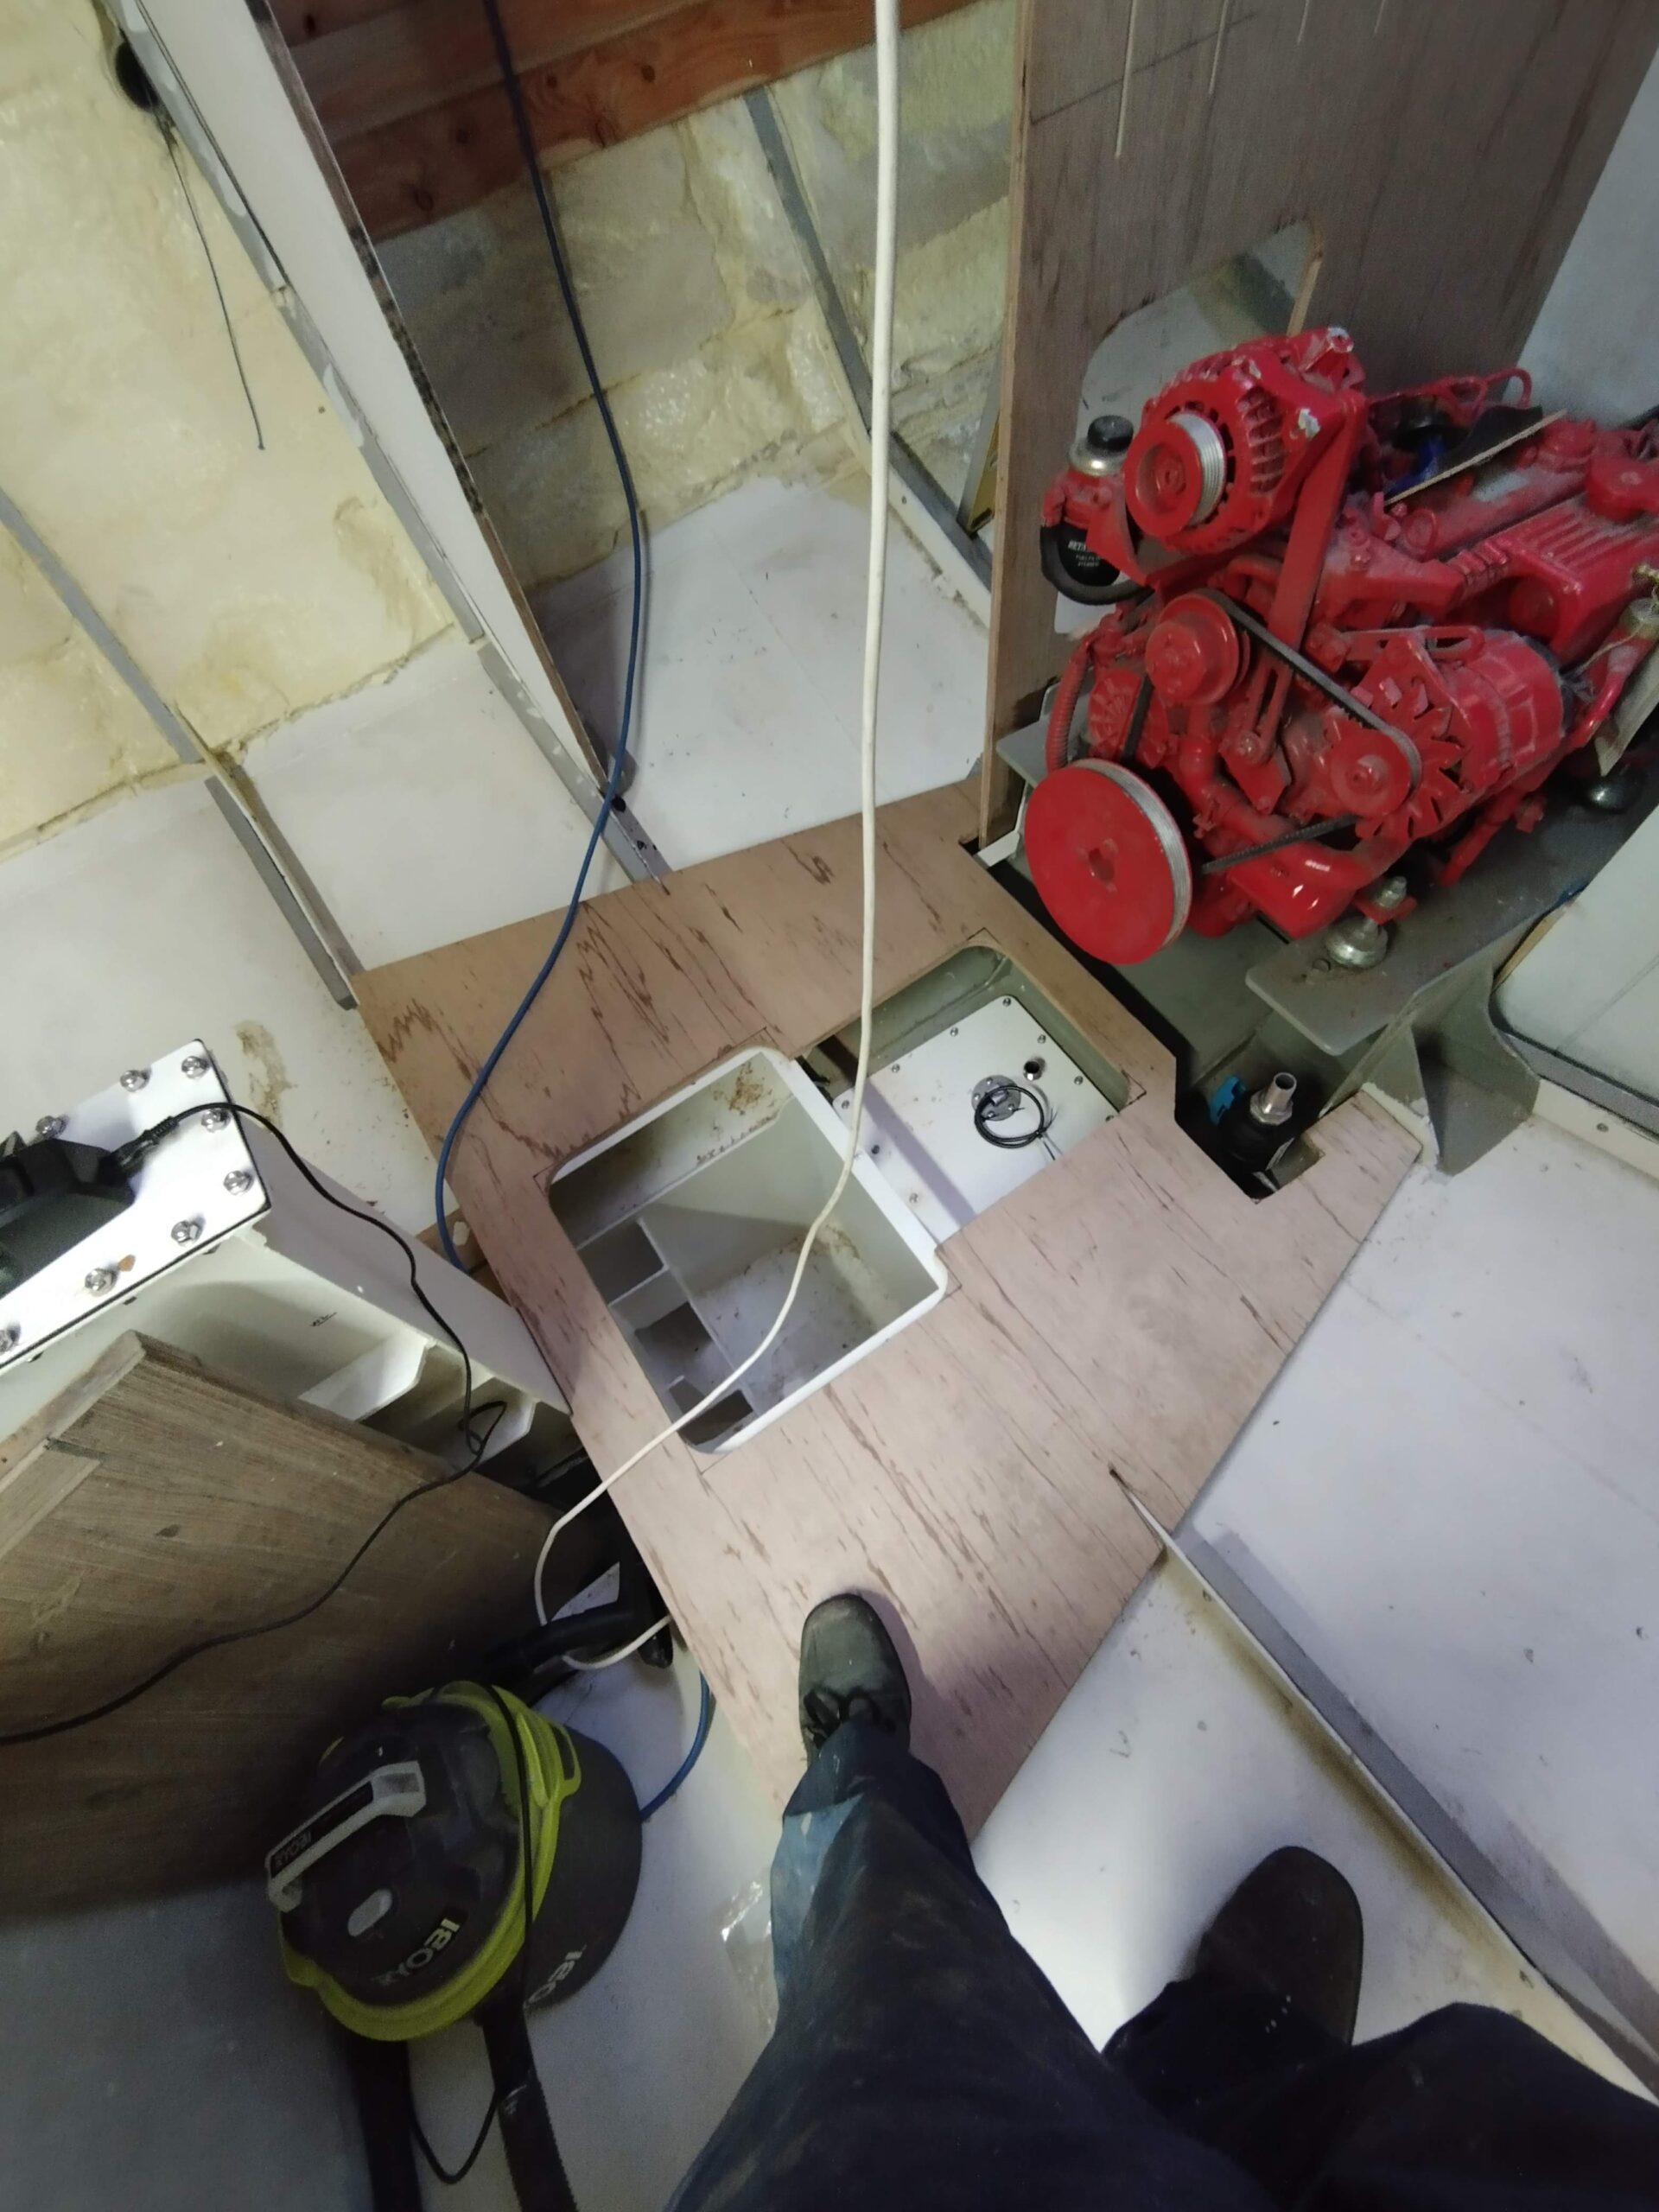
Now I had somewhere solid to stand at last, after years of stepping onto temporary, and not always very stable, floorboards!
The next step was to template the port “wall” of the engine box. This would form part of the galley furniture at its forward end, and its aft end would form a step down into the entrance of the technical space / cockpit locker via the oilskin hanging area. The engine box top is about four inches lower than the galley worktop will be, so the top edge of this board would need to be stepped, and it would also require two access hatches for the port side of the engine, with its electrical connections and oil sump pump etc. and a cutout to allow for the removal and servicing of the sea water inlet seacock. I templated the shape in exactly the same way, and set about cutting and shaping the board, with its cutouts, hatches and hatch frames. I decided to paint this board before fitting, as it would be difficult to reach the whole board once installed, so after epoxying the bottom edge, gave it some coats of primer and then garage floor paint for the inside face and the part of the outside face which would be inside the galley undersink locker. This was fitted in the same way as the starboard bulkhead, and screwed to a softwood cleat I had already fitted to the aft bulkhead.
This is about as far as I got before the time came to start my new job at Gordonstoun. For the first few weeks I will have weekends off, so can continue to progress before I go sailing for a few weeks, then I will periodically get a break from the big boat so I can come home and work on the smaller one. It will be a different pattern of working but I am confident I can continue to make good progress through the summer. I will be tackling some more of the joinery around the aft cabin doorway, and then perhaps as it gets warmer, finish off the cockpit, galley hatch, and maybe make some dorade vent boxes for the maindeck, before moving back into the accommodation. I will attempt to keep you updated on a somewhat more regular basis as things progress, and hopefully regale you with some tales of sailing as well, particularly as we will be bound for northern waters during the summer holidays…
Wow. Thanks for the update Chris. I aways enjoy reading these..you have certainly had a busy 12 months. Hopefully I will see Serchthrift completed and afloat before my final visit to Davy Jones Bar.
Thanks Colin, I very much hope so too!