Progress update – things I’ve done since May…
Yes, as is my wont, I’ve left it far too long again since I last updated this blog. Whilst I’m busy in Bristol refitting the Fridtjof Nansen, I’m only allowing myself short leave periods to do stuff at home, have holidays and progress with Serchthrift, so whilst there has been notable progress since May, it is not perhaps as much as I would have liked.
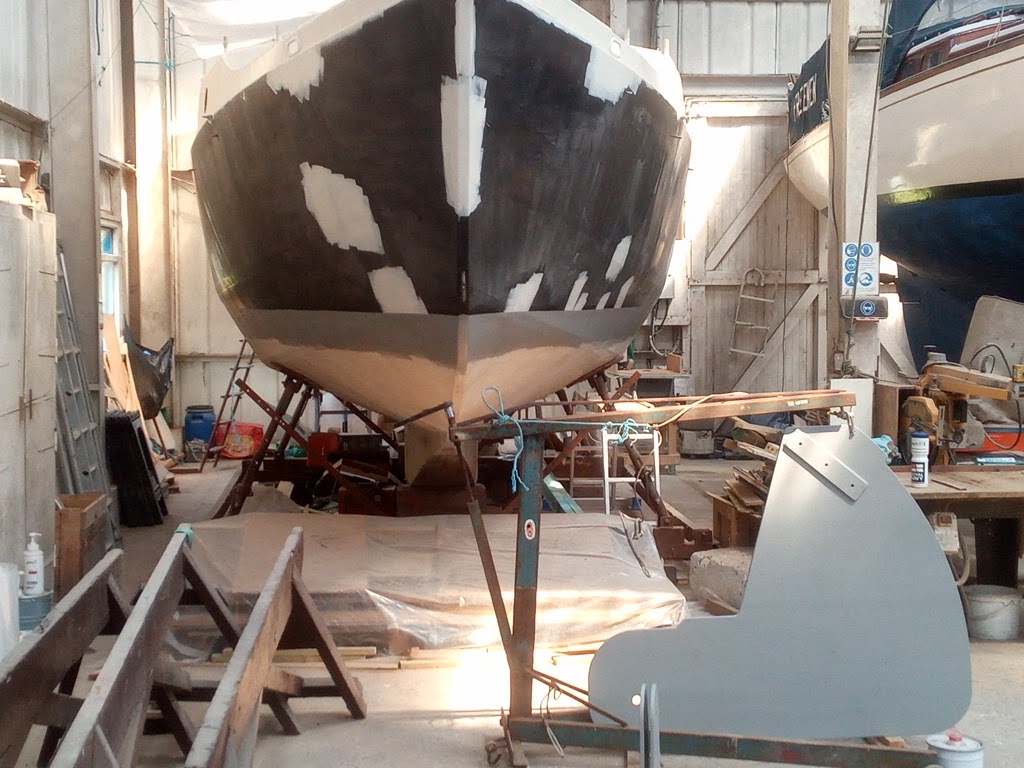
The first of my recent leave periods was the first couple of weeks of June. My plan for this period was to take advantage of the fact that the shed was all but empty of other boats, with the exception of my immediate next-door neighbour, and a couple of others being worked on. However, the area in front of Serchthrift was clear, so this gave me an opportunity to paint the centreboard prior to the yard telehandler / crane coming in to lift the board into the boat. This was necessary at this stage so that I can then continue with the interior fit-out without having to worry about accessing the centreboard case and / or damaging newly constructed furniture by moving the 1/4 tonne of centreboard through the boat.
The first step was to move the board / plate from its home of the last 2 years (nearly), leant against the shed wall at the stern of the boat, to the clear space in front of her, so I could get round it and prep and paint it. As we (3 of us) stowed it there straight out of the back of my old Nissan X-Trail before the boat was moved in, I had a challenge in moving it from its corner around and between the boats. Fortunately, I had an inkling that Dave had an old engine hoist tucked away in his metalwork shop, so I popped in and had a look, and my inkling was luckily correct. This was the perfect size, and on wheels, so I could lift the board, keeping it upright, and wheel it out almost singlehanded (I did get help for the bit where I was wheeling it under the delicate counter stern of my neighbour Freemew). This worked a treat, and it was soon out in the open.
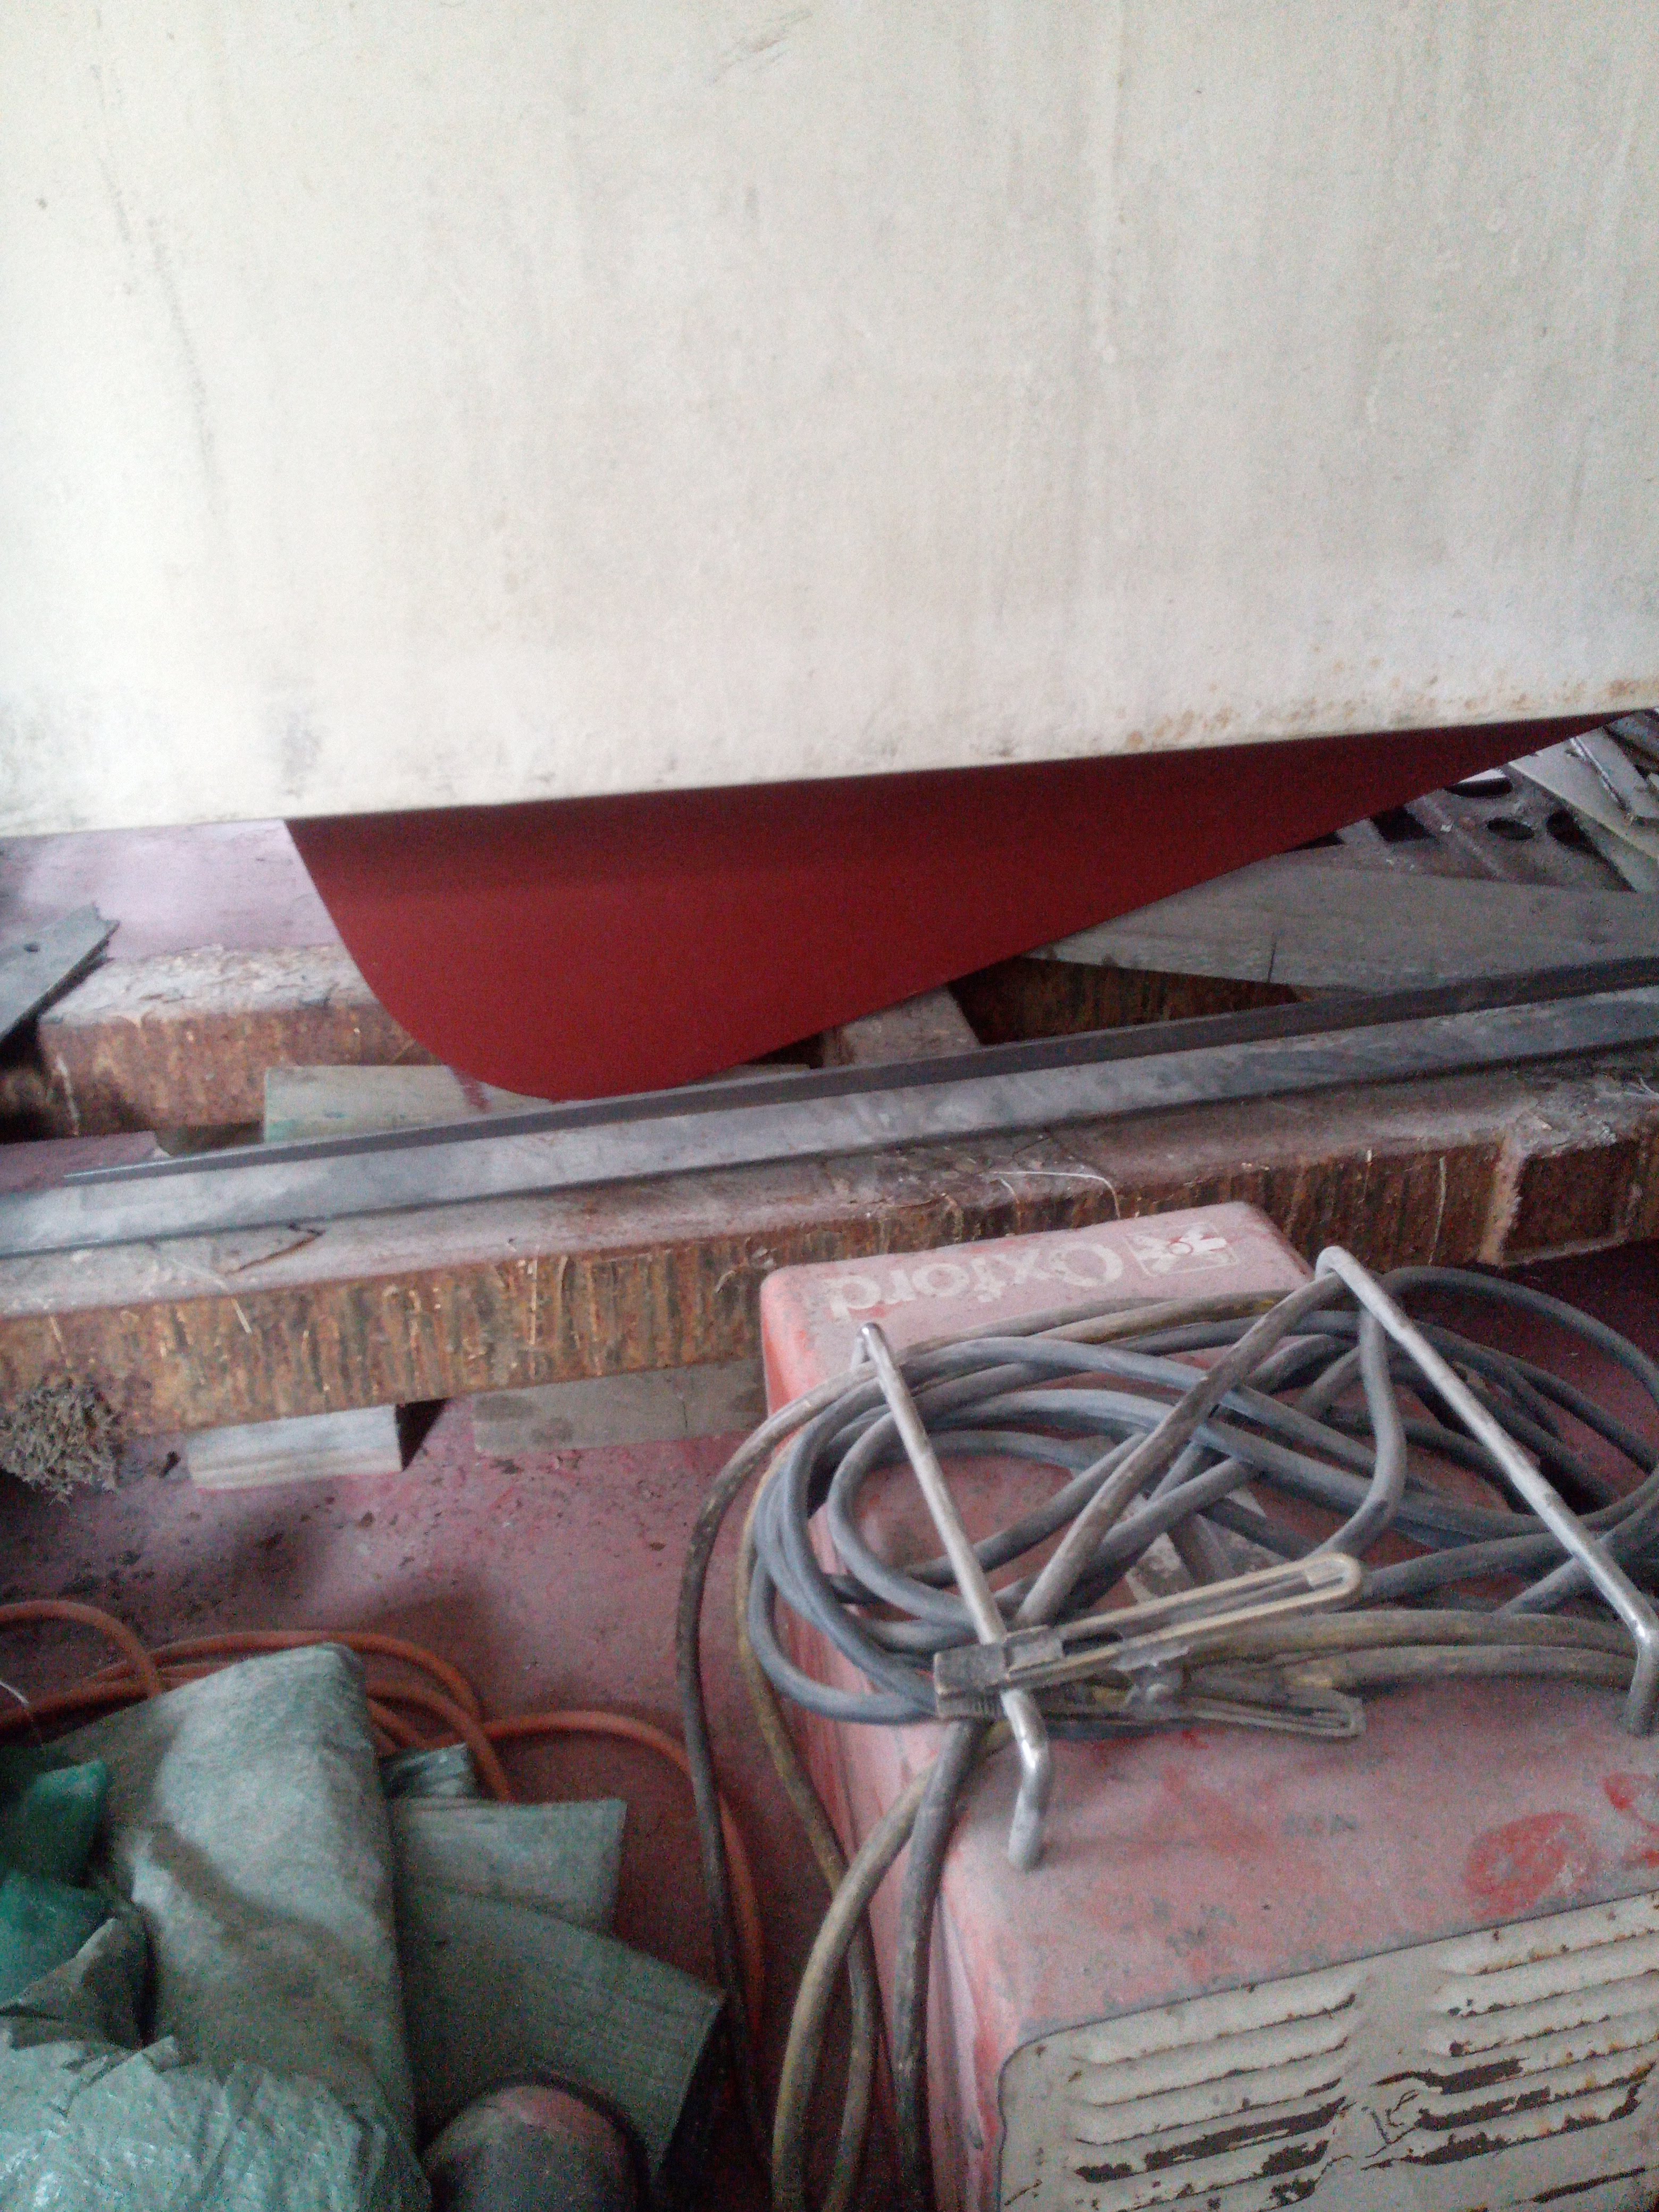
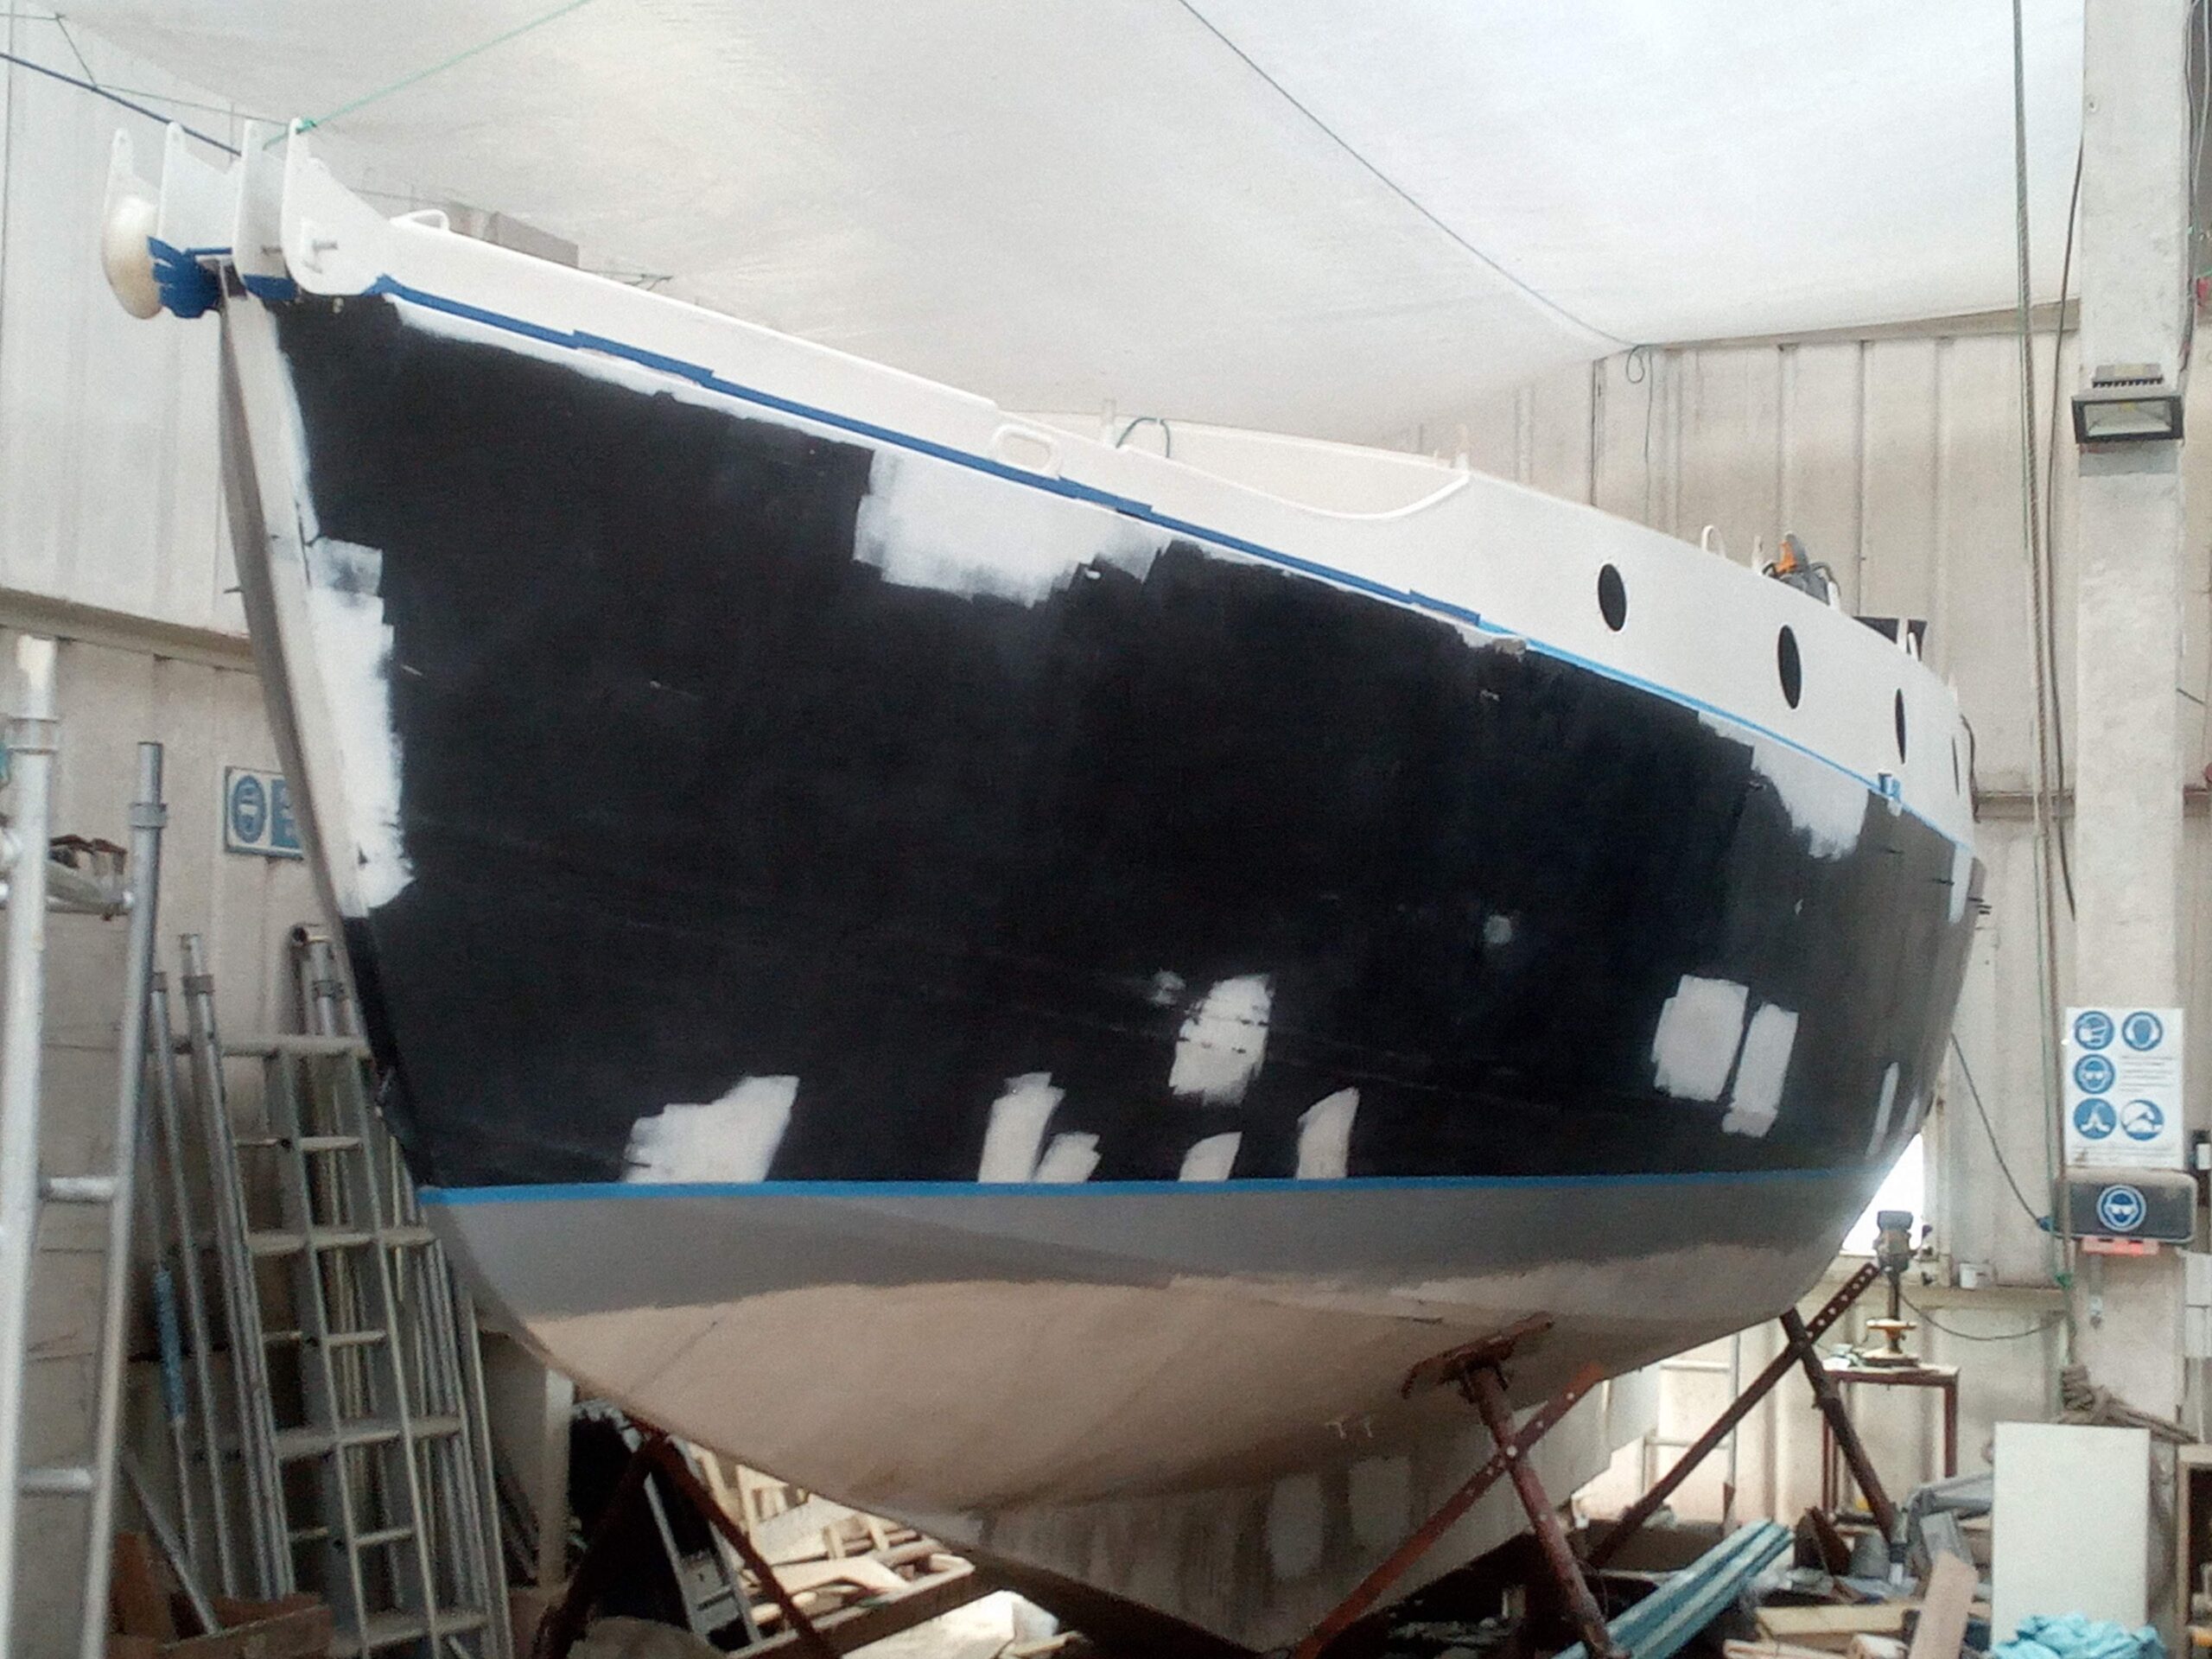
Once accessible, I was able to give the 1/2″ galvanised steel plate a good wire brushing to rid it of the years of accumulated dust and muck, before wiping it down ready for priming. As it happened the primer specified by Jotun for use on galvanised steel is the same as the one I was planning to use on the hull up to the newly-re-marked waterline (which I did at Christmas time with the help of Phillipses senior), so I was able to kill two birds with one stone, thus getting the hull one step closer to the first black topcoat on the topsides.
I gave the plate and its carrier several coats of epoxy primer, then one coat of tie-coat before a couple of good coats of antifouling. Only once I’d done this did I assemble the two parts and prepare them for lifting.

I then employed the assistance of yard foreman Ross to drive the crane, and Dave’s son Adam to help me manoeuvre the plate down the hatch, and the lift commenced. We got the plate airborne and extended the jib over the bow towards the main hatch doghouse opening. Annoyingly, due to the jib’s low angle to avoid putting it through the roof, it alarmed before reaching as far aft as the hatch opening, so we had to briefly put the plate down on the coachroof and reposition the crane before the final lift down into the boat. I had pre-positioned blocks down below to avoid damaging paintwork on the hull or the plate as we physically humped the thing forward in the cabin towards the slot. I had already moved the centreboard case to one side, so we then lowered the plate straight down into the slot and temporarily wedged it upright for the next stage.

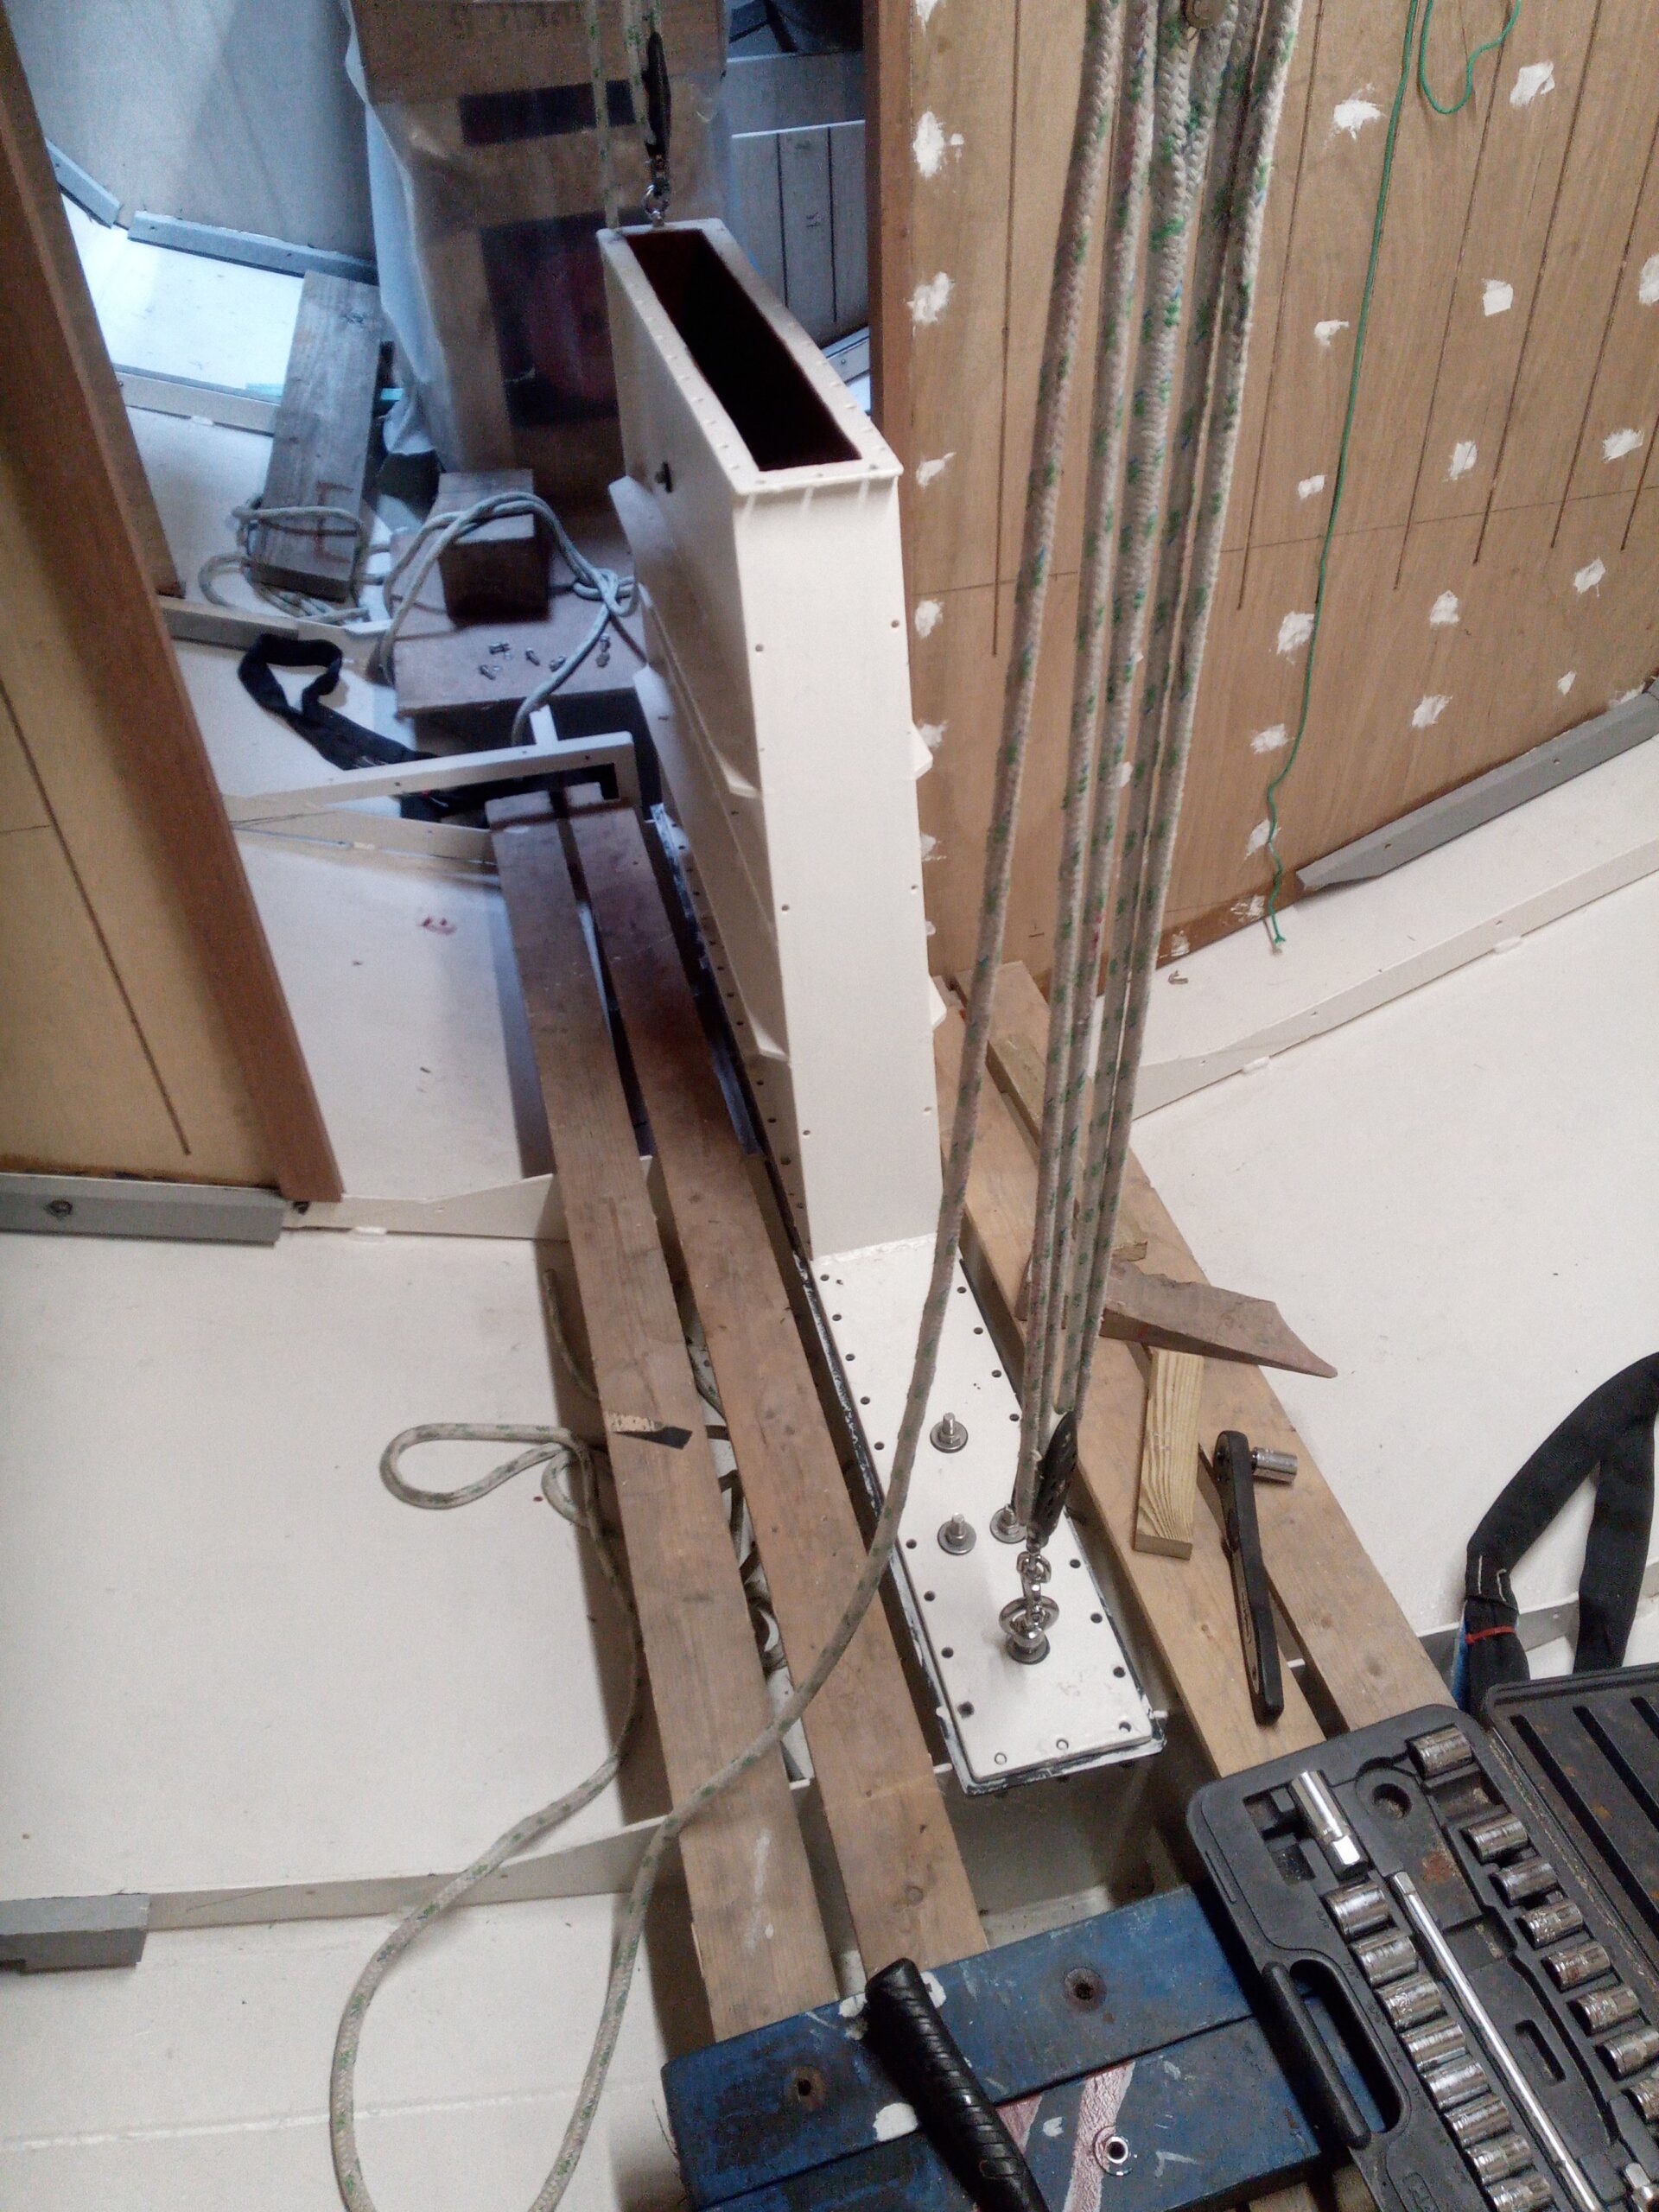
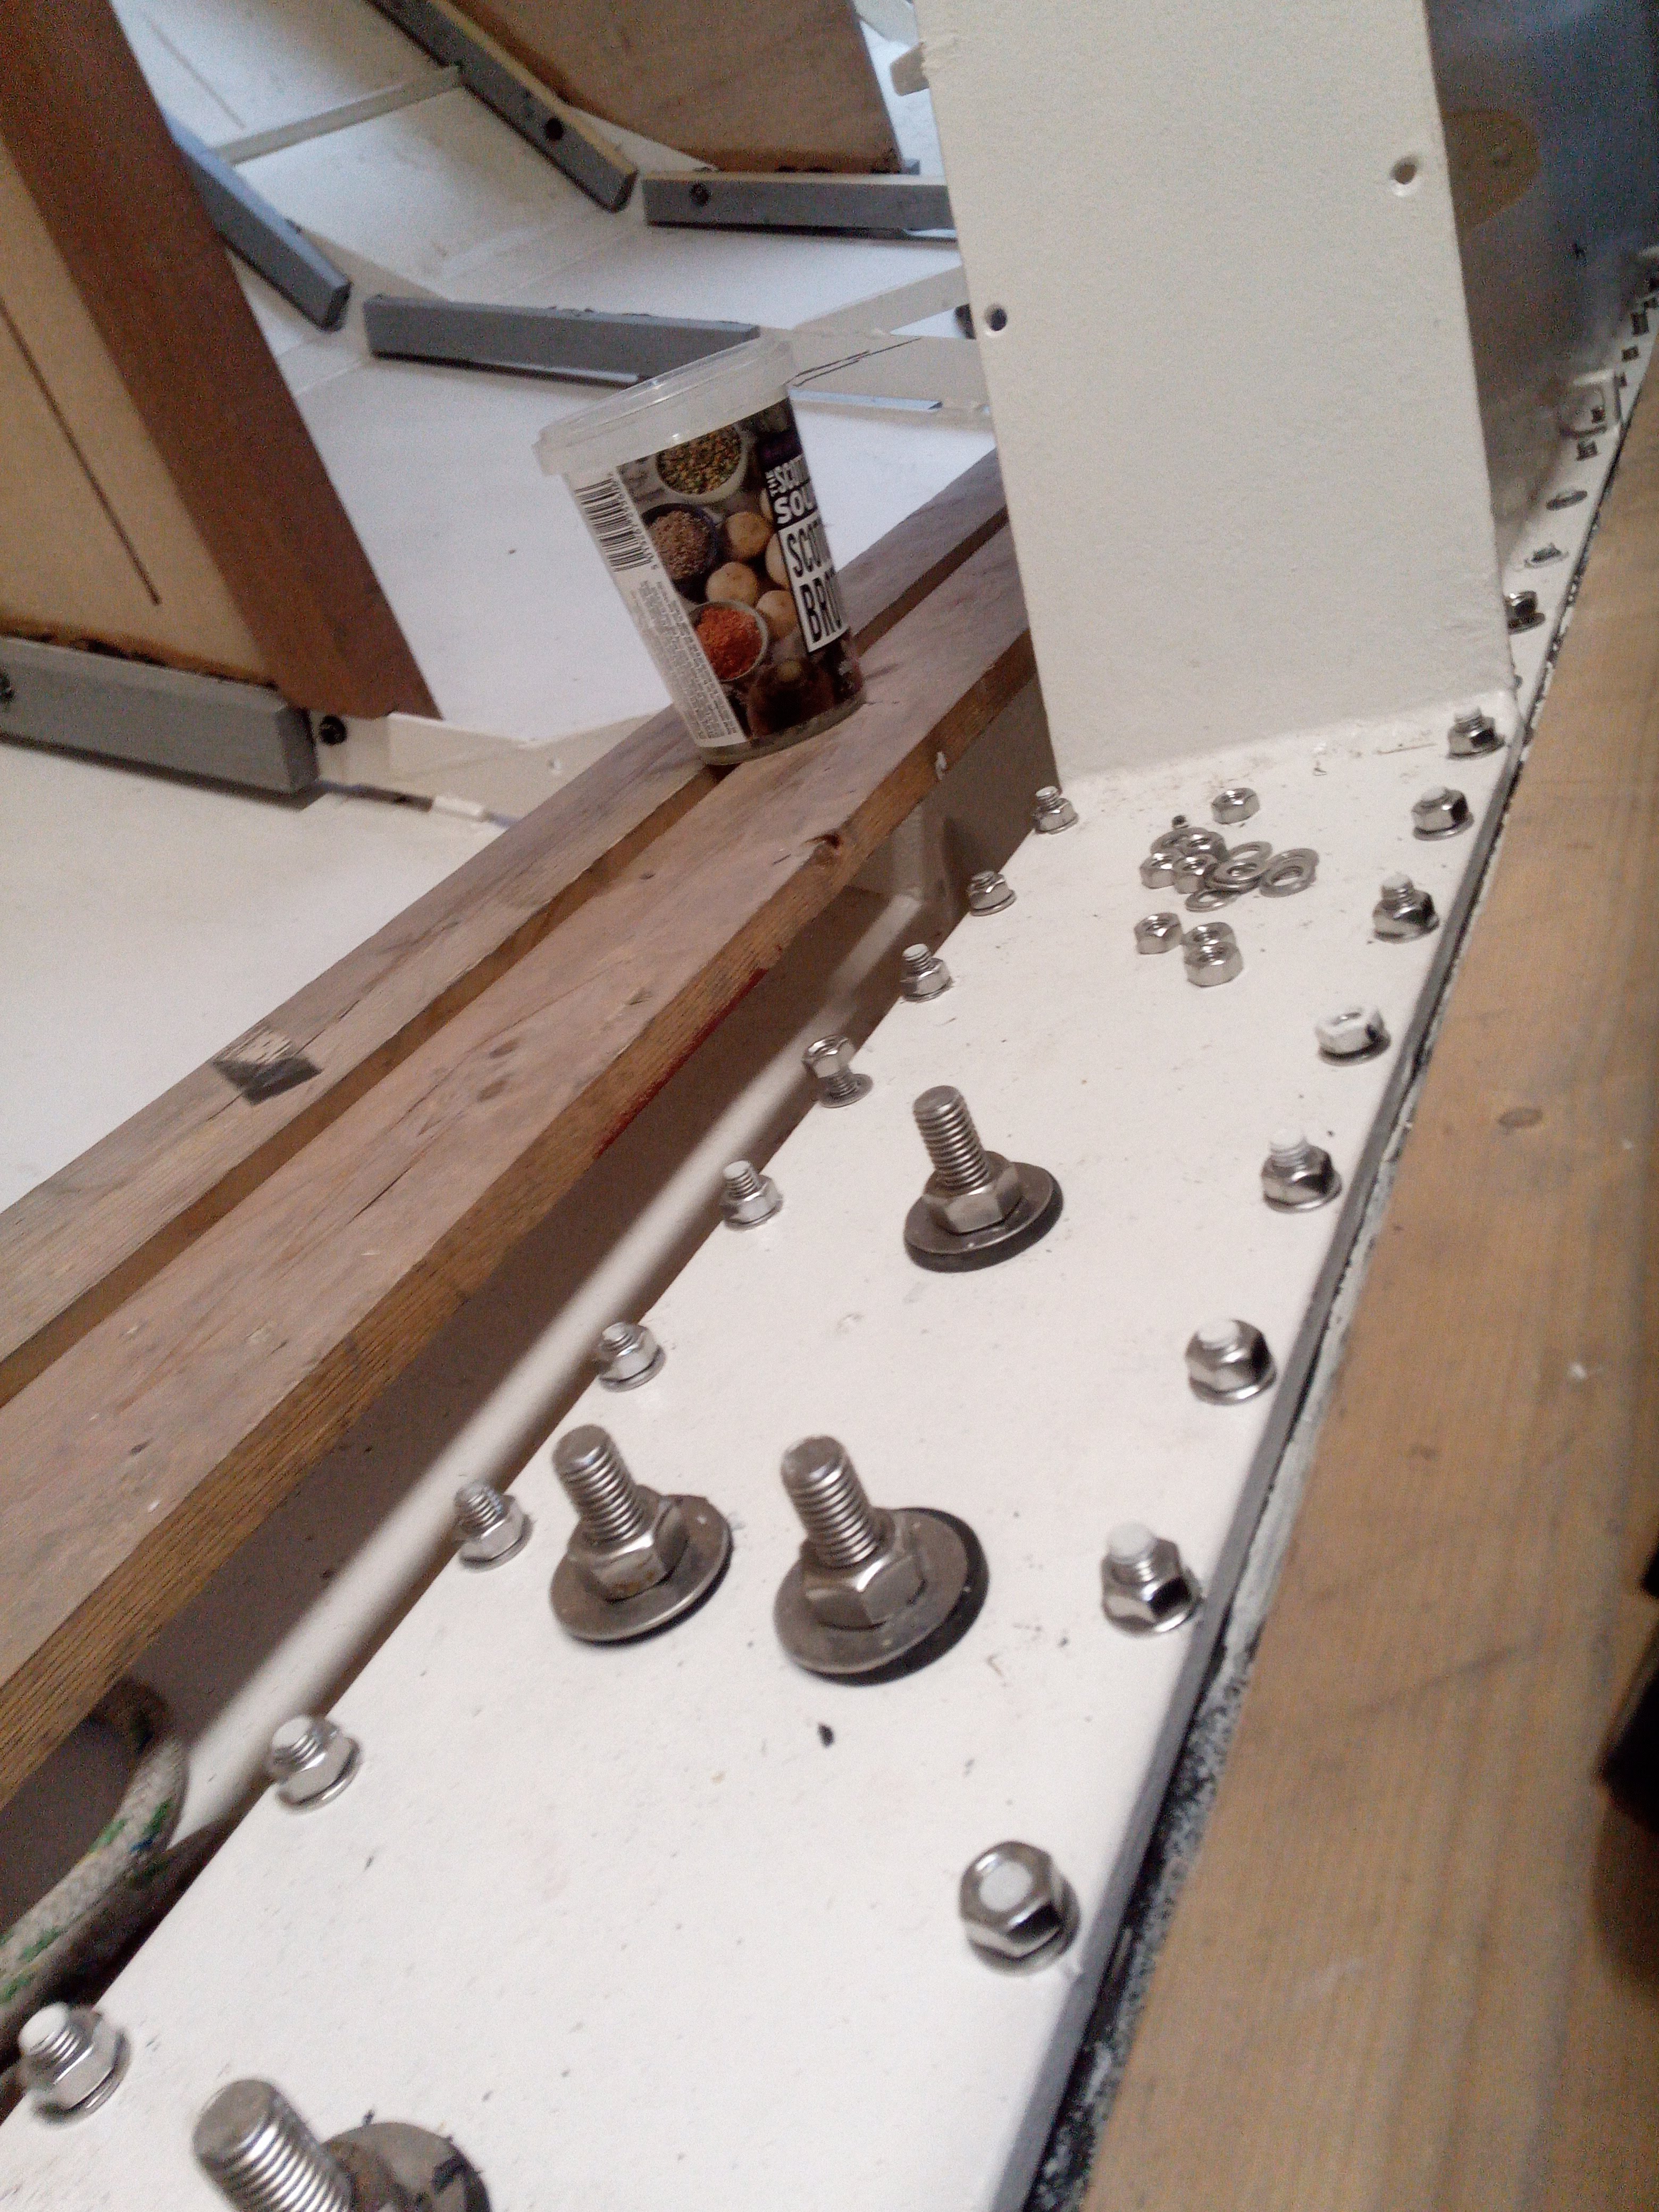
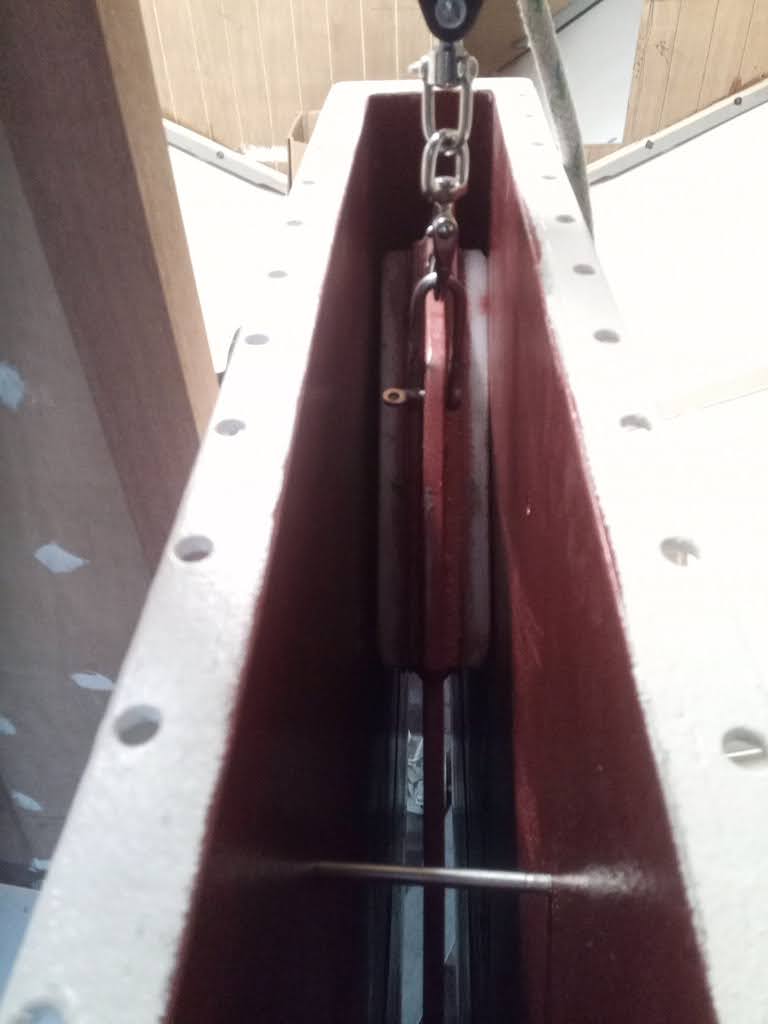
With a couple of handy billies which I had made up previously, I then lifted the case over the top of the plate, and lowered it gently into position so the carrier bolts engaged in their corresponding holes in the case baseplate. I then secured these bolts, mating the plate, carrier and case as one unit. I then just needed to adjust the case’s position on its flange until all the many, many bolt holes lined up, and spent a happy hour or so going round tightening and retightening all the nuts.
Meanwhile, in the intervals between coats of paint on the centreboard, I had been continuing with fitting the cleating on the hull frames, and finally completed this job with the fiddly bits under the cockpit. I also made and painted backing pads for all the through-hull fittings.
Now the new waterline was painted in, it was time to give the hull its first coat of black topcoat. I’m using a semi-gloss 2-part polyurethane paint, which has turned out very nicely, and moreover gives the casual observer reassurance that there is something happening on the hulk in the corner of the shed. Once this coat was dry, I finally fitted the through-hull fittings, again a requirement prior to installing the insulation.

We now move on a few weeks, and mid-July is here, with its attendant heat and sunshine. However, the “indoor” jobs continued in the short periods I was able to work on the boat, the main bulk of my 2 weeks’ leave being taken up with a holiday in Shetland to attend the wedding of good friends Rory and Ailish. However, I did allow myself some time on the boat, continuing the effort to complete the timber cleating, now on the cabin sides, to prep for insulation. I worked fairly rapidly through the uprights on the frames, although it is becoming a tedious and repetitive job! Fortunately, all this is going to be hidden so there is no need for fancy joinery – just cut a bit of battening to the right length, bevel it to fit the contour of the cabin side, then drill, slather on some bedding, and screw or bolt in position. The tricky bit comes next, framing the porthole returns and I managed the fiddliest bit around the two portholes on the forward face of the coachroof, but still have another 10 portholes to frame…
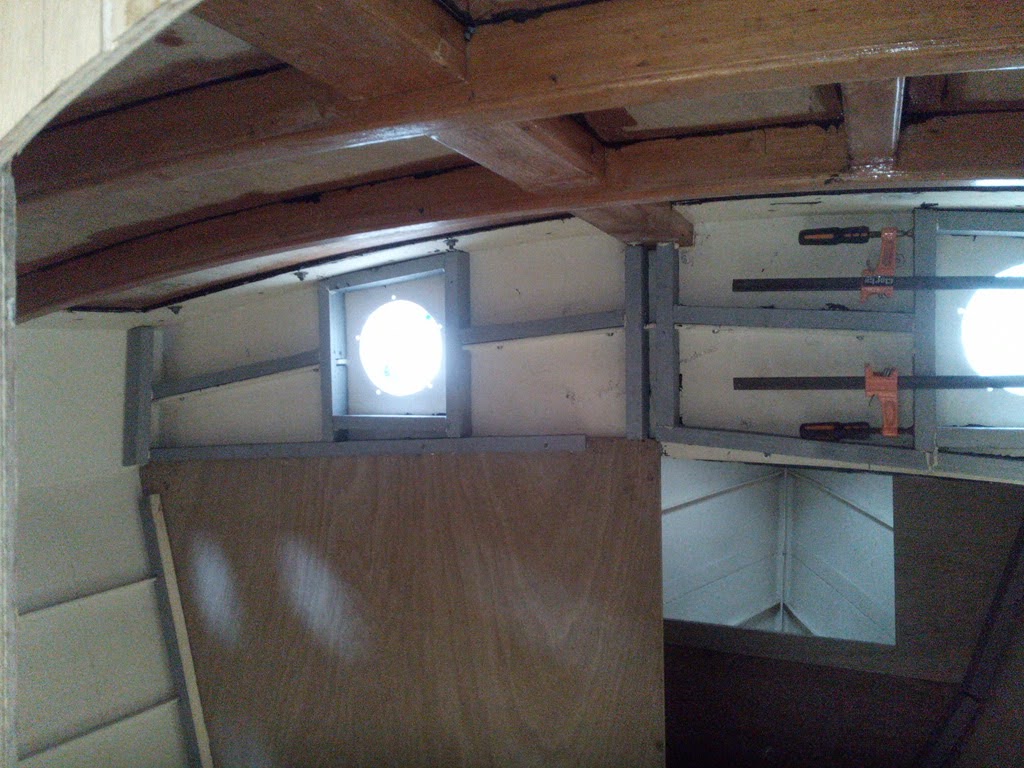
These apertures will eventually be lined out with some nice reclaimed teak I have, but for the moment all I need is the basic frame to give the foam sprayers a boundary within which to keep their foam. The remaining portholes all have their own unique positioning so each frame will need to be custom made – no scope for mass production unfortunately!
Another job to be completed before the Great Foaming is to install some cable conduits down each side, through which I will run internal lighting cables as well as cables for nav lights and VHF aerials to go to the coachroof and masts respectively. I have now completed one side, and have the other side to complete next time.
Finally in the last couple of days of my leave I received a large timber delivery from Robbins (ironically in Bristol, but £700 to deliver to Kilmelford!). This included 1″ ply for the doghouse sides and front, and also for the cockpit coamings, some lining ply for the cabin sides, and various other loads of soft- and hardwoods for fitting out the interior. The next jobs on the agenda (once the preps for insulation are complete) will be:
- Devising and fitting the sole-bearer structures in the forecabin, heads and saloon, for which I will be using some leftover reclaimed Oak and some new Douglas Fir;
- Cutting and fitting the doghouse sides, front and aft faces;
- Fitting the second layer of ply to the cockpit deck and sheathing with glass and epoxy, prior to…
- Constructing the cockpit coamings.
I also now have the material for lining the lower part of the hull sides (i.e. lockers and out-of sight areas), and have ordered some Scottish larch TGV lining for the visible parts of the hull sides. I also am expecting imminent delivery of a new bandsaw and sanding machine in readiness for nice joinery, and will soon need to acquire a planer / thicknesser to treat my reclaimed teak planks, amongst other tasks.
Finally finally, some big news: I have secured the purchase of a used but really good solid timber mainmast. It is about 40cm shorter than I need, but otherwise pretty perfect with some adjustments. It just remains to decide on a foremast, but I am seriously considering a hybrid (aluminium tube lower part with timber “topmast”) in order to keep weight to a minimum in the fore part of the boat. More on this, no doubt, in later posts.
Finally got to read the update
Cheers Chris, I really enjoy reading about your progress with Searchthrift.