More bits and bobs, and some more furniture starts to take shape…
I’ve just realised it is yet again a good couple of months since my last update, and although progress seems bitty, actually once again I’ve done quite a lot without noticing! We’ll pick things up at the beginning of December: following completion of my last stint in Kyle, I popped down to Gran Canaria for a week of warmth, catching up with brother Jim and seeing off my cousin Kim on his transatlantic crossing with the Atlantic Rally for Cruisers in his plush 50ft Dufour. Once back in rainy old Scotland it was time to pick up the tools again and crack on with the boat.
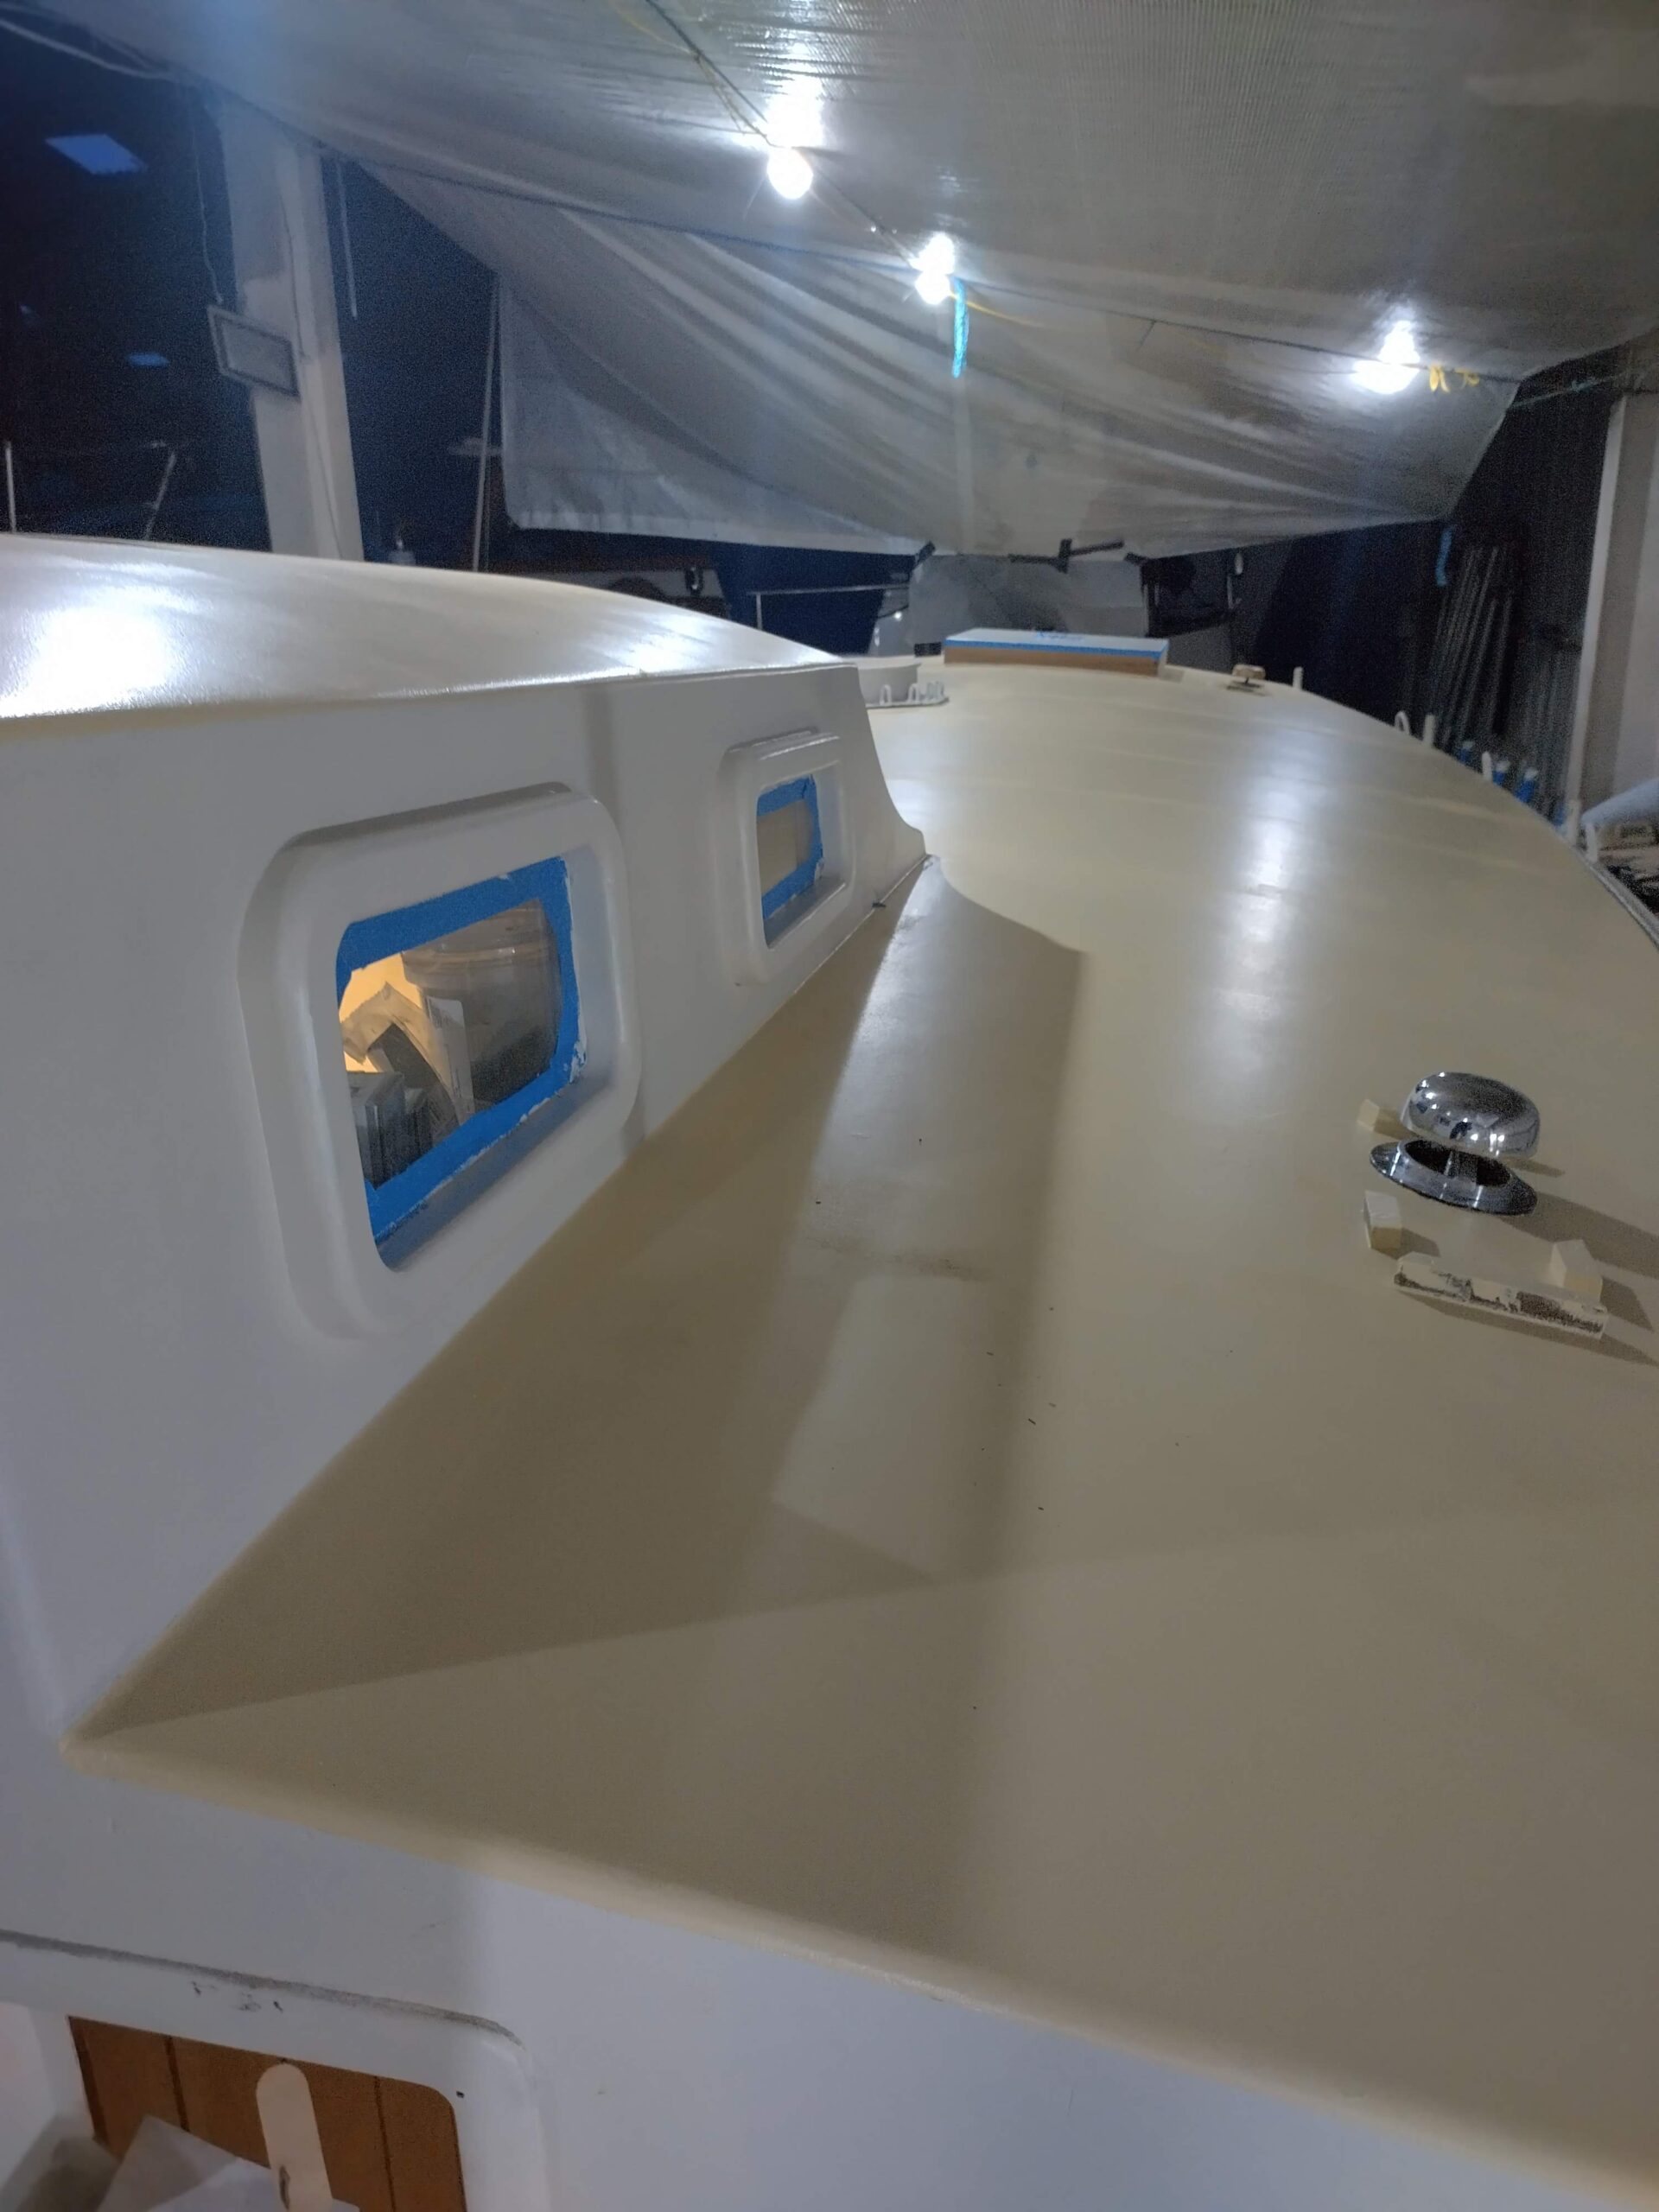
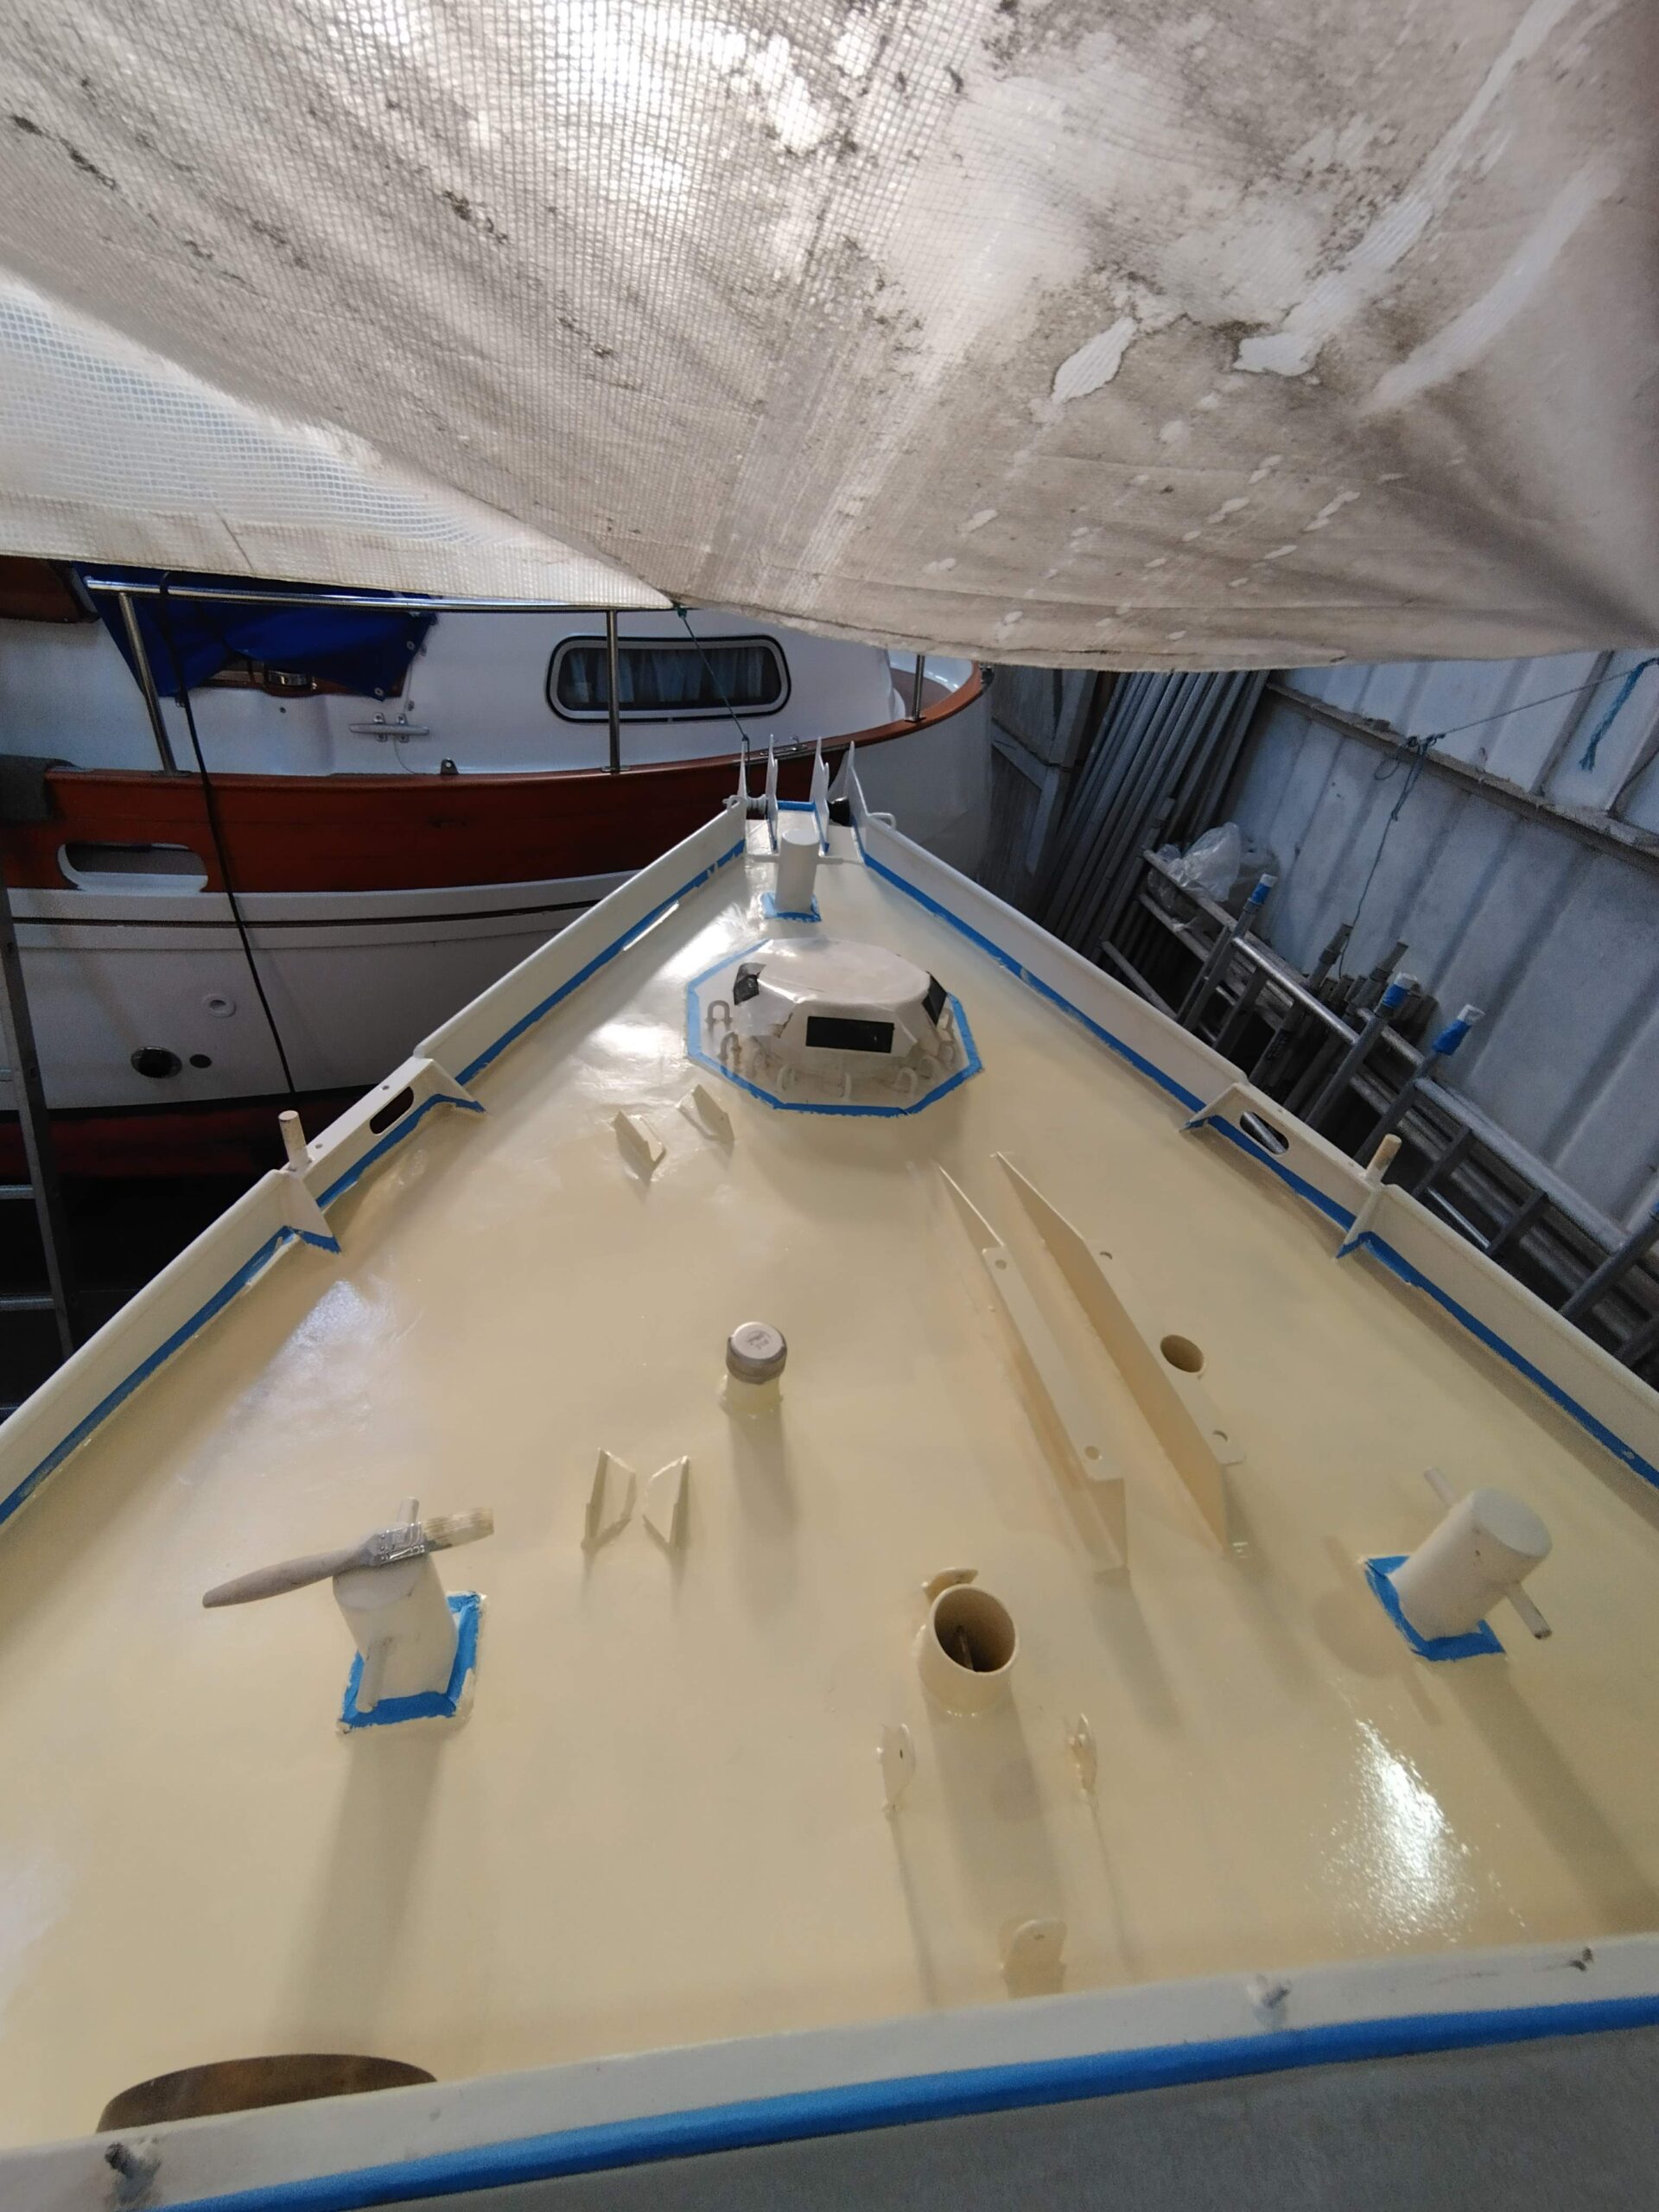
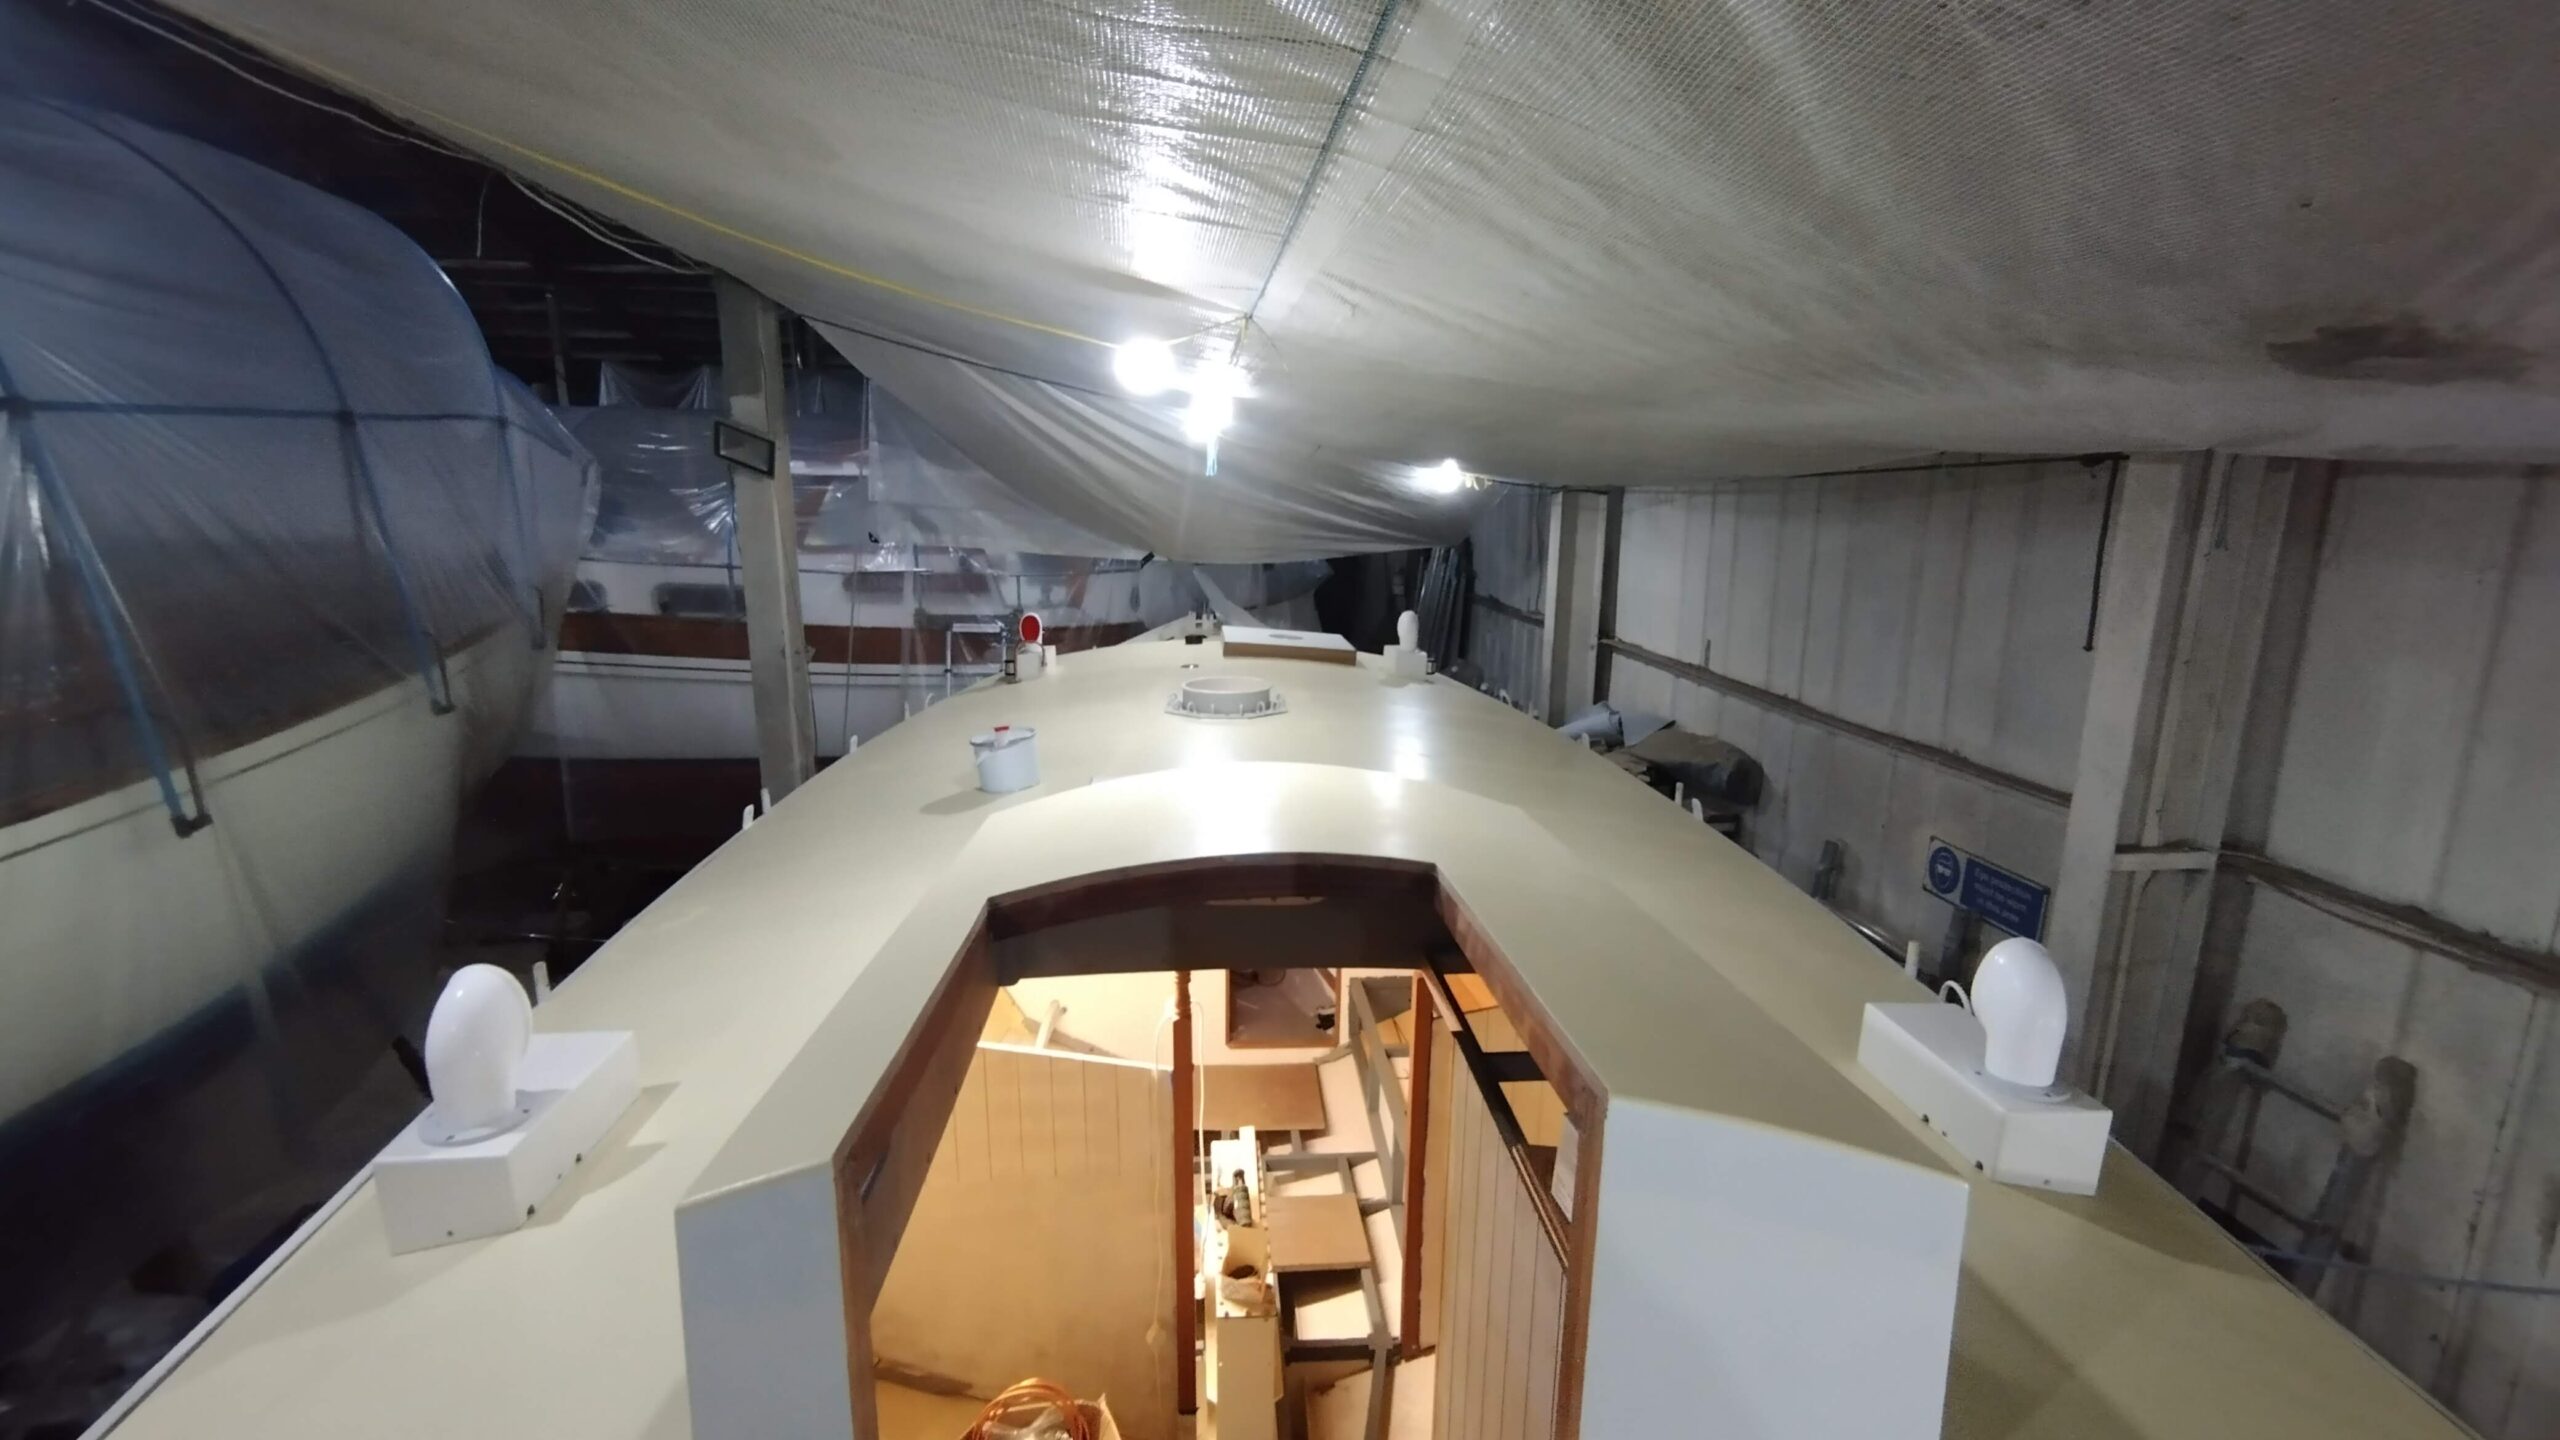
Firstly, something I had managed at weekends during my last stint of work was that I had painted the deck with a couple of coats of topcoat, the second of which had anti-slip beads in it. This then enabled me to fit the dorade boxes, finally painted and fitted with their cowls and nav lights (where applicable). I had also fitted the glazing in the doghouse sides and the deck hatches, and given the doghouse and hatch tops another topcoat, so she’s looking more and more salty every day!
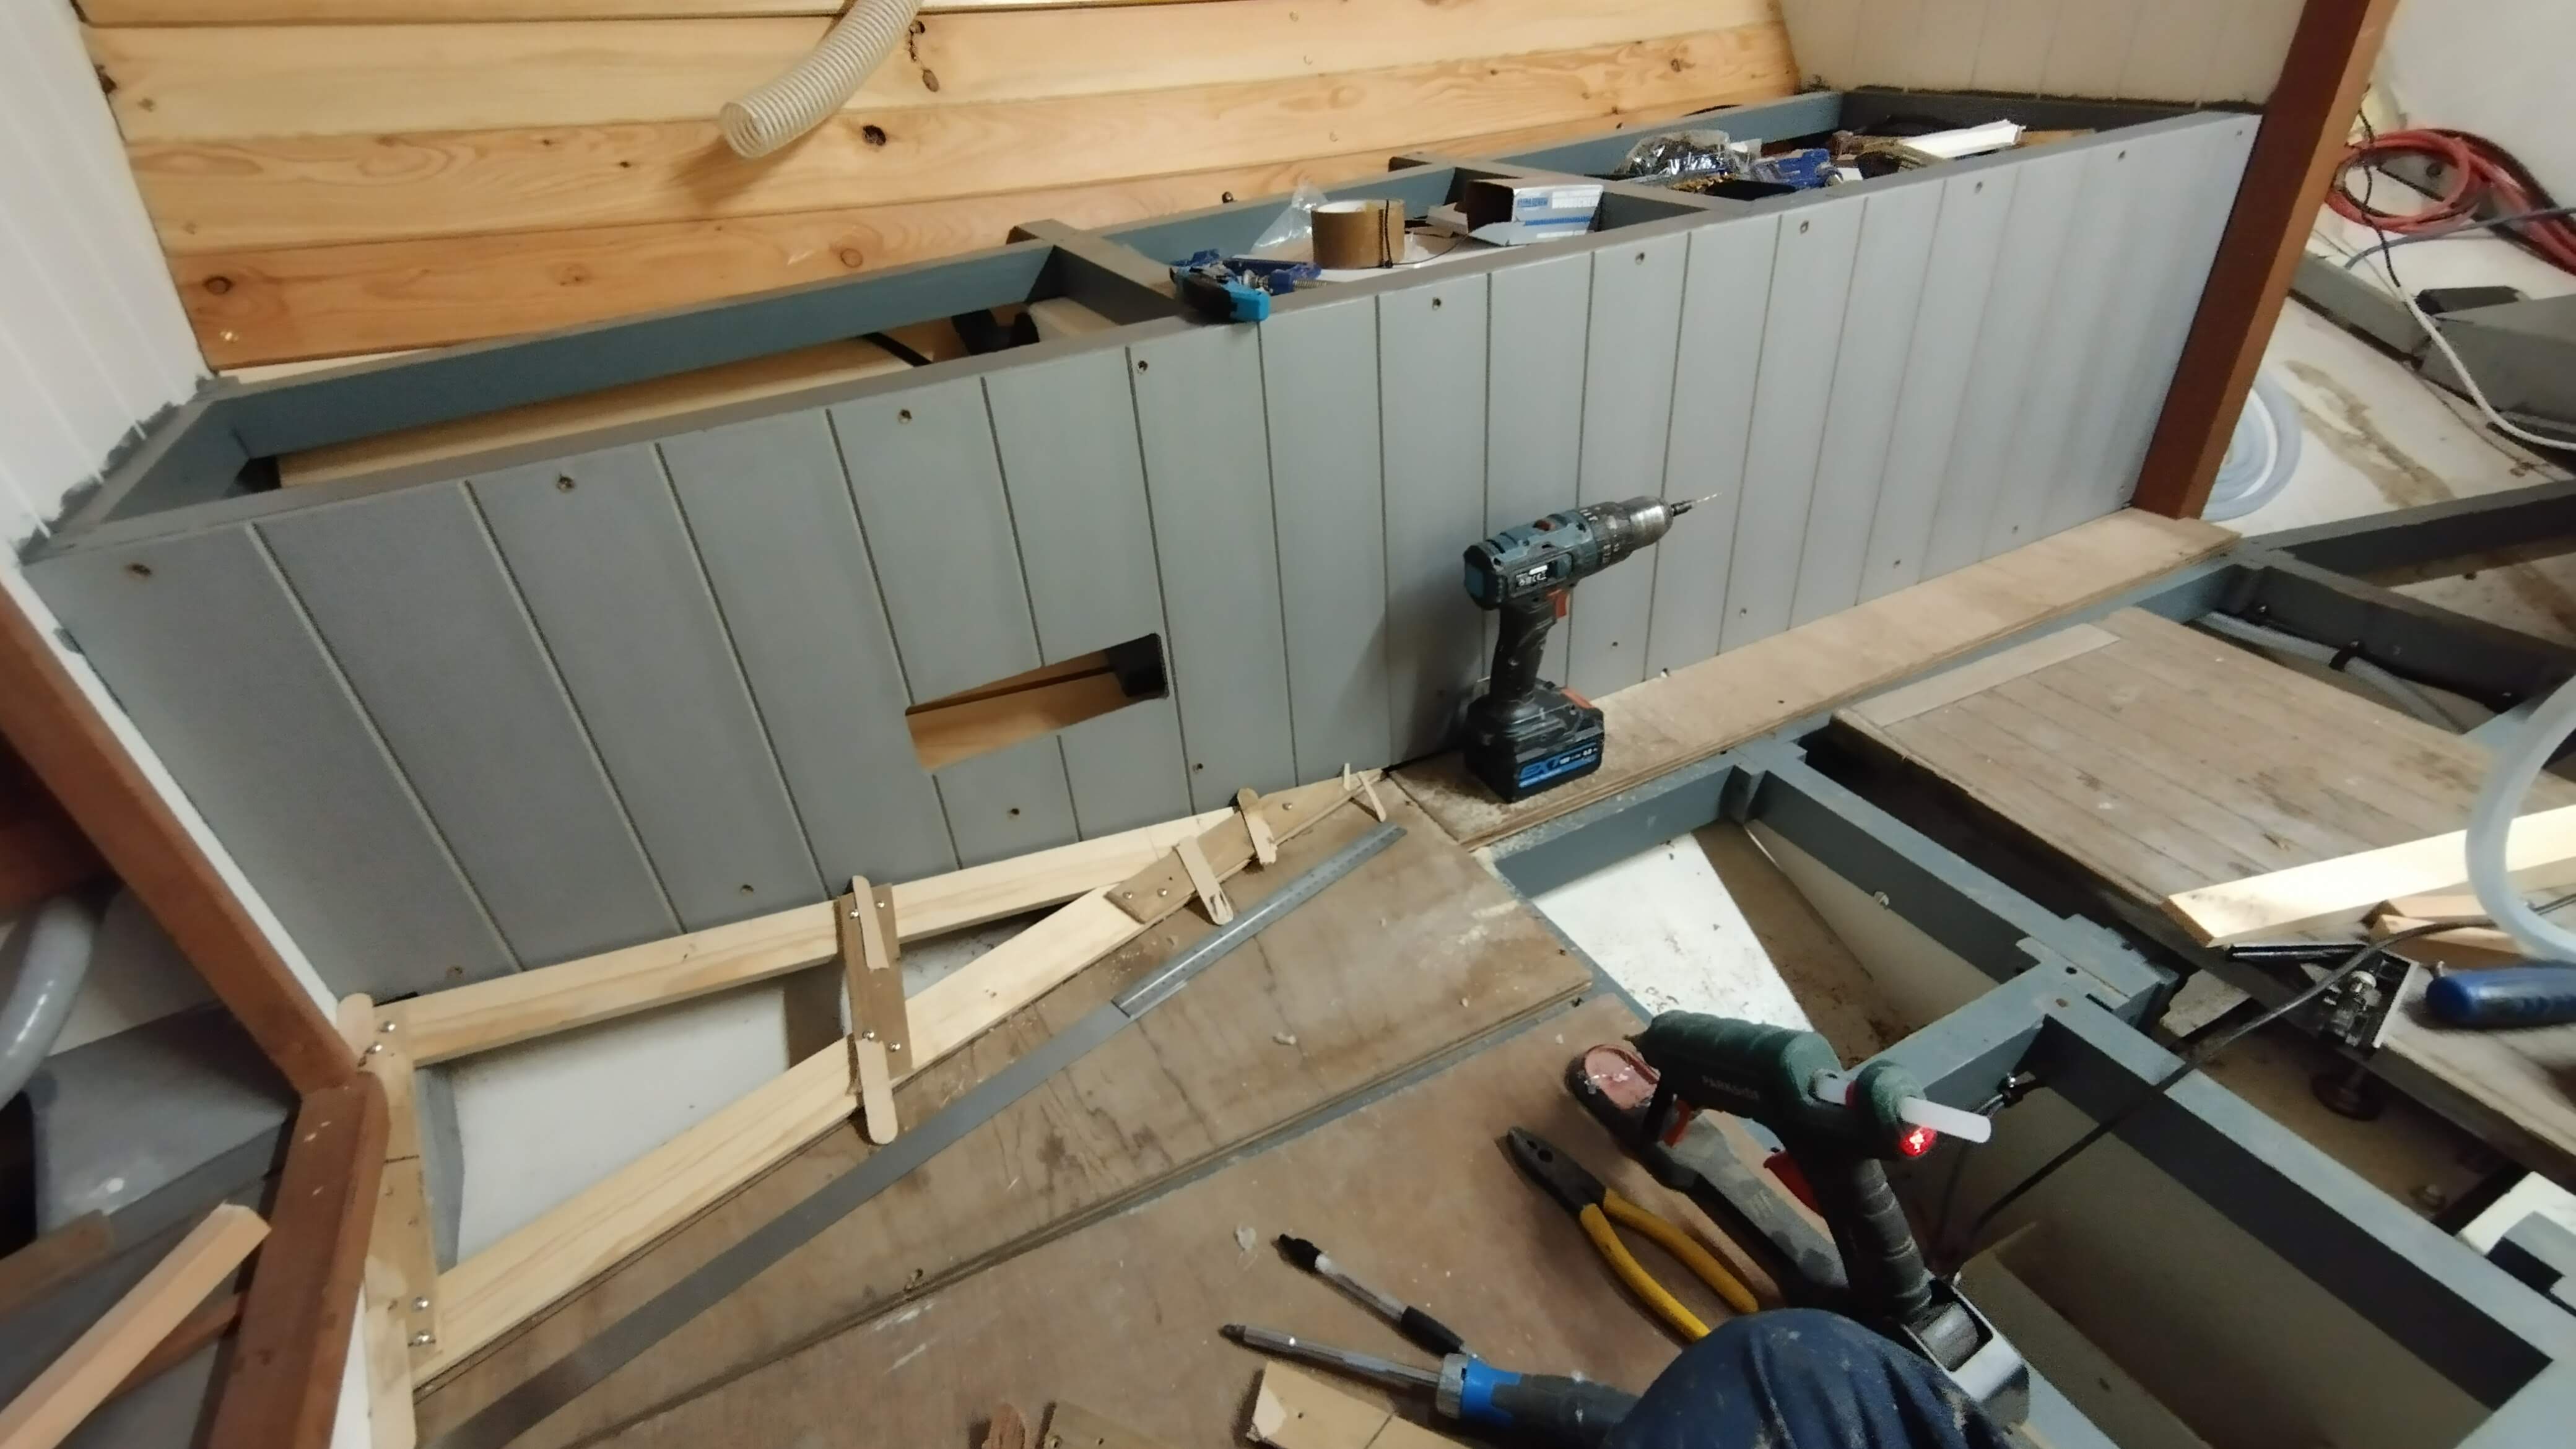
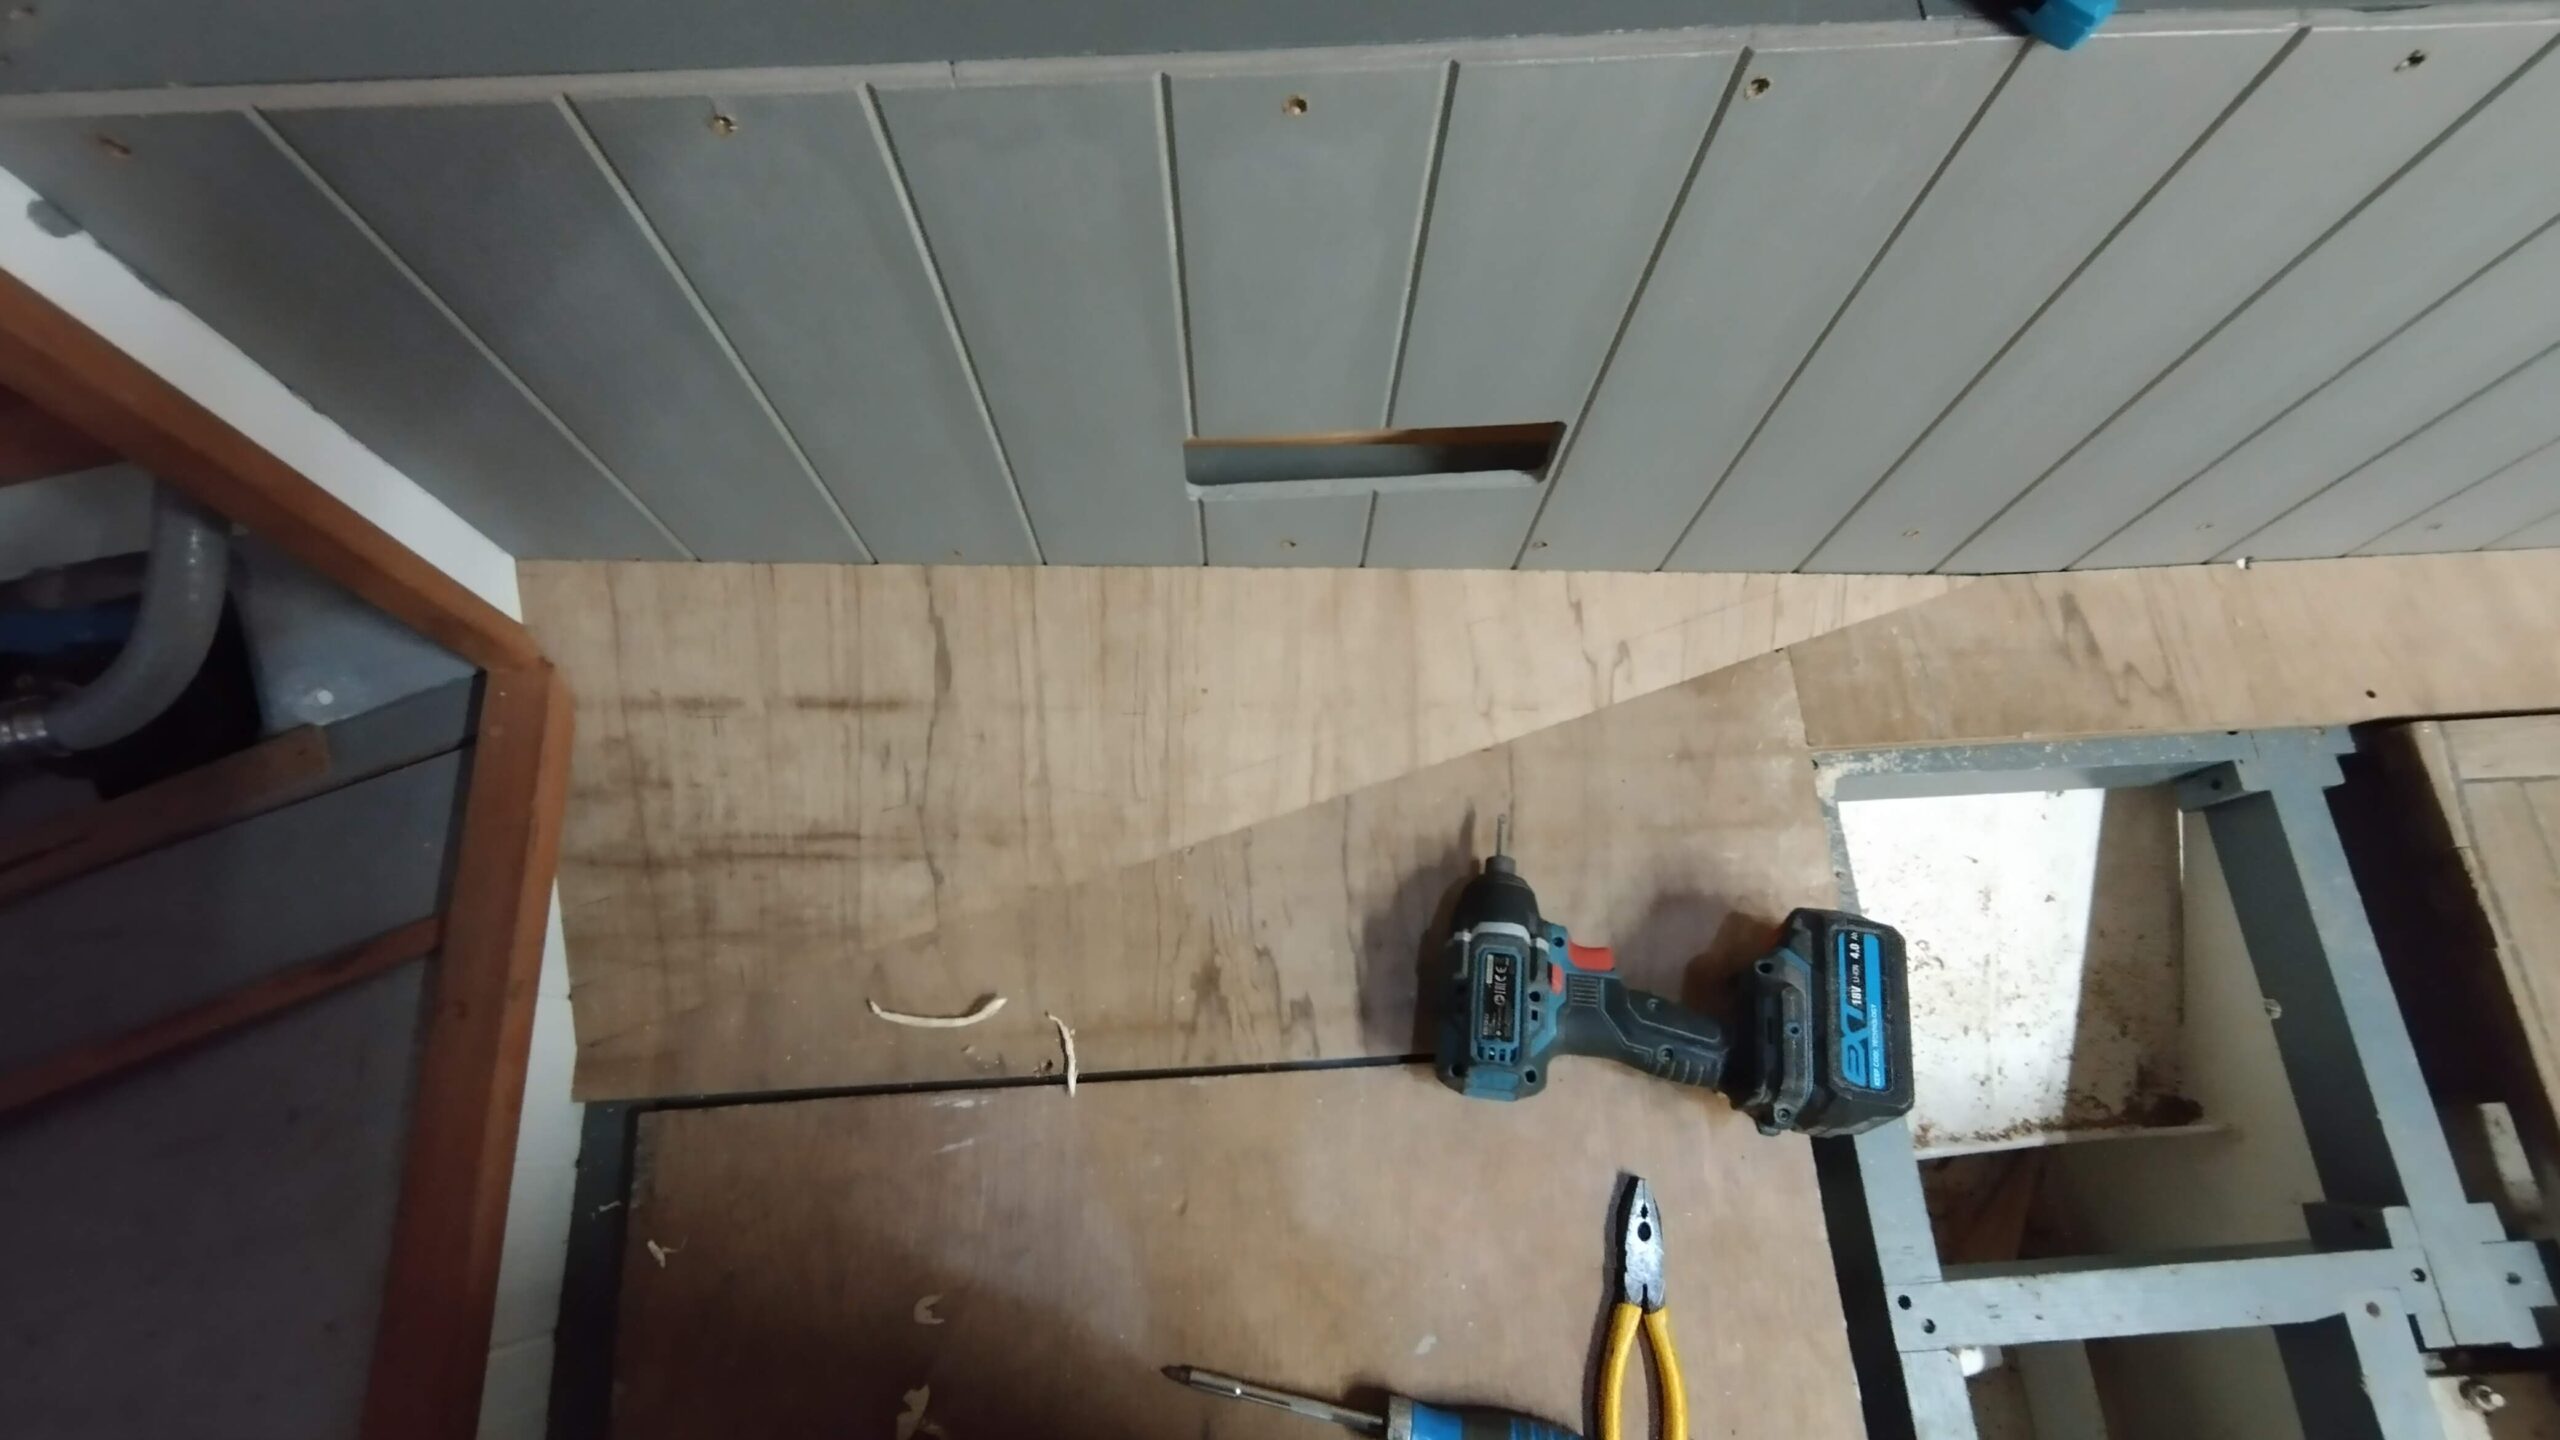
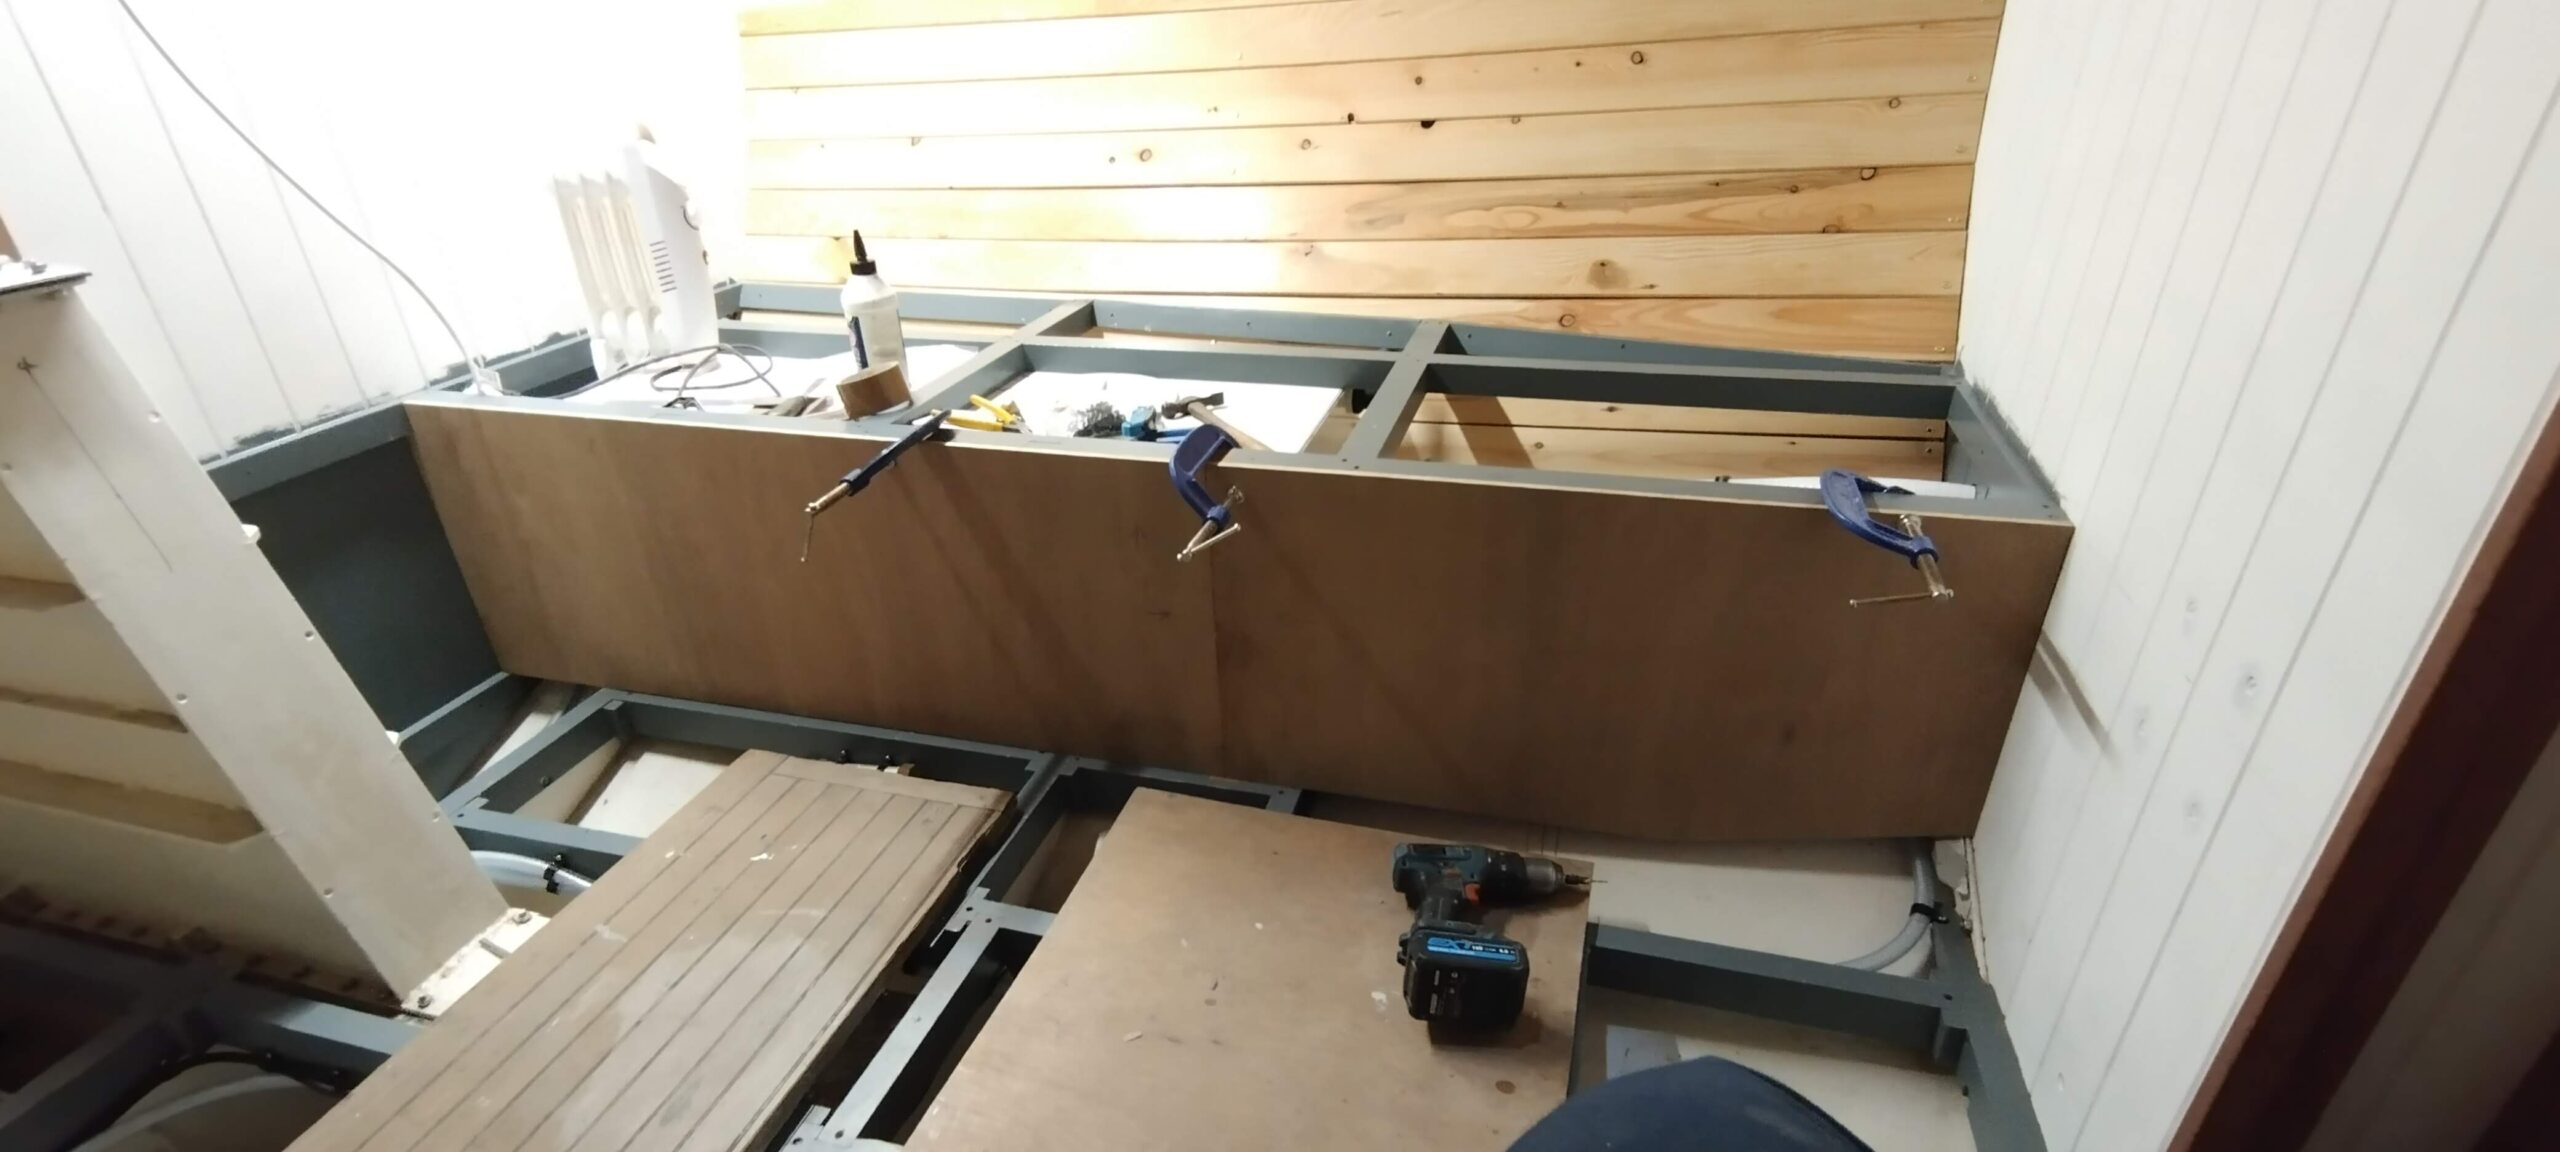
The last interior work I had been doing, back in May and pre-Great Mast Build, was building the frame for the starboard saloon settee base around the stbd fresh water tank. This was where I picked things up in December, initially with cutting and fitting a front for the settee base. This was cut from what I bought as 12mm ply, but somehow is actually about 10mm! No template was really required here, as it is almost a simple rectangle; the only oddity being the slight rise of the bottom edge to conform to the hull shape as the bottom plates rise, but this was easily enough done by measurement and a couple of dry fits. As with all of my big vertical surfaces in the accommodation though, I planned to rout V-grooves in the face to imitate tongue-and-groove panelling, so to conform to this the grain of the surface laminate of the ply needed to run vertically rather than fore-and-aft, which meant cutting the panel across the width of the ply sheet, rather than lengthways. Of course, a standard ply sheet is 1220mm wide, and the settee is 1900mm long, so this meant the panel had to be made from 2 pieces joined together. This join was achieved simply, using biscuit dowels to edge glue the sections together. Once in place, the panel is supported by an ample 2×2 frame, so strength of the join was not too important. Sheet cut and joint glued, I routed the V-grooves and then cut a small 200 x 60mm aperture for ventilation of the underseat locker – this will be covered in due course with a brass grille. Before installation, as with all the internal joinery, the panel then needed painting, so I gave it 2 coats of primer (both sides) and then the inside surfaces got 2 coats of the grey garage floor paint I use for all locker interiors, whilst the outside remains in primer to await white finish at a slightly later stage.
Slightly more complex than this was cutting and fitting some sole boards to fill in the forward end where the hull shape starts to narrow, and further back between the settee and the outboard fore-and-aft sole bearer (which lies about 100mm inboard of the settee front). The forward end consists of two pieces, one screwed to the sole bearers, and the other sitting on the hull frame forward and narrowing to a point aft, creating a wedge of sloped sole. The aft section is a simple rectangle sitting on athwartships sole bearers and a cleat screwed onto the bottom edge of the settee front. These three panels will be permanently fixed (although, as with most of the internal joinery, still removeable with a bit of effort if access to hull plating requires it), with the remaining sole boards in the saloon being liftable, allowing access to the bilge and around the centreboard case. The fiddly wedge-shape had to be templated, but I have developed a tried and tested method for this to ensure a good fit, and once cut to shape I had to plane a bevel on the two long edges to conform to the settee front and horizontal section of sole; the new electric planer made short work of this last task and a very neat and accurate fit ensued. These too were painted as before prior to final fitting. If it is ever necessary to remove them, one will have to dig through whatever my chosen surface covering is (probably cork) to find the screws, but this will not be (I hope) a regular need!
Prior to boxing in the water tank, I had to attach the suction hose and vent hose and lead them through their planned routes (the former downwards and towards the centreline, the latter outboard and aft through the chart table half bulkhead). I then cut these slightly over-length and coiled them out of the way pending further routeing and connections.

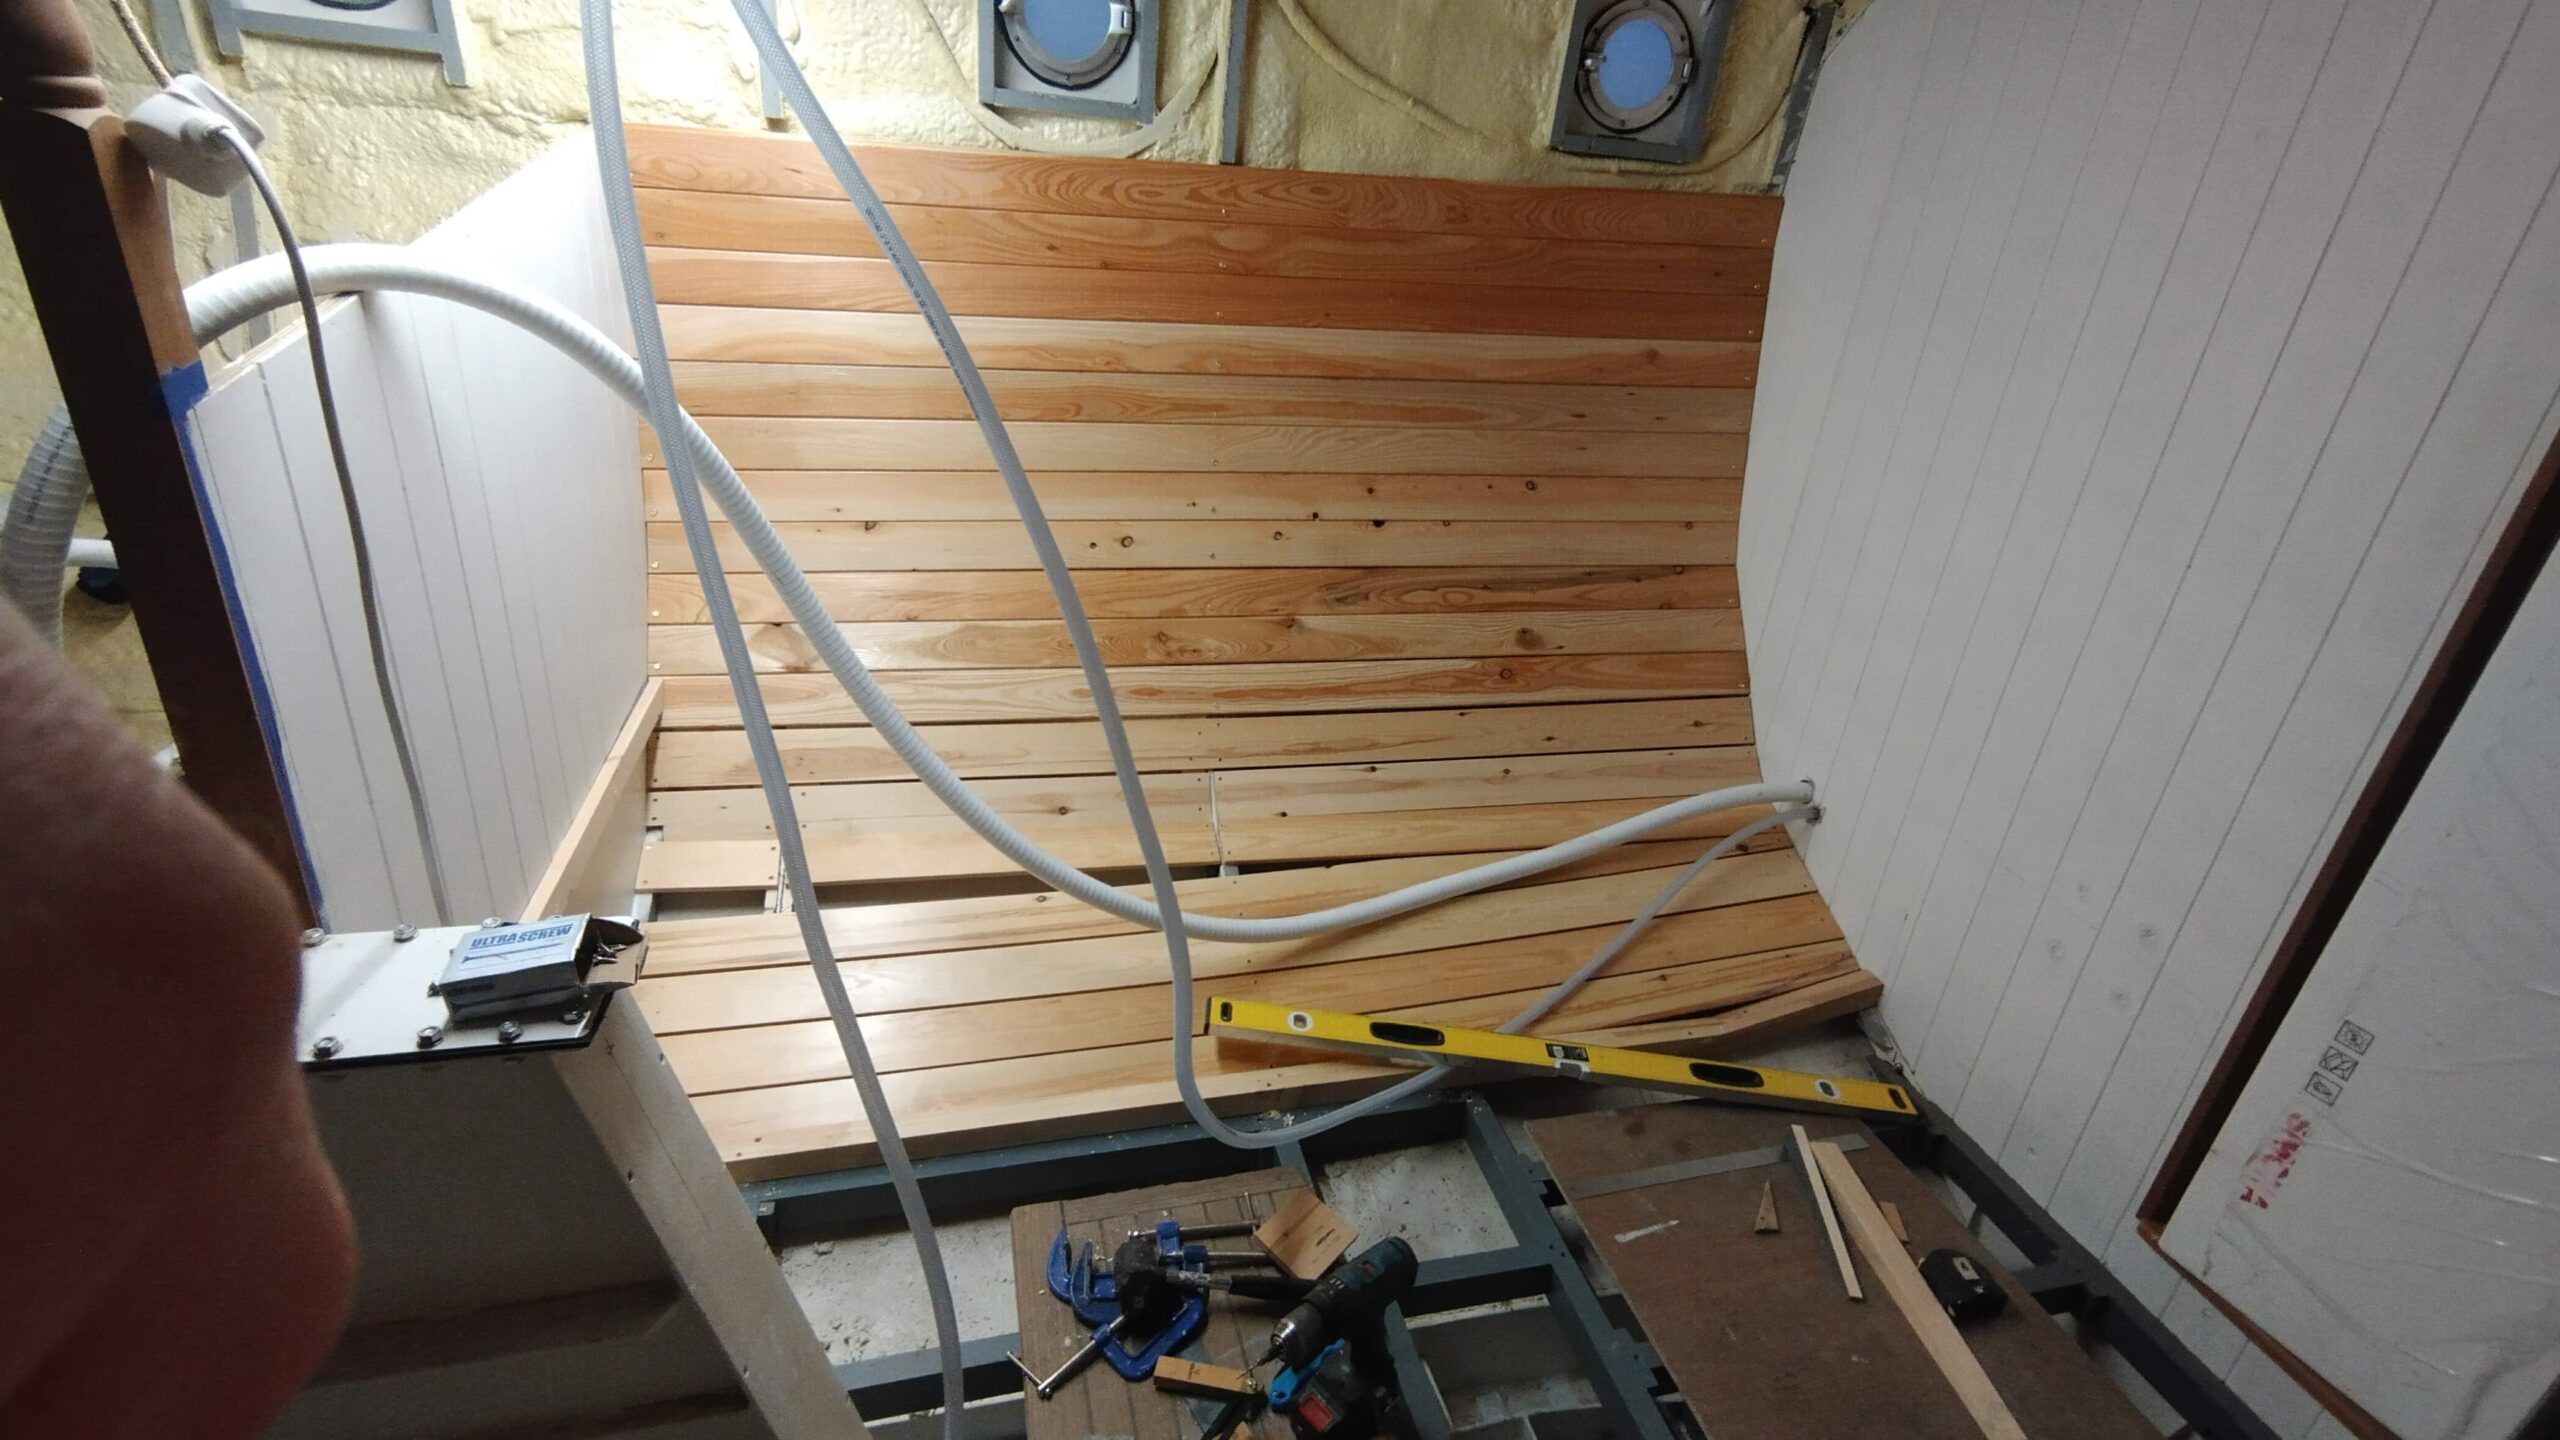
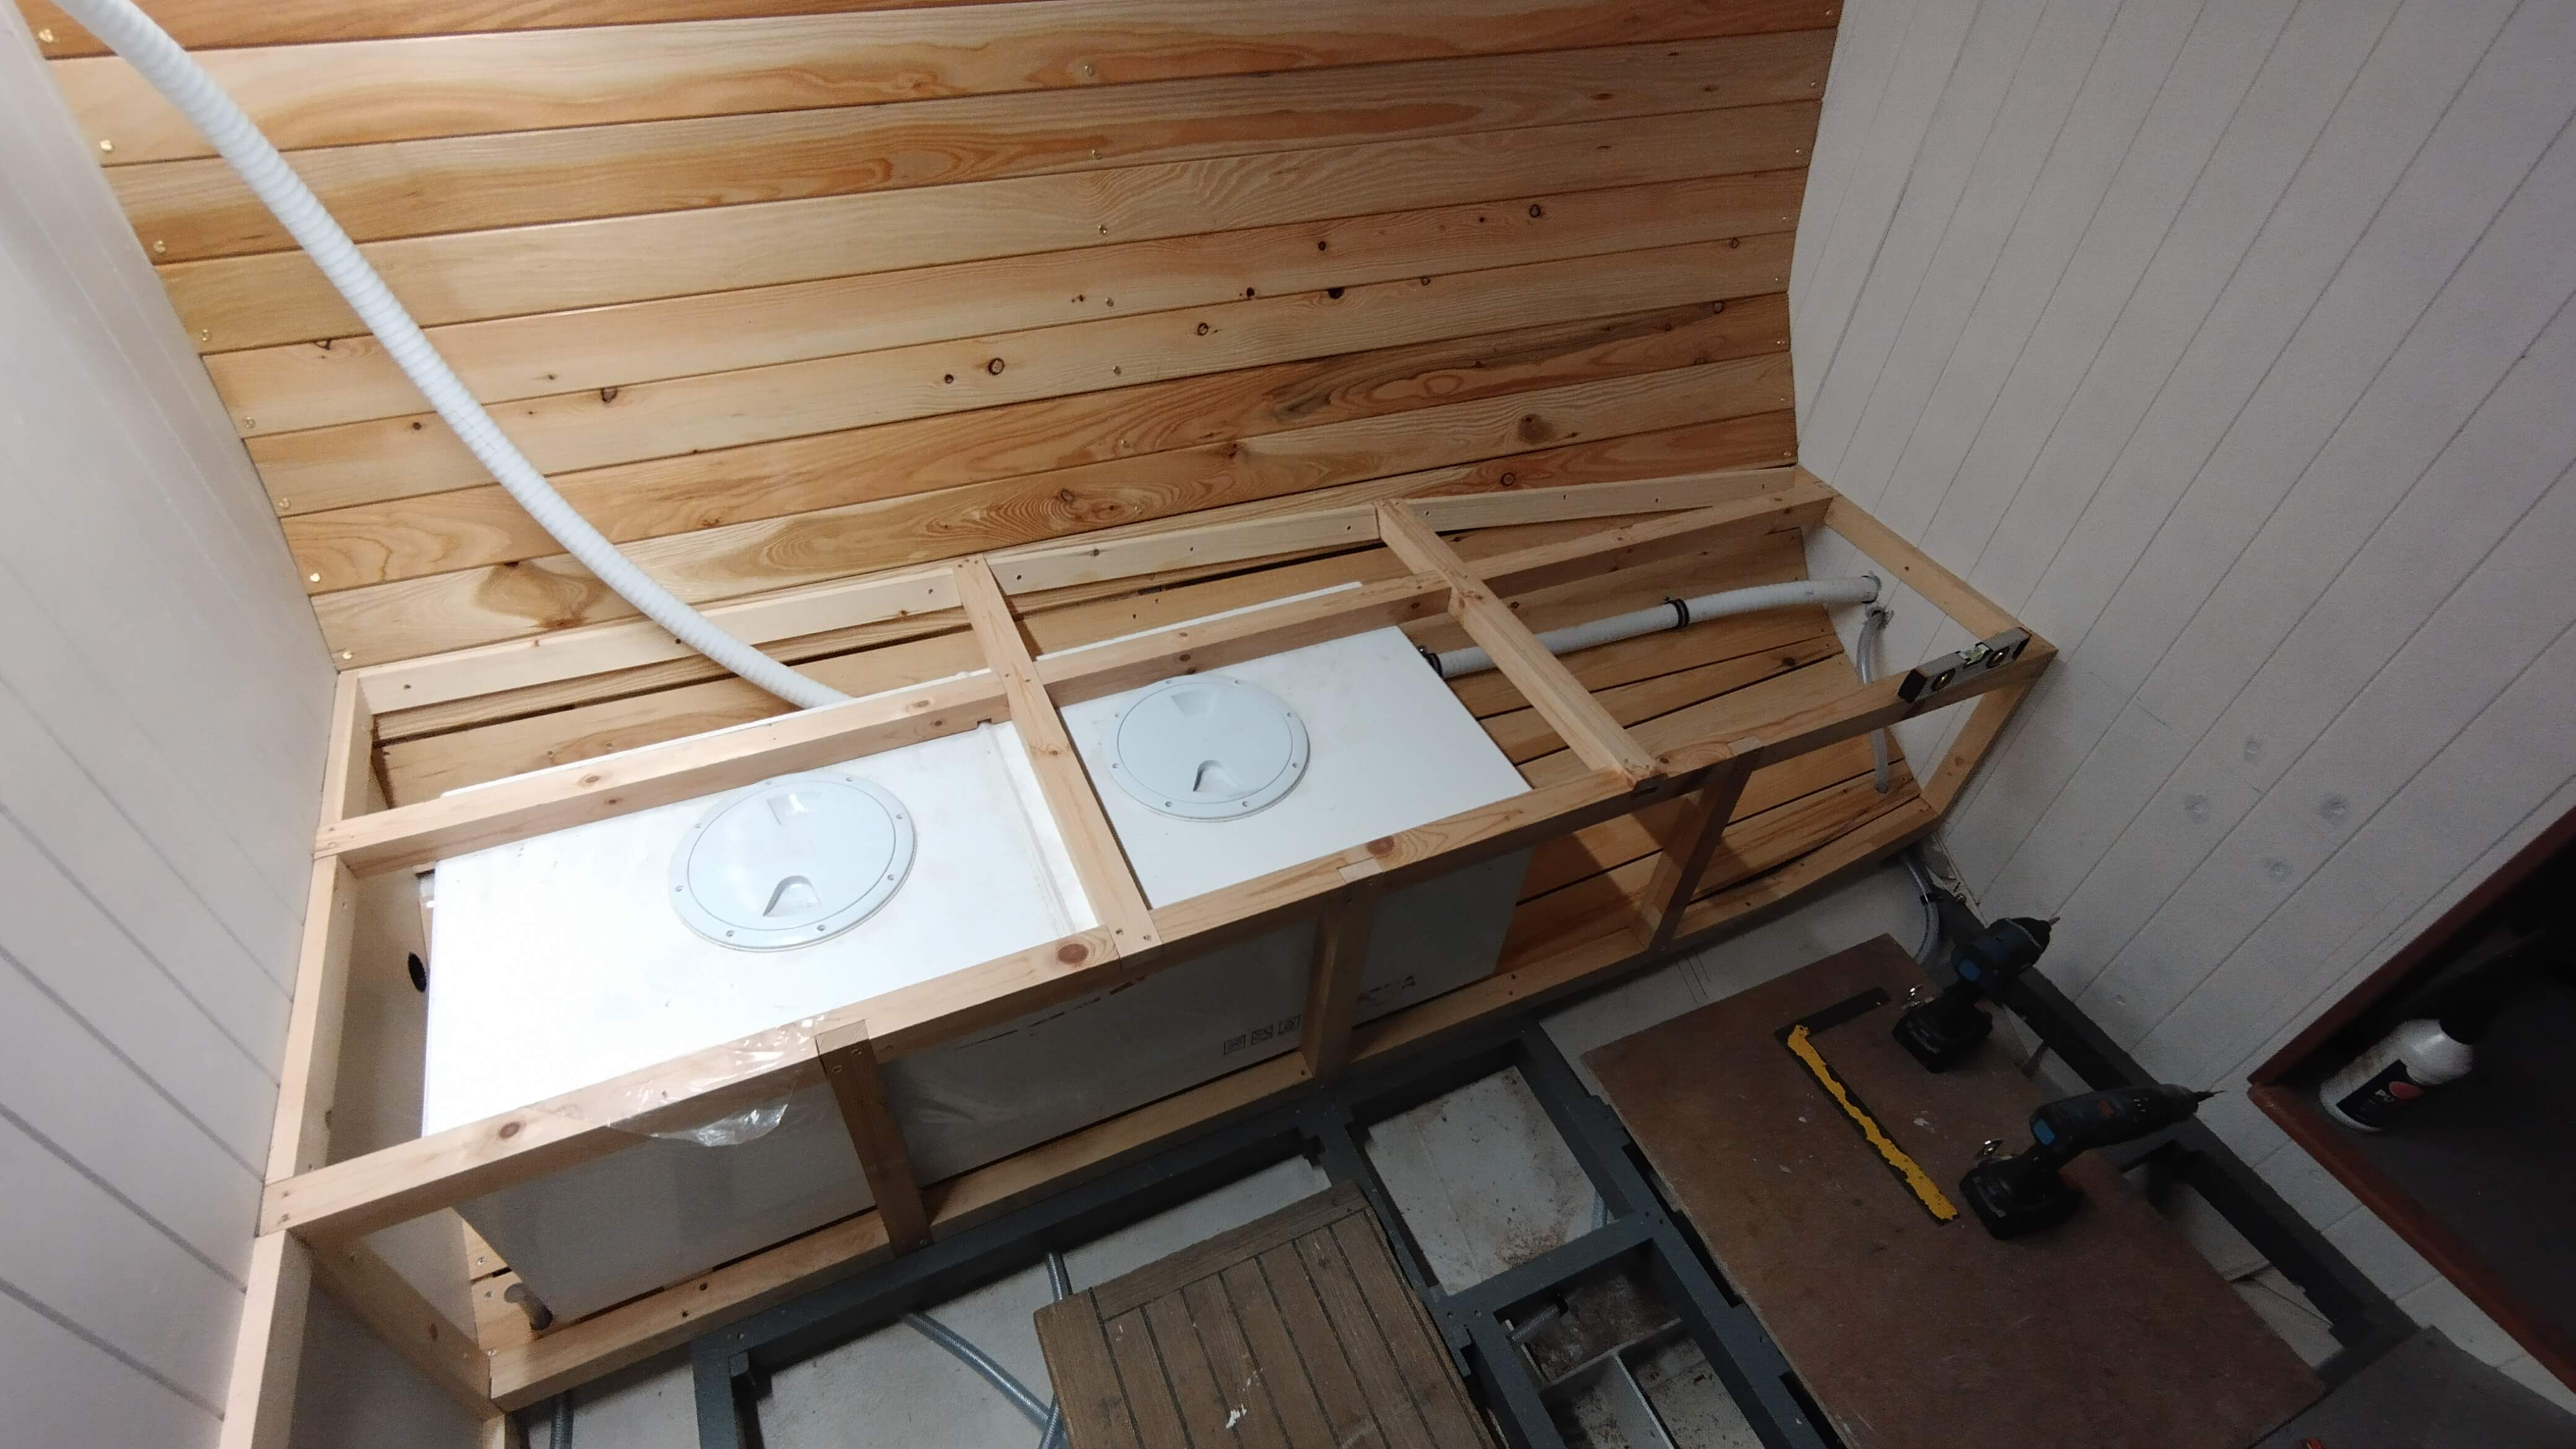
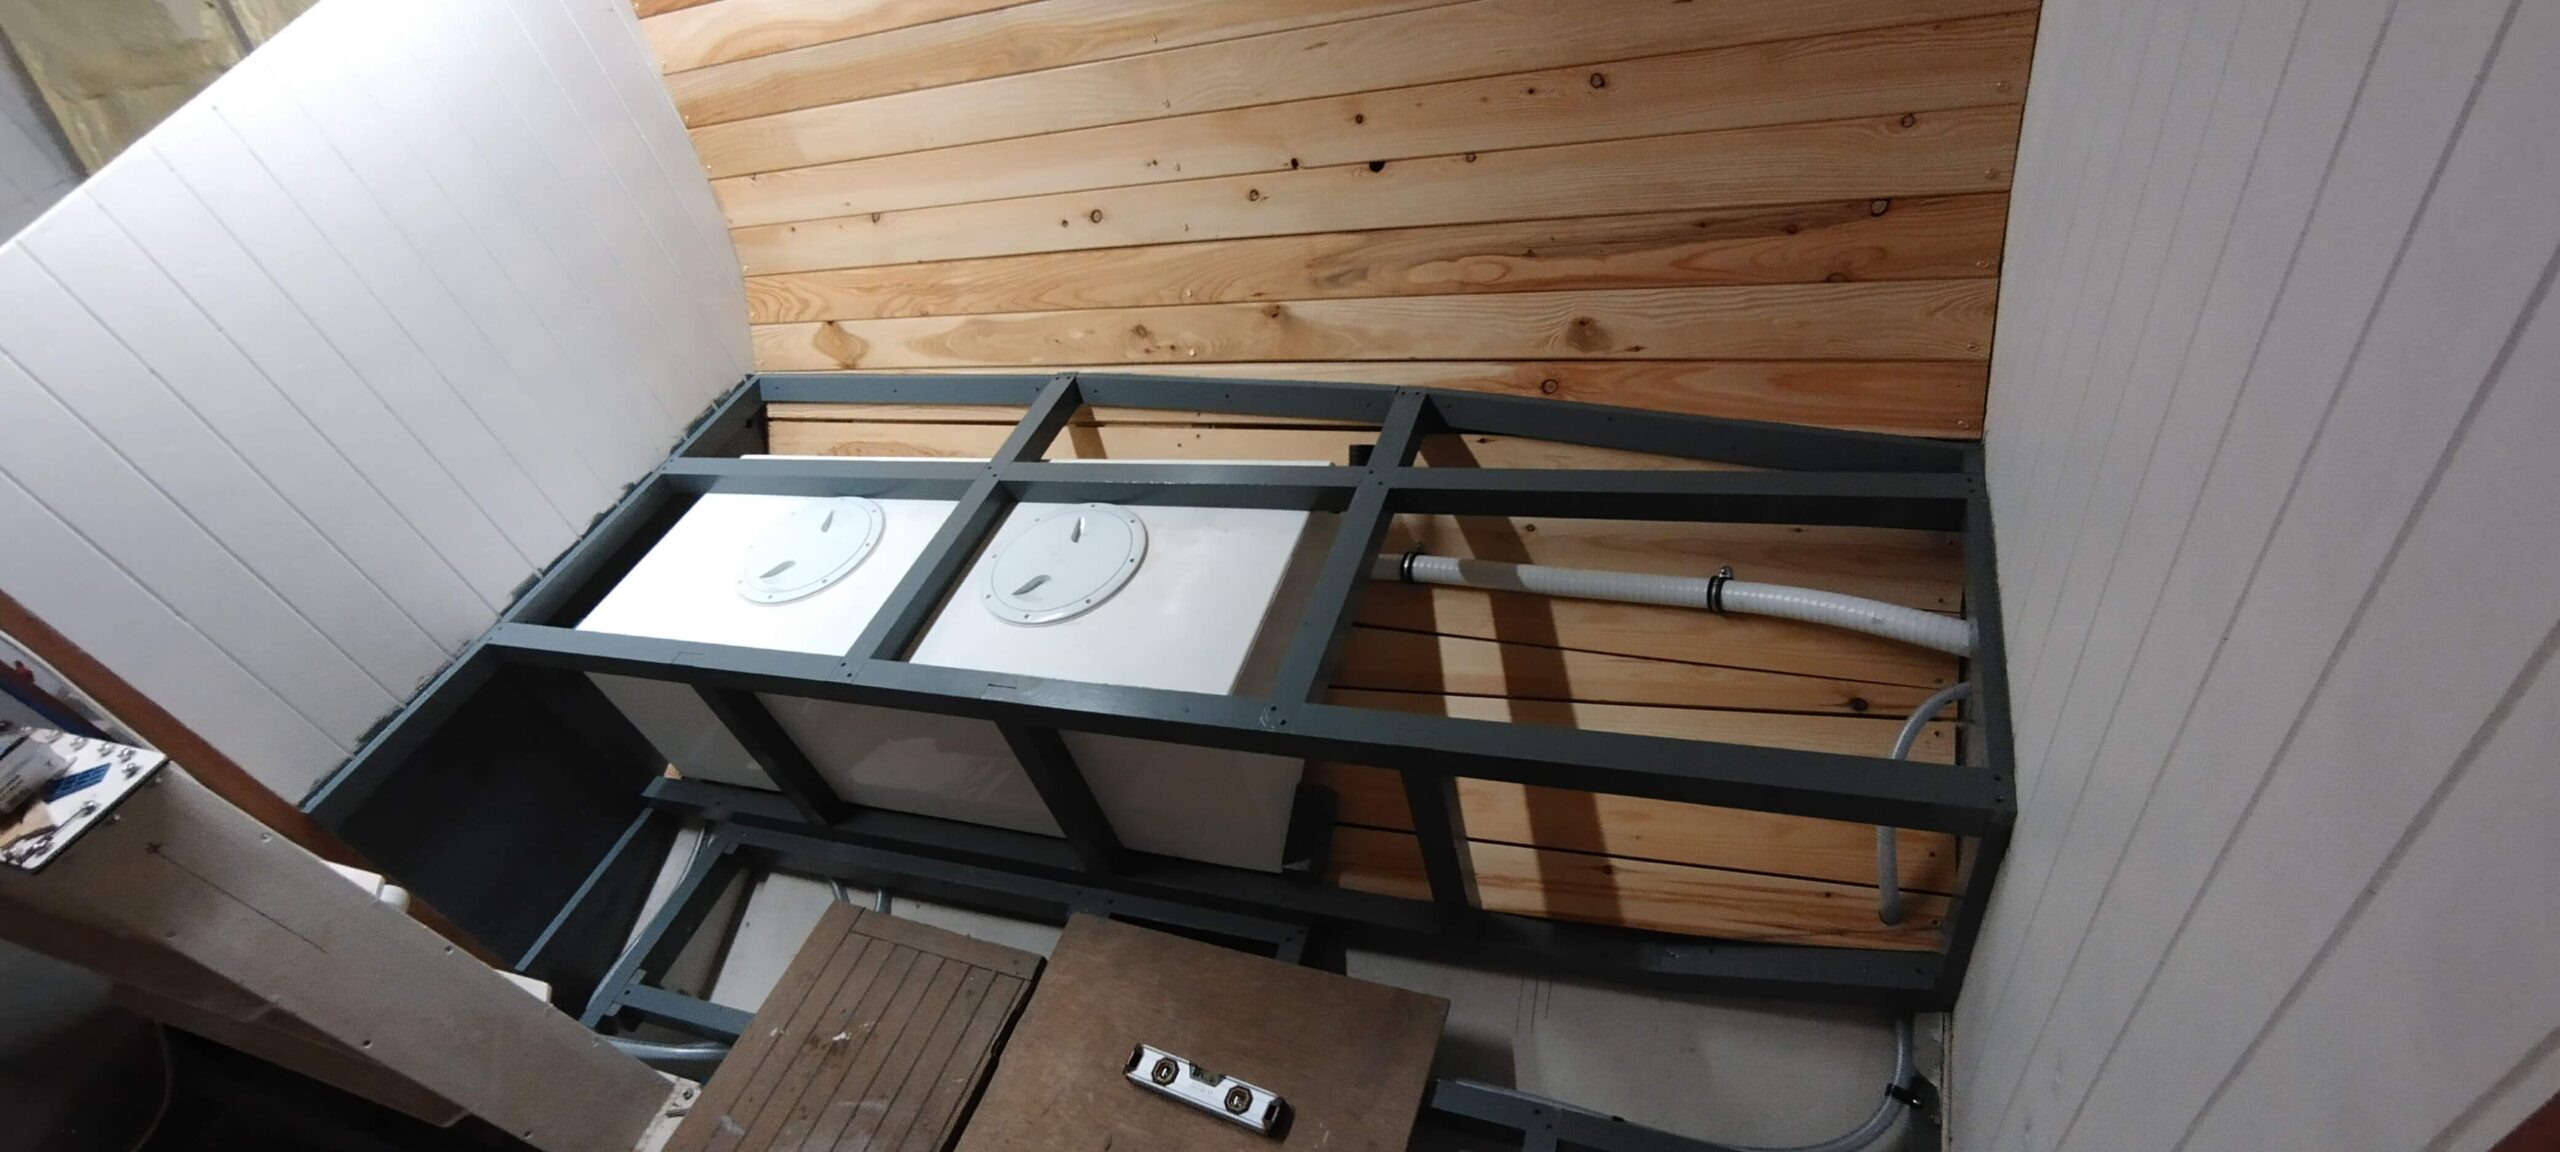
The next stage was to start fitting out the port side of the saloon, starting with the hull lining boards – again T&G above the settee seat level, and simpler ceiling planks below. As with the stbd side I had to add some “stealer” planks in the latter to fill the wedge-shaped gap between the line of the upper ceiling / lining planks and the line of the settee framework (parallel with the centreline). I started on the port settee framing – similar to the stbd side, but slightly simpler as the lower fore and aft member sits directly on the sole bearers. These frames are quite complex nonetheless, with lots of half-lap joints required, meaning that my chisel-work is getting more accurate! As with the port side, this frame also serves to secure the water tank, so I had to cut wedge-shaped bearers to fit, which sit on the ceiling planks in line with the hull frames, so the weight is adequately supported. These need to raise the tank so that the cross-pieces of the settee seat framework clamp the tank down tight. The last job on this project was to paint all the pieces of the framework, and I just managed the two coats primer before I had to return to work, slightly early as it happened, in preparation for another passage to drydock…
Yes, you read that right. The KoL had only just returned to Kyle from Greenock, when it became evident that there were some problems with the shaft seals, so I had to take her round to Buckie (on the Moray coast) for remedial work. The weather that weekend was not nice, but there was some urgency to get her round to Buckie before Christmas, so a departure had been planned for midnight on the Sunday night or Monday lunchtime. The weather was still foul on the Sunday, so I opted for the Monday departure, and we actually had a reasonable 24hr passage round, and went almost straight onto the slipway at the shipyard. We stayed in Buckie for a week whilst the work was done, but the decision was made to let us go home for Christmas and leave the vessel on the slip, so this allowed me a bunch of bonus days to work on the boat over the Christmas and New Year period.
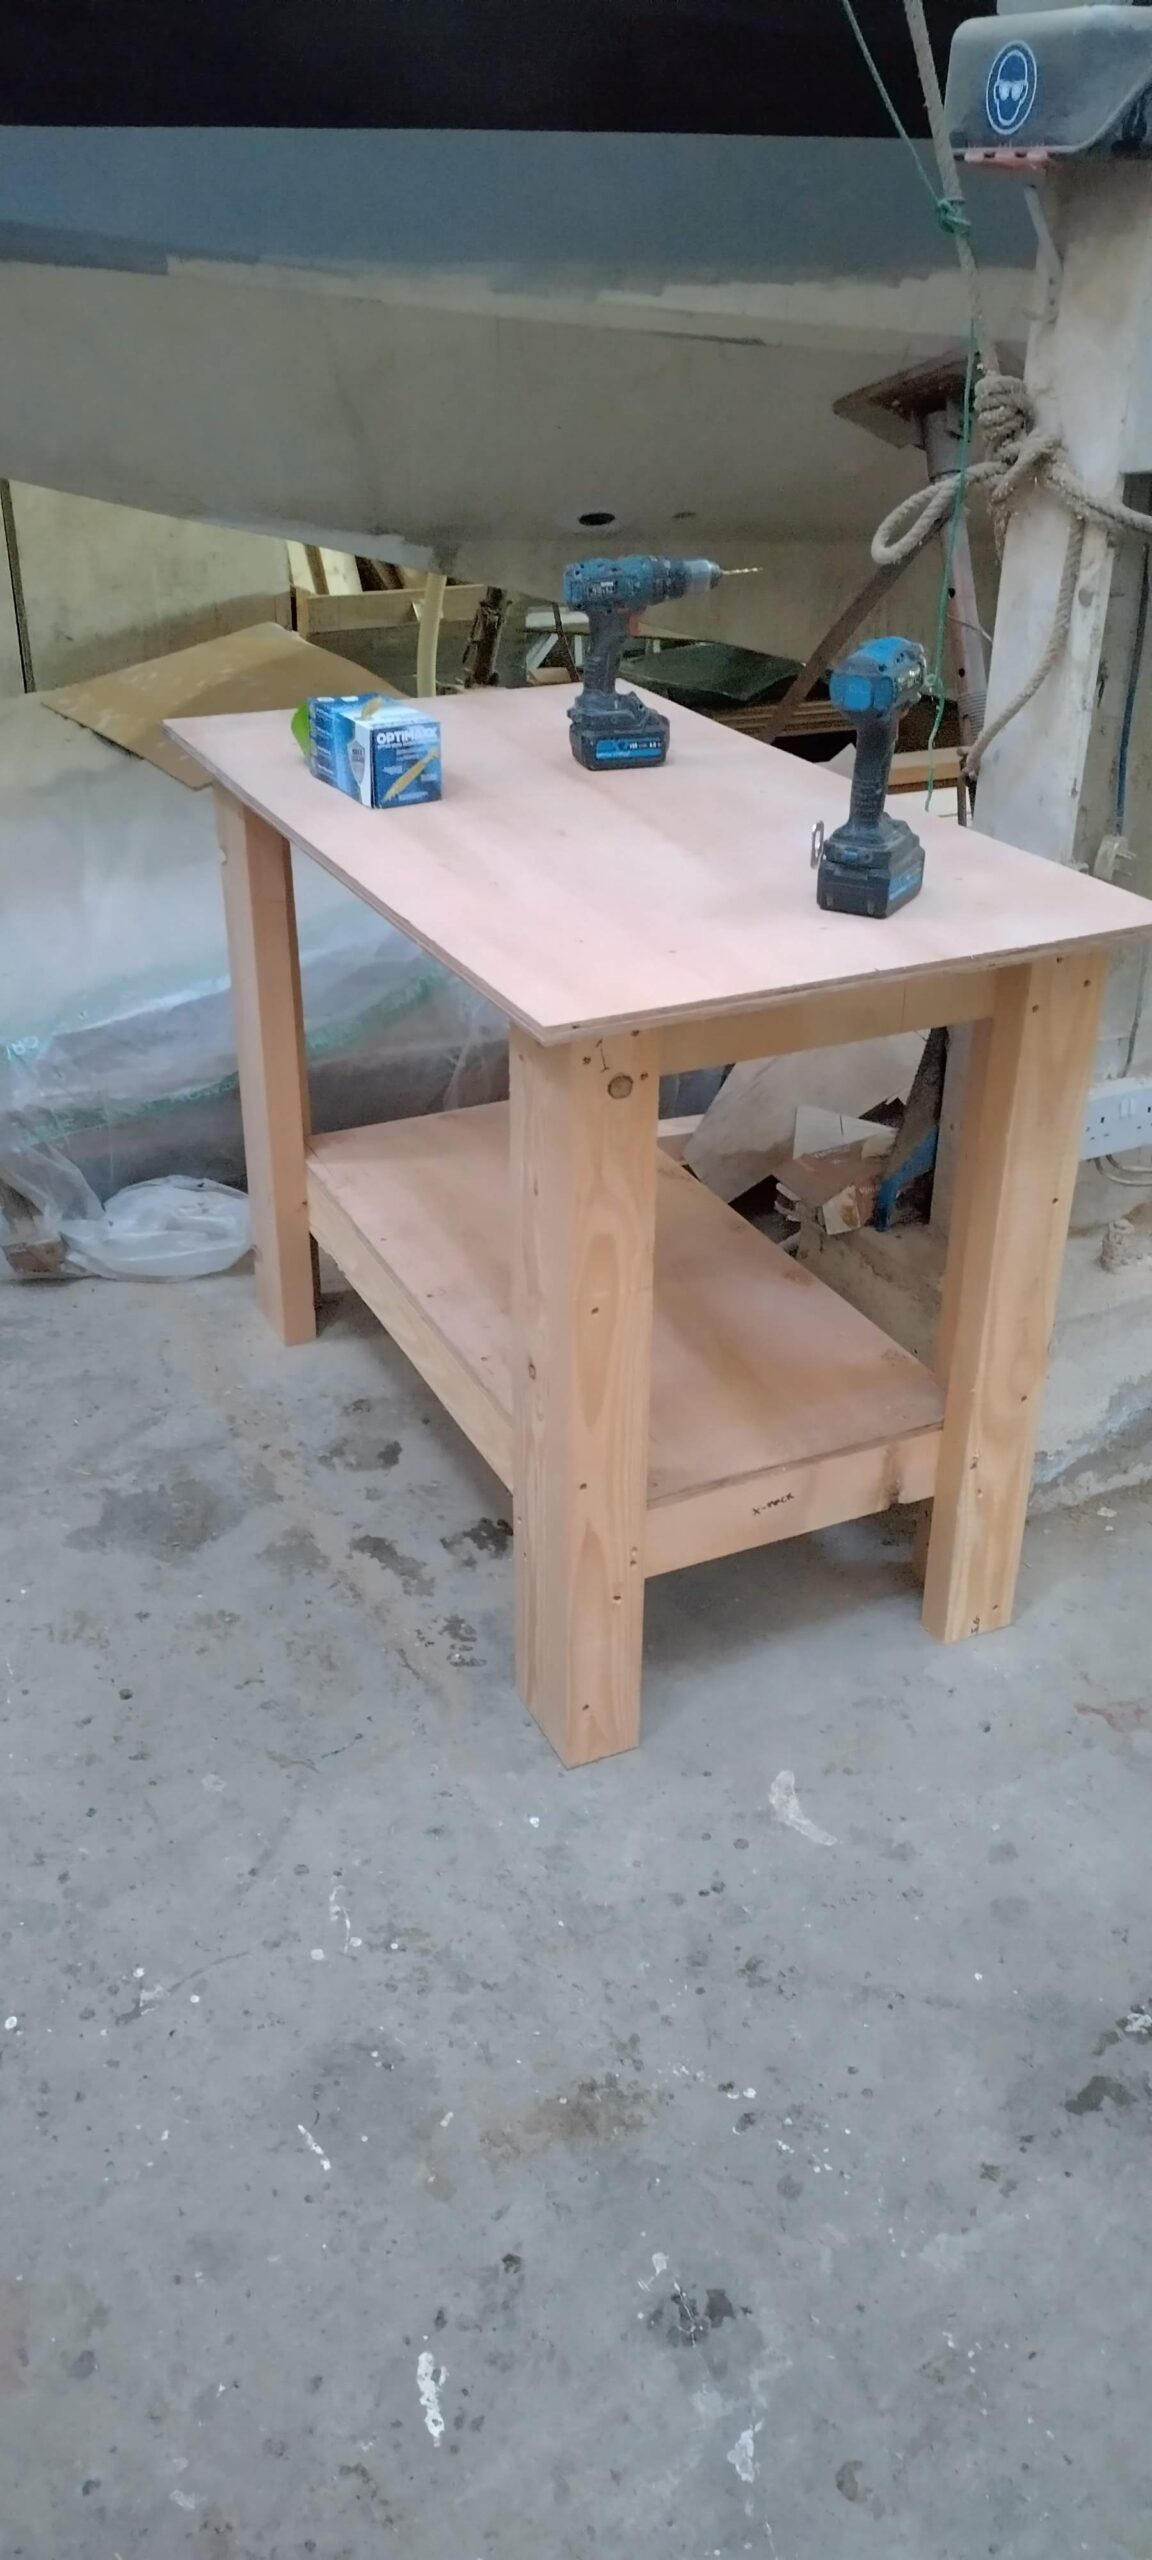
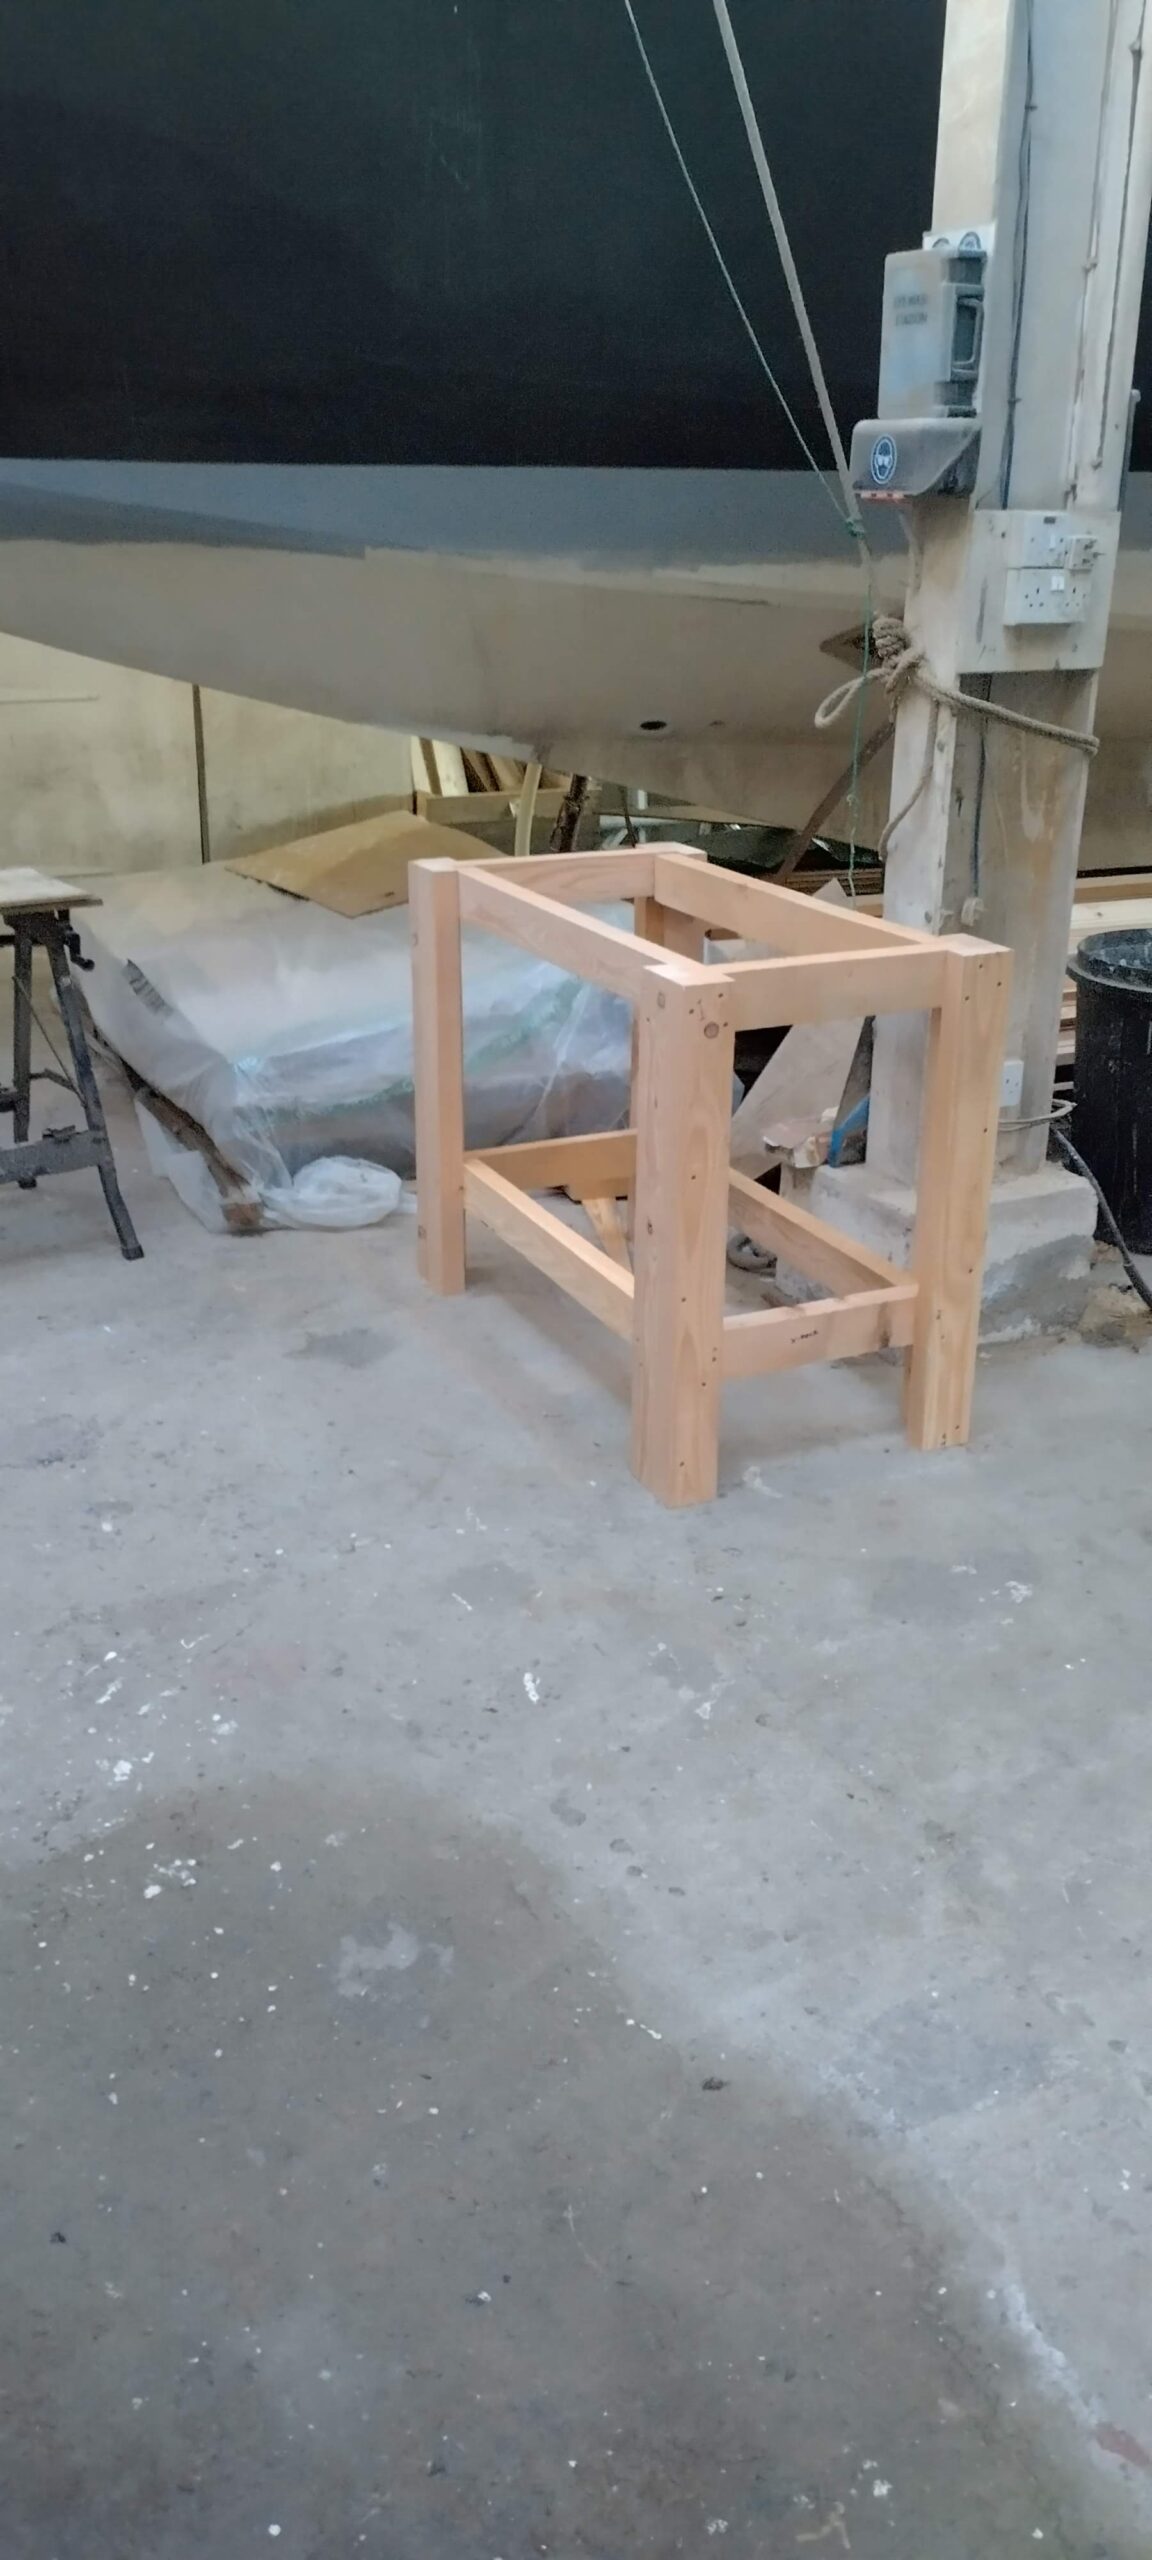
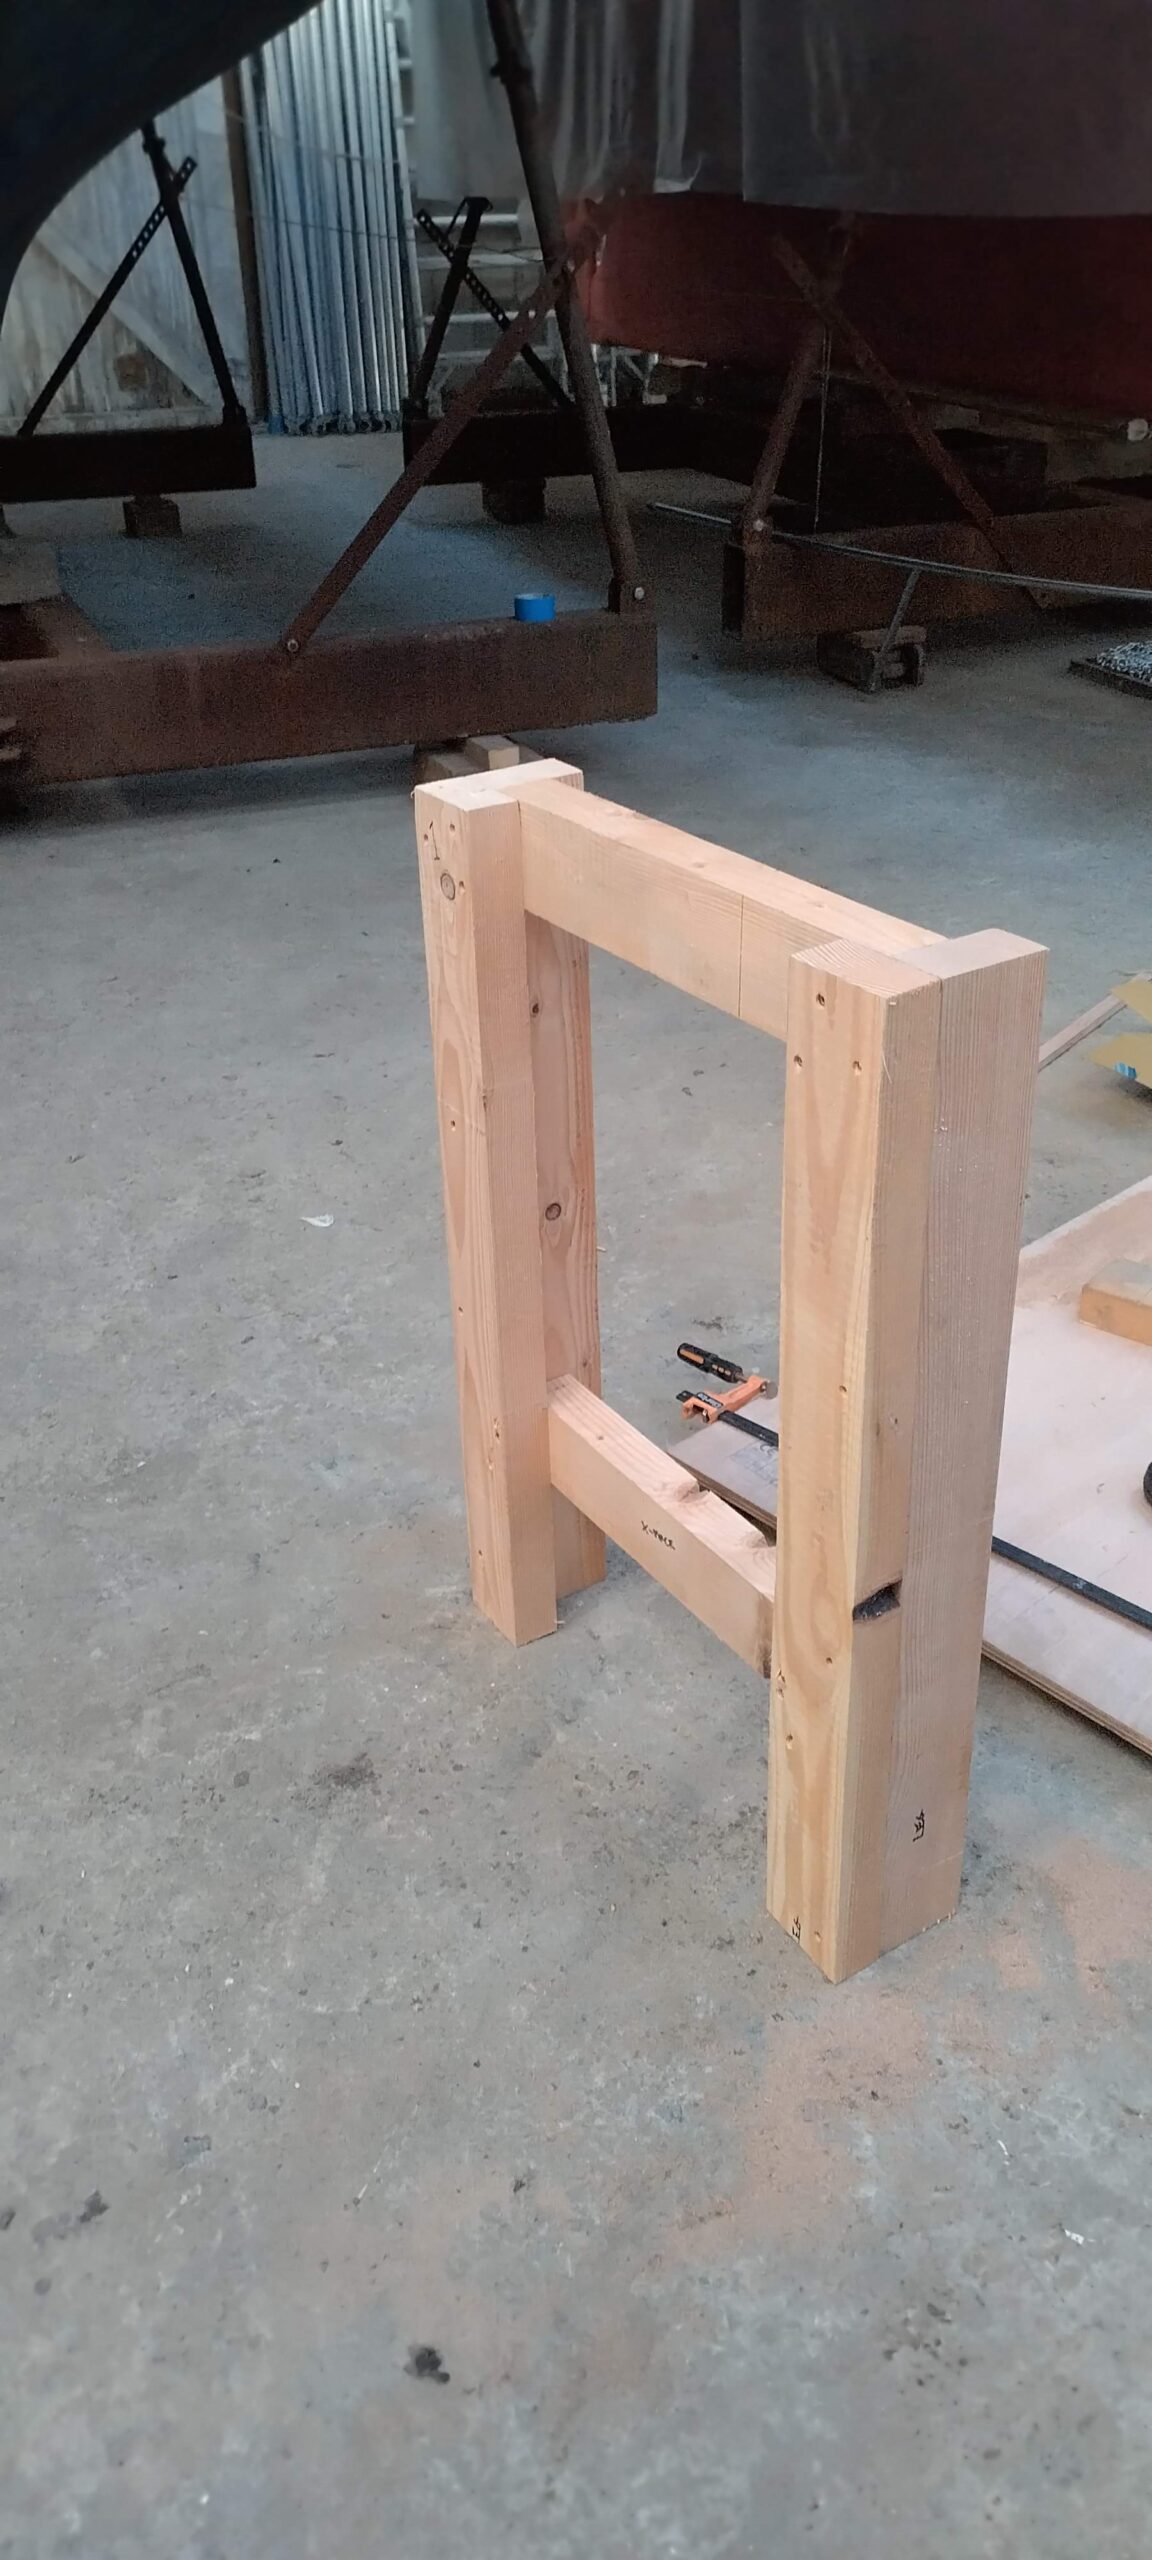
So once I got home again, I had a settee frame ready for topcoat, and whilst the paint dried during the couple of days before Christmas, I took on a wee side project I had been planning. I had been having workbench problems: the steel-framed bench I have in the corner of the shed just by the ladder up to the boat was sold with 6mm MDF for the top and shelf. This stuff is flimsy, and despite the reinforcement I gave them, they were not really up to the loads they were taking – on the top I have a bench sander and the pillar drill, plus I use it as a dump for anything and everything! The lower shelf is where I stow all my power tools, and this shelf had bent out of all recognition and was threatening to collapse. Additionally, adjacent to the bow of the boat, and next to my pile of ply sheets and timber under the boat, there used to be a big power sliding mitre saw; whilst I never used the saw (too scary), I often used the bench as it was a big, flat surface I could use for working with ply panels, as well as using as a painting and laminating bench. The saw having died, Dave decided to remove it, so I was left without a very useful work surface. So, part one of the side project was to cut a new top and shelf for the steel bench, and I had taken delivery of some cheap, non-marine ply for this job, which would take up half the sheet. Part two was to build a new bench out of some handy offcuts of douglas fir left over from the mast build and the other half of the sheet of ply. Over the two days before Christmas I achieved both of these and am very pleased with the results. The new bench is very heftily built, and may prove interesting to move when I finish the boat, but will equally will prove very useful in the meantime!
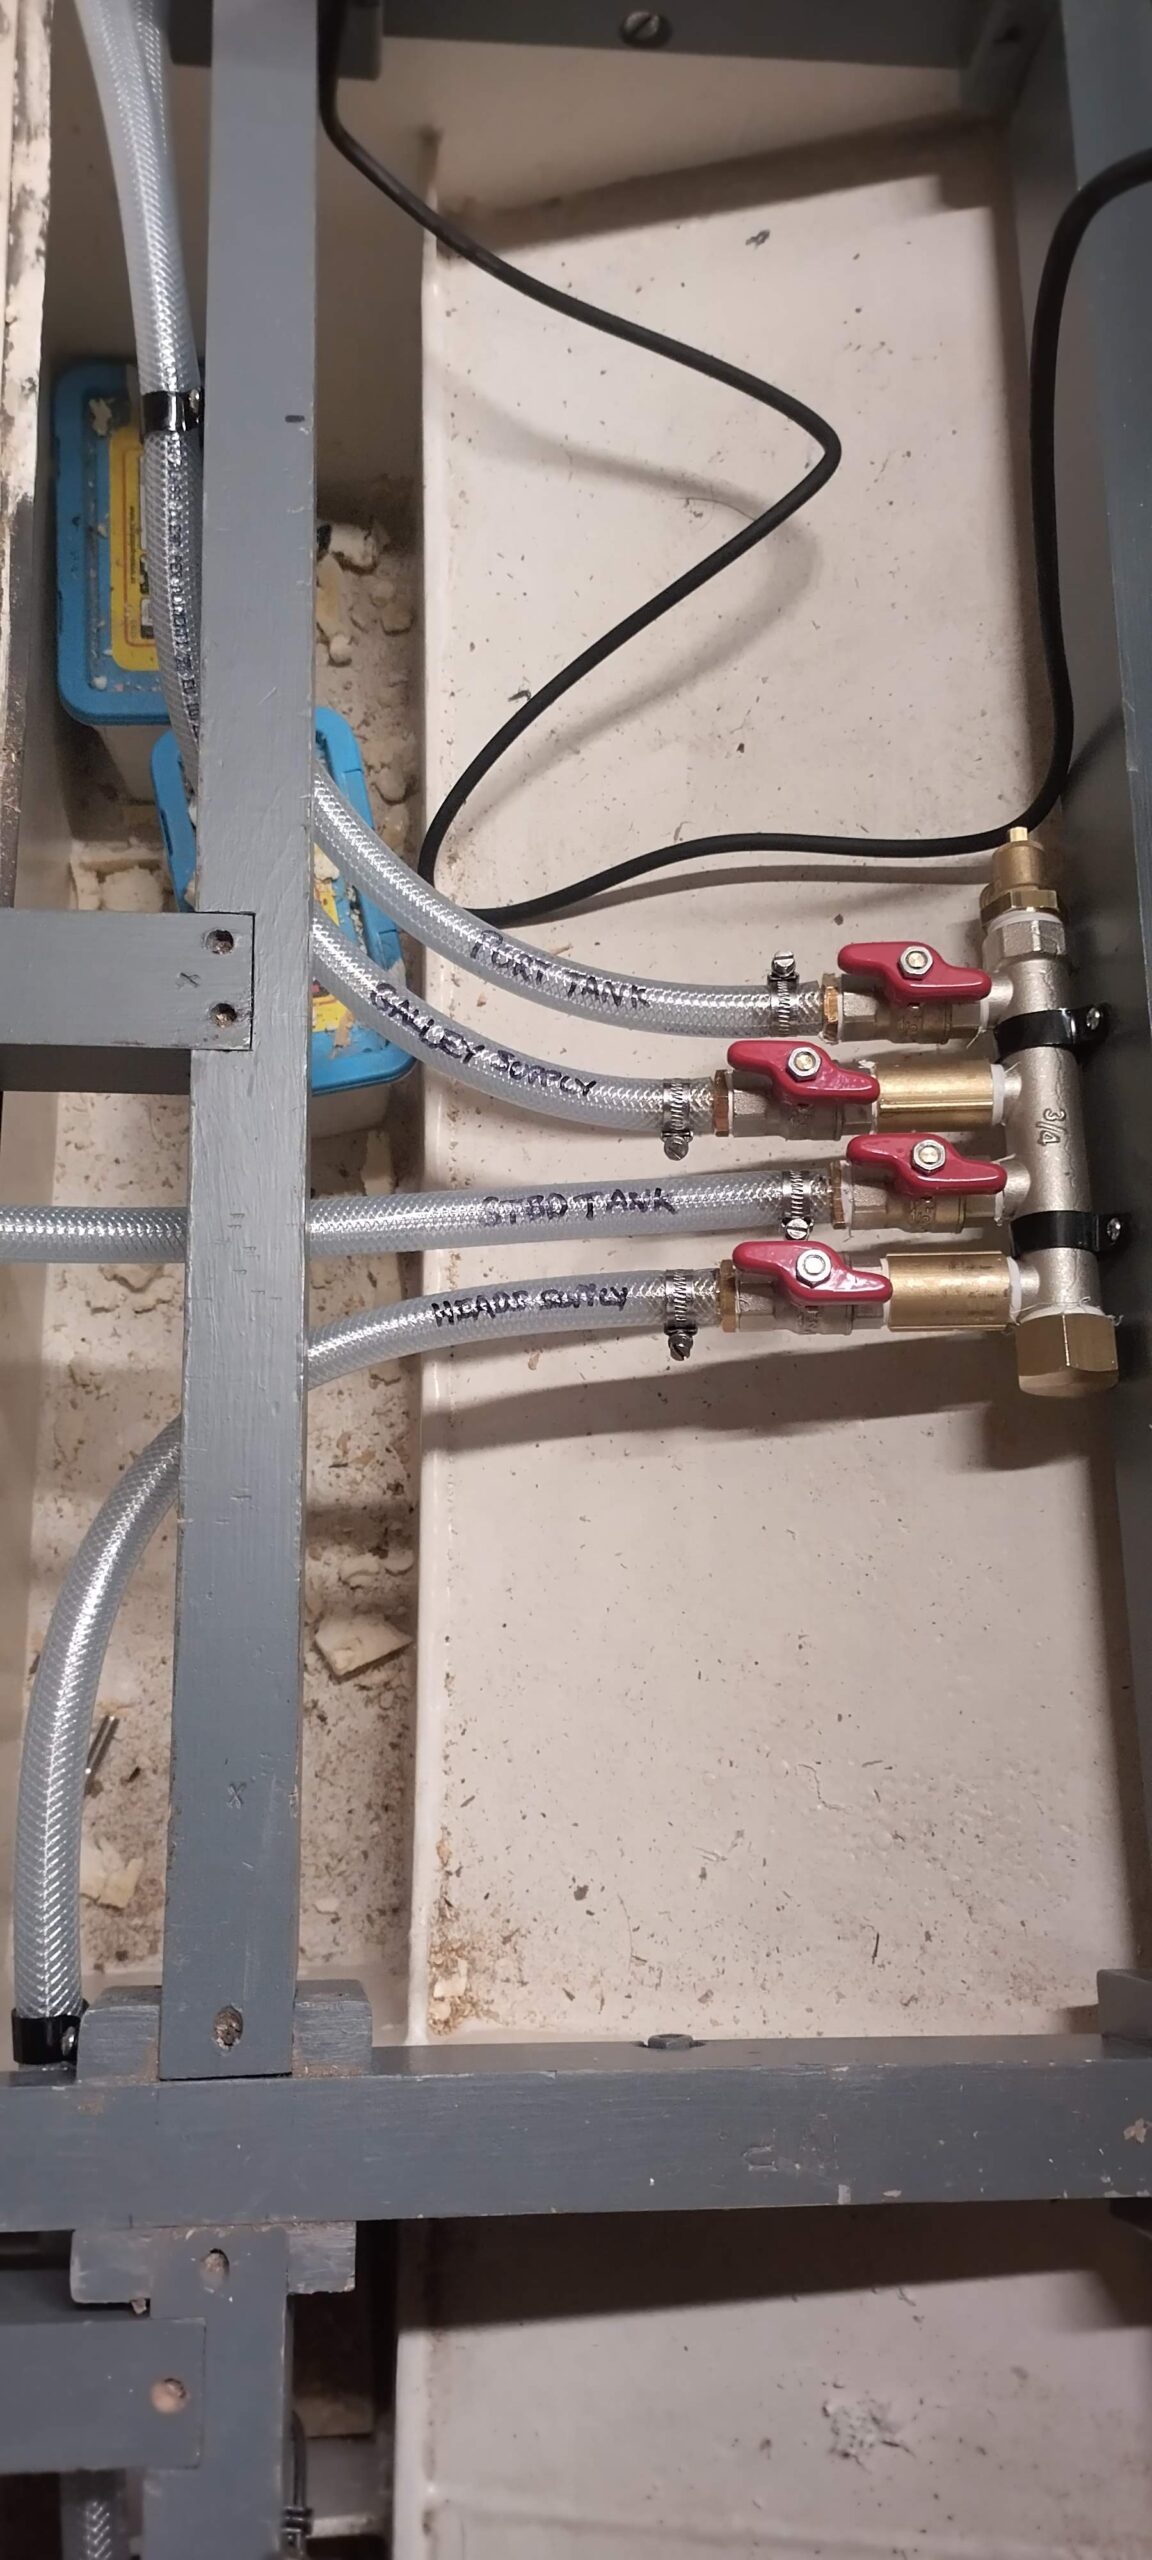
On Boxing Day I was able to assemble the framework around the water tank, and it all screwed together nicely with no snags. Before I did this I remembered to insert the various fittings into the tank, and attached the relevant hoses once it was clamped in place. This led me to my next mini-project, which was building and plumbing in a manifold for the fresh water system, with the supplies from both tanks to feed the heads and galley pumps, all with individual valves (important for being able to switch between tanks) and a drain valve so the tanks can be drained off into the bilge and then pumped over the side. First I had to decide where exactly to locate the manifold: it would be under the sole somewhere, with good leads for the four hoses, and not too hard to access. I had thought of I scratched my head slightly over this, but I went away whilst I awaited all the parts I needed and came back to it, took one look at where the hoses were lying, and it was obvious where the manifold had to go. Once this was decided, I assembled all the parts, and decided it would be wise to pressure test it on one of the yard’s hoses before committing it to the bilge. It was just as well I did, as a couple of the joints leaked, so I had to part disassemble it, apply more PTFE tape to the offending joints, then reassemble and re-test it, successfully this time. Thereafter it was a fairly quick job to trim and attach the hoses, and secure the manifold itself to one of the sole-bearers. Meanwhile I also fitted the tank gauge sender and ran the cable under the sole across to the space where the chart table (and switch panel) will be on the starboard side.
I also took advantage of the spell of dry (albeit very cold) conditions after Christmas to do a job I’ve been wanting to do for ages: having painted the deck, I was now able finally to caulk the gap between the deck edge and the steel upstand surrounding it – a gap of about 10mm all round. With much tape and much black goo, I got this done in a day, and then the next day tackled the slightly different but similar bead around the edge of the cockpit deck. This should finally allay my fears of any water getting in to the end grain of the ply – supposedly sealed with epoxy, but it’s nice to be sure! As a nice-to-do side project, I also fitted the anchor windlass to its now-painted beds, having first given its own paintwork a touch-up with some Hammerite, as it had largely been neglected under a cover on the damp floor of the shed since the boat had arrived in Kilmelford!
Back to the joinery department, it was time to cut the panel for the port settee base. This followed a very similar process to the starboard side, using two sections of ply, edge-glued with biscuit dowels, then routed with V-grooves (although the fwd and aft ends will be obscured so did not require this treatment: aft, because the settee is L-shaped and so it will form part of a locker; forward because it will be concealed behind whatever heat-protection I apply in way of the diesel stove). Then again I cut an aperture for a locker vent, and also at the aft end a couple of ventilation holes to provide some ventilation to the “L” part of the seat locker, and also provide access to the fresh water supply hose from the tank (a luxury I didn’t consider with the starboard side, where access would have to be from above, or a retro-cut hole). The panel now just requires a second coat of grey topcoat on the surfaces which will be inside lockers, and then it can be fitted.
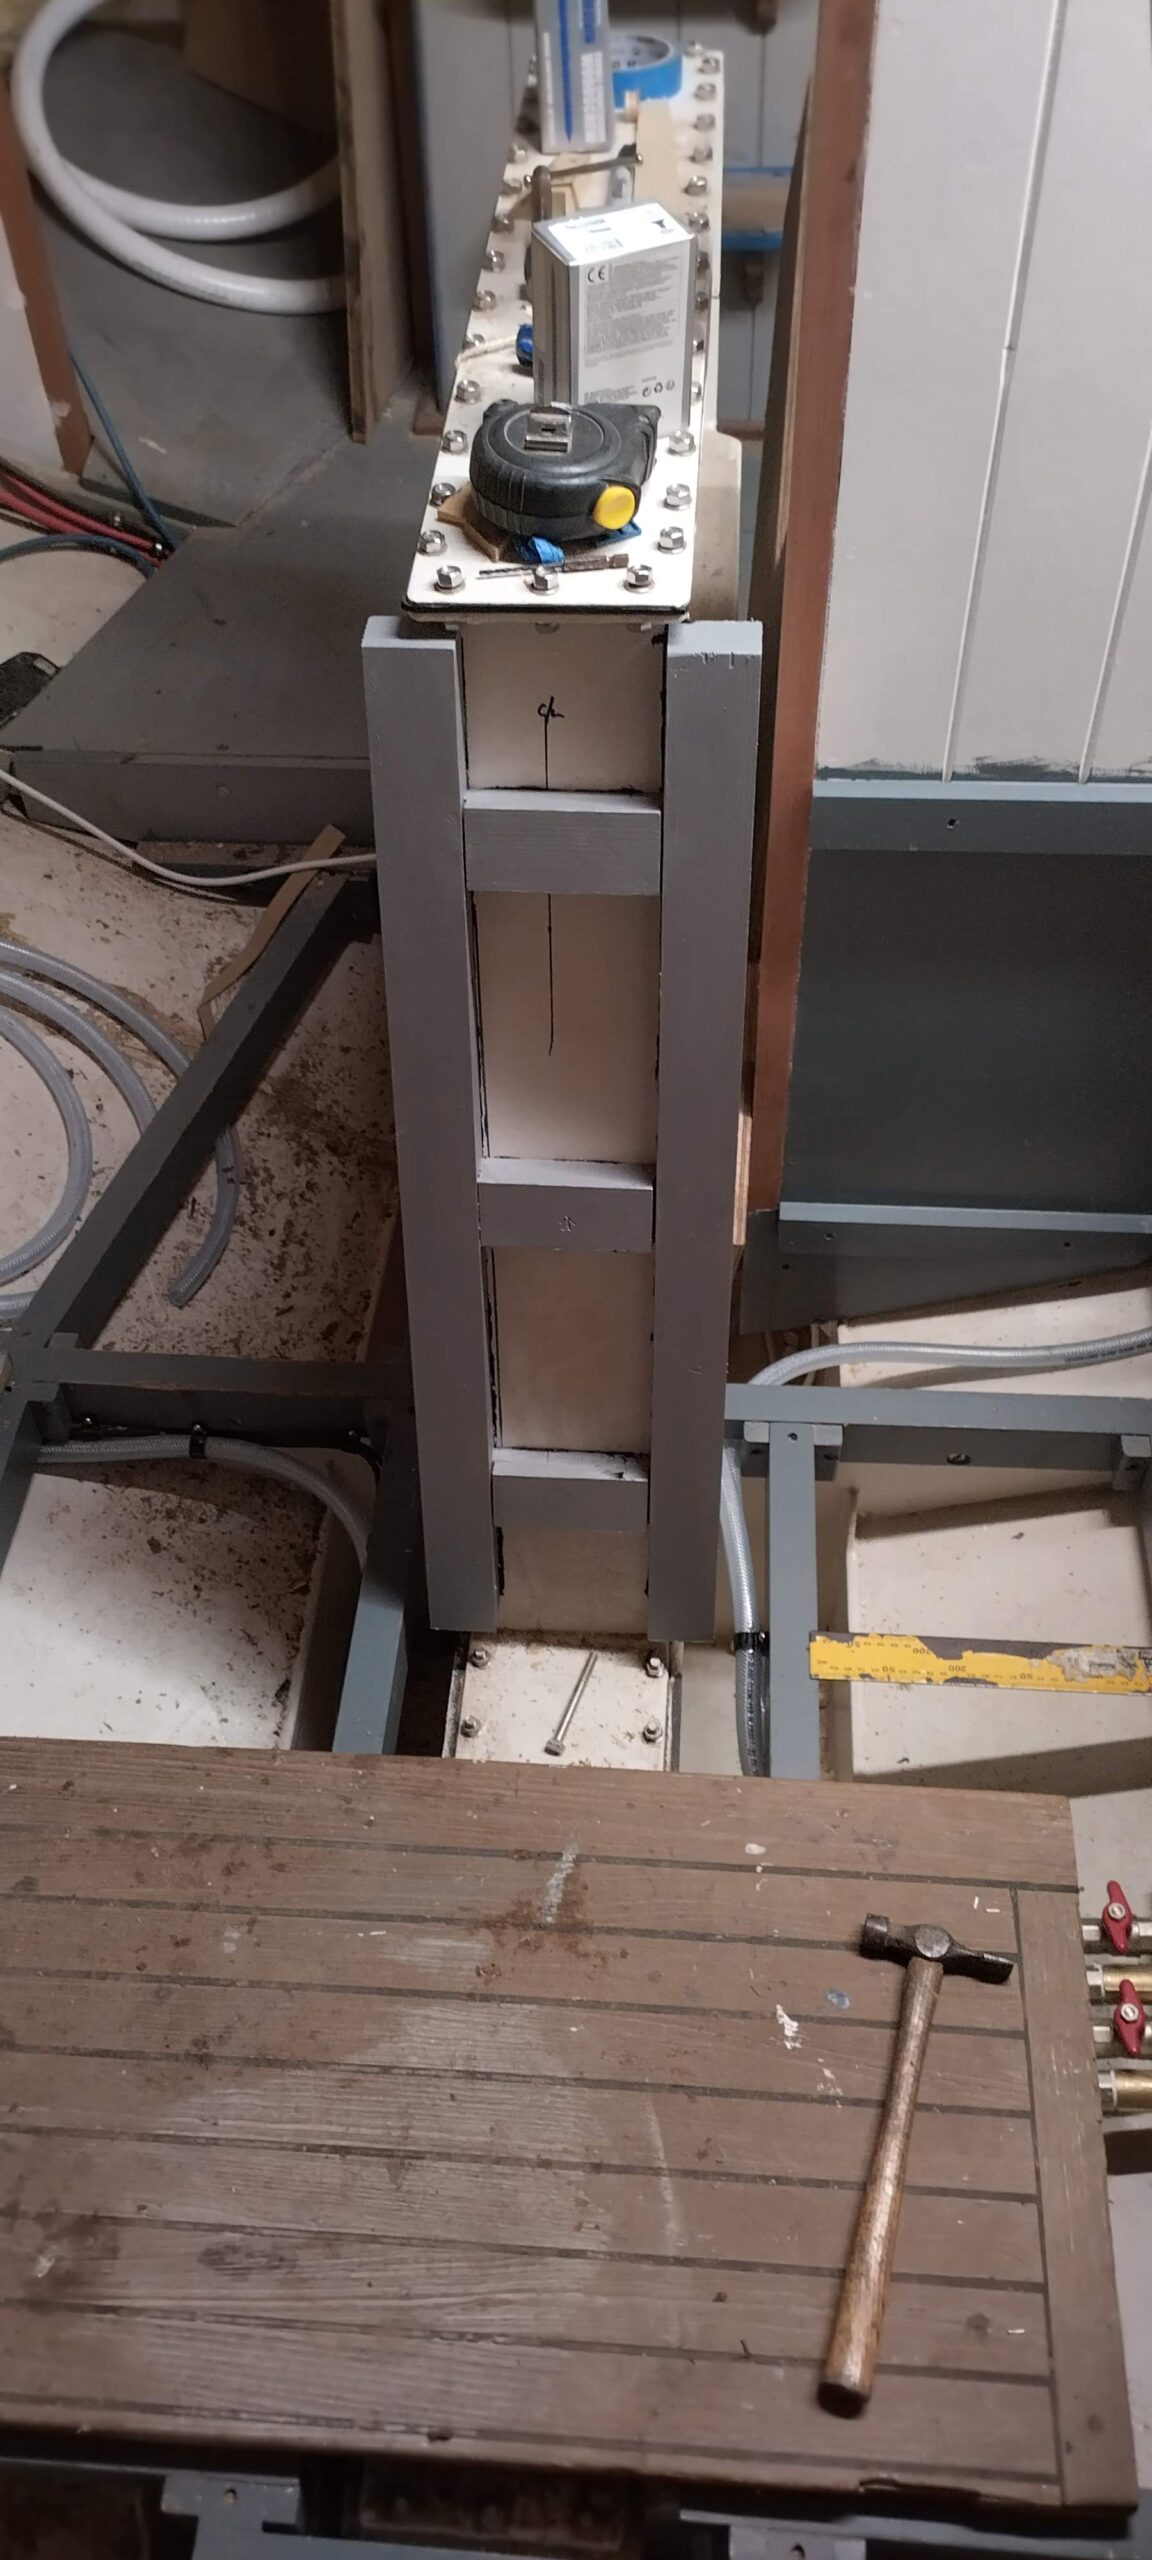
Cutting this panel has led me to consider how to build the “L” part of the seat, and how to incorporate this with the panelling covering the centreboard case; consequently how to approach this panelling itself, whilst ensuring access to the case and allowing the whole case to be lifted out if necessary (involving undoing the many bolts around the bottom flange!). This also requires some initial thought about how the adjacent galley is going to go together and how it relates to the centreboard case as well. As a starting point, my last mini-project was to assemble and fit some framework to the forward and aft ends of the centreboard case, so I can then start on panelling it out. This required some carcassing timber cut to specific dimensions (50mm x 30mm section), which was close to some of the offcuts of Douglas Fir from the mast, so with a bit of judicious trimming with the table saw I set up a couple of ladder frames for each end of the case. As I left the boat this last Saturday, I had just fitted the forward frame and the aft one needs another coat of primer before it too can be fitted.
I’m now looking forward to making more progress with the settees, and the lockerage behind and above their backs, as well as with the centreboard case panelling, and probably soon cutting the final sole boards for the saloon! This is all to come in my next exciting instalment, as well as possibly some exciting news on the job front. Until then, enjoy the snow and freezing temperatures!
I love your blog Chris! I am fascinated by the project, and am moved to write this comment because I want to say how much I appreciate your down-to-earth writing style and lack of unnecessary nautical jargon, which enables a landlubber like myself to understand what you are accomplishing and to enjoy following your progress. How I wish I could have an opportunity to sail under your command once again!
Thank you Howard, glad you enjoy them! I miss the JST days too, and all the fantastic folks we sailed with.
Thanks for the update Chris. I always find them interesting, although how you manage to write them up so comprehensively, is beyond me. 😃😃😃
You’re welcome as always Colin! It is sometimes a battle remembering what got done when – I use the date tags on my photos as an aide-memoire when I’m really stuck!