Bits, Bobs and a Lid on the Doghouse
Since I last wrote, I have done a grand tour (or so it feels) of the drydocks of Scotland. I am currently back on KoL, still in Greenock awaiting parts before she can go back to sea. My last 6-week stint entailed 3 weeks on here in Garvel dry dock, staying in the sumptuous surroundings of the Greenock Premier Inn (other shite hotels are available), and just when I thought I’d be returning to some kind of normality in Kyle when I went back to SD Warden, I discovered that her bowthruster had thrown its hand in, and after a few days of uncertainty, we found ourselves making a bumpy passage round to Aberdeen for… a drydocking. We did manage to fix the thruster and get her back in the water just before I paid off on leave, so at least there were some positive results there. Now I’m back here in an immobile vessel, and currently on my own, fighting with new IT systems and generally having a crap time.
Anyway, back to the fun things in life, and my apologies that I haven’t taken many photos of the work described below! After returning from Warden (still in Aberdeen when I left her), it took a while for me to rev up to full speed on boat work – possibly something to do with having spent the best part of the previous 6 weeks in shipyards! However, I made a gradual start by finishing the new mast to a reasonable standard prior to stowing it away for the winter, as the haul-out season was rapidly approaching and the shed would soon start filling back up with other boats. When I left it, I had applied the glassfibre to the mast but had as yet not sanded it, so this was the first, fairly gargantuan job. It was very rough, with some quite built-up areas where the sheets of glass had overlapped. Out came the belt sander, and I got going smoothing off the roughness and fat bits. Of course, this being glass, the dust was quite obnoxious, and after sanding for a few hours, I was covered in it, and despite precautions, it had made its way up my sleeves and onto my baldish pate and caused quite some irritation for the next few hours. This was the worst done however, and after a quick going over with the random orbital sander, and doing a thorough clean-up, it was ready for another layer of resin.
I returned to the mast the next day, hoping to sand it again and get another layer of resin onto it, but after washing it down, as it normally necessary, in order to remove the amine which develops on the surface as the resin cures, I started sanding and soon realised that something was not right, with my sandpaper clogging up rapidly with sticky goo. Stupidly, I kept trying to wash it down and then sand again, but it soon became clear that the resin simply hadn’t cured fully yet, so there was nothing I could do but give up and leave it for another day. Why it took so long I’m not sure, but I suspect that the combination of lower air temperatures and my using the slow hardener meant it just wasn’t curing as quickly as normal.
The next day I returned to it and it behaved better under the sander, and so I could rub it down and get another coat of resin on. Once cured, this was sufficient, in my opinion, to keep the mast dry and good over the winter. It still has some unevenness on the surface due to the weave of the glass cloth, so will need some fairing (probably with some fairing compound) to fill the dimples, and another sanding, before I can coat with two-pack paints next year.
The good news was that, having initially failed to get a cable mouse through the conduit I had fitted down the centre void of the mast, due to the friction in that length of conduit, and a flexible nylon draw tape. In order to get this done then, I had to purchase some next-level fibreglass cable rods, and these pushed through far more easily. With these I pulled through a string mouse, so that nearer the time of stepping I can pull through the coaxial cable for the AIS aerial I intend to put at the masthead. Also “to do” over the winter will be to modify the masthead fitting (ready made, cannibalised from the mainmast, which will get an aluminium tube extension with welded masthead fittings) – currently it is an open collar, but I will weld on a steel cap to protect the end grain of the mast, incorporating a lug for fitting an aerial to.
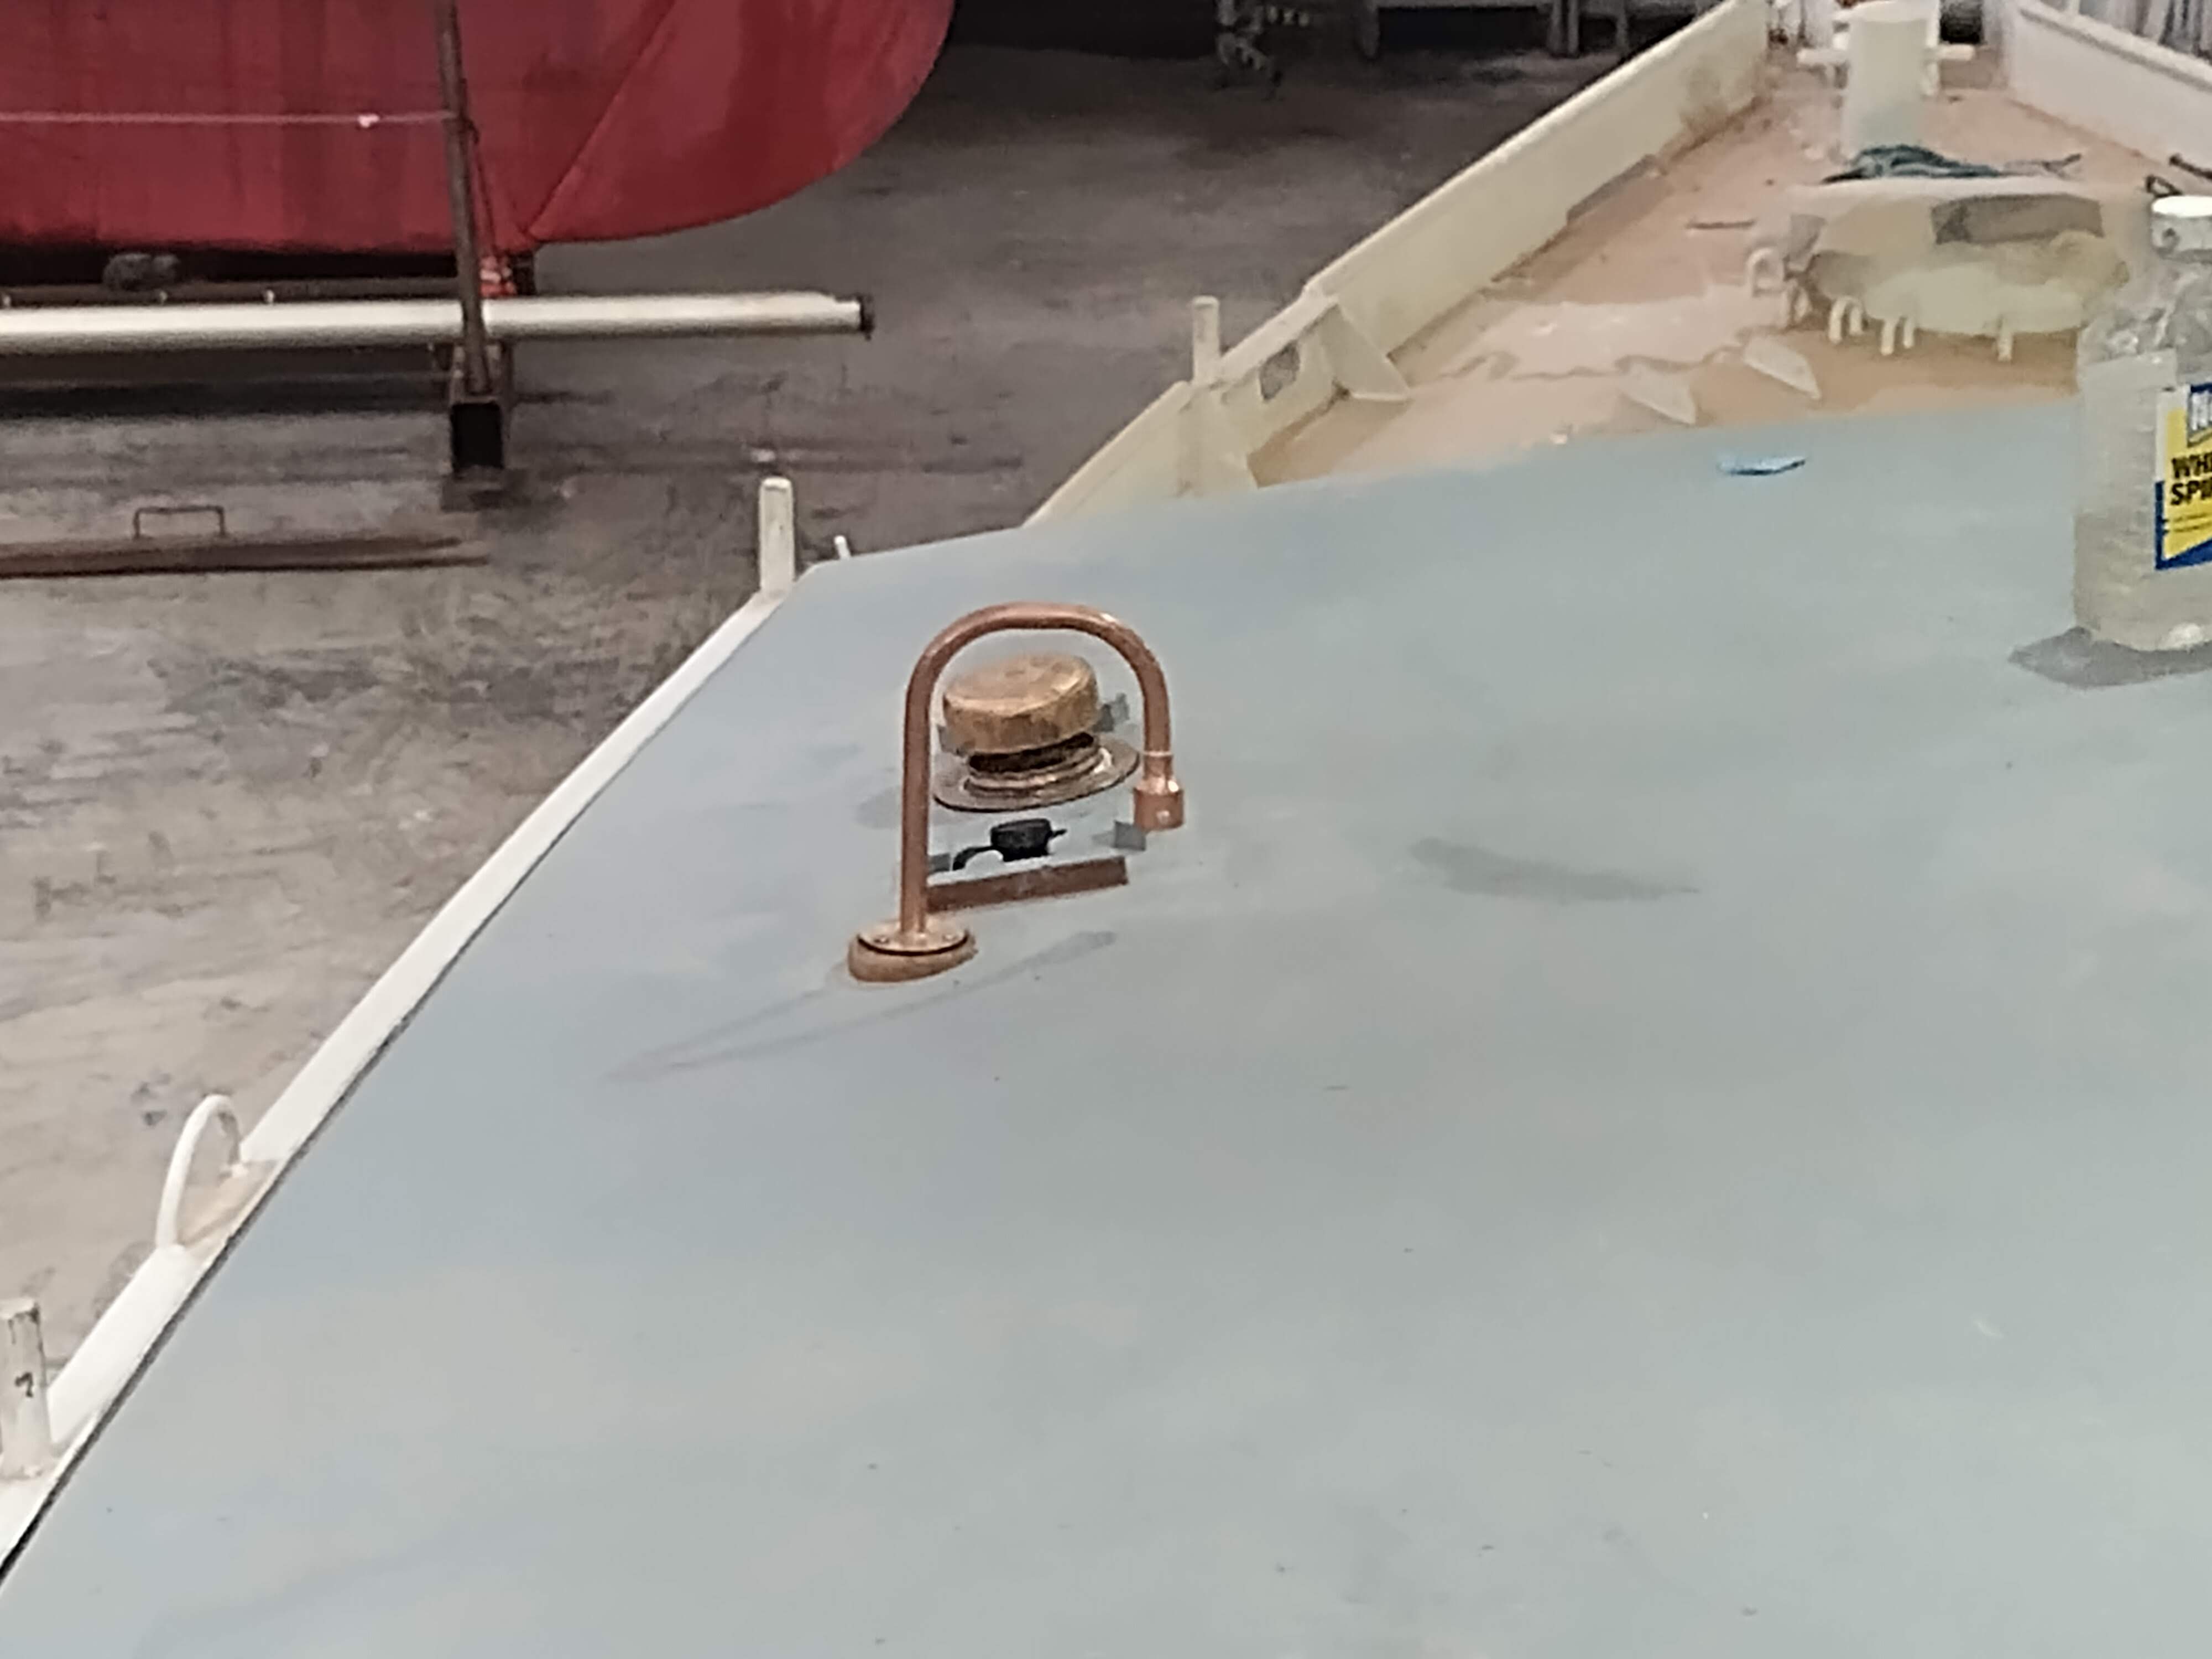
In the intervals between sanding and epoxying, I used the time to fit some of the fittings I had cut the holes for in the main deck – mushroom vents, which I was bored of tripping over and nearly kicking off the boat, the waste tank pump-out deck fitting, and the vent for the waste tank. These were all done with much stickiness as they were bedded in adhesive sealant, and a bit of swearing as I couldn’t, with some of them, reach both sides to hold the screws as I tightened the nuts!
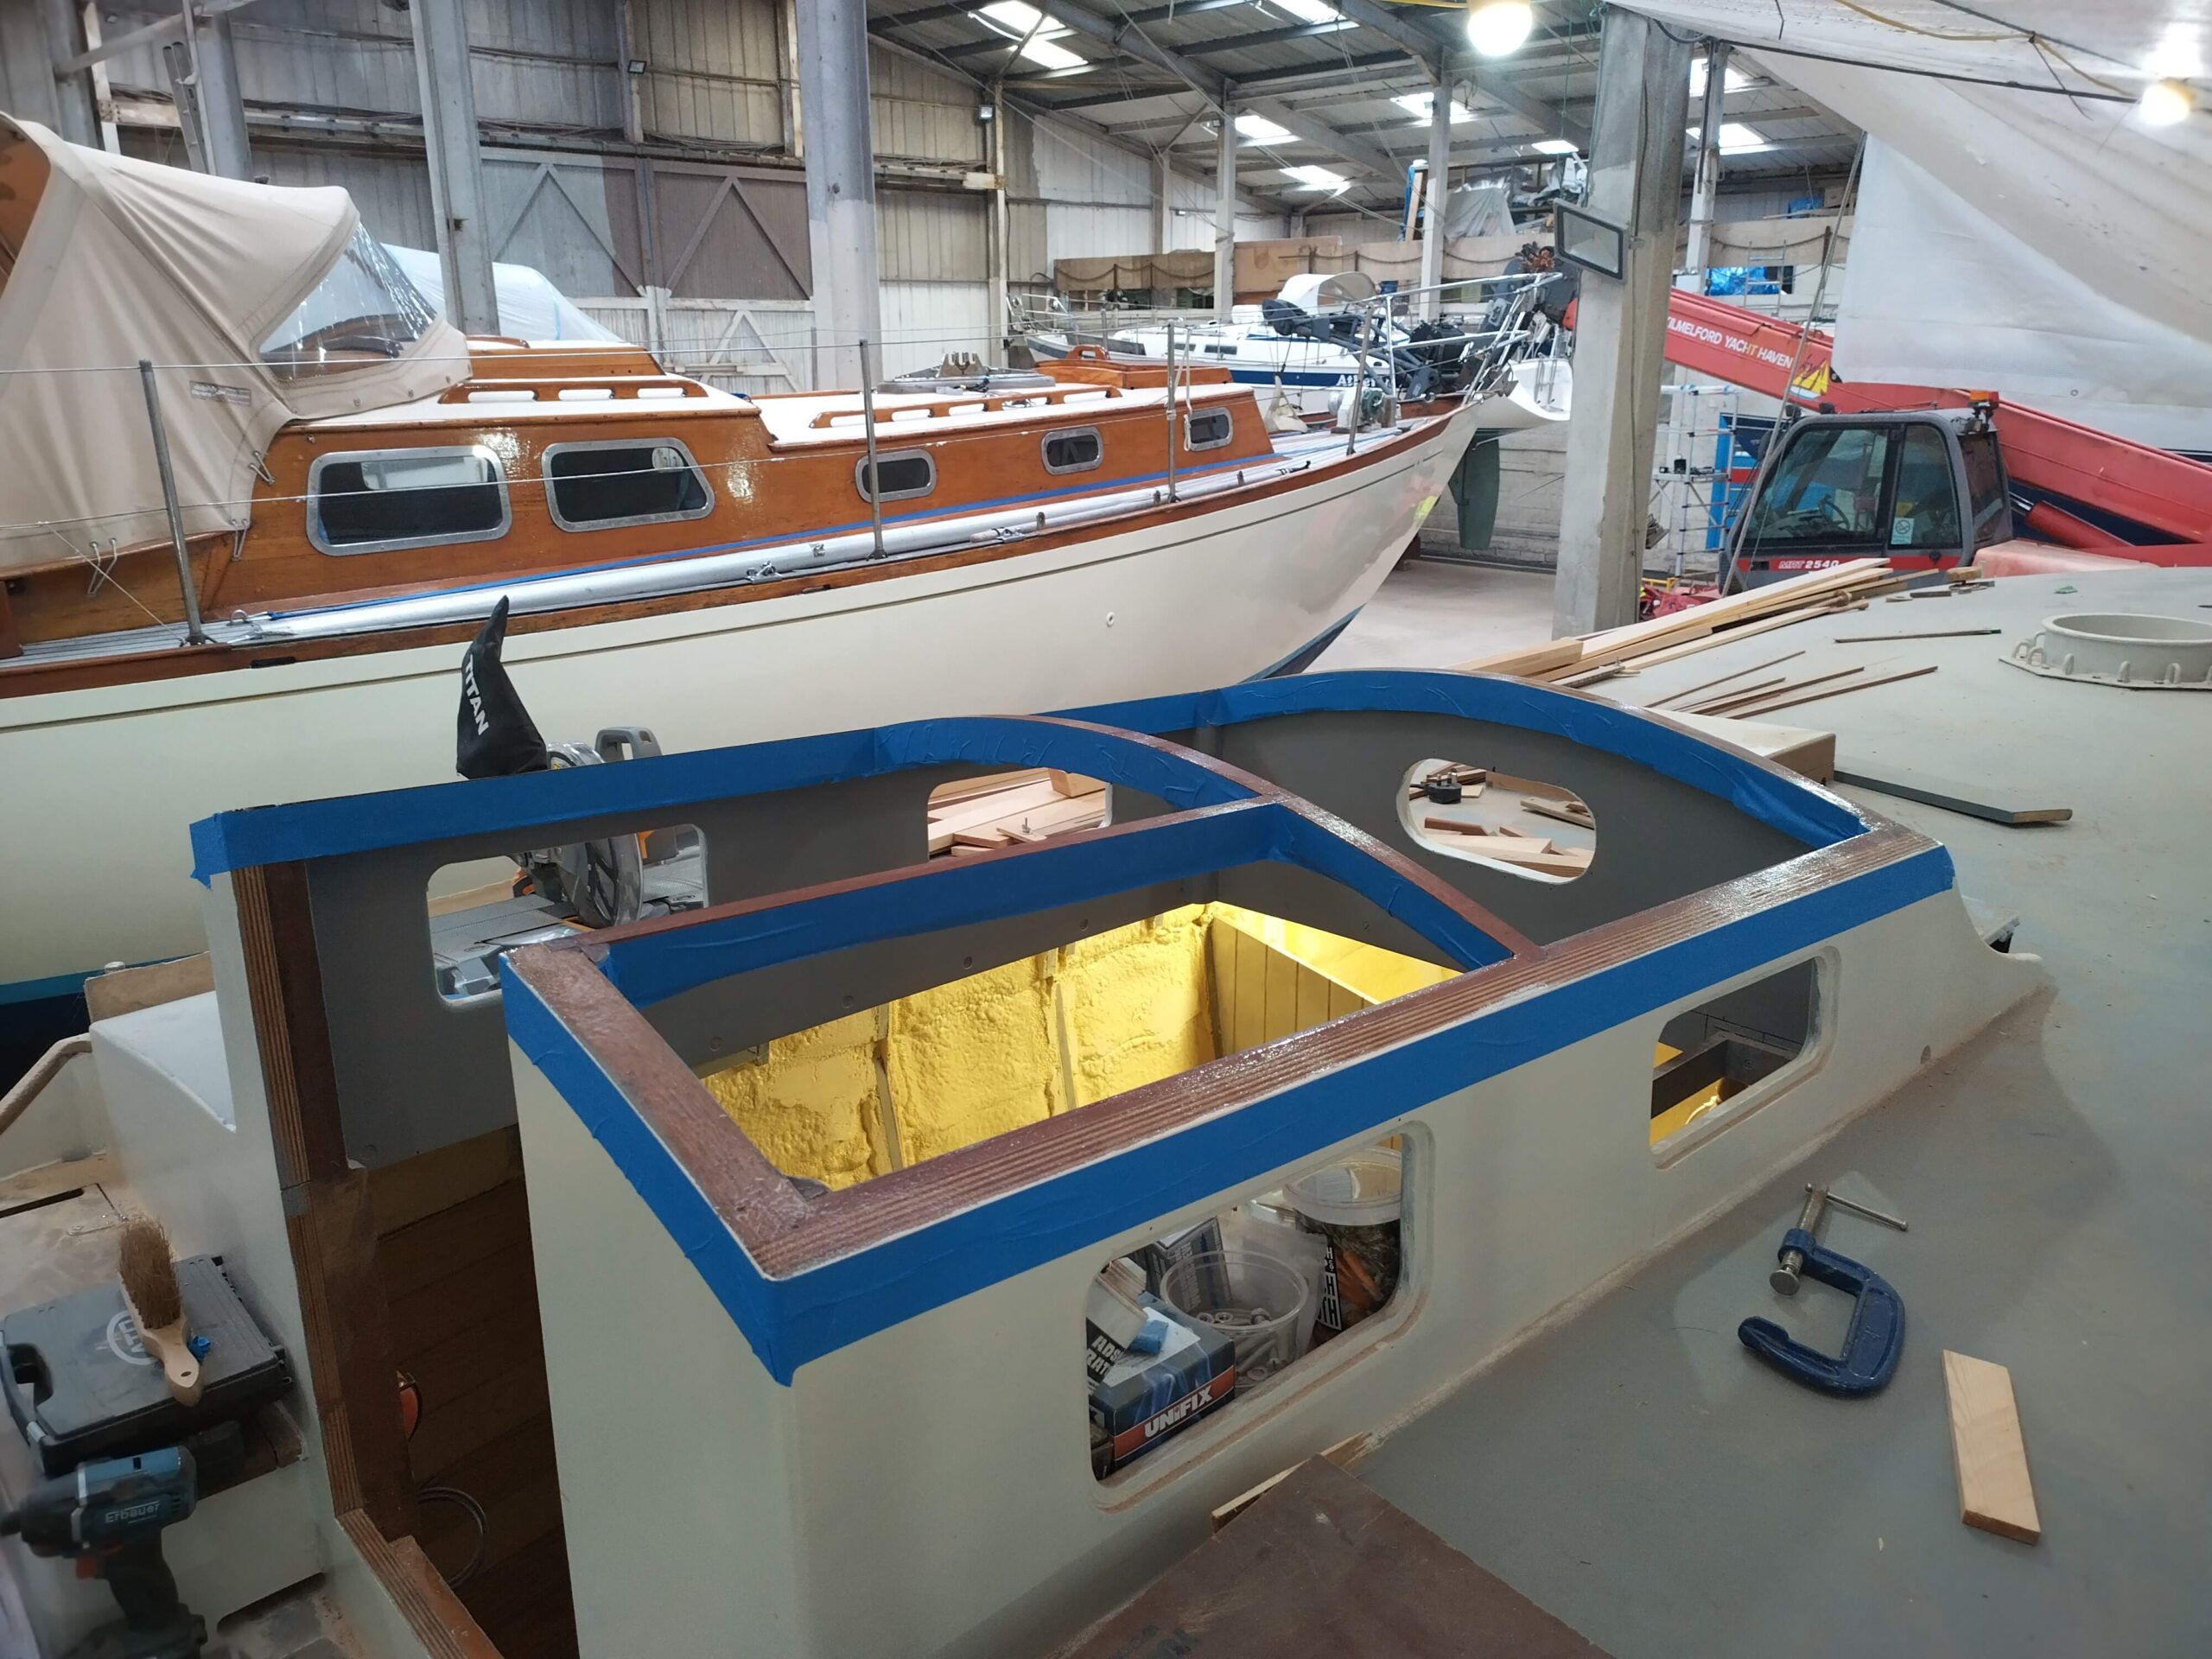
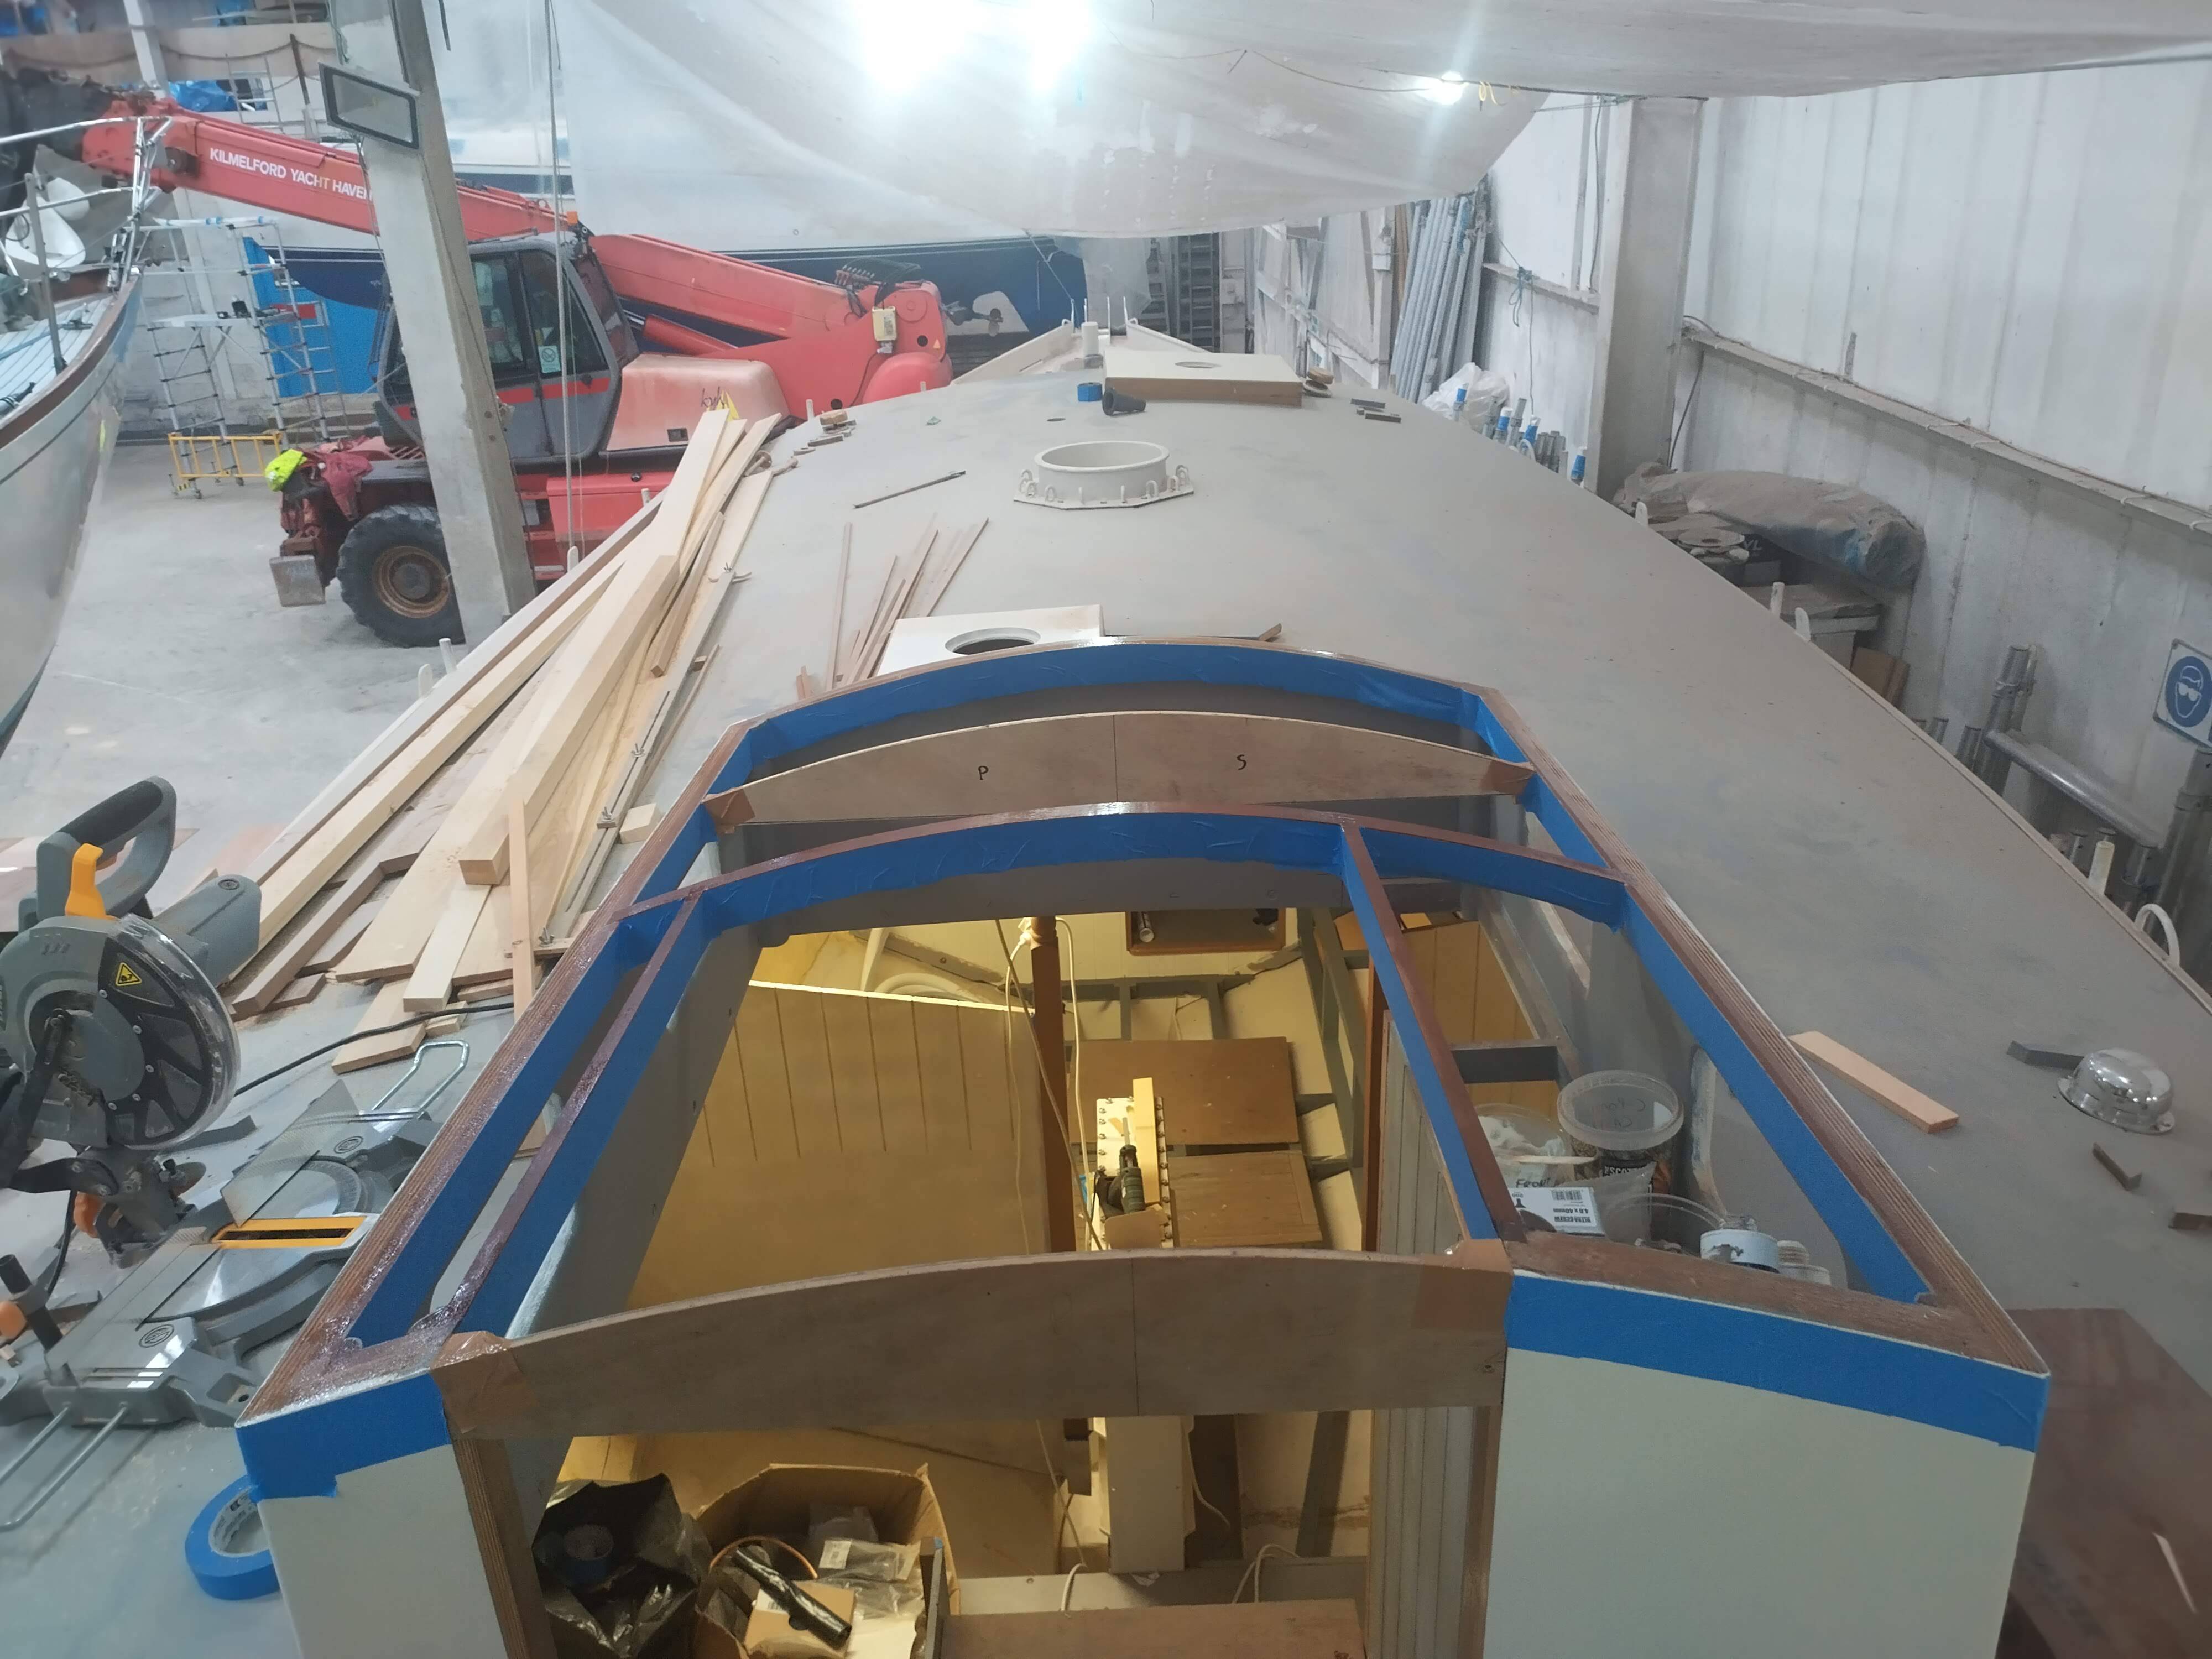
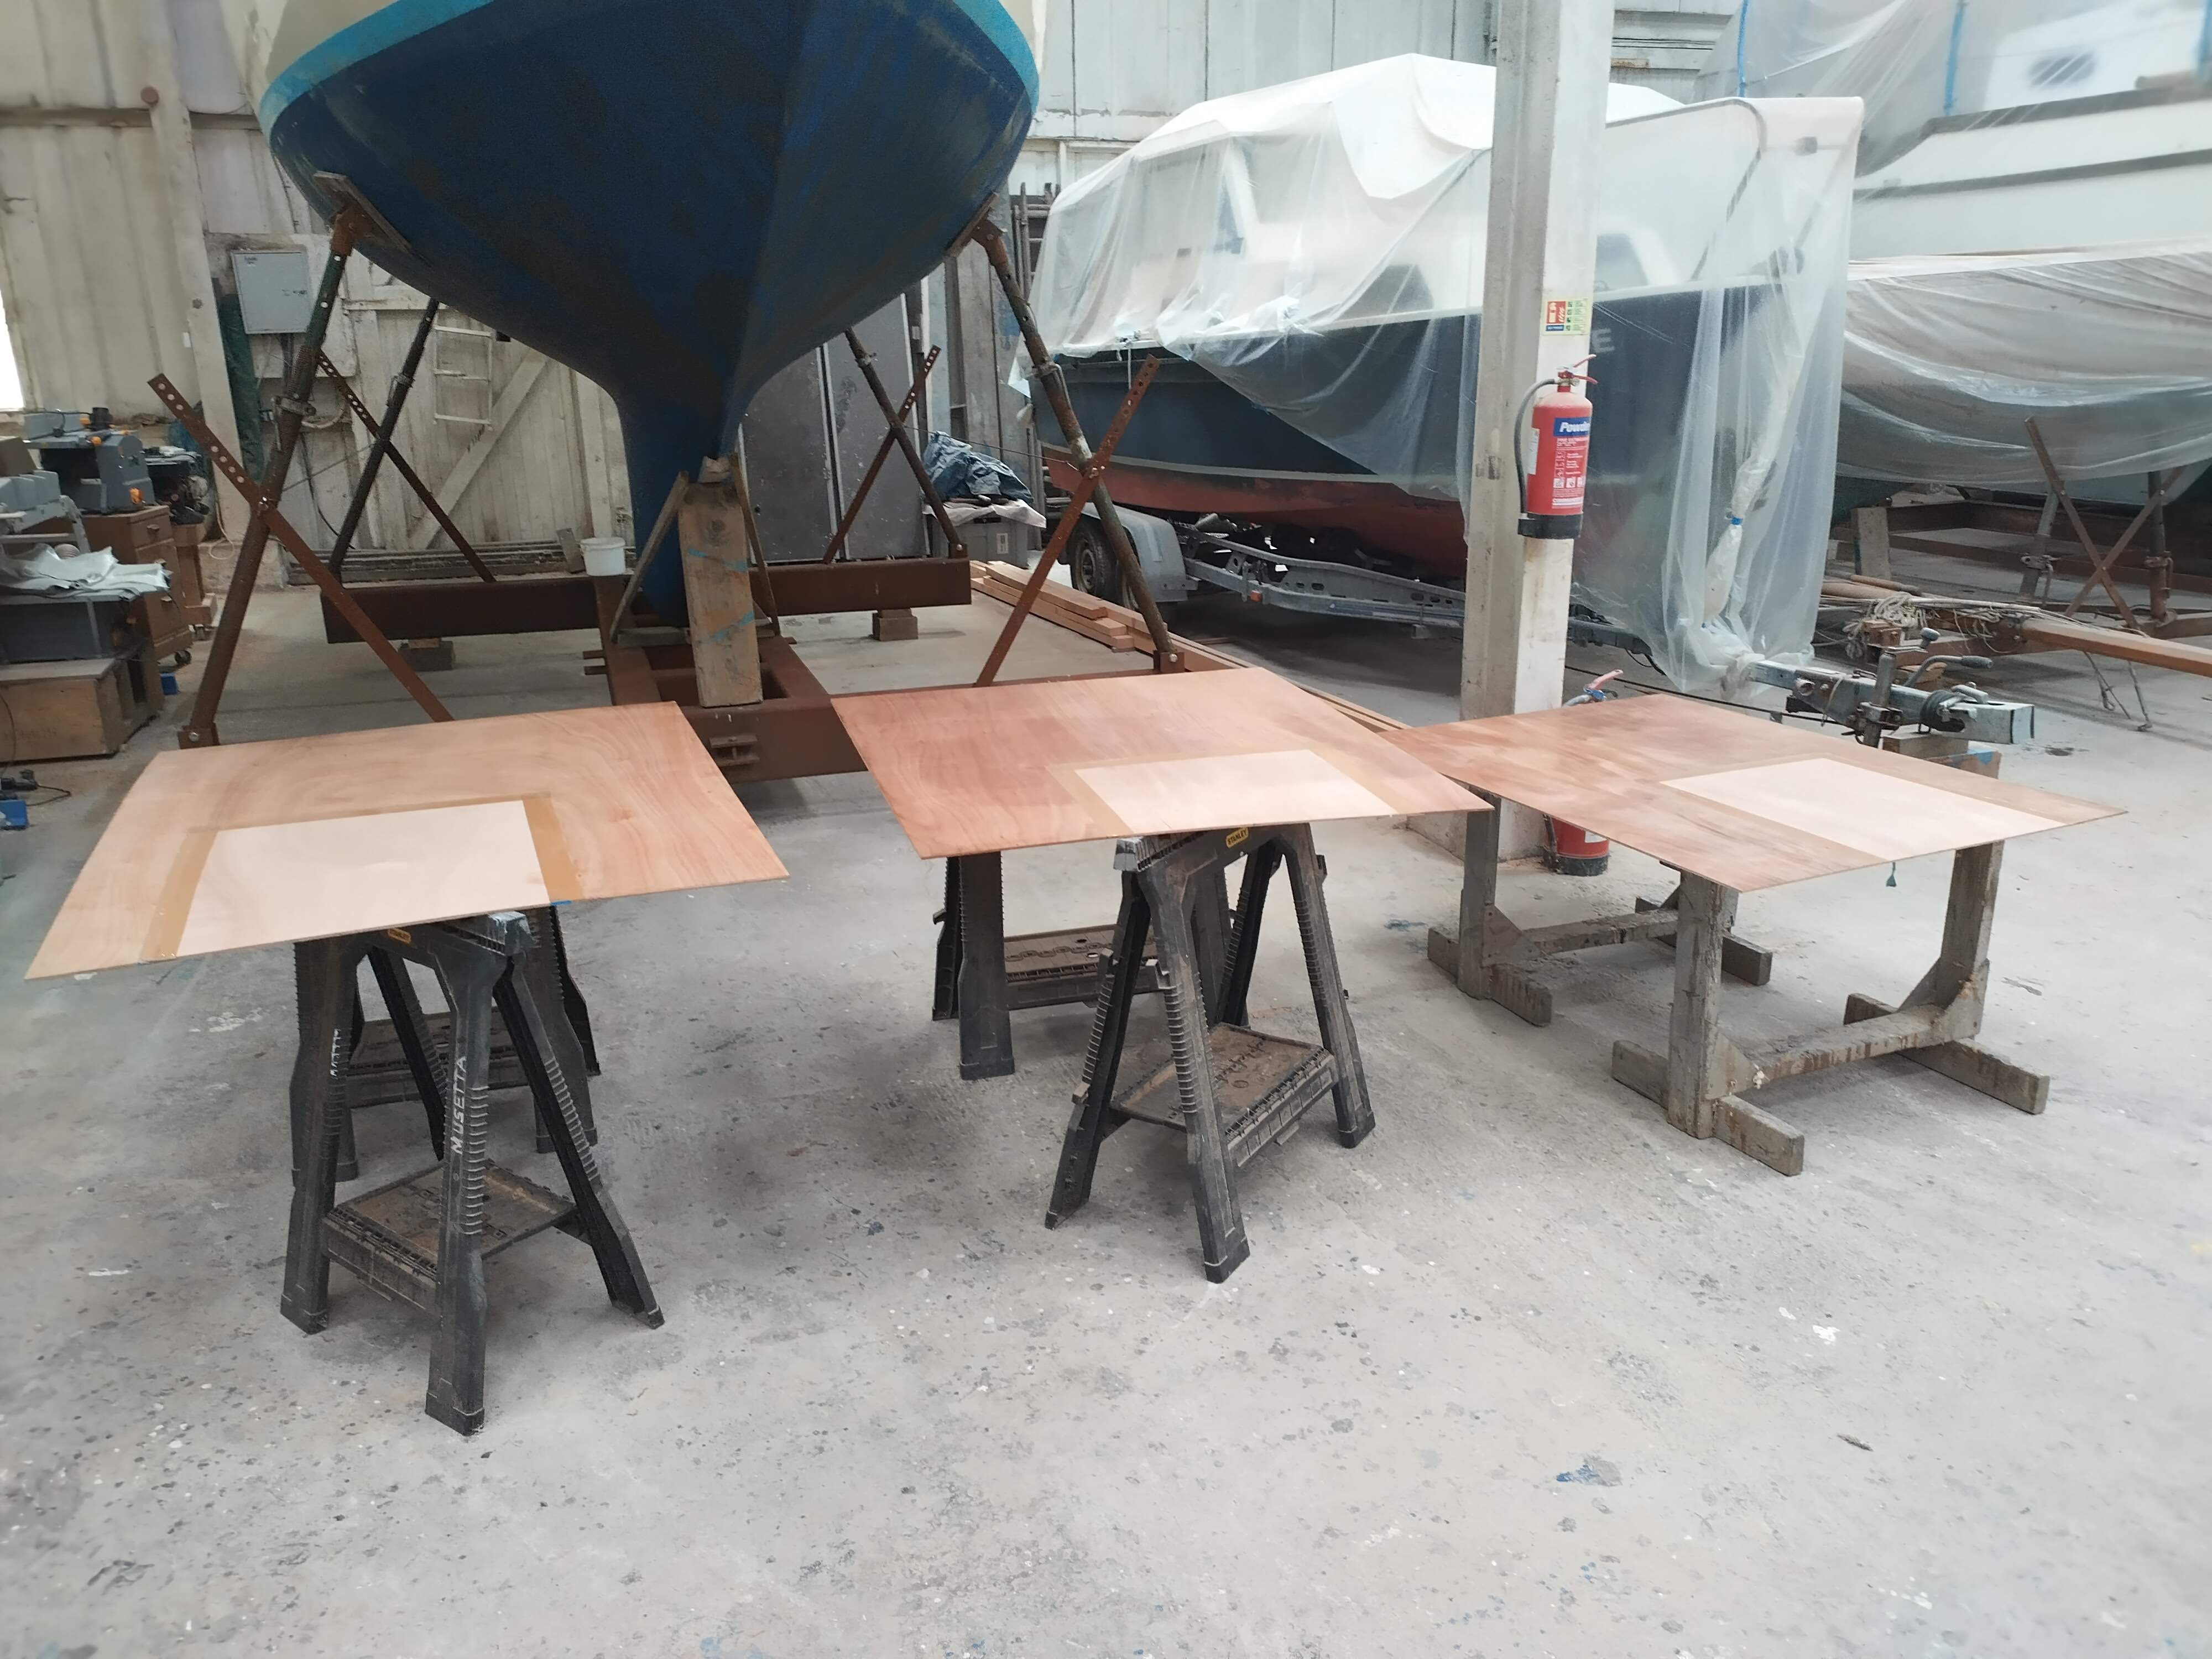
Once the mast was tucked away, the next more major project-ette was to put a roof onto the doghouse. I had left this open up until now, in order to be able to get big items such as bulkheads and water tanks down without having to wriggle through a small hatch aperture. Now most of the bigger stuff is down, and wanting to progress with deck painting an fitting doghouse windows etc., I decided that it was time to put a lid on it. Firstly I had to glue in the framework I had prefabricated quite some time back (and subsequently had to avoid cutting up and using for something else by mistake!). This consisted of one beam, laminated to the considerable camber of the roof, and two carlines to line the sides of the hatch aperture. These I glued in with epoxy for strength. I then fabricated and fitted a couple of temporary moulds to ensure the ply layers took up the camber across its whole surface, rather than risking “hollows”. I cut three laminates of 6mm marine ply to shape, masking off the parts where the hatch would be so the ply wouldn’t be wasted when cut out by being stuck together unnecessarily. These received a “primer” layer of raw resin before being laid up simultaneously with thickened epoxy, clamped roughly then screwed down to the beams and carlines.
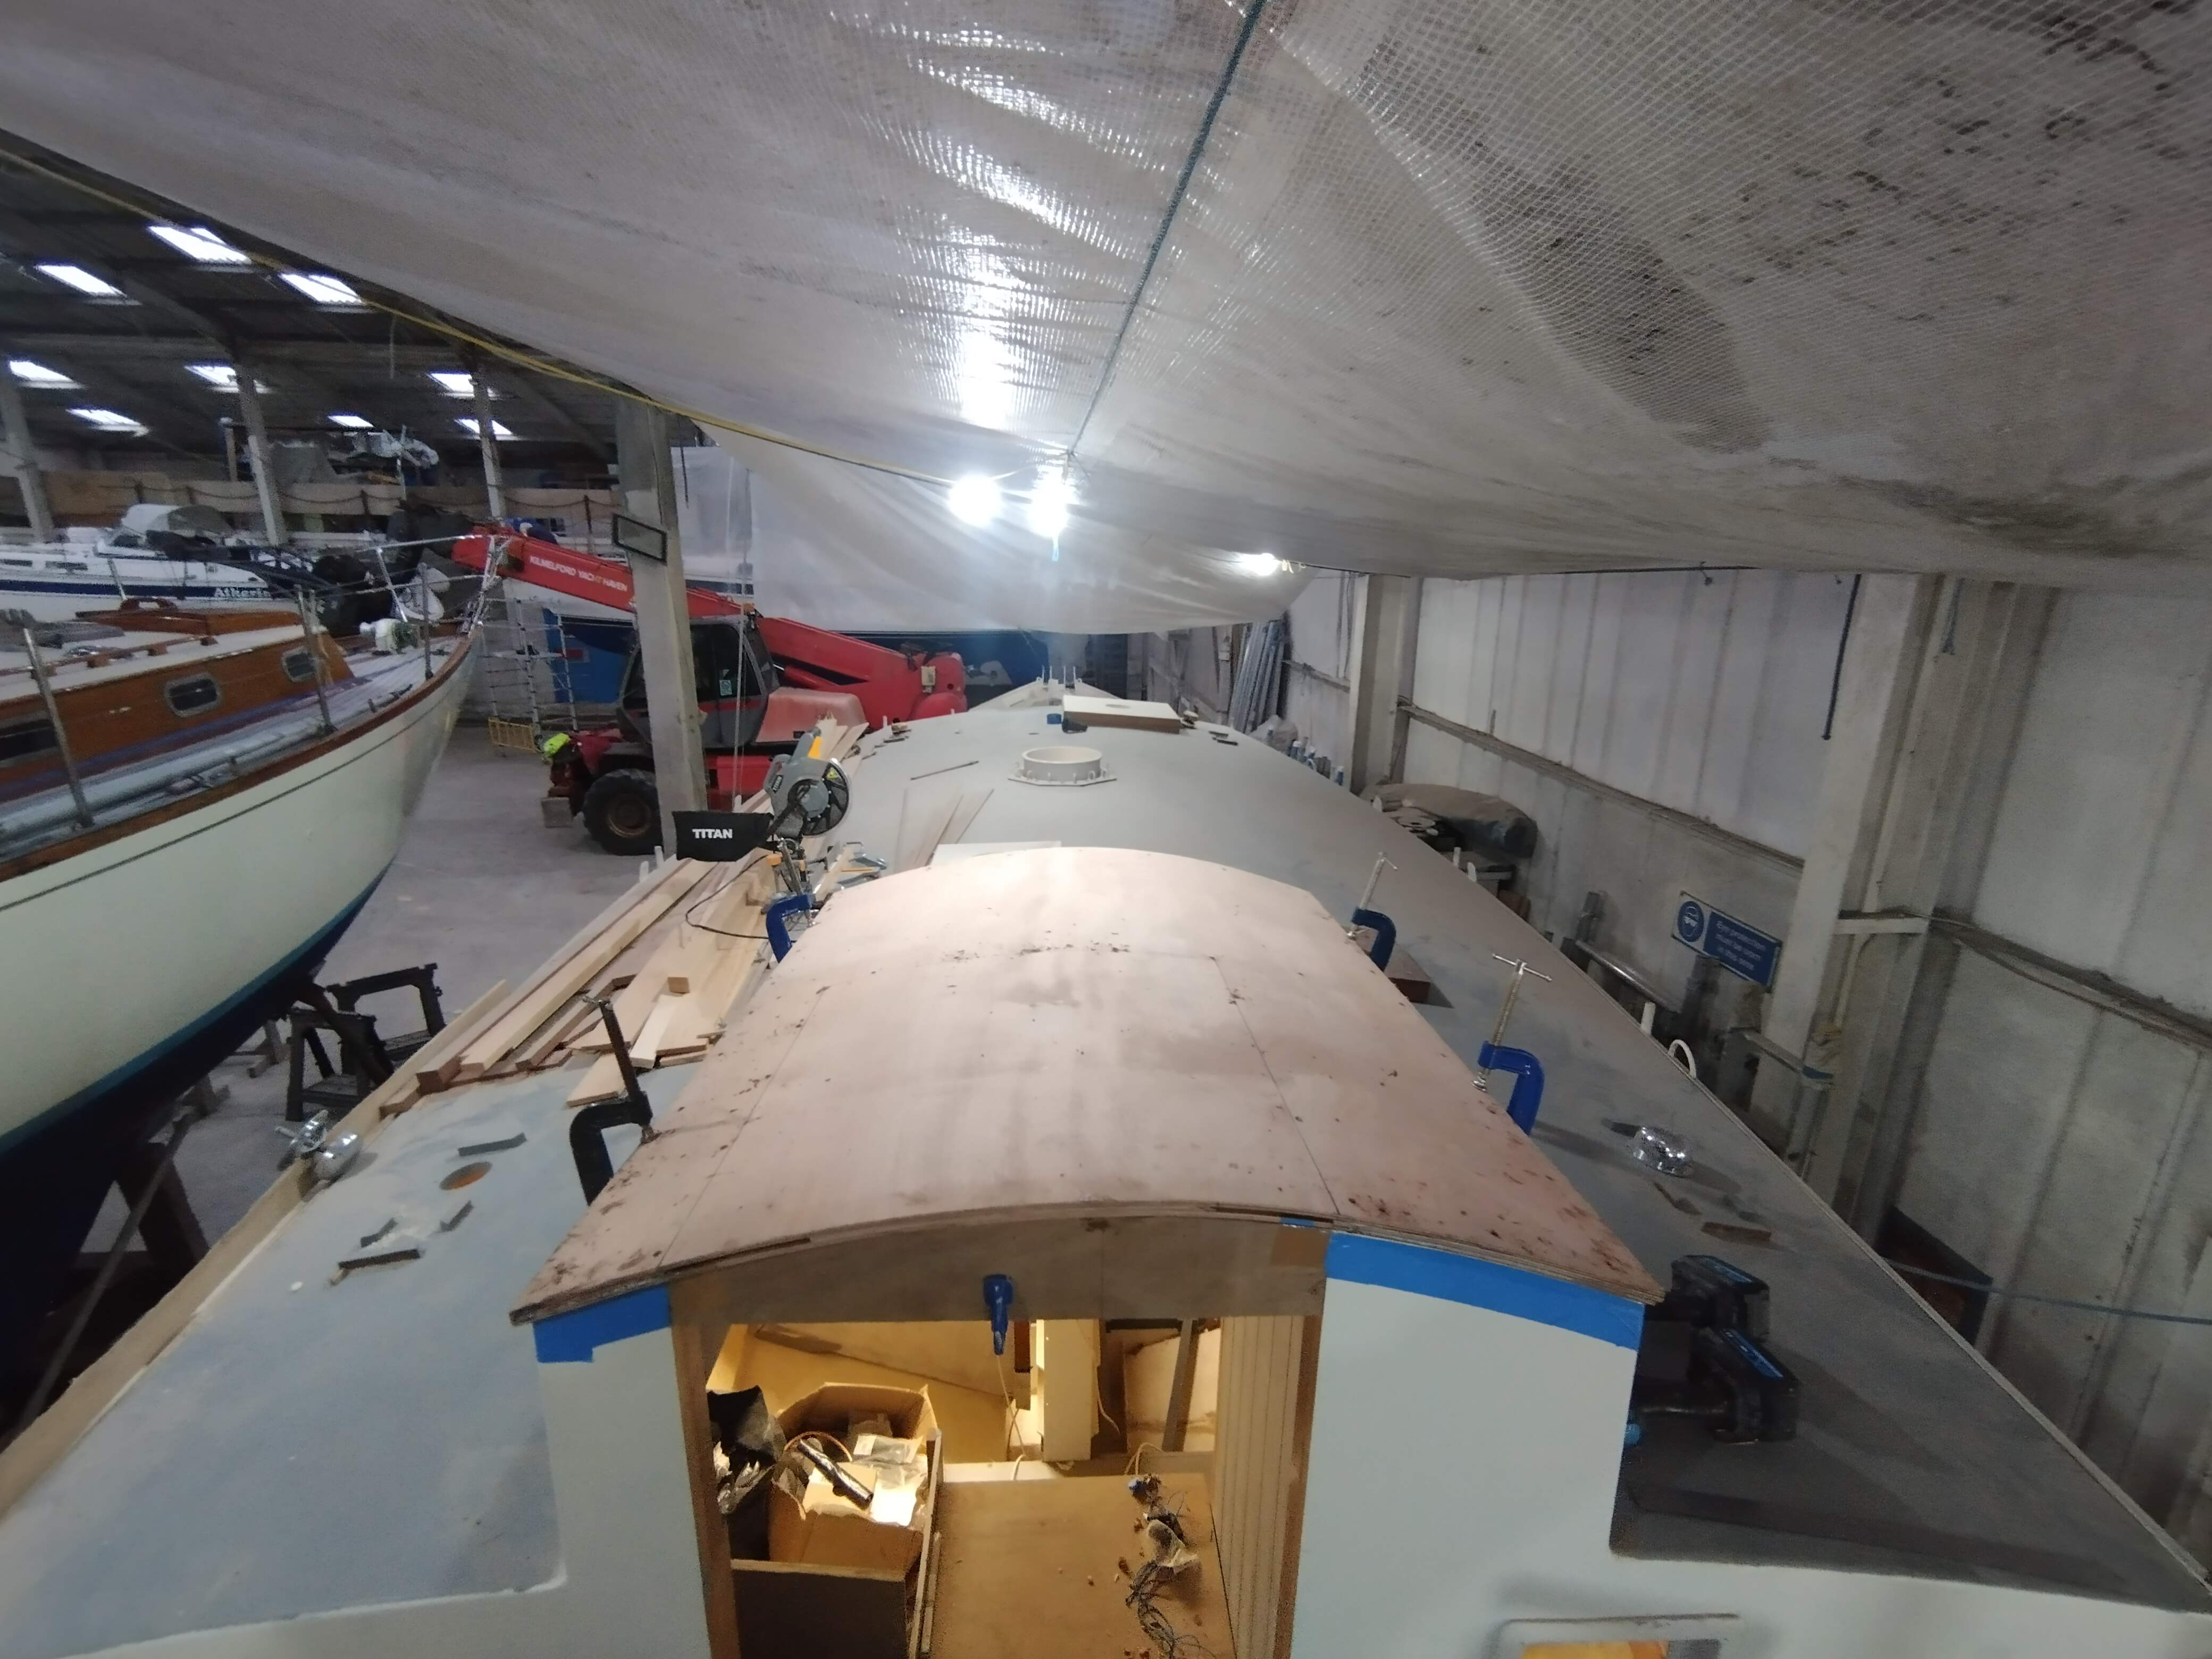
After the epoxy had cured, I could remove any remaining clamps and then set about trimming the edges (the sheets were purposely cut oversize) and cutting out the hatch. The edges then had to be planed flush with the four faces of the doghouse, and the corners rounded for appearance and to make glassing over the edges possible. The screw holes also of course had to be filled, and I used the same filler mix to put a fillet round all the internal joints on the underside, for strength and appearance.
Next came the layer of glassfibre to strengthen and protect the ply – this was one layer of 450gsm woven roving. Again, a “primer” layer of resin came first, then once that had gone tacky, more resin was applied and the cloth itself, then even more resin, squeegeed into the weave to ensure full saturation. Once cured, a wash (warm soapy water followed by fresh water gets the amine off), then a sand (more itchy dust), and more epoxy followed. After another sand, the weave of the cloth was still evident, so my next coat of resin included some low density filler powder to fair out the weave. More sanding, then voila, a smooth roof, ready for some paint. I gave it a couple of good coats of high-build epoxy primer, then after more sanding, I applied a coat of topcoat to the top edges of the doghouse sides (to match the rest), and at the same time, finally gave the waiting Dorade boxes a first topcoat. These will get a second coat before they can be finally fitted with their cowls and the forward ones with the nav lights. Then, before they can be attached to the deck, the deck itself will need a couple of topcoats (with non-slip), so this may be a good job to tackle next time I’m home. The deck will receive a final topcoat right before the boat leaves the shed, as there will between now and then be lots more interruptions, holes cut, epoxy spilt and general mess made, but at least with a couple of coats I can start fixing things to the deck in earnest, progressing the deck fit-out as well as down below.
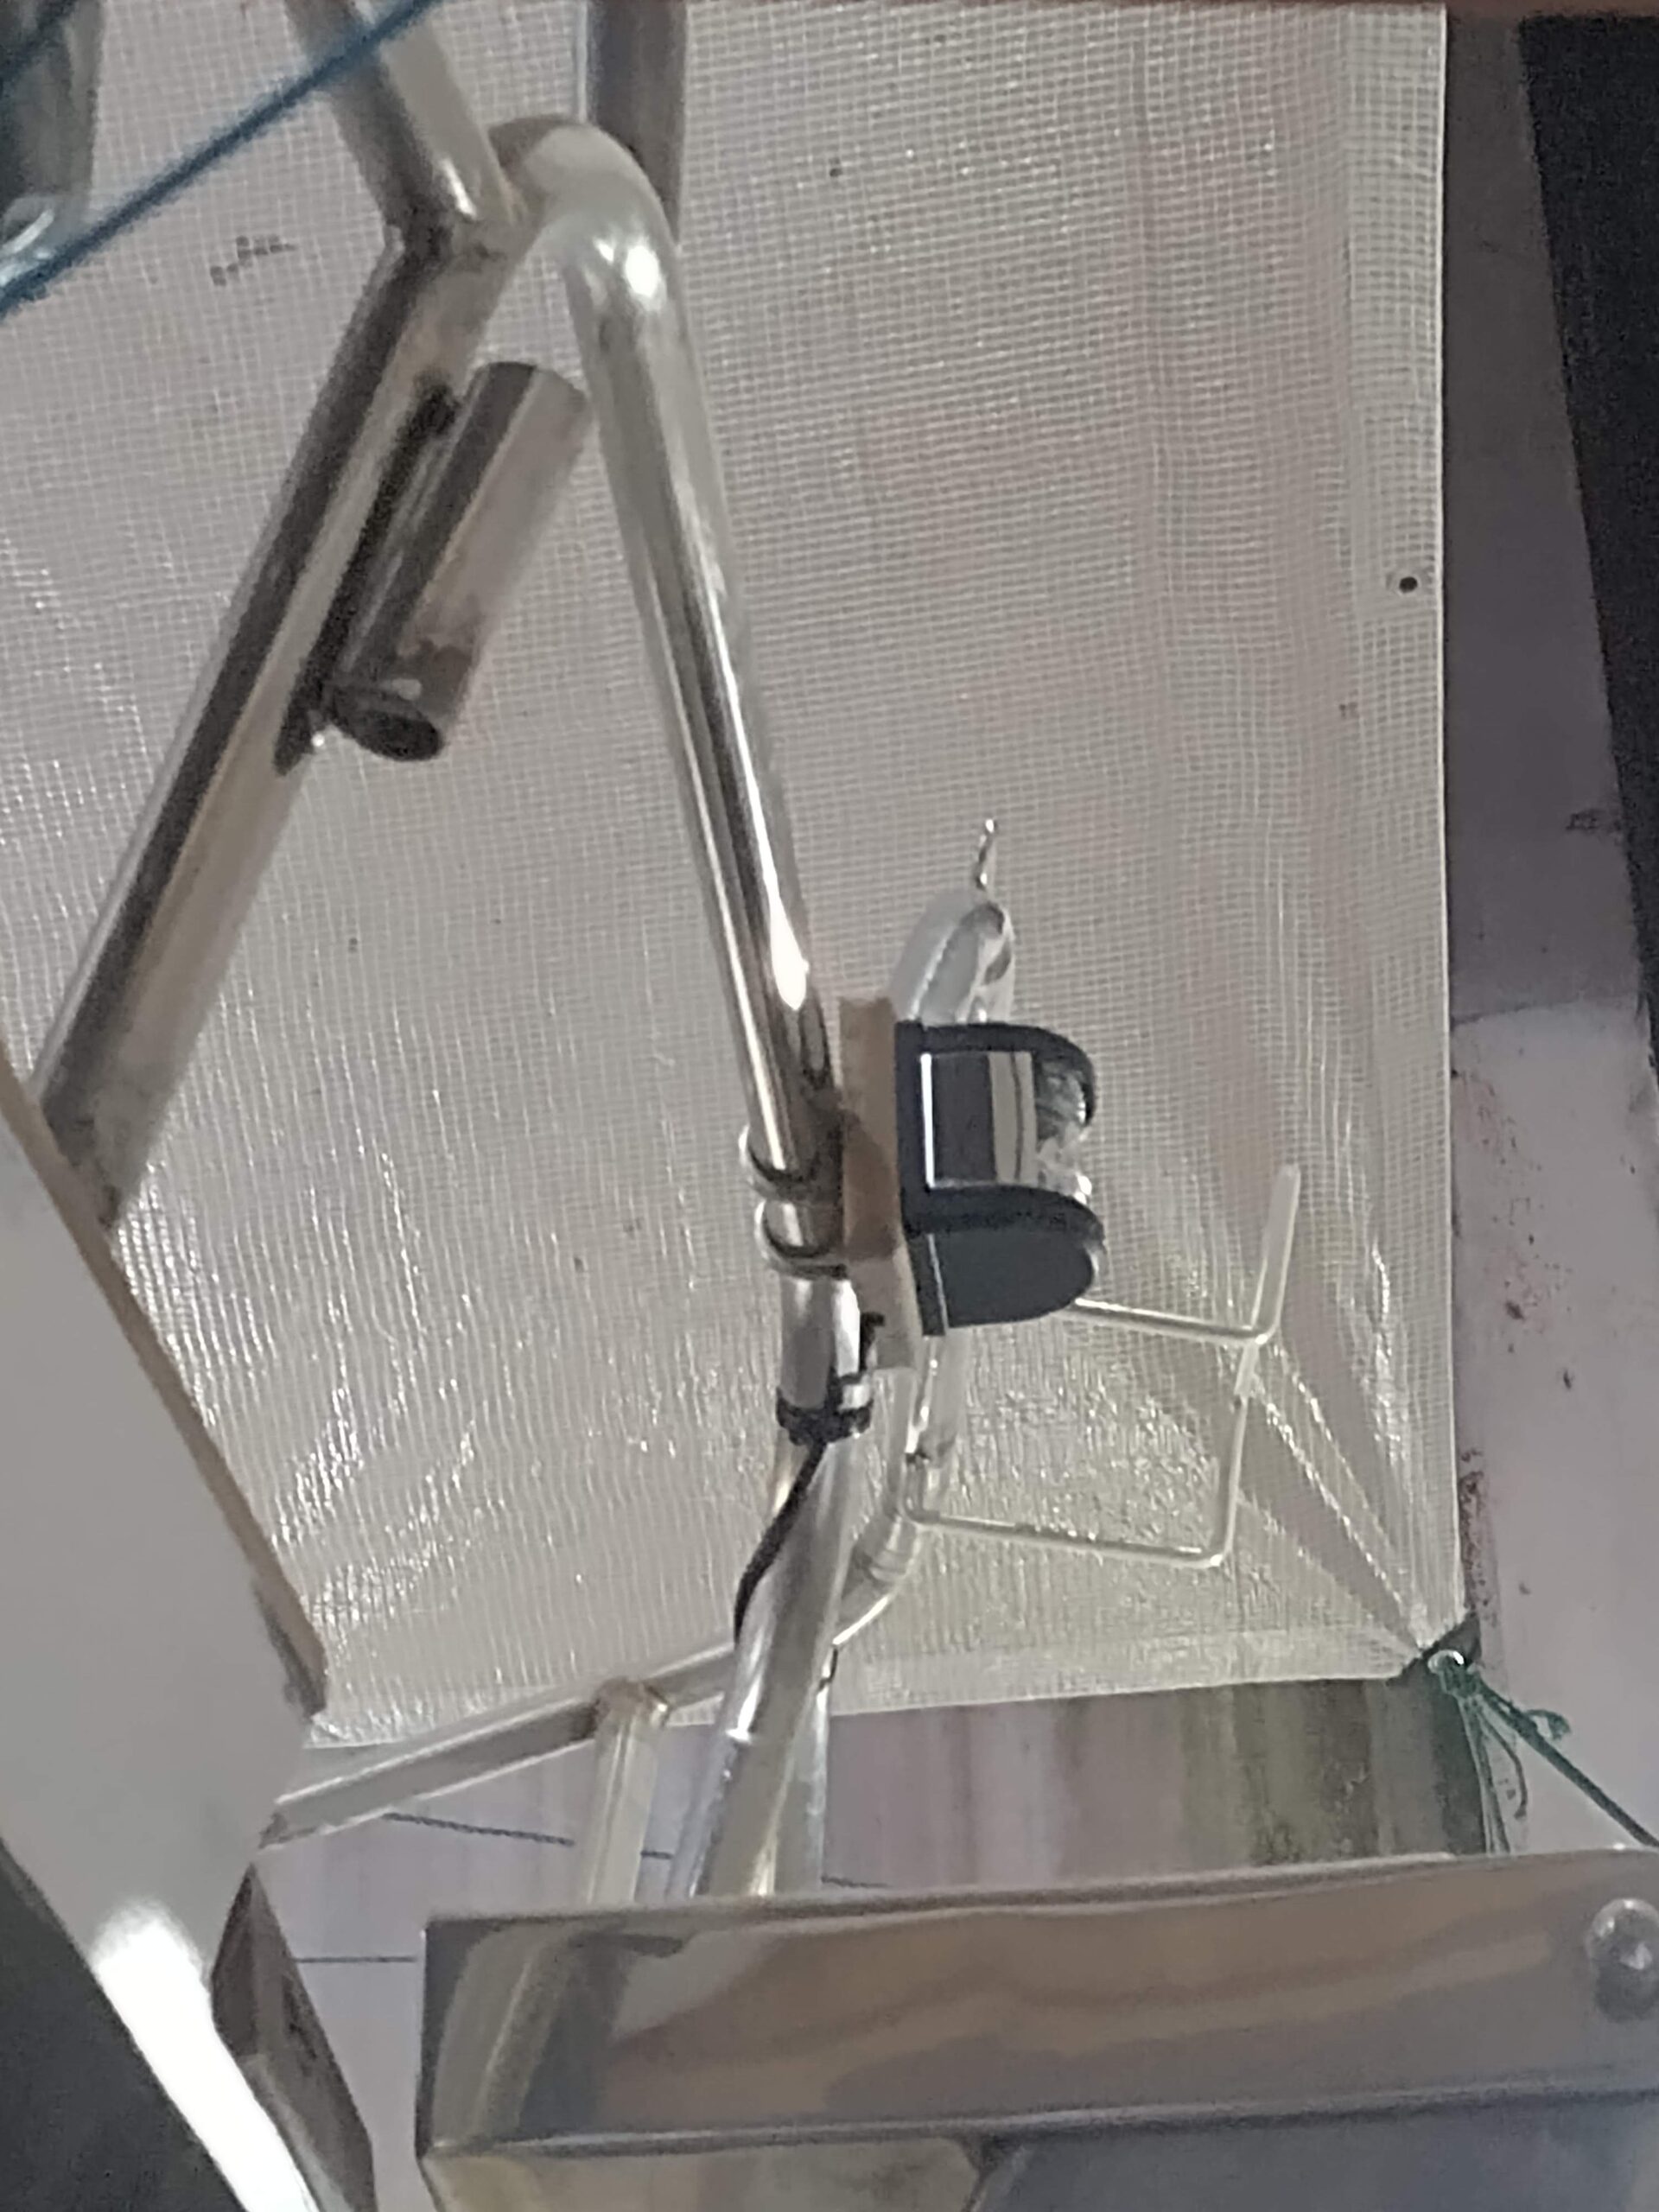
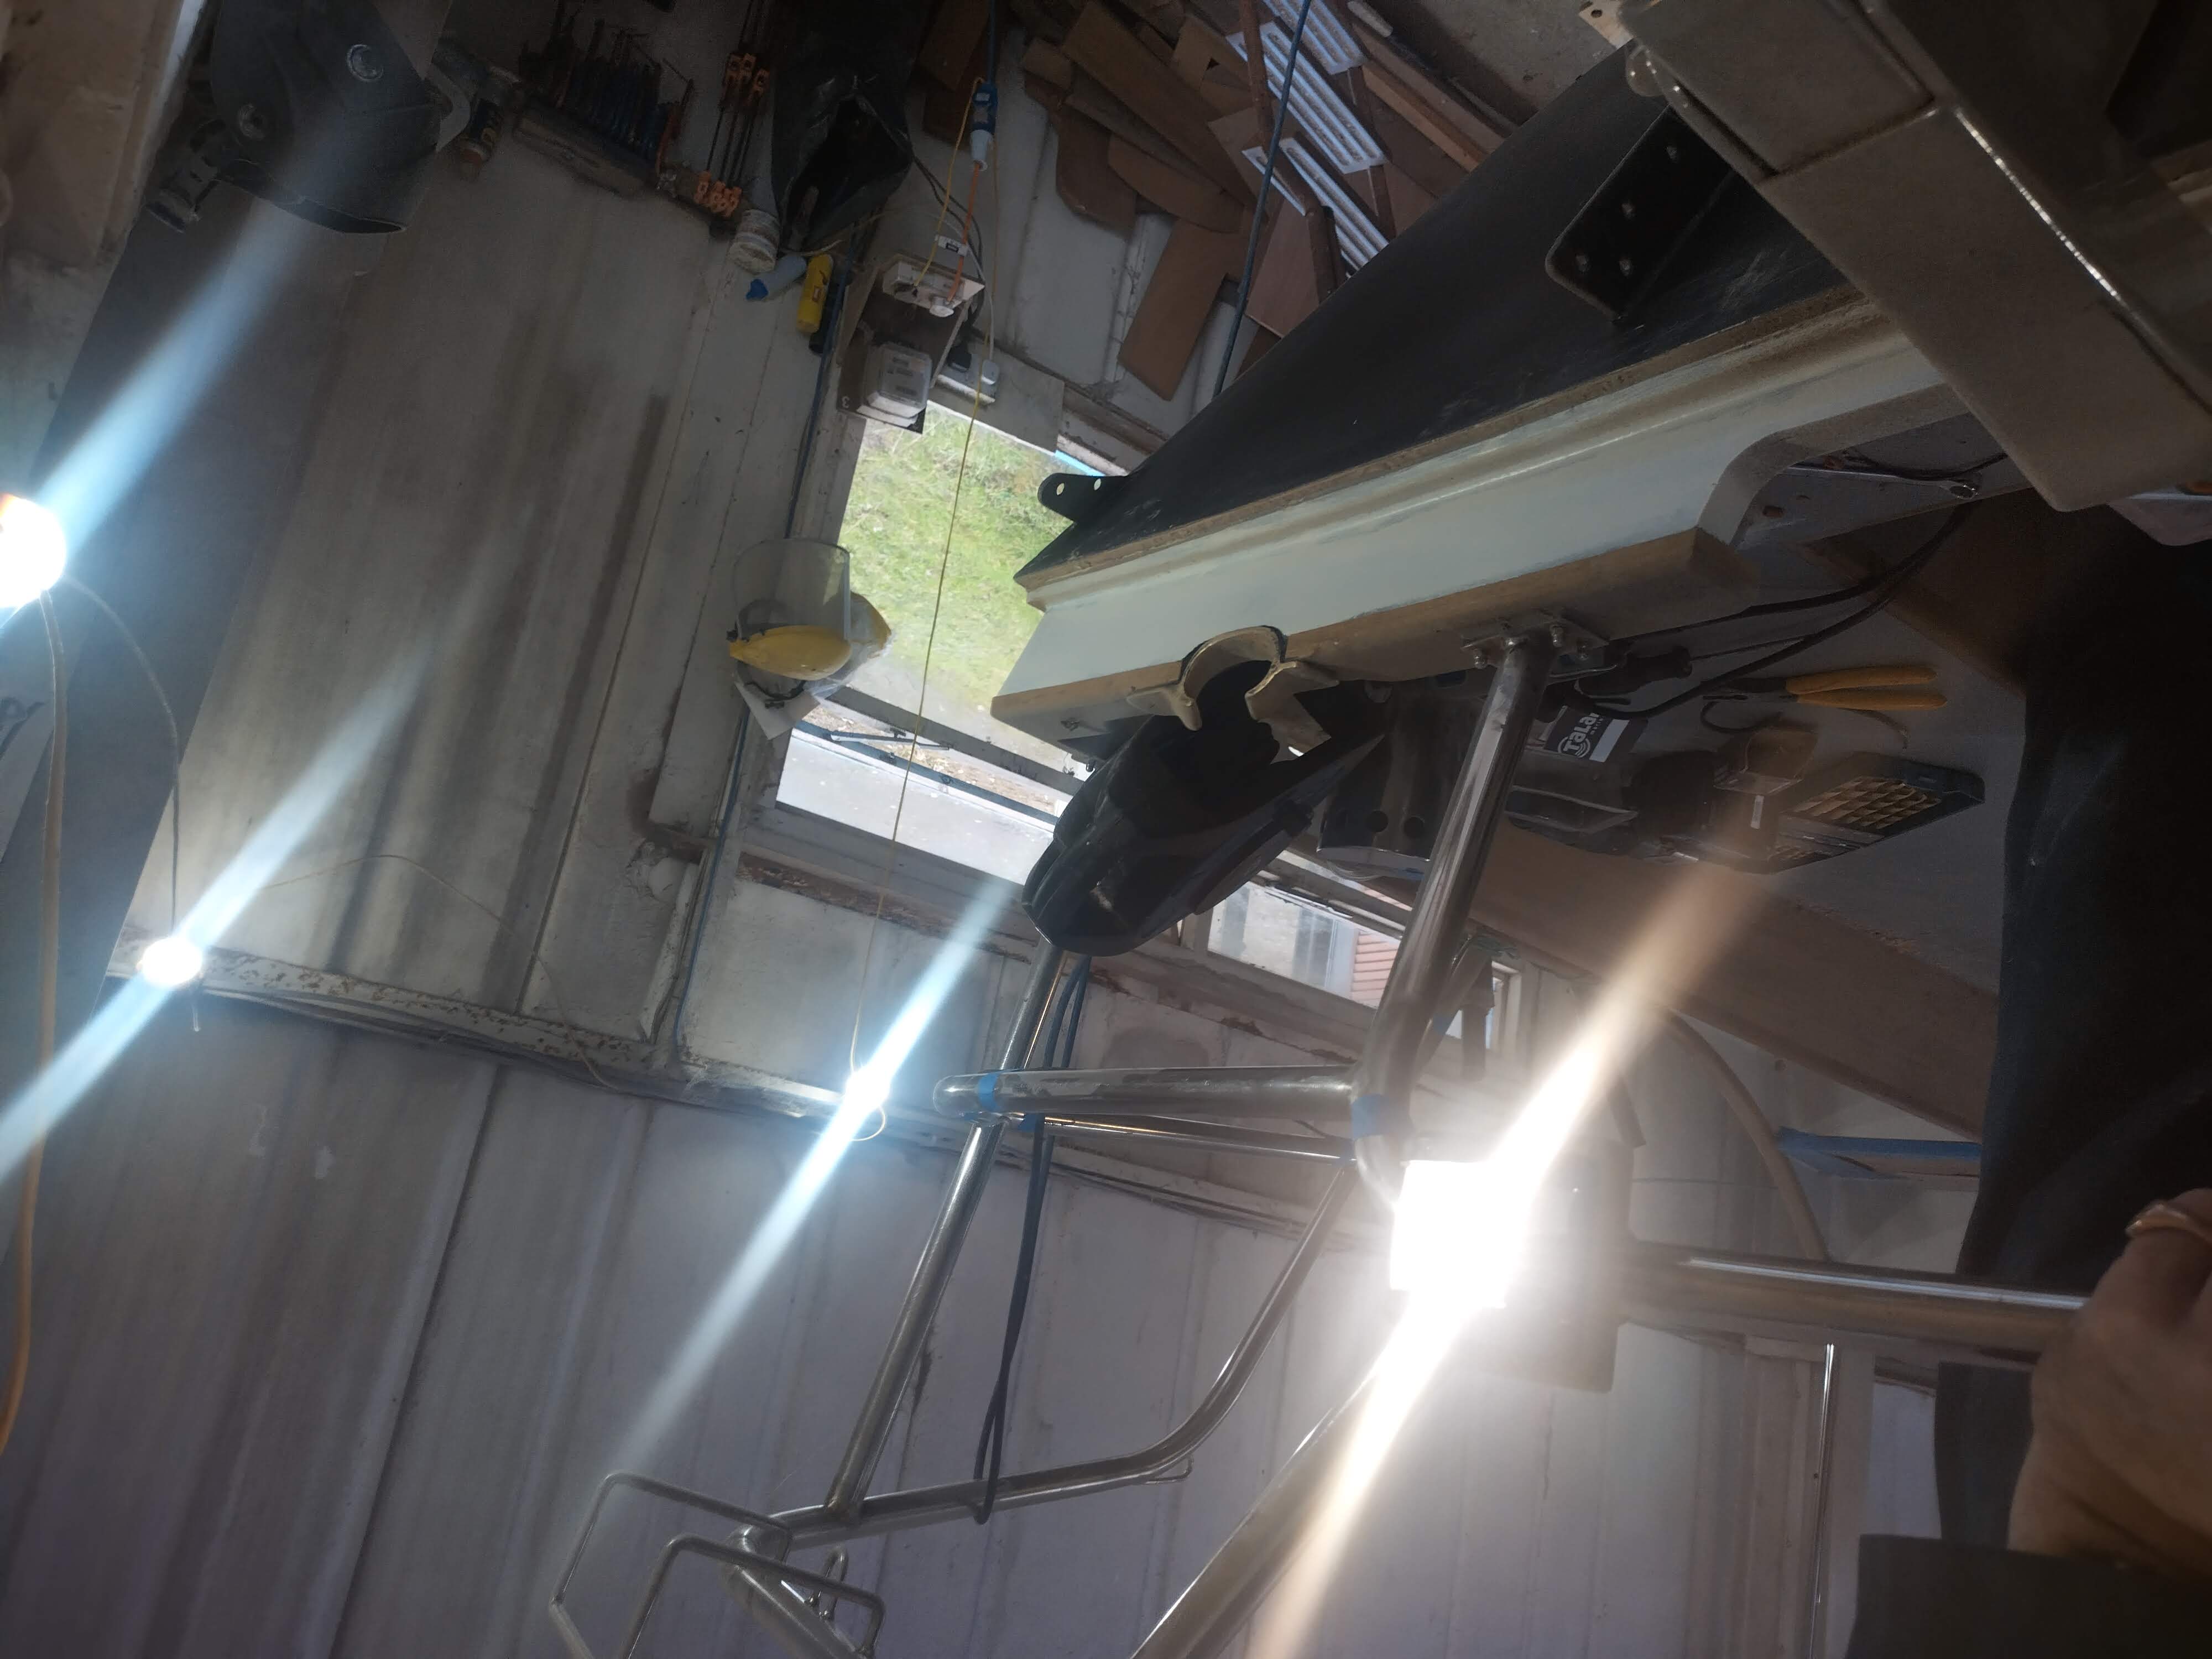
Again in spare moments, I have tackled a few other side projects: finishing the fitting and plumbing of the loo; painting the heads sole with grippy deck paint; fitting the waste tank pump-out hose to the deck fitting and securing the heads and waste hoses to the bulkheads for tidiness; finishing the waste tank vent hose, from behind the basin, onto a smell filter and thence up to the deck vent; wiring the deck sockets for the side lights (incorporated within the fwd dorade boxes); and finally fitting and wiring in the stern light. This last job I did once and tested, then realised that I hadn’t led the cable through both parts of the deck cable gland, thus meaning I had to unwire it again, cut all the cable ties running it along the pushpit, lead it through the second half of the fitting, rewire it and re-tie to the rail! It’s amazing how a moment’s lack of thought can lead to an extra 45 minutes’ work. Finally I’ve started fitting some more bits of glazing – the cockpit / quarter berth port is now in (a very sticky job), with windows waiting to be fitted to the doghouse now the roof is on.
Somewhere in amongst all the above work, I took a very pleasant few days celebrating my 50th birthday (back in March) with friends and family, having chartered the little brigantine Lady of Avenel for 4 nights of gentle sailing, enjoying the scenery and the finer things in life. I also had fun transferring a couple of thousand pounds to New Zealand so a gentleman out there (a well-known junk rig sailmaker) can get started on buying cloth and planning to build my sails sometime over the next year. I opted to get my sails made for me, just so it is one less (fairly major) project to tackle at the end of the build, when all I will want to do is go sailing!
Things are really starting to take shape now, and I’m looking forward to getting back into the interior next leave and cracking on with the joinery. In the meantime I’m having to think more about protecting what is now nearly or actually finished, so for example as I progress decks and soles, I will be taping down a protective sheet to keep them clean over the subsequent months of work.
Another interesting read Chris. Thanks for the update.